Restore
This section will explain how you can restore domain controllers from a backup.
Modes of restoration
If you’re restoring a domain controller, there are two modes of restoration:
- Non-authoritative restoration: Non-authoritative restoration is performing a restore operation from a backup file. All changes made to AD objects are brought up to date by replicating the latest version of those objects from other domain controllers in the domain.
- Authoritative restoration: In authoritative restoration, the restored domain controller replicates and overwrites all other domain controllers in the domain to a specific point in time. It denotes all Active Directory objects and denotes them as authoritative with relation to the replicated domain controllers.
Note: A domain controller can be authoritatively restored only after the non-authoritative restoration is complete.
Creating a recovery media
Prerequisite: Make sure you have a recovery media for the domain controller you wish to restore.
A recovery media is a minimal OS with limited functionalities that contains all the data required to boot your machine and run RecoveryManager Plus's restoration wizard. Once it is created, it can be used to restore multiple domain controllers.
Note: Make sure you have Microsoft Assessment and Deployment Kit (Windows ADK) and Windows PE installed . If not, download it from here.
- Log into the RecoveryManager Plus web-console as an admin and navigate to the Active Directory tab > Domain Controllers > Restore.
- In the Recovery Media Path field, Click here to create one to create a recovery media.
- In the pop-up that appears, enter the location (local or shared path) where Windows ADK is installed and click Create Recovery Media.
Note: If the entered location is a shared path, select Authentication and provide the credentials of a user who can access the location.
- The recovery media is created in the name RMP.iso and can be found in the <Installation_directory>\bin.
Restoring a domain controller
RecoveryManager Plus can restore the backup of a domain controller to the same or a different physical machine. You can also use the product to restore the backup of a domain controller to a virtual machine.
Once the recovery media is ready, follow the steps listed here to restore a domain controller.
Non-authoritative restoration of domain controllers
Follow the steps given below for non-authoritative restoration of domain controllers.
- Log into RecoveryManager Plus as an administrator and navigate to the Active Directory tab > Domain Controllers > Restore.
- From the Select DC drop-down menu, select the domain controller that has to be restored.
- Select the restore point to which you wish to restore from the Restore Point drop-down menu.
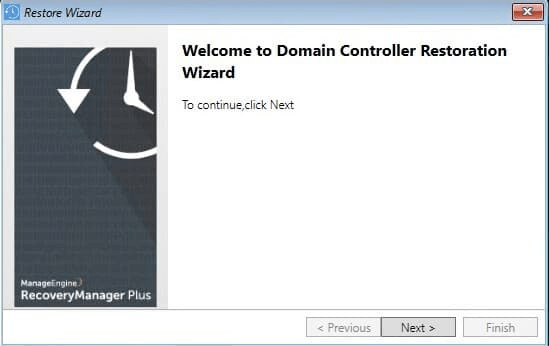
- Boot the DC to be restored with the recovery media created and the RecoveryManager Plus Domain Controller Restoration Wizard starts. Click Next.
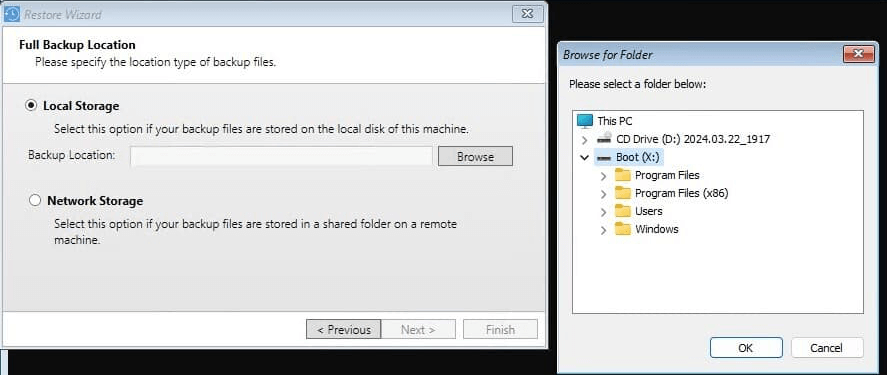
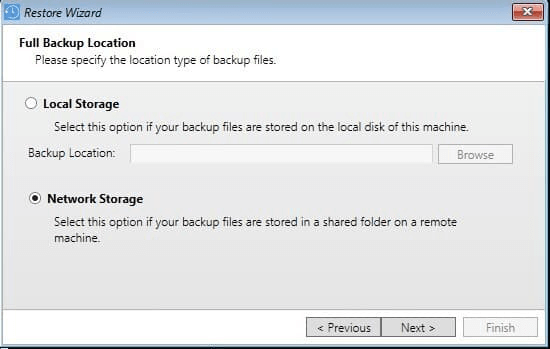
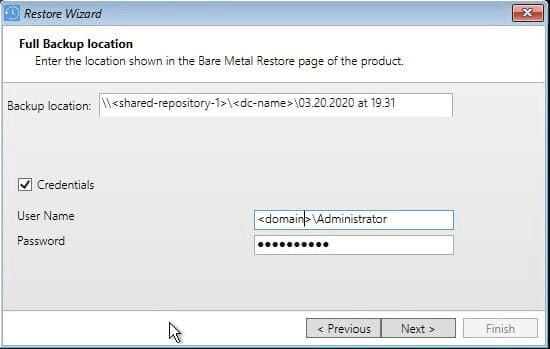
- Provide the location of the full backup in the Backup Location field. The location of the full backup can be stored in the local machine or shared network storage. If the backup is in a shared network, provide the credentials of a user who has permission to access the location and click Next.
- Enter the User Name and Password for accessing the network location.
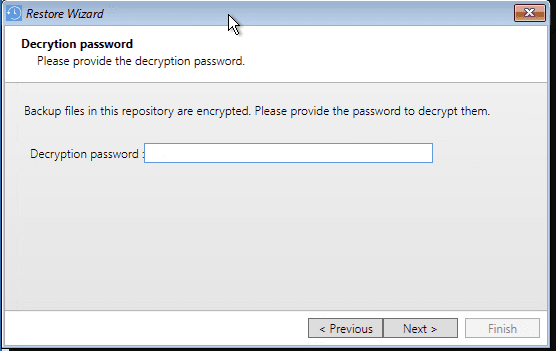
- If you configured your backups to be encrypted, you’ll be prompted to provide a decryption password. Click Next.
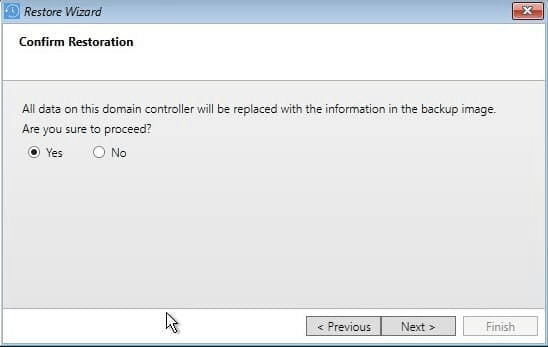
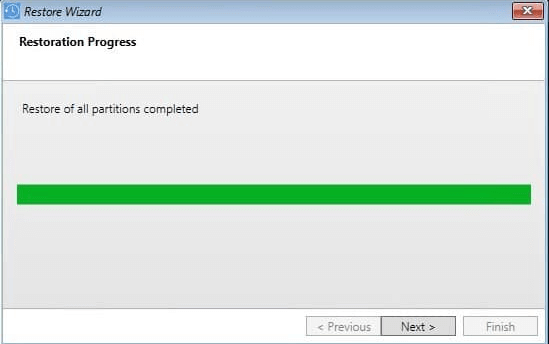
- Select Yes and click Next in the confirm restoration screen to begin the restoration. The domain controller has now been restored to its backed-up state.
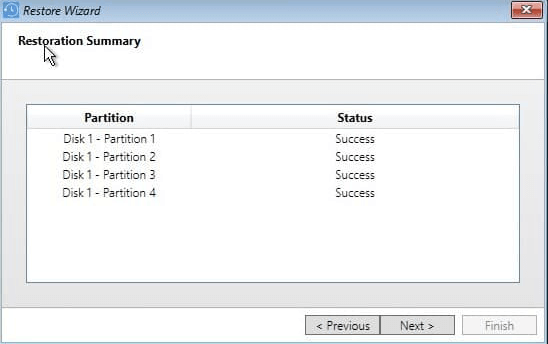
- Clicking Finish will reboot the restored domain controller. All other domain controllers in the domain will replicate all the AD changes made since the backup to the restored domain controller.
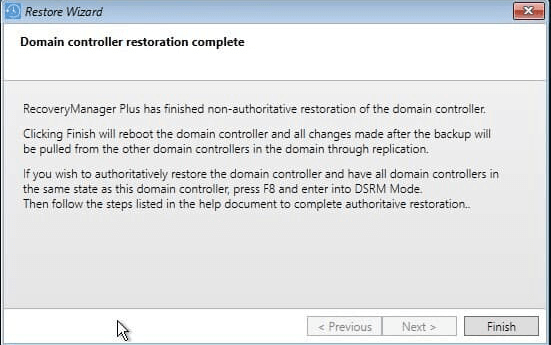
To stop the restored domain controller from receiving changes via replication, and to make all the other domain controllers in the domain have the same state as the restored domain controller, perform an authoritative restoration by following the steps listed below.
Authoritative restoration of domain controllers
If you wish to reset all domain controllers in the domain to the state in the backup point, perform an authoritative restoration of the domain controller by following the steps given below.
Note: A domain controller can be authoritatively restored only after the non-authoritative restoration is complete. Follow the steps listed in the previous section to complete the non-authoritative restoration before proceeding with the authoritative restoration.
- Once the non-authoritative restoration is complete, manually boot the domain controller in Directory Services Restore Mode (DSRM) by repeatedly pressing the F8 key immediately after the BIOS POST screen. In the text menu that appears, use the up/down arrow keys to select Directory Services Restore Mode or DS Restore Mode.
- Login with the DSRM account and password.
- Open Command Prompt and type ntdsutil.
- Type activate instance ntds.
- Type authoritative restore.
- Determine the Distinguished Name(DN) of the domain, subtree of objects, or the object that you wish to authoritatively restore.
Syntax: CN=value,OU=value,DC=value,DC=value.
- To authoritatively restore an entire domain, enter
restore subtree <distinguished name of the domain>
- To authoritatively restore a subtree of objects, enter
restore subtree <distinguished name of the subtree>
- To authoritatively restore a single object, entere
restore object <distinguished name of the object>
- Click Yes to confirm.
- Reboot the domain in the normal mode for the authoritative restoration to complete.
 ADManager Plus
 ADAudit Plus
 ADSelfService Plus
 M365 Manager Plus