Creating a table
Analytics Plus offer different options to create tables in your workspace. You can create any number of tables within a workspace. To create a new table, follow the steps below.
- Open the required workspace and click Create > New Table / Import Data from the side panel.
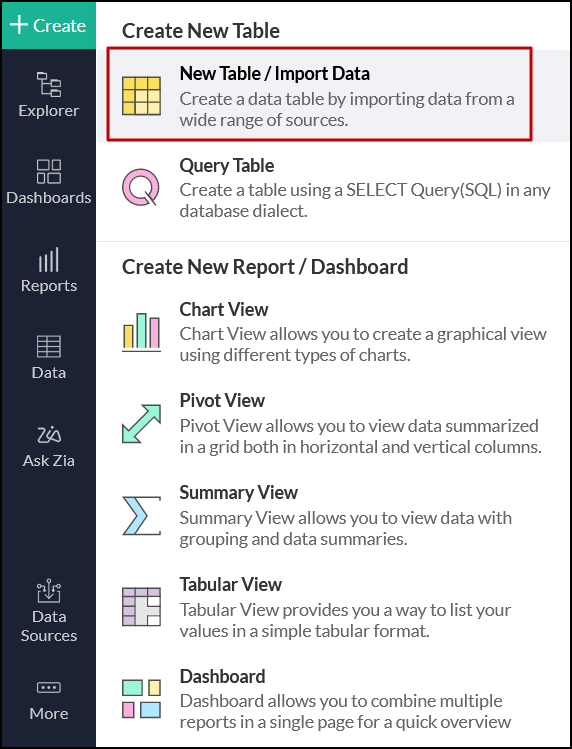
- In the page that appears, you can choose to create a table using anyone of the following options:
Refer to the below sections to learn about each option in detail.
Create a table by importing data
Analytics Plus creates tables automatically when you import your data from any of the supported data sources. Some data sources require you to provide a unique name and a description for your table. Once the import process is complete, tables will be created in your workspace. Click here to learn more about data import.
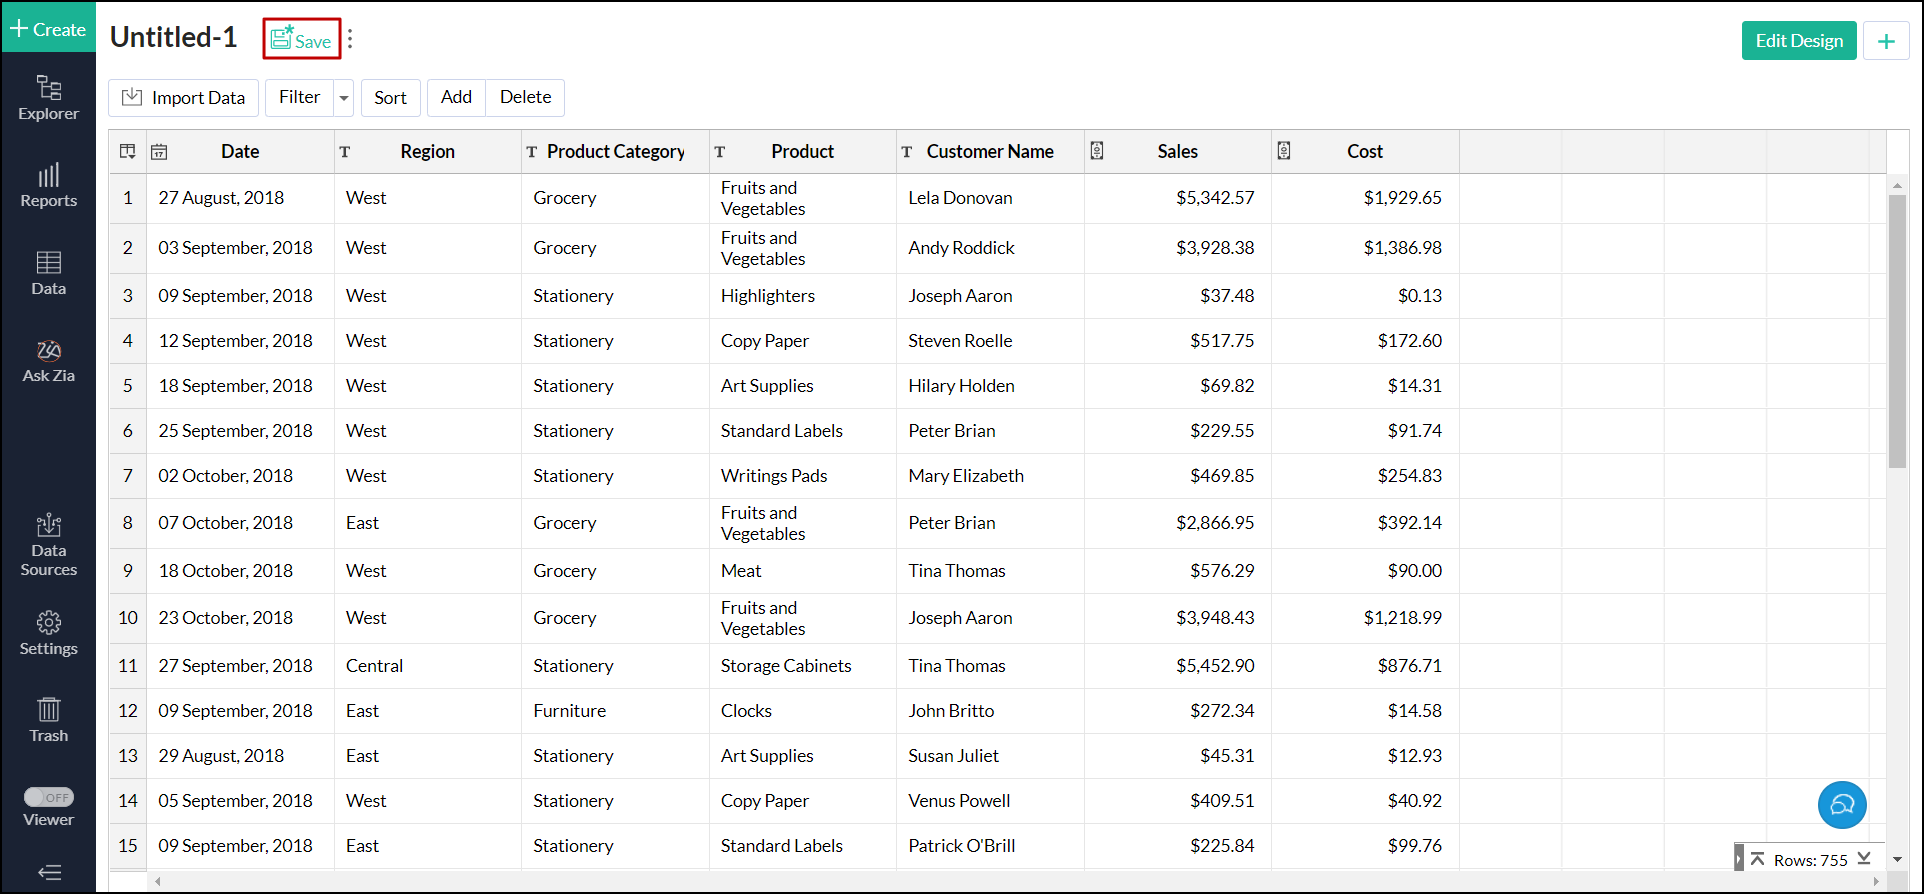
Using the Enter Data Right Away option
Enter Data Right Away option in Analytics Plus allows you to create and add data to your tables effortlessly. Follow the steps below to create a new table.
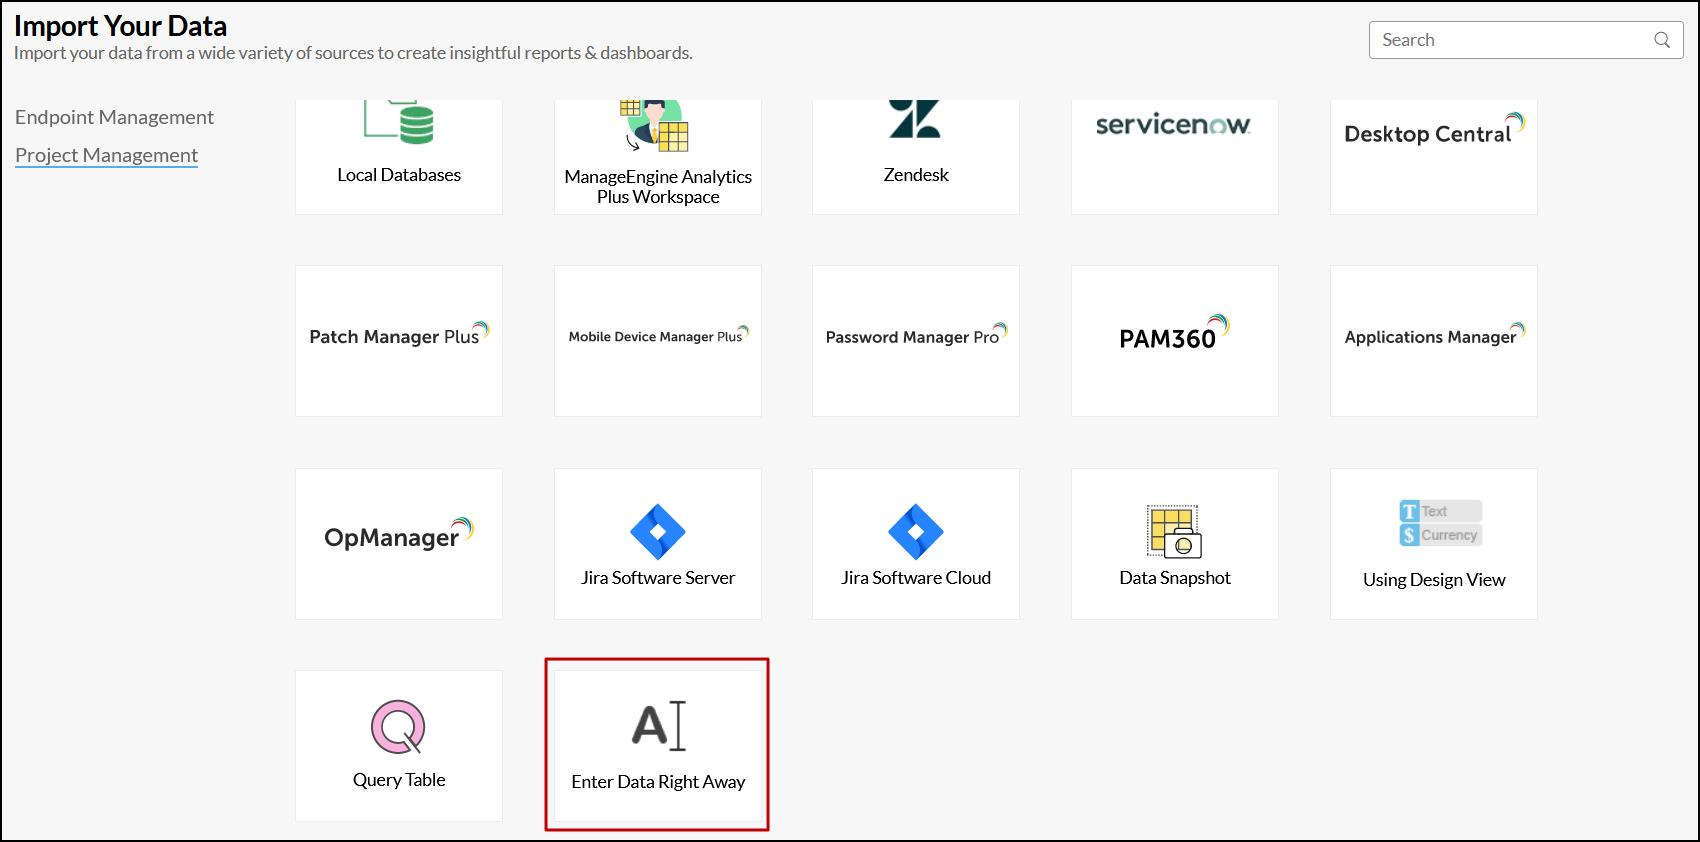
- From the Import Your Data page, click the Enter Data Right Away tile.
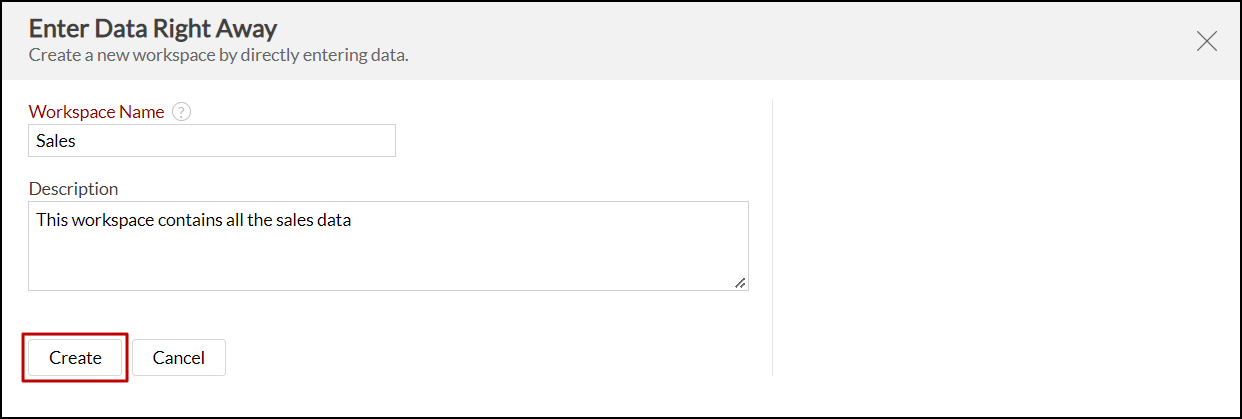
- In the dialog that appears, provide a name and description for the workspace, and click Create.
- In the table design window that appears, double-click the required column header (named Column1, Column2, etc.) to rename it.
- Add your data under respective columns.
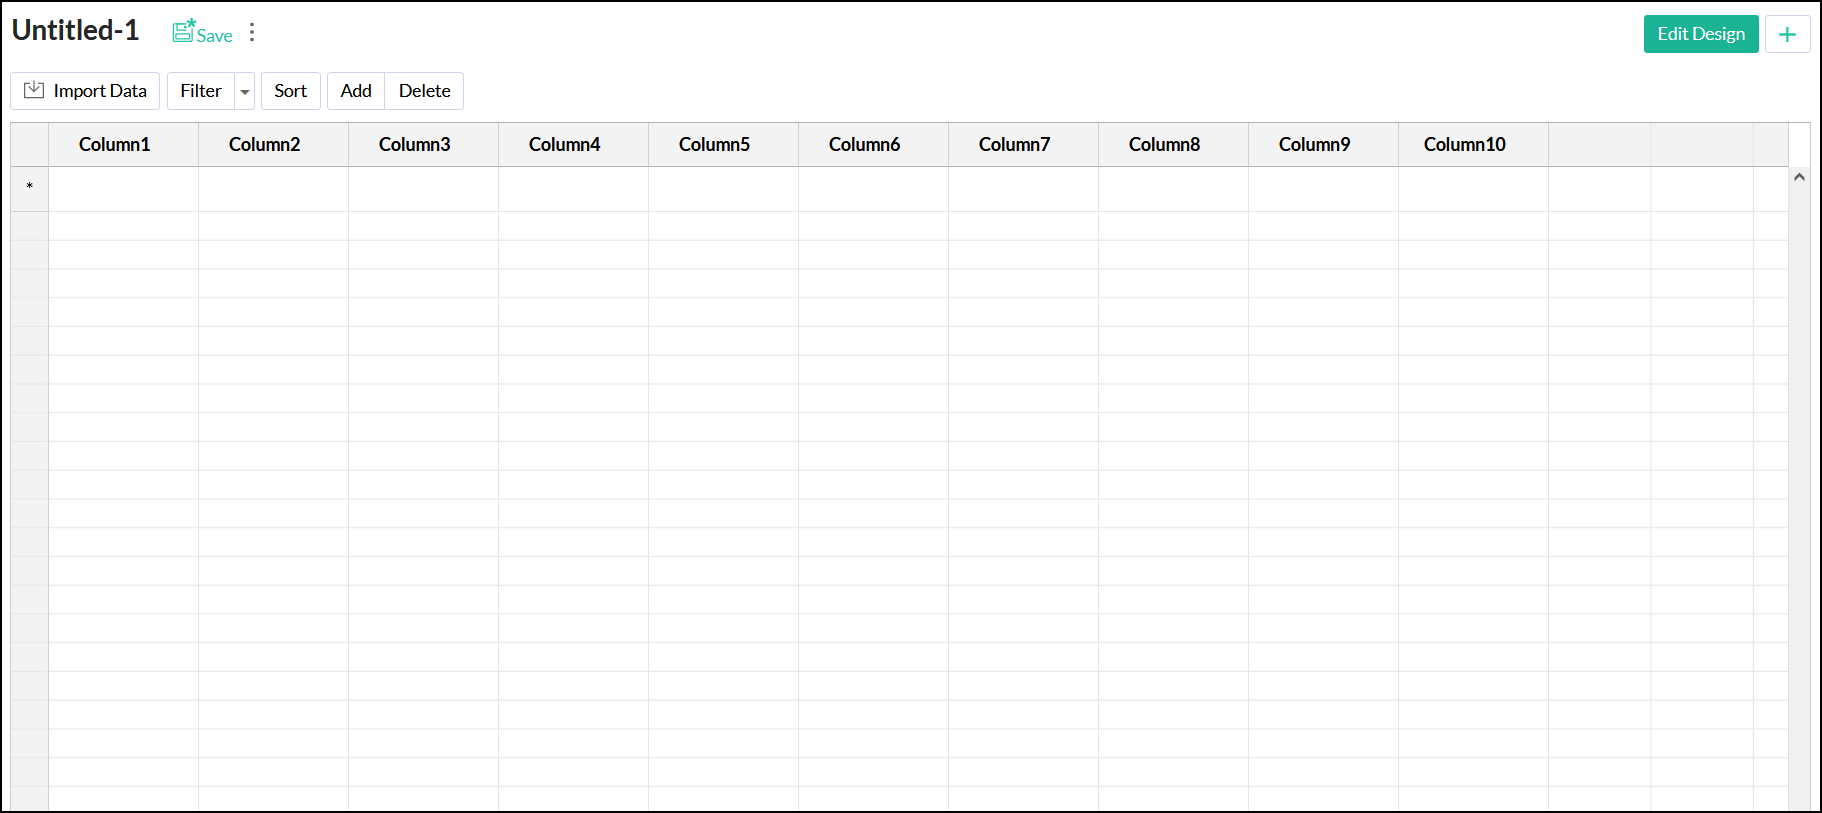
- On adding all the required data, click Save to save your table.
- In the dialog that appears, provide the name and description for the table.

- Click OK. A new table will be created with the given name, including the newly added columns and data.