Configure custom action to run on a scheduled date and time
You have to create a workflow before configuring the custom action. Refer this section to learn more about configuring a schedule.
To configure a custom action:
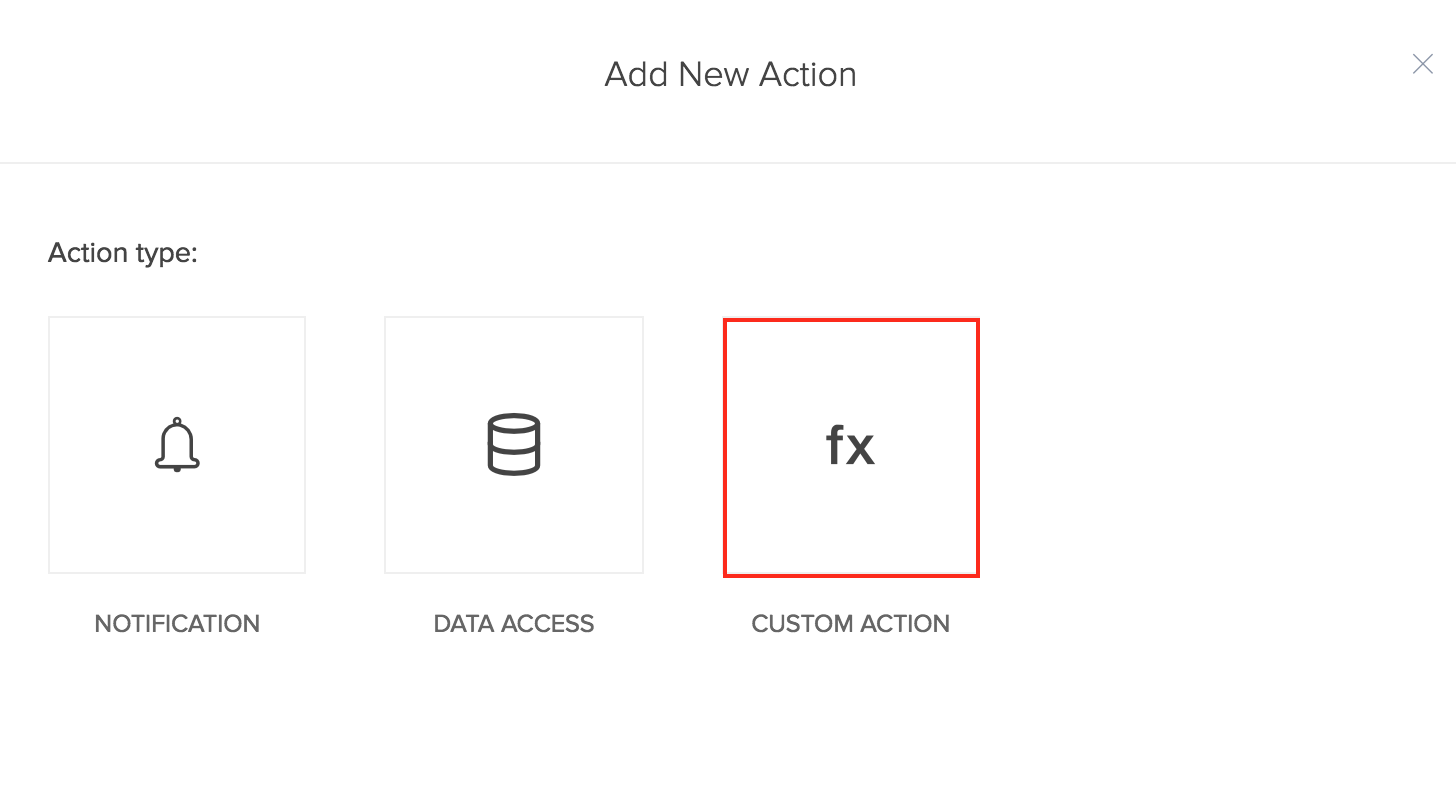
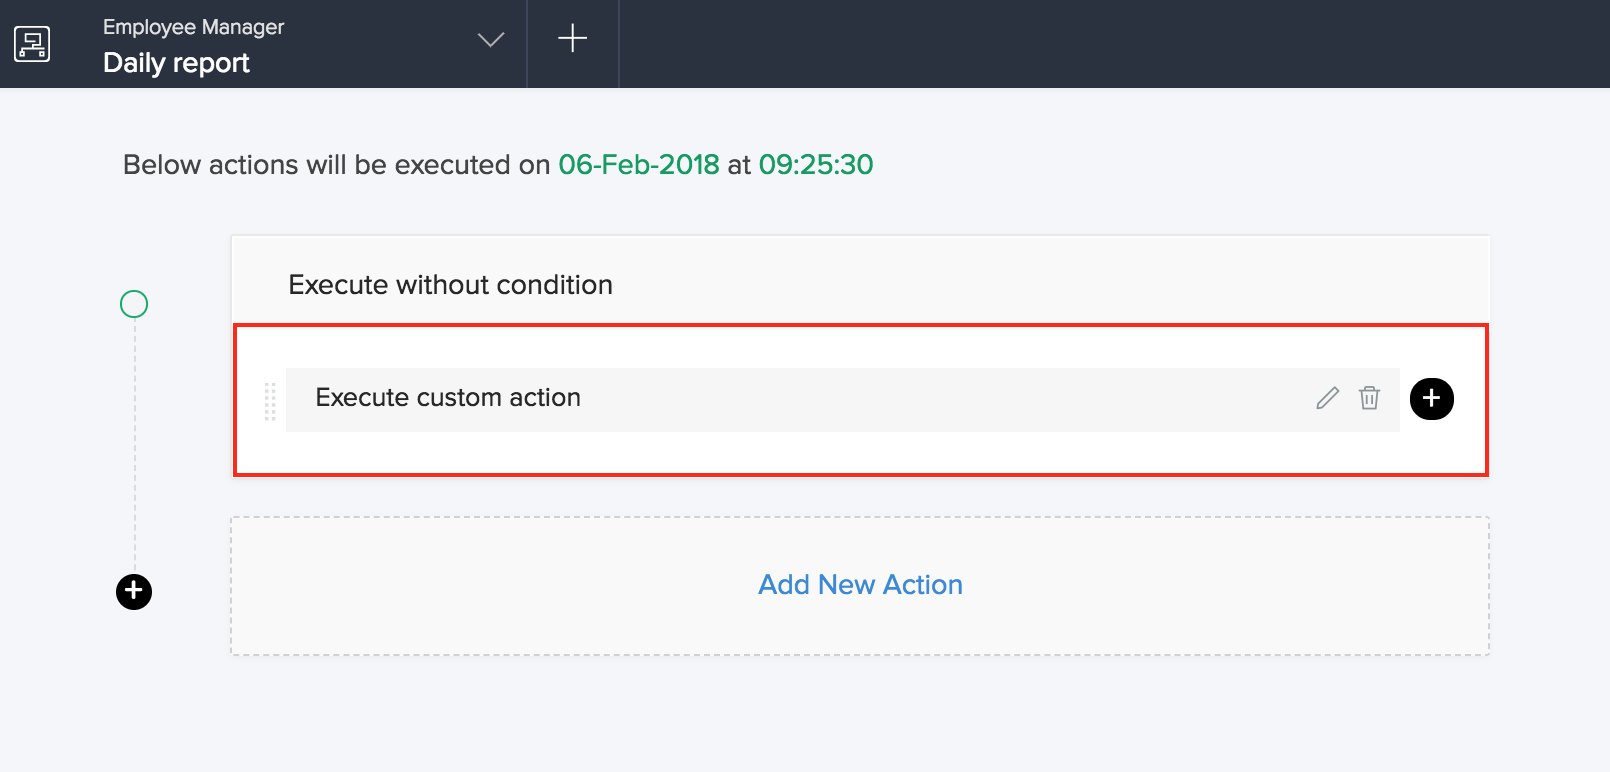
- Click the Add New Action block.

- Choose custom action. The Deluge script builder will open.
- You can drag and drop the required Deluge tasks to the code editor area. The syntax of the task will appear. You can replace the syntax with the application logic using the autocomplete feature.
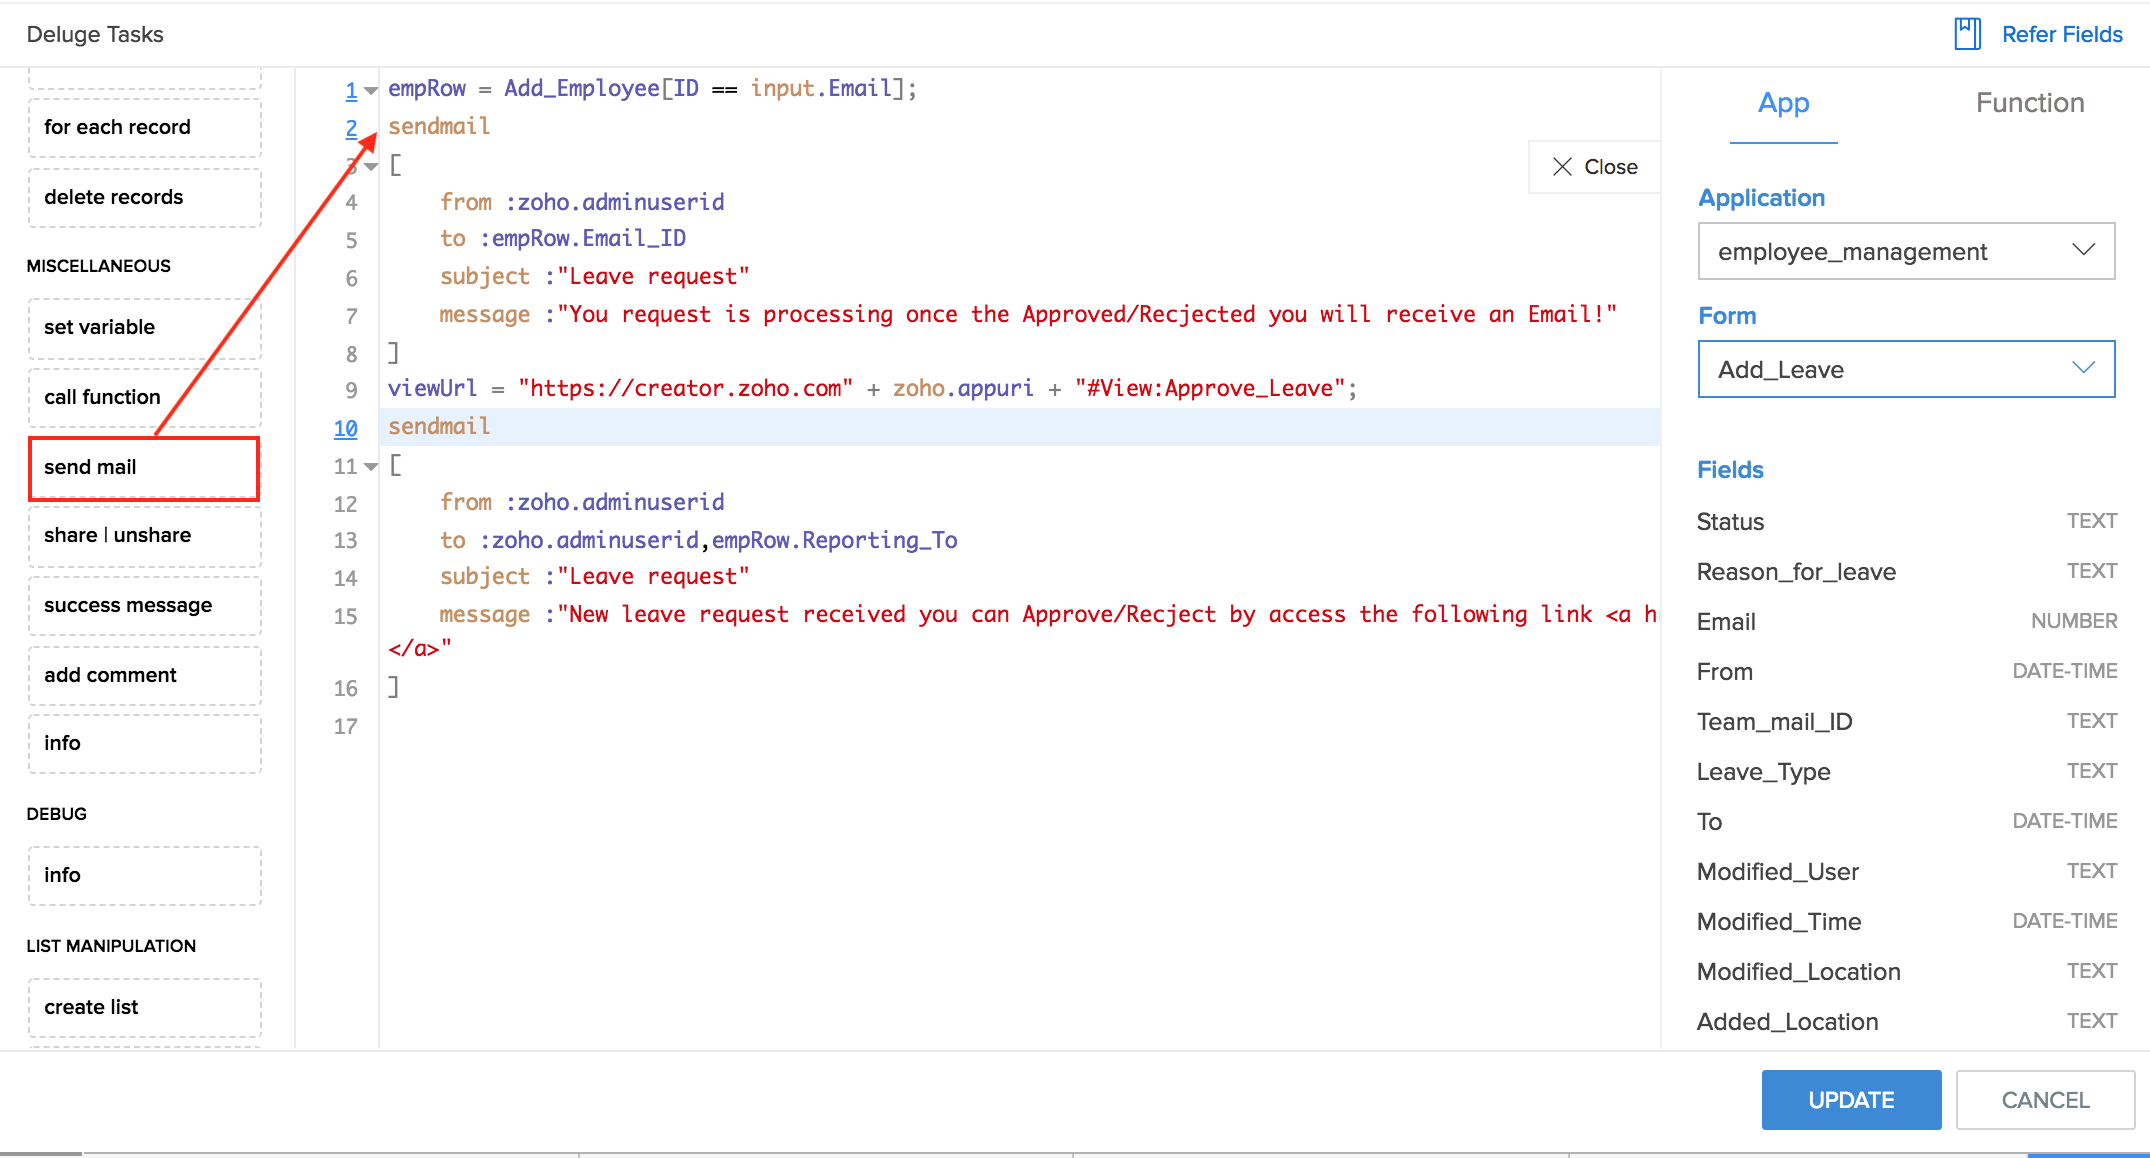
- Additionally, you can refer the field deluge names and functions directly from the code editor. To refer,
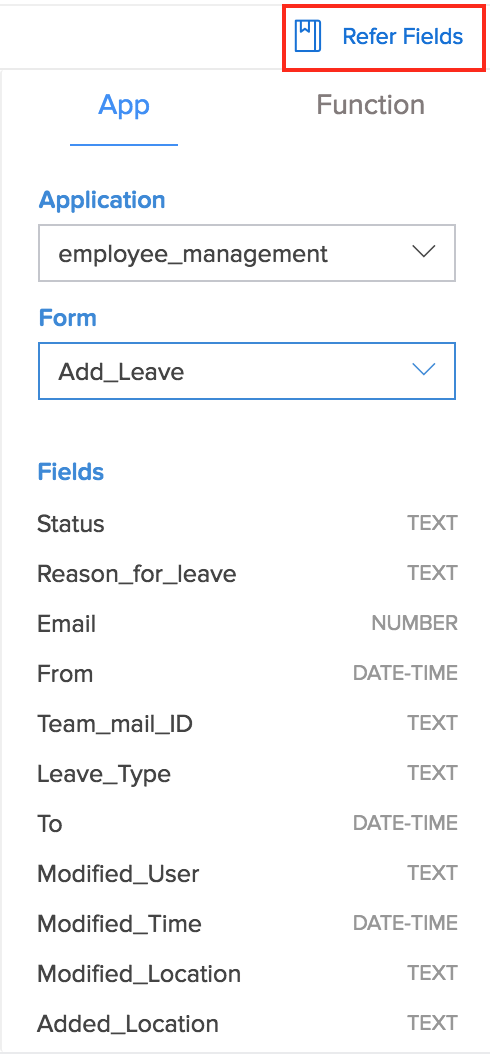
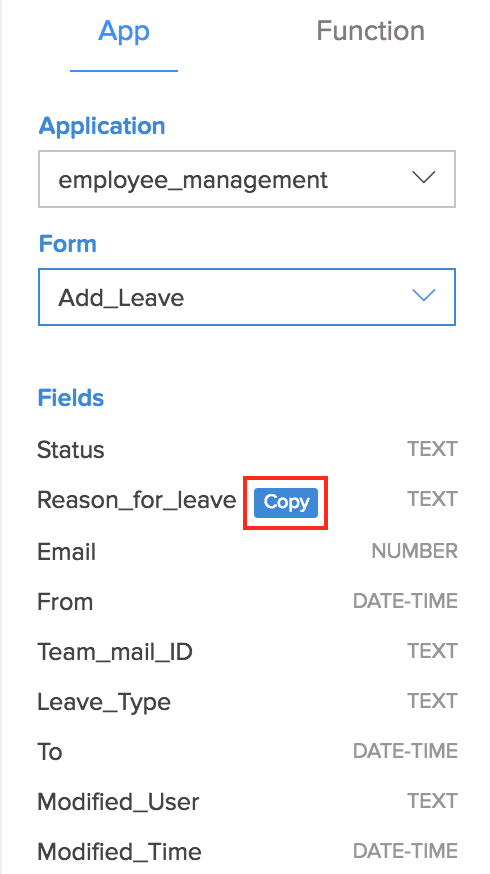
- Click the Refer Fields link in the top-right corner of the screen. The App tab will appear with the field deluge names for the fields in the form. The field deluge names across all the forms in your applications can be directly referred from this section instead of navigating to the respective field properties in the form builder.
- You can change the application and form name to view the respective field deluge names.
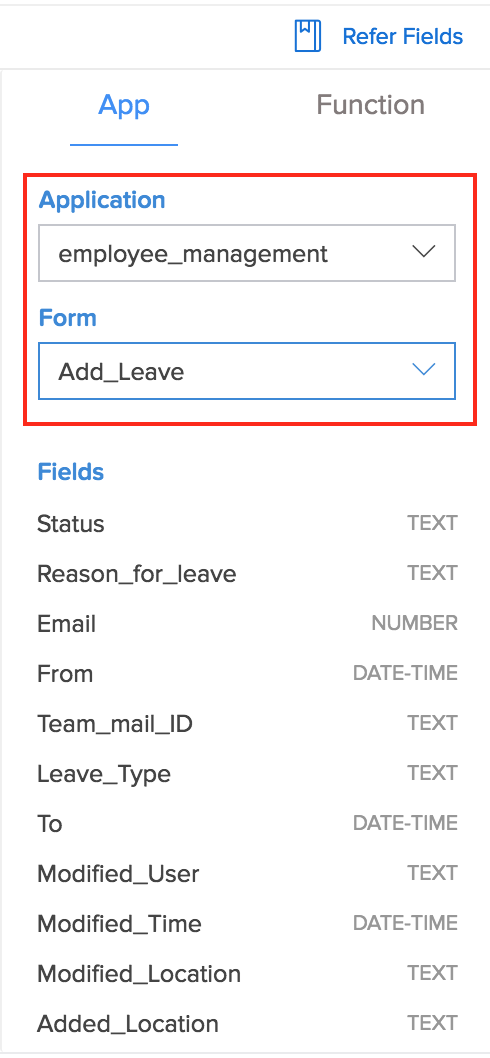
- Mouse over a field name and select copy to copy the field deluge name. You can paste the copied name anywhere in the script builder.
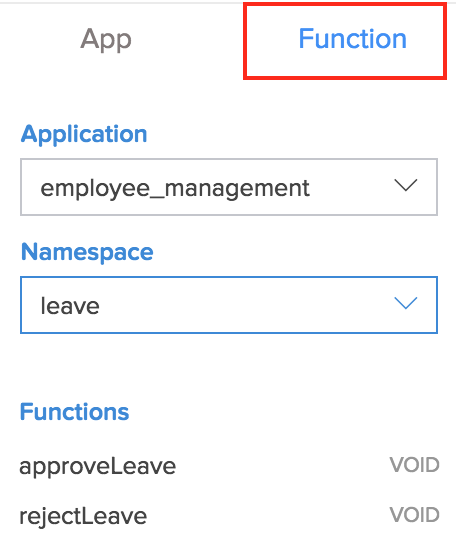
- You can switch to the Function tab to refer the predefined functions across applications and namespaces. These functions can be referred in the script while defining the action.
- Click the Refer Fields link in the top-right corner of the screen. The App tab will appear with the field deluge names for the fields in the form. The field deluge names across all the forms in your applications can be directly referred from this section instead of navigating to the respective field properties in the form builder.
- Click Save.
- The configured custom action will be displayed in the actions list.
- Click Done in the top-right corner of the screen.