Scheduling compliance reports
Last updated on:
In this page
Overview
This section details how you can create compliance report schedules to have selected reports automatically delivered to your email at specified intervals. This helps eliminate the need to log in repeatedly to access reports.
Steps to schedule compliance reports
NOTE A schedule cannot be created if sources are not configured. Ensure that the required sources are configured before proceeding.
- In the product console, navigate to the Compliance tab.
- Select Schedule Compliance in the top-right corner.
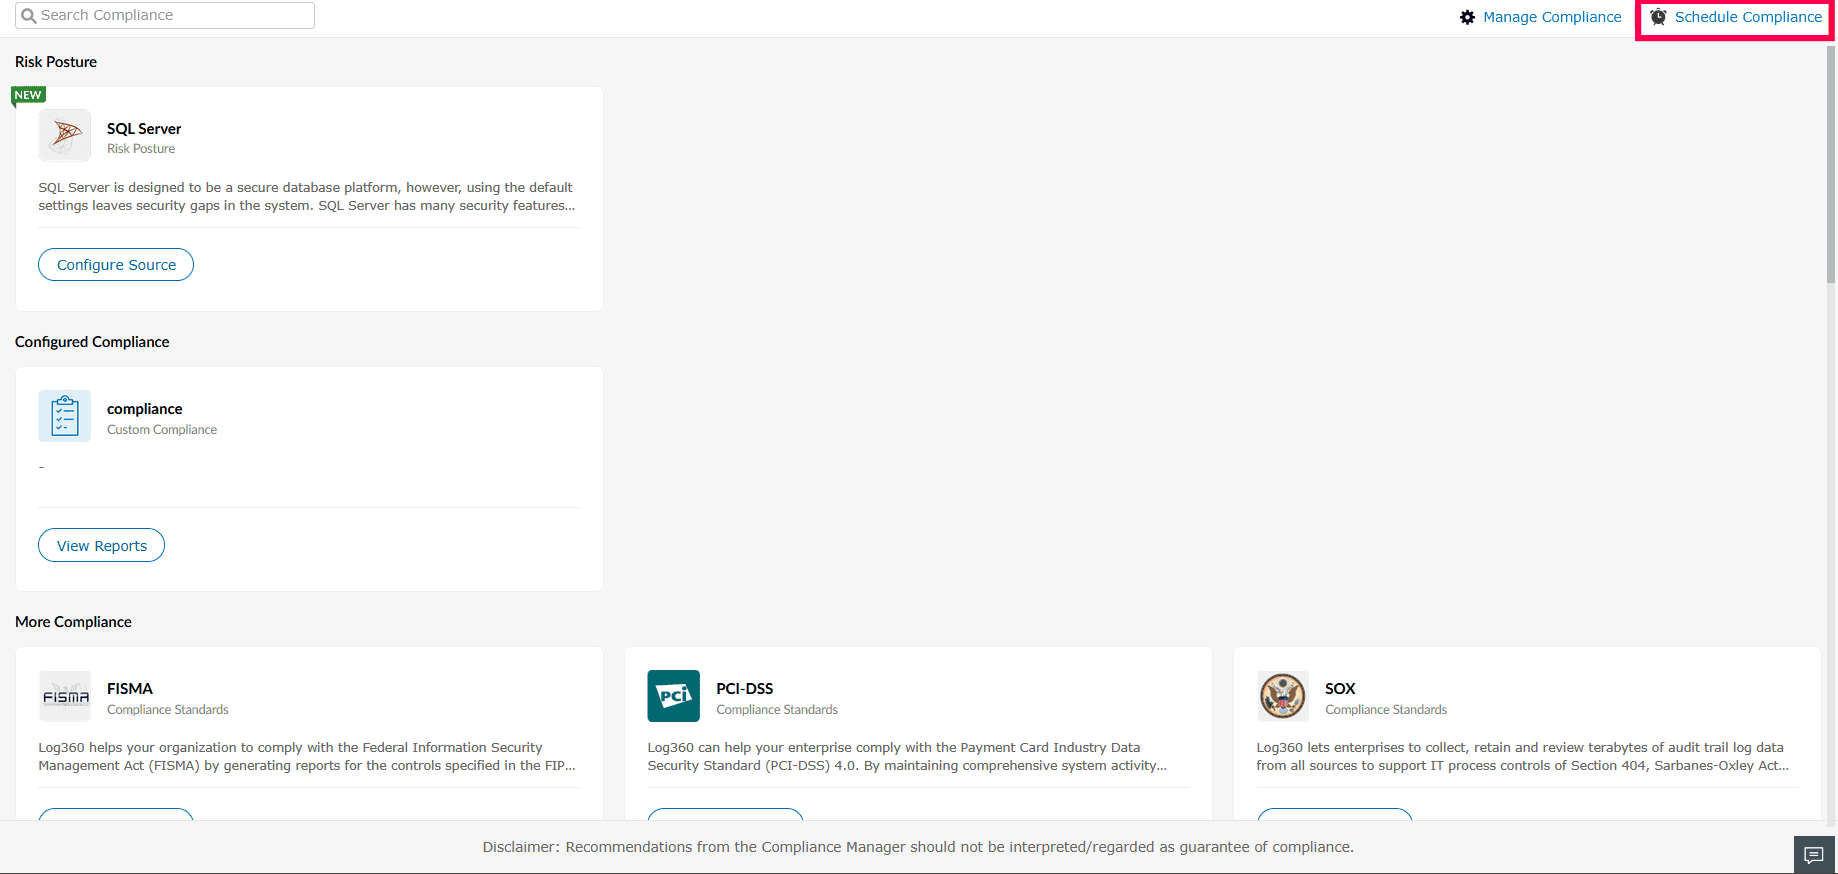
Figure 1: Scheduling compliance reports - In the Schedule Compliance page, click Create New Scheduler.
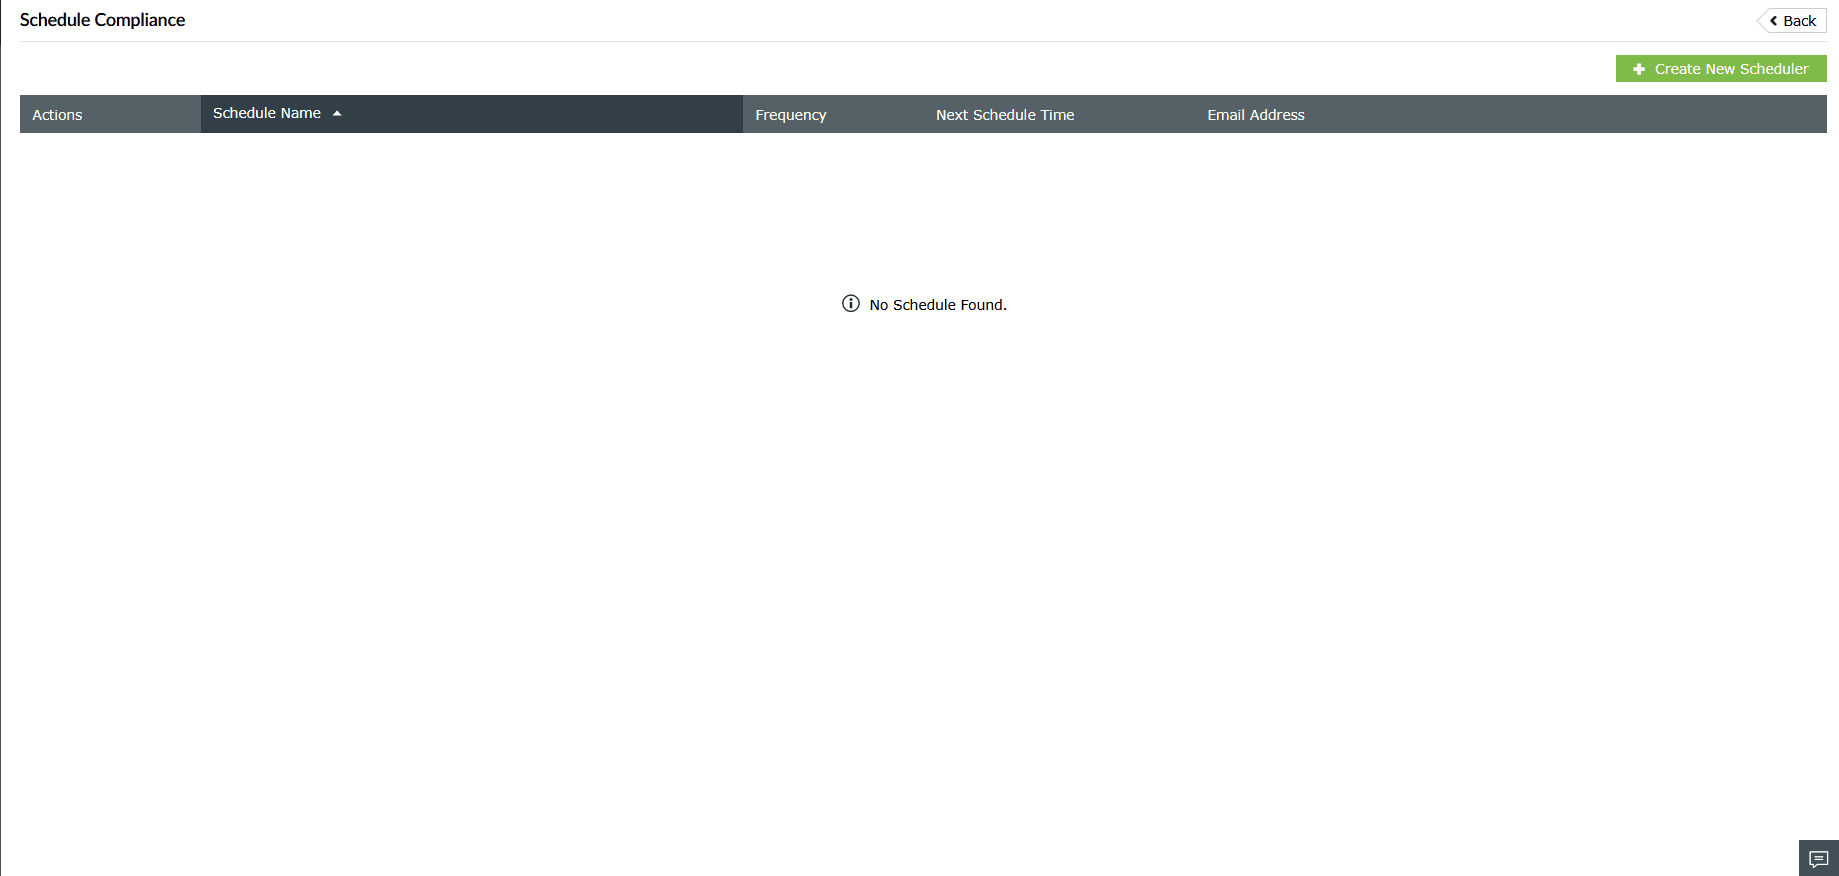
Figure 2: Scheduling compliance reports - In the Add Compliance Schedule window, fill in the required details:
- Enter a name in the Scheduler Name field
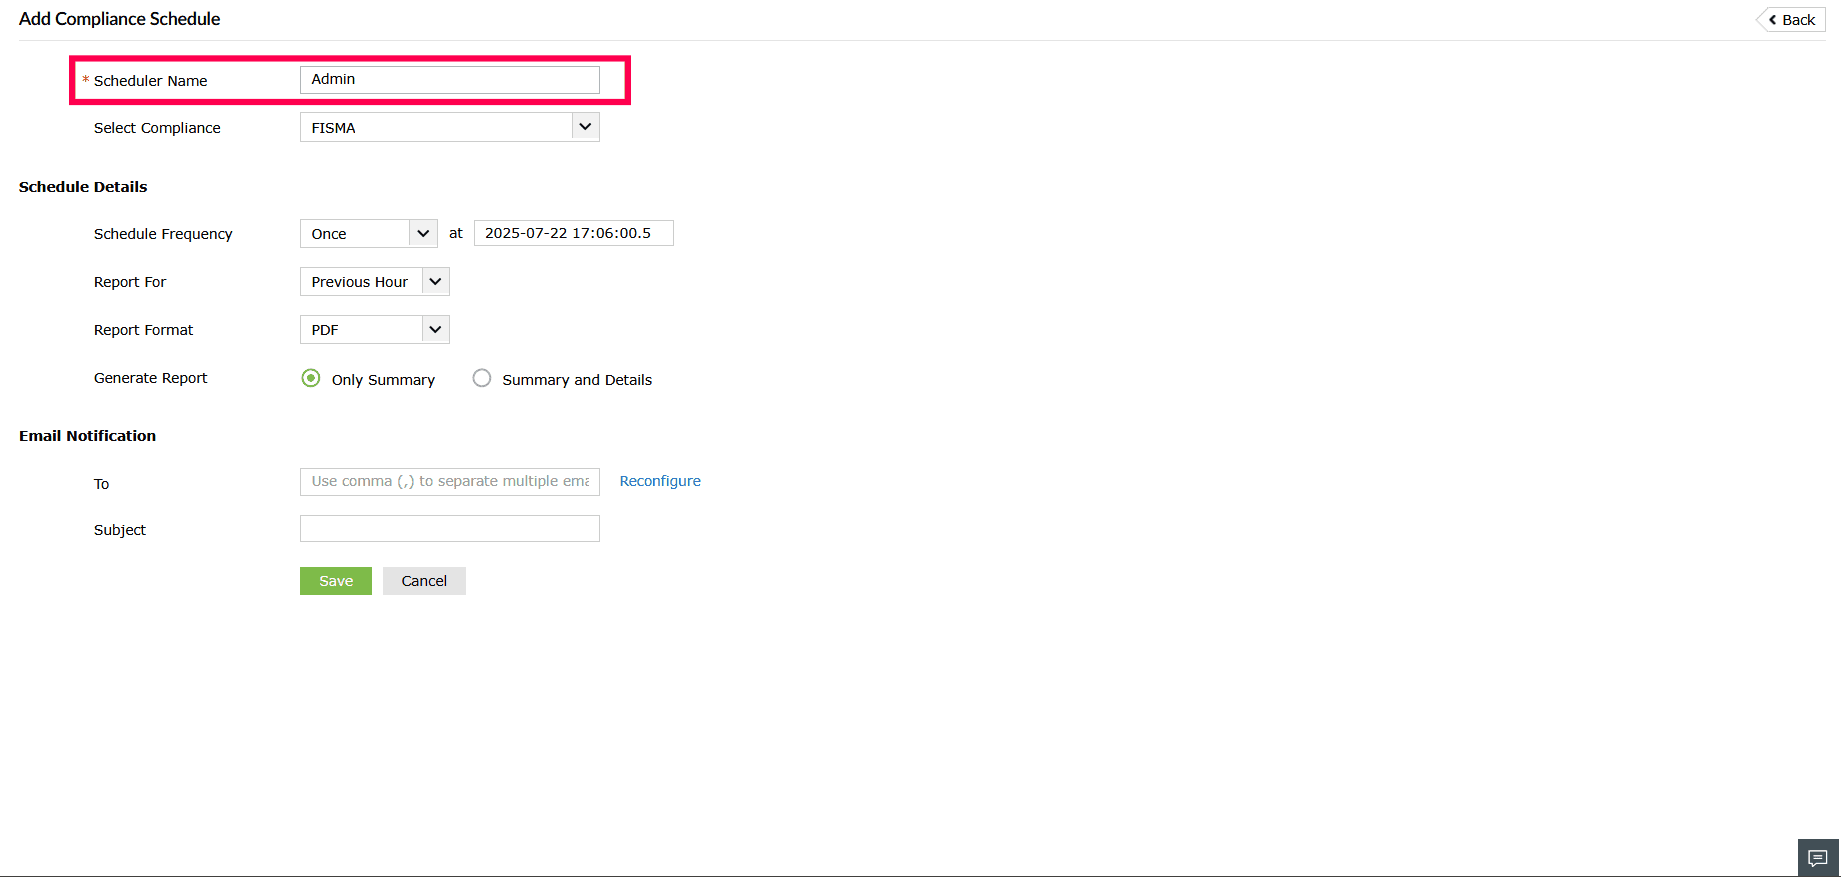
Figure 3: Setting up a compliance report schedule - Select or search for the relevant compliance mandate from the Select Compliance drop-down.

Figure 4: Setting up a compliance report schedule - Set the Schedule Frequency to Once, Hourly, Daily, Weekly, or Monthly
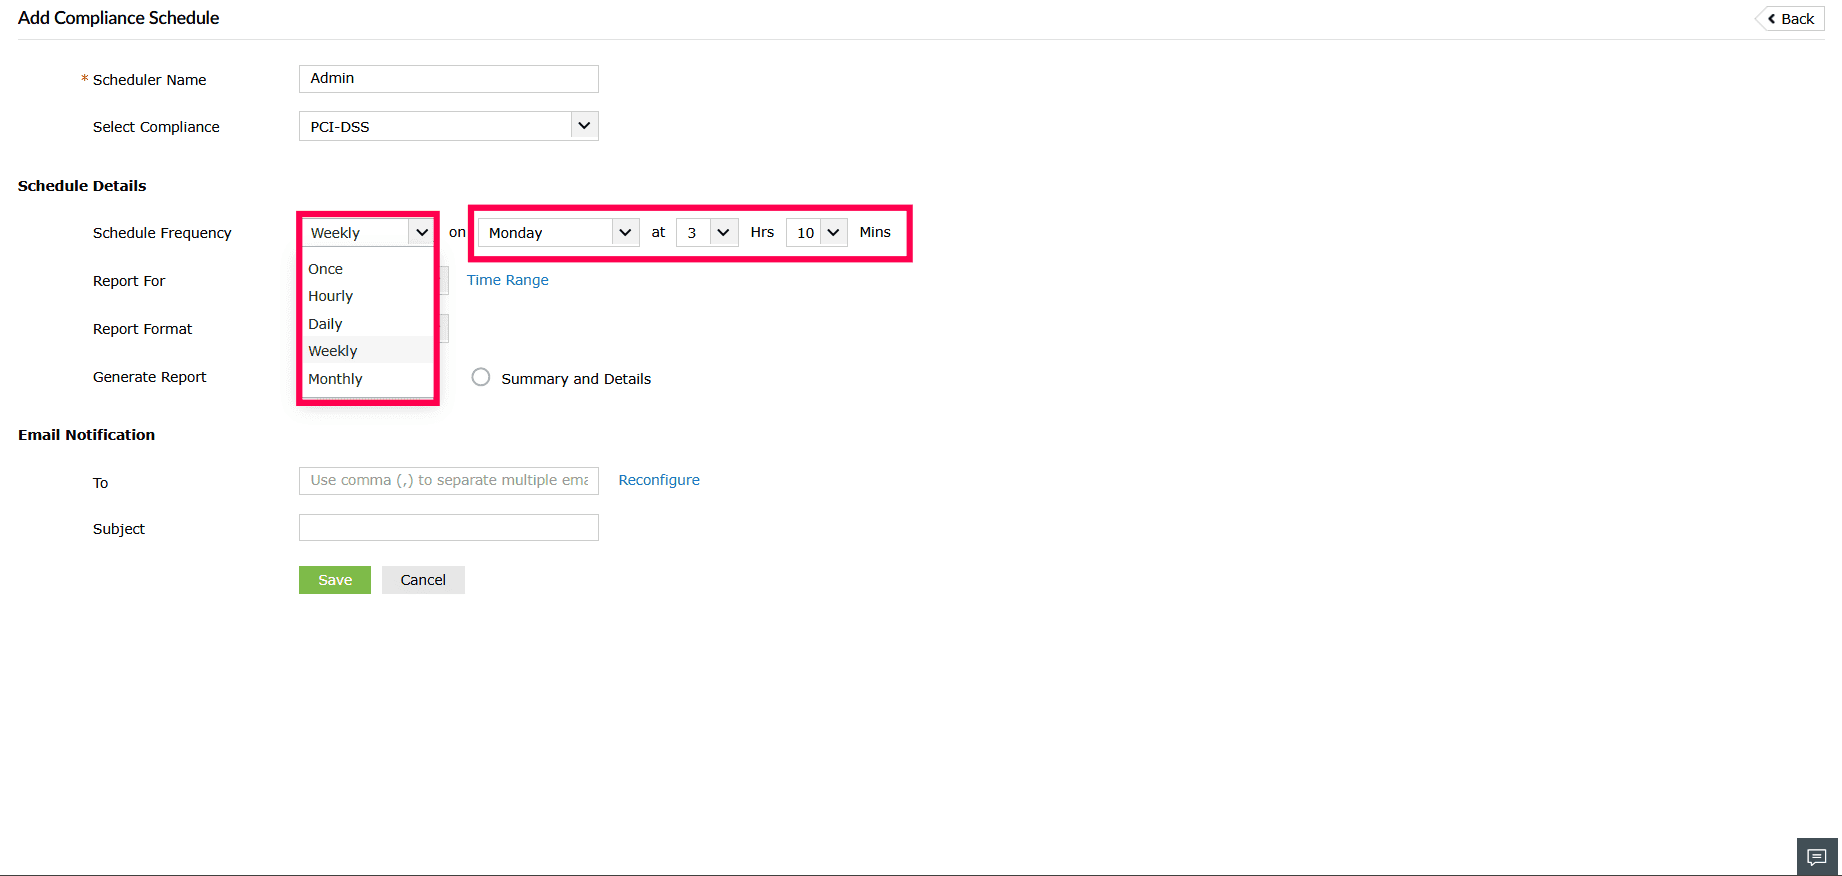
Figure 5: Configuring Schedule Frequency - Choose the Report For duration from the drop-down
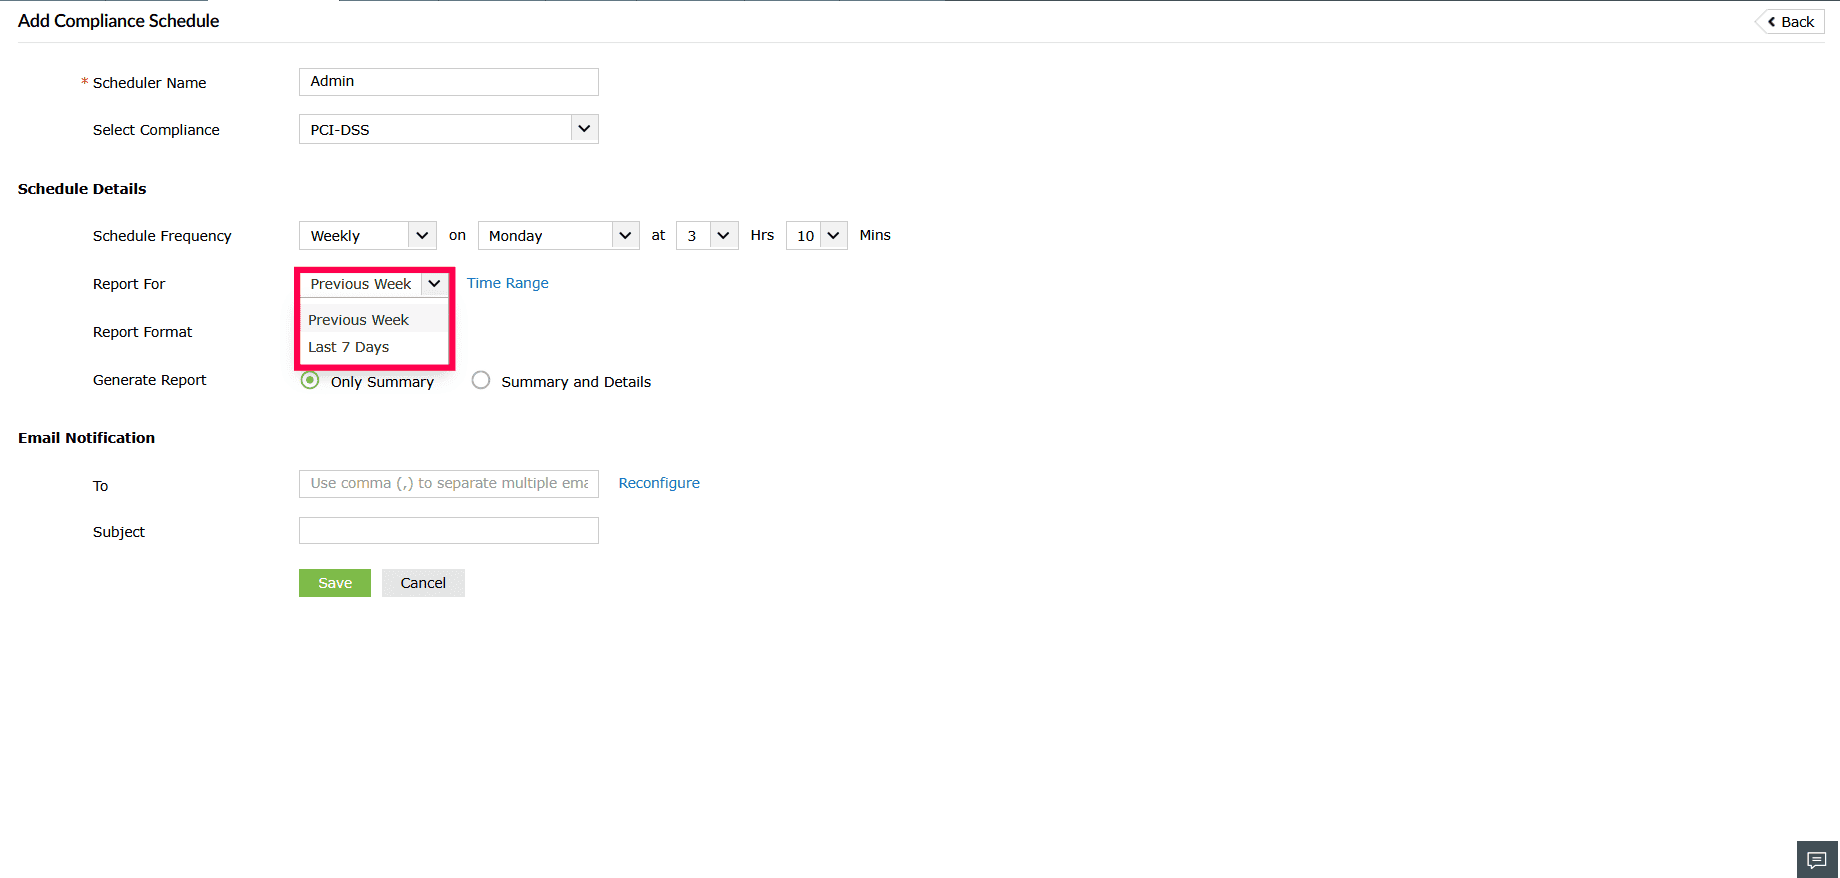
Figure 6: Configuring Schedule Details - If you choose Daily, Weekly, or Monthly, a Time Range option is available.
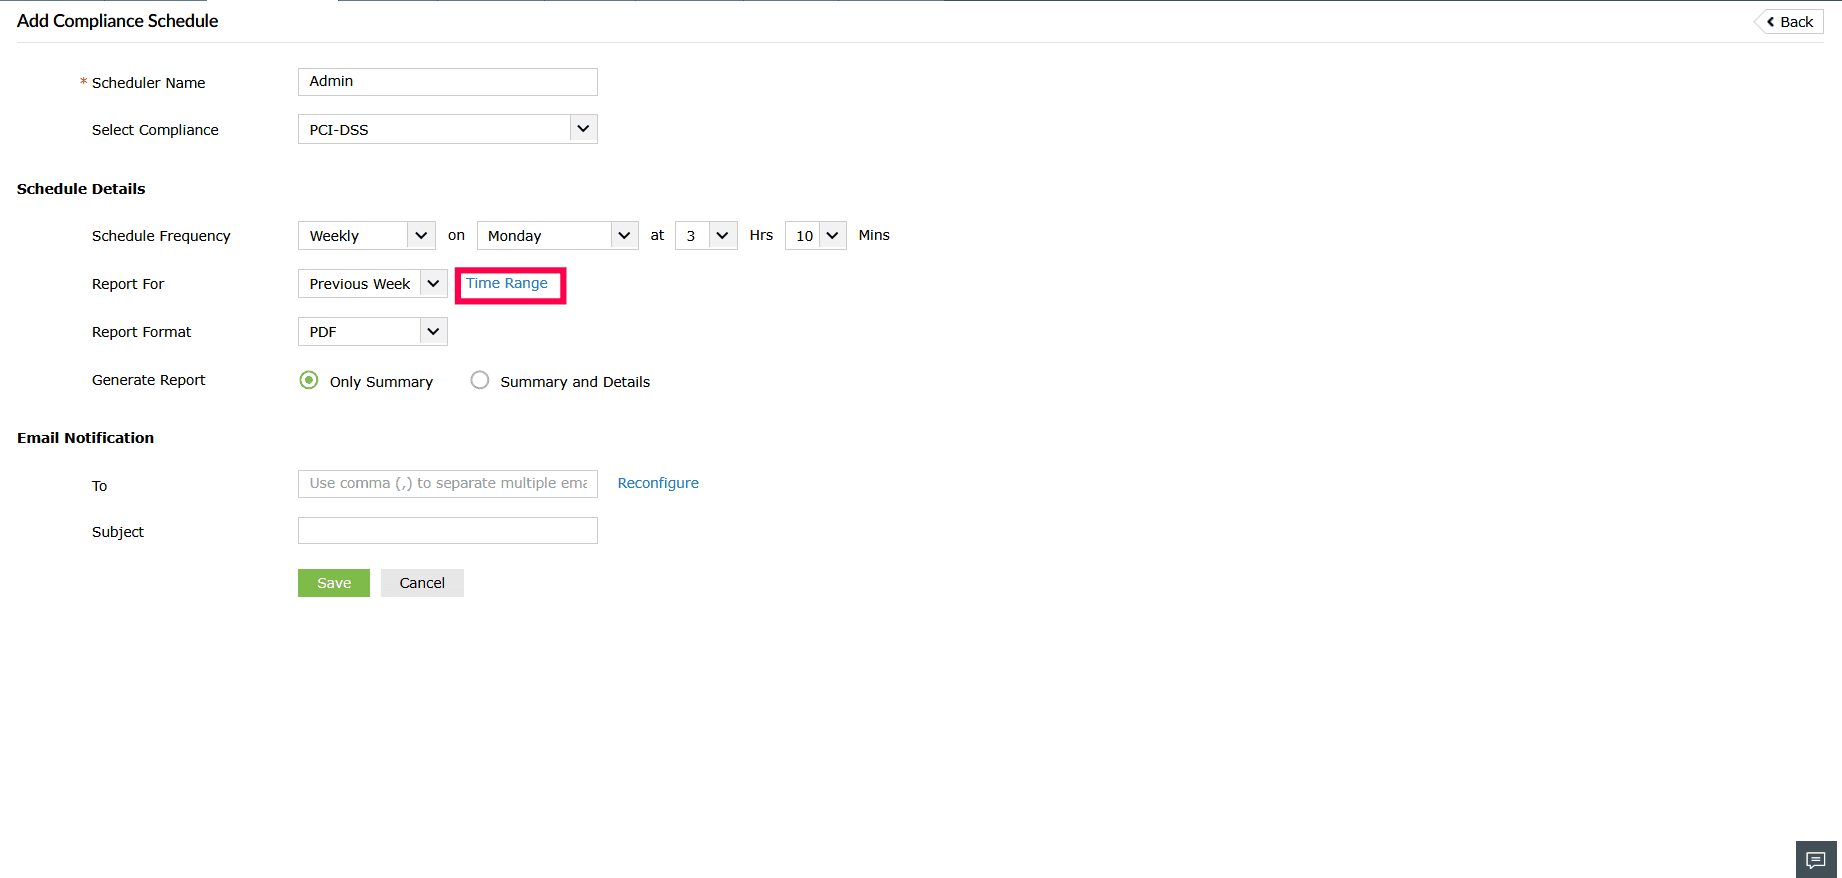
Figure 7: Configuring Schedule Details - Use the Day Filter to specify the exact day(s) on which the report should be generated as part of the schedule.
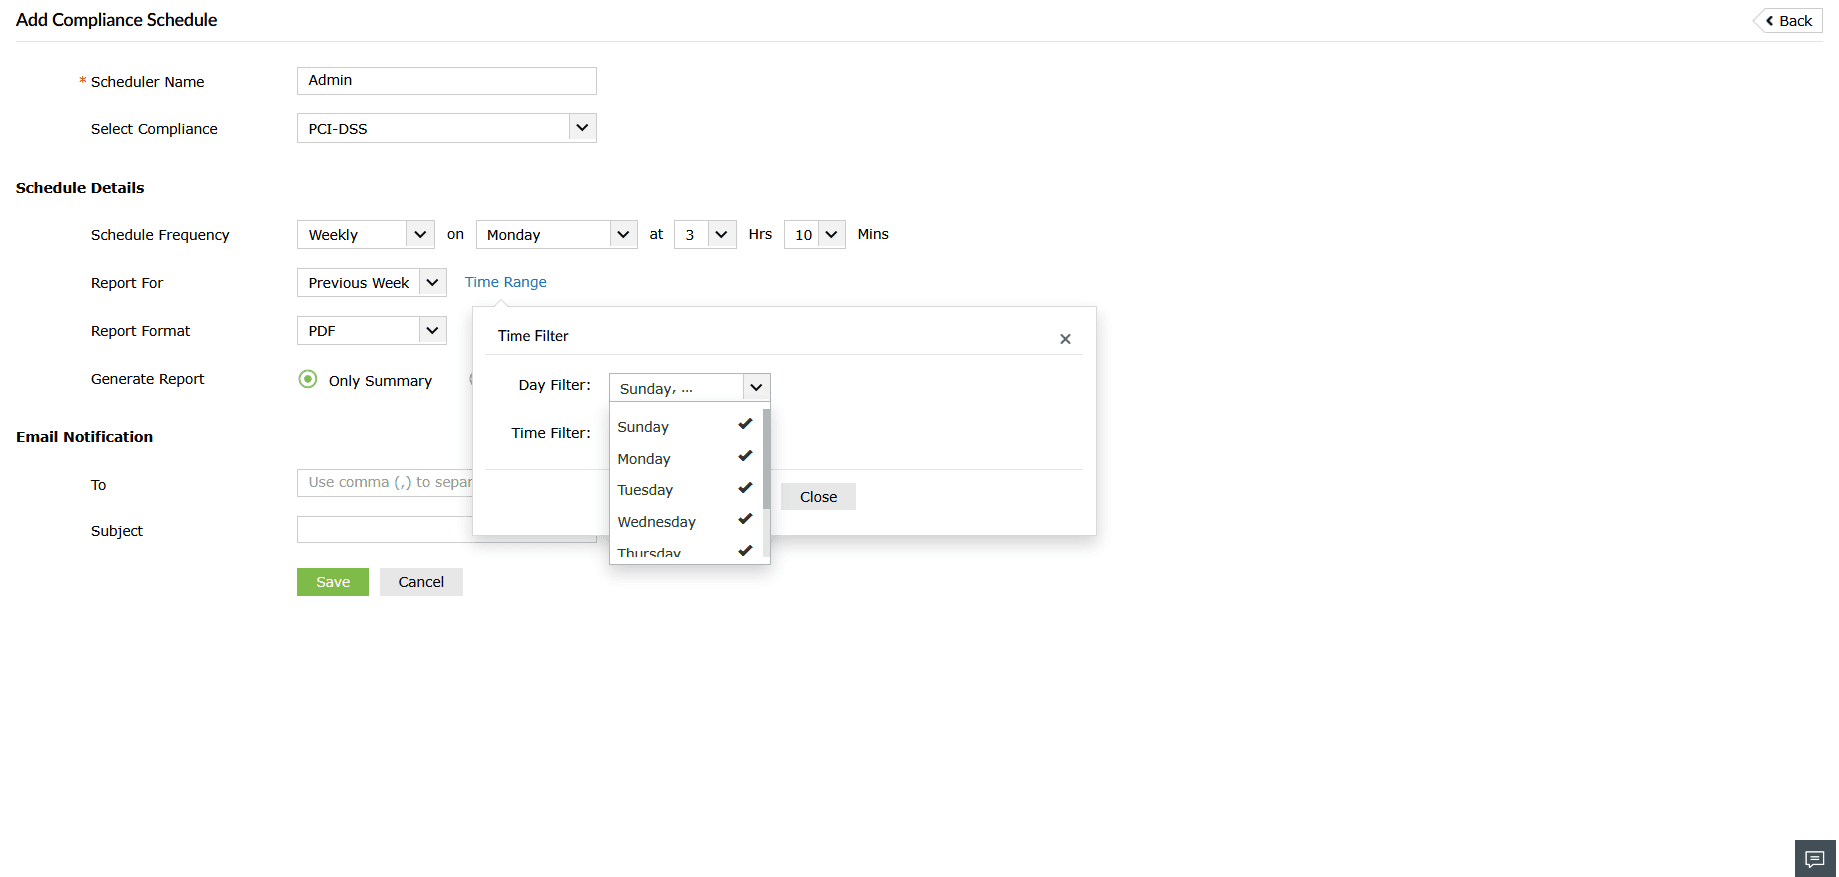
Figure 8: Configuring Time Filter - Use the Time Filter to select when the report should be generated:
- All Hours
- Working Hours
- Non-working Hours
- Custom - If selected, specify the desired time range.
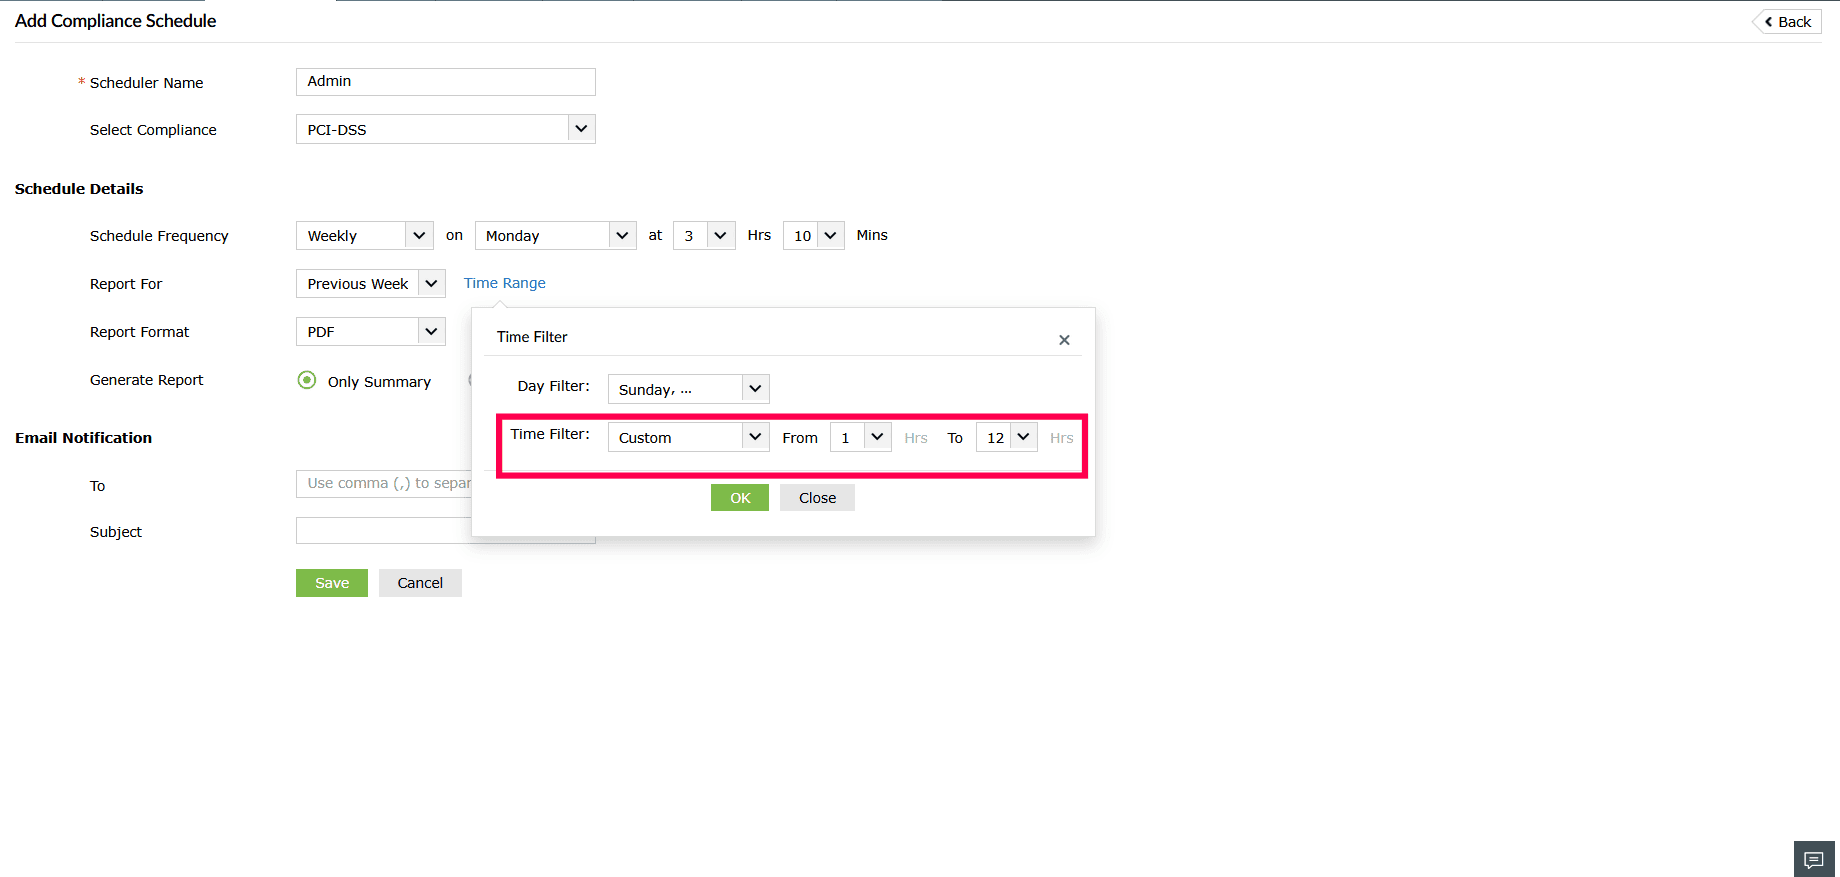
Figure 9: Configuring Time Filter - Select the Report Format, either PDF or CSV.
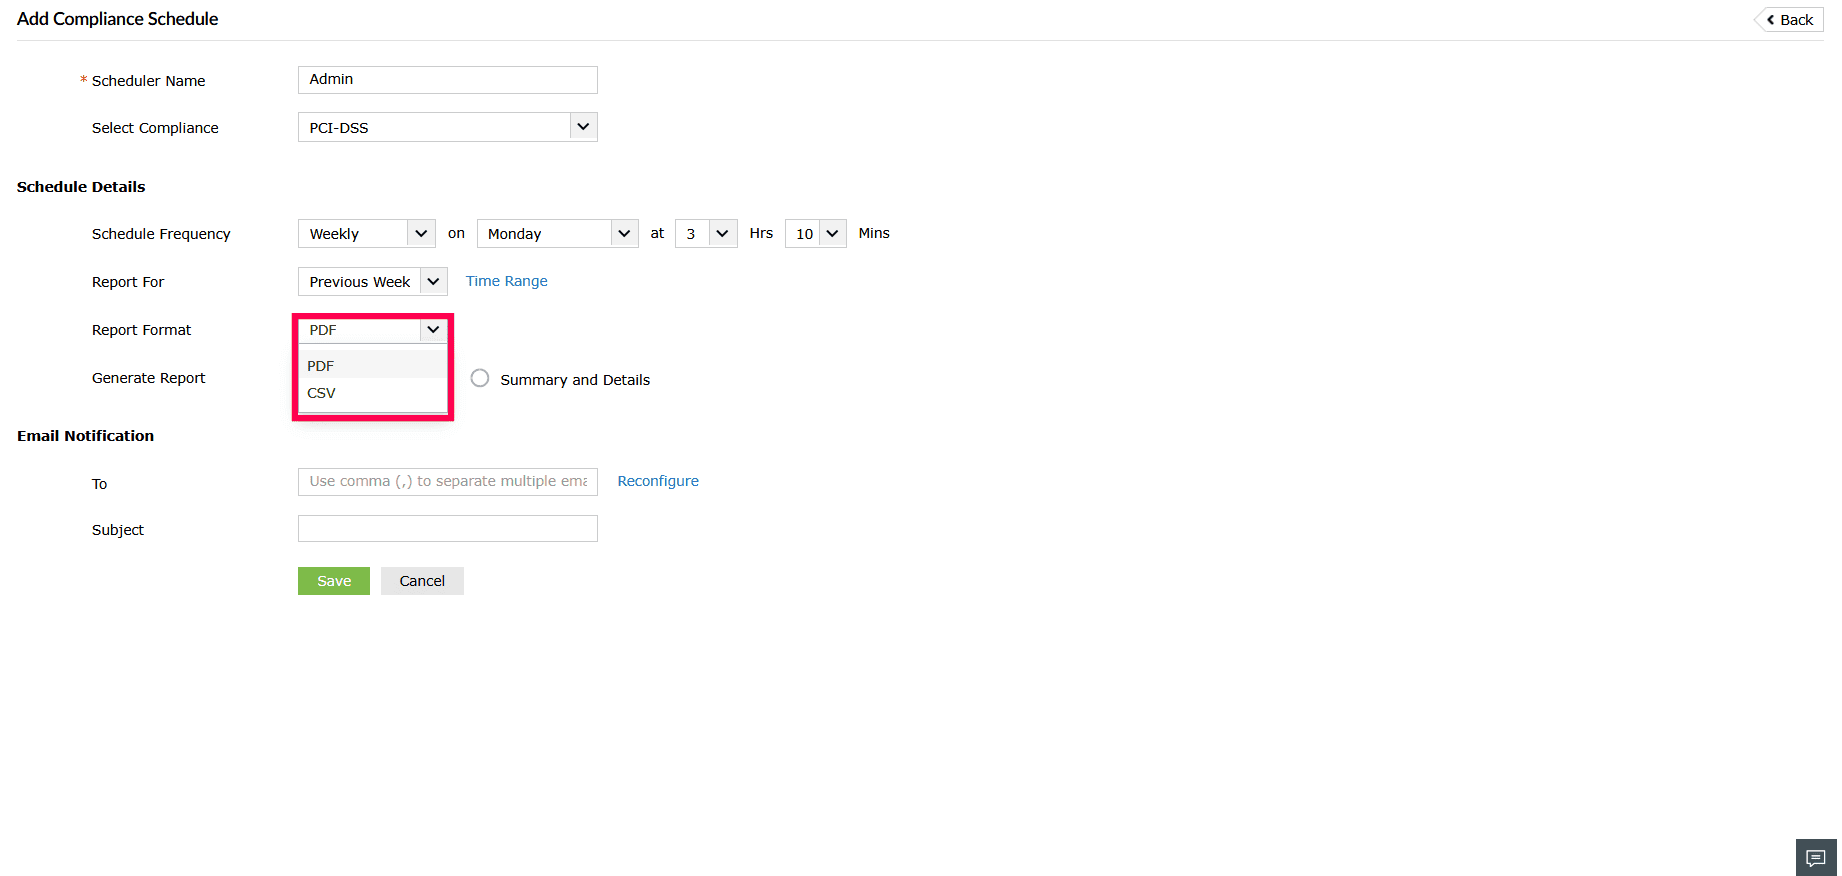
Figure 10: Configuring Schedule Details - Choose whether to generate Only Summary or Summary and Details.
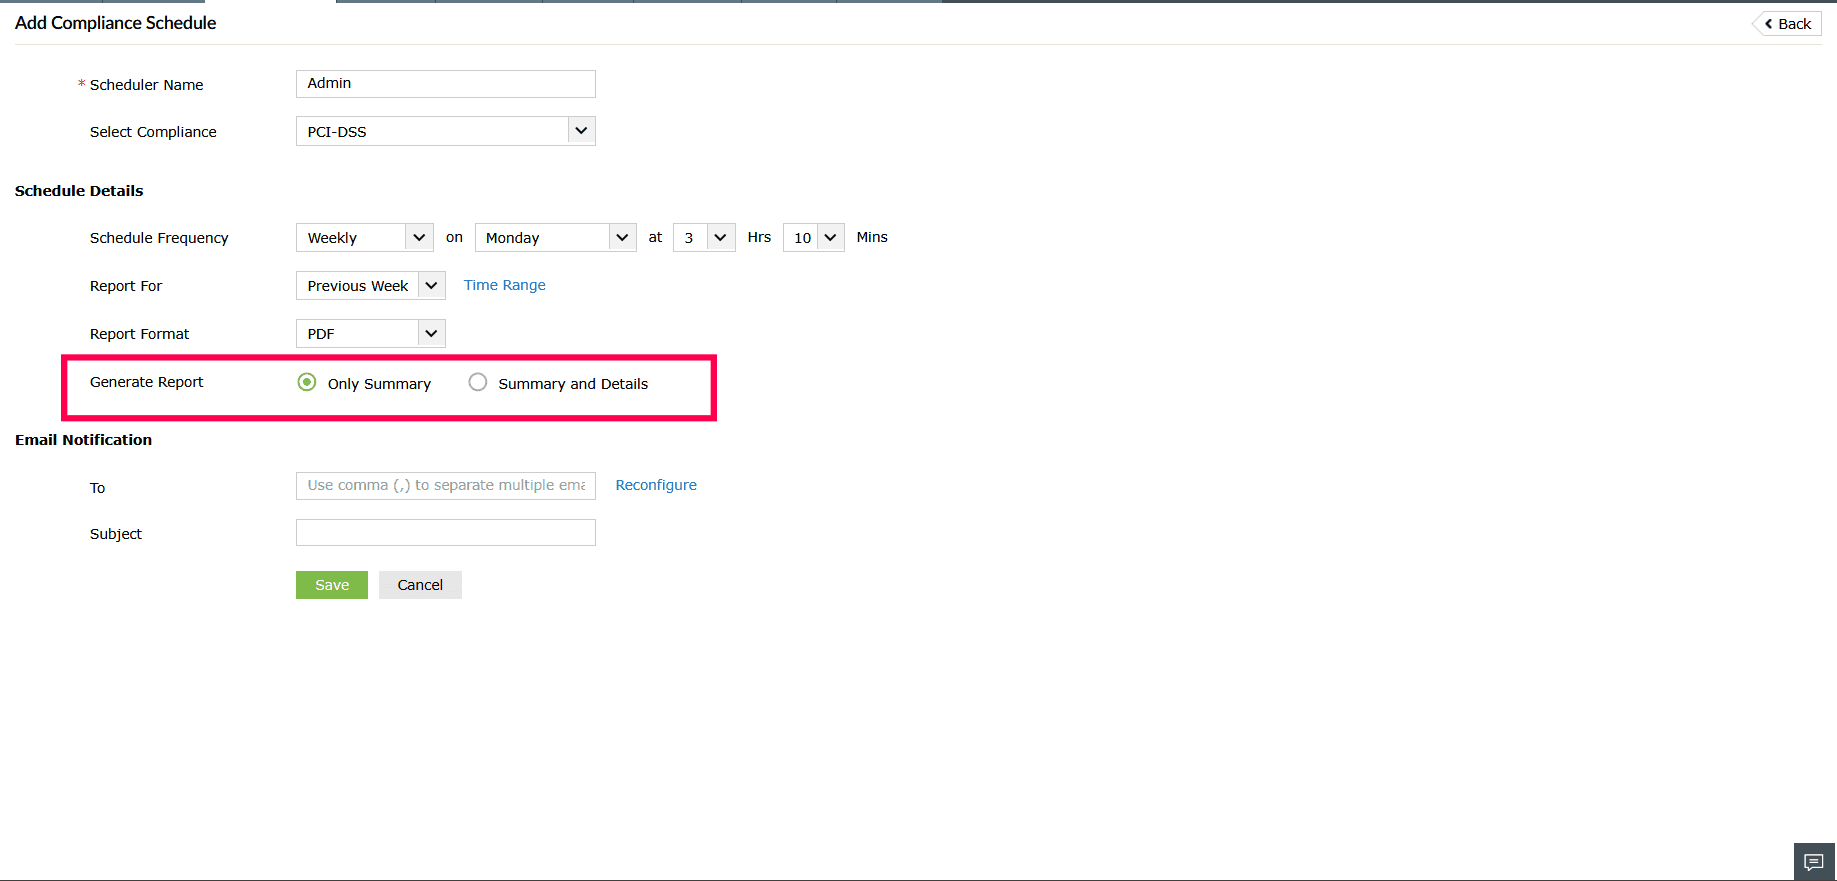
Figure 11: Configuring Schedule Details - In the Email Notification section, enter recipient email addresses in the To field (use commas to separate multiple addresses), and add a suitable Subject.
- (Optional) Click Reconfigure to modify the email server settings if needed.
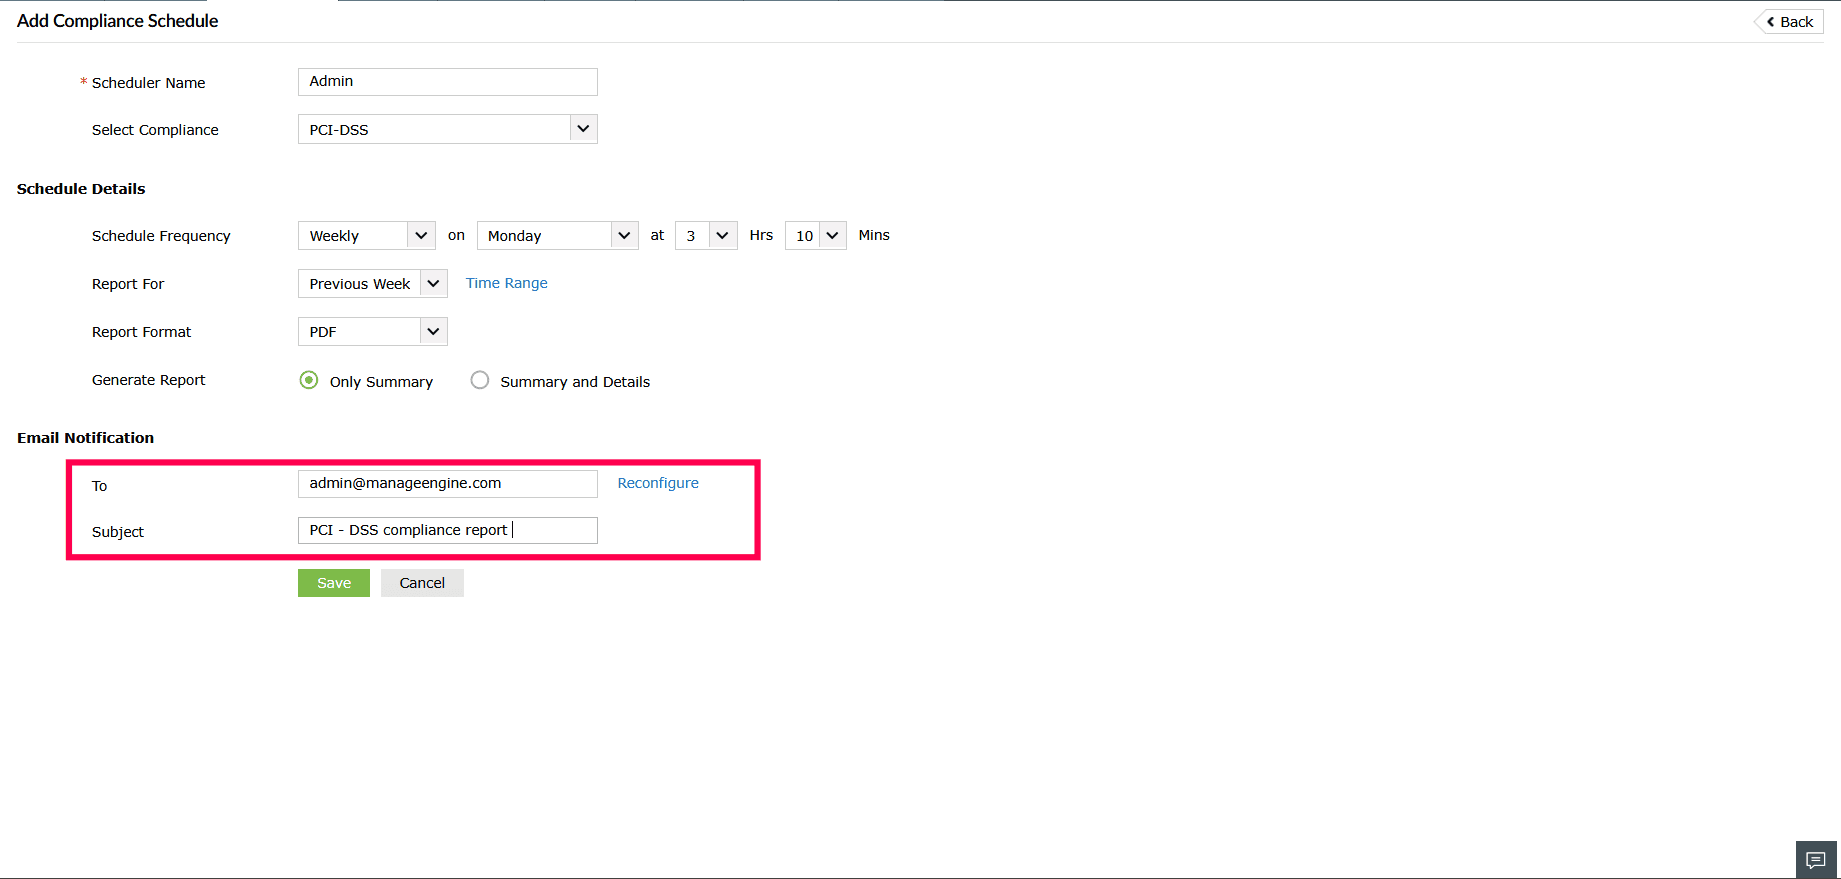
Figure 12: Configuring Email Notification
- Enter a name in the Scheduler Name field
- Click Save to confirm and activate the schedule.
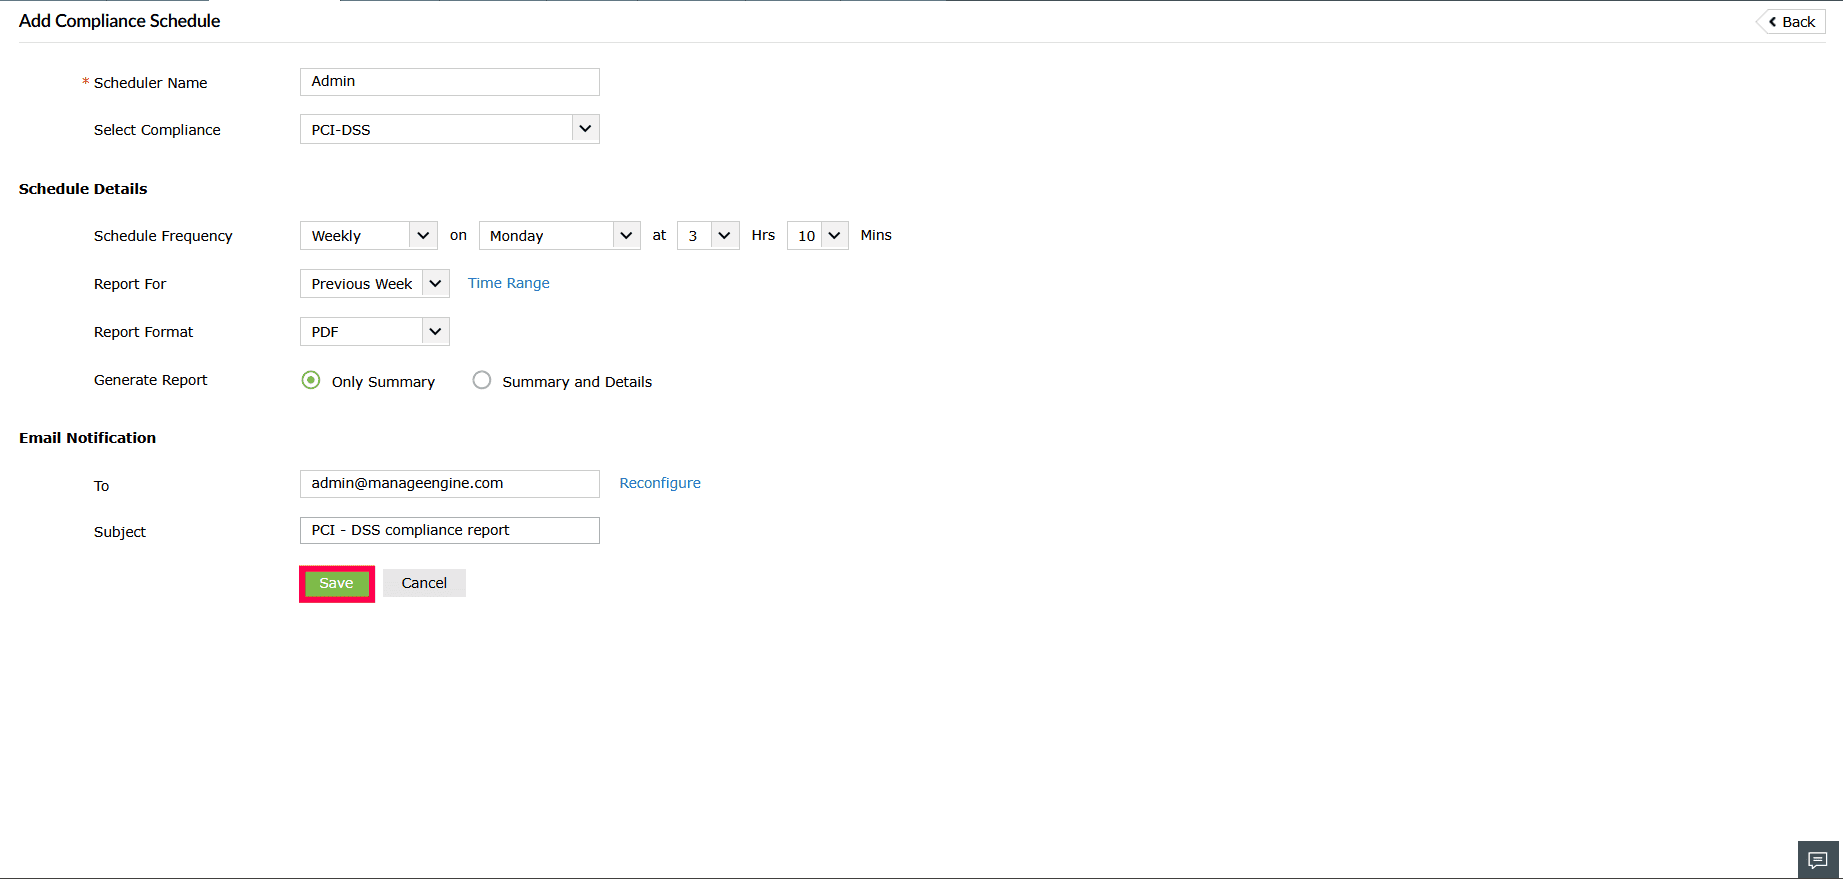
Figure 13: Scheduling compliance reports
Read also
This page explained about scheduling compliance reports. To learn how to manage and customize compliance reporting further, refer to the following documents: