Installation on Windows
STEP 1: Download the EXE file
- Download ManageEngine_ServiceDeskPlus_MSP.exe.
- Click the .exe file.
- Click Next on the displayed wizard.

STEP 2: Sign License Agreement
After perusing the license agreement, click Yes.

STEP 3: Select ServiceDesk Plus MSP Edition
Select from the following ServiceDesk editions to suit your organization's requirements.
- Standard Edition: Offers Help Desk Management, Self-Service Portal, Knowledge Base, SLA Management, and Help Desk Reports. This edition offers complete support to raise and track service requests.
- Professional Edition: Offers Software Compliance and License Tracking, Product Catalog, NMS Integration, Asset Reports, and other asset-related processes along with the features in the Standard Edition.
- Enterprise Edition: An ITSM ready help desk. Besides all features in the Professional Edition, this edition provides Incident Management, Problem Management, Change Management, and Configuration Management Database (CMDB).
Click here to learn about individual features offered by each edition.

STEP 4: Select the Installation Directory
By default, the application is installed under the C:\ManageEngine\ServiceDeskPlus-MSP directory.

To select a different location for installing the application, click Browse.
Select a folder and click OK.

STEP 5: Naming Program Folder
ManageEngine ServiceDesk Plus - MSP will be the default name for the program folder in the Start menu. You can, however, rename the folder or choose a different folder as shown below:

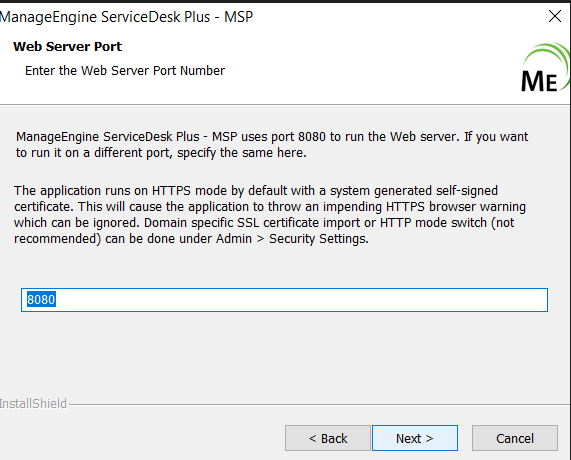
STEP 6: Enter Web Port Number
ServiceDesk Plus, by default, uses port 8080 to run the web server. You can change the port number if 8080 is already in use.
Enter the port number and click Next.
STEP 7: Configure Database
ServiceDesk Plus MSP supports PGSQL database by default.

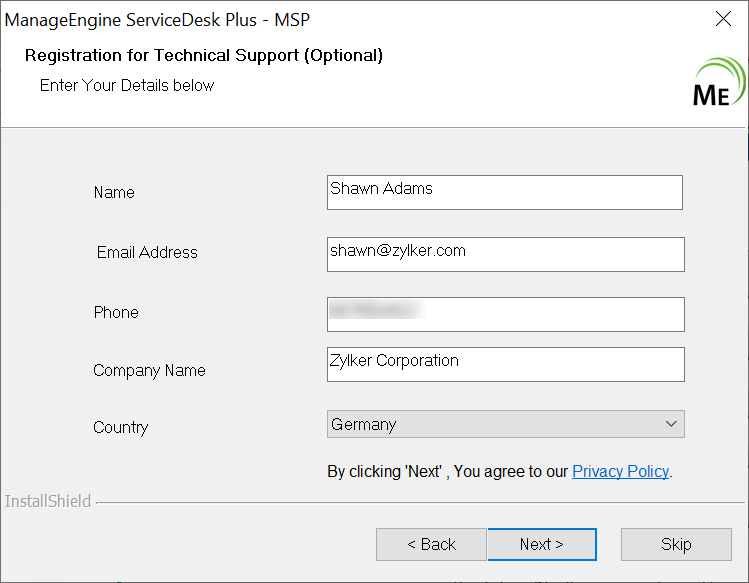
STEP 8: Register for Technical Support
Prior registration simplifies the process of contacting our Support team for any technical assistance. Also, our product experts will evaluate the specific needs of your organization and help you customize the application per your requirements.
Provide your details, such as name, email address, phone number, and company name.
Select the country name and click Next.
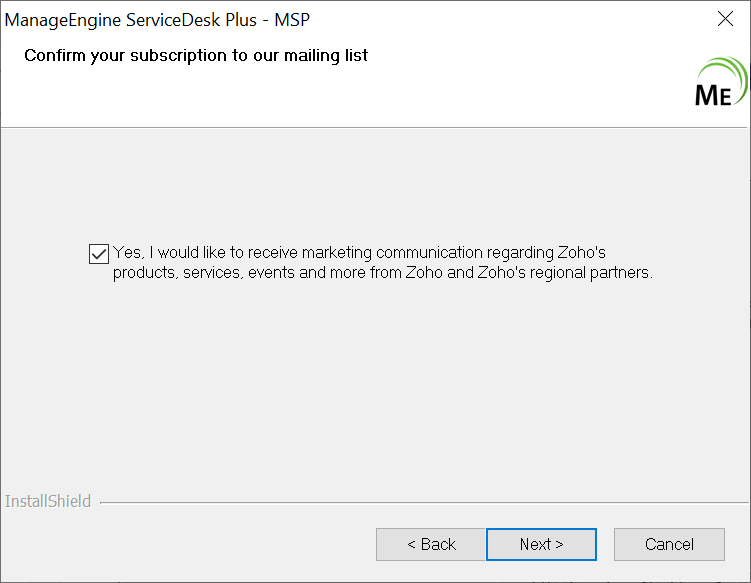
If the General Data Protection Regulation (GDPR) applies to your country, the following message will be displayed to get your consent. Otherwise, you will be directed to Step 9.
Read the message thoroughly and accept the terms, if it they suit your organization policies.
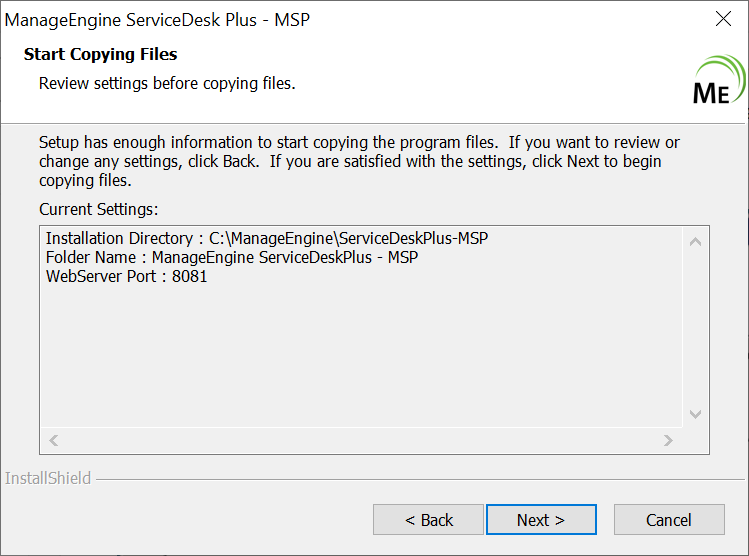
STEP 9: Review Settings
Check for the correct application settings to proceed with the installation.
Click Back, if you have to revise the configuration. Otherwise, click Next. The application files will be copied.
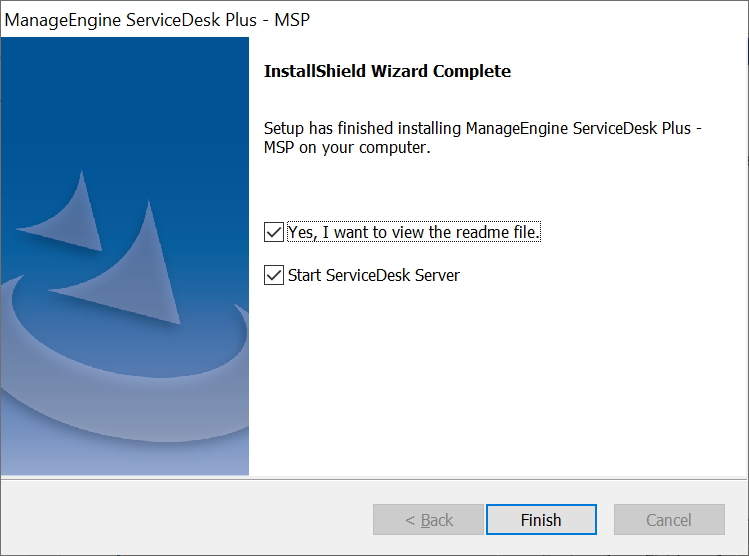
STEP 10: Complete Installation
After the application is successfully installed, the following wizard will be displayed.
You can choose to start the server and also to view the readme file.
Click Finish.
If you had installed the application by using the default settings, the ManageEngine ServiceDesk Plus - MSP program folder will be created under the Start menu.
If you had started the server, the client window will open the application login page. Enter administrator for Username and Password and log in to the application.

