×![]()
×
×![]()
×
×
Focus Mode

Theme Switcher

Install agent via SCCM
This document explains how to deploy the UEMS agent to target endpoints using Microsoft System Center Configuration Manager (SCCM). It covers downloading the agent, creating an application in SCCM, configuring the deployment settings, and deploying the agent to managed devices.
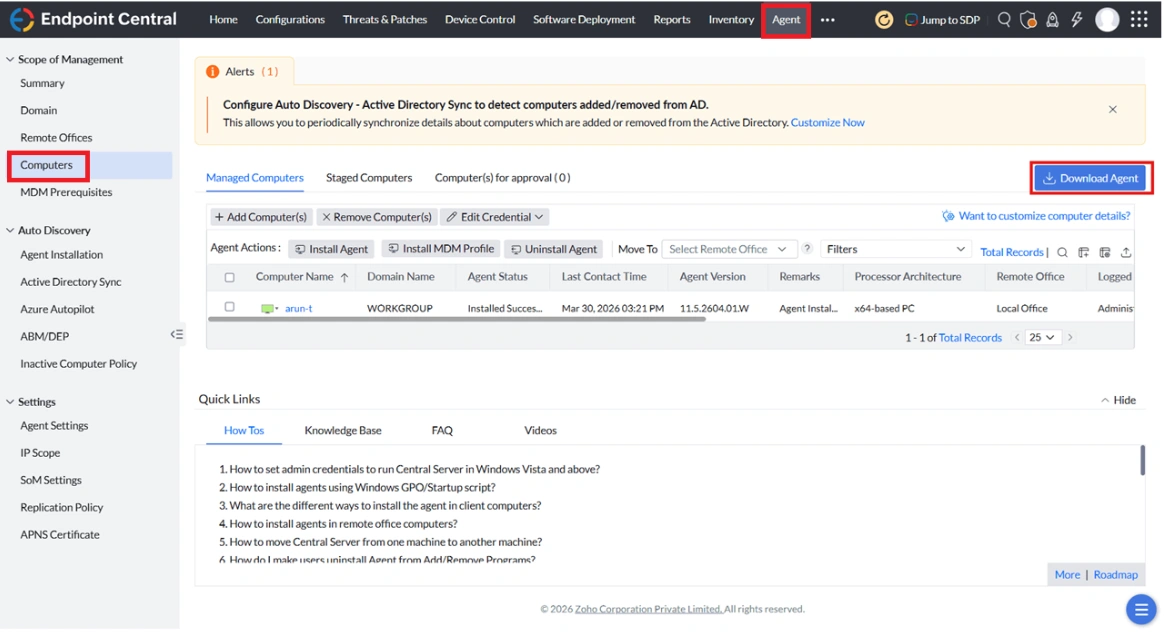
- Navigate to Agent > Computers > Download Agent and download the respective Remote Office agent installer.
- Rename the downloaded file to LocalOffice_Agent.exe.
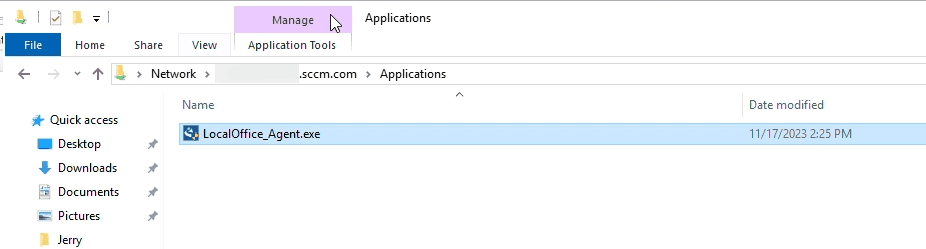
- Open the SCCM deployment share and paste the renamed executable file.
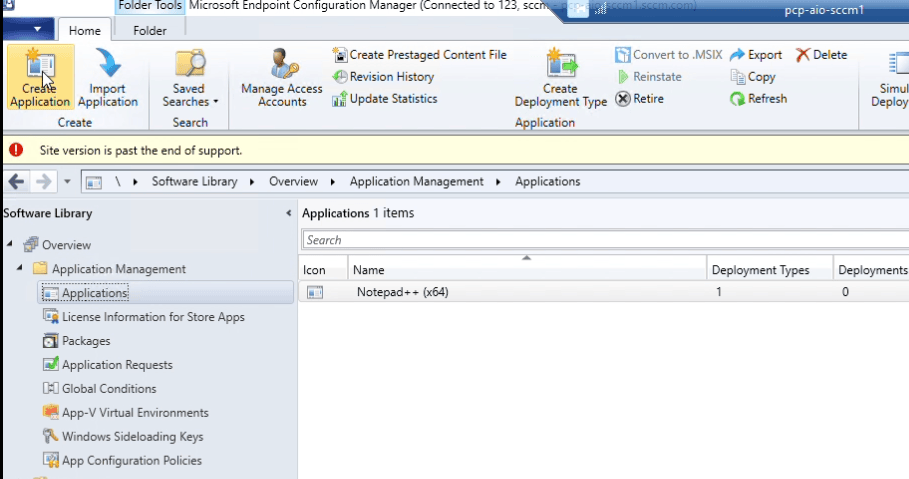
- Open the System Center Configuration Manager (SCCM) console and navigate to:Application Management > Applications > Create Application
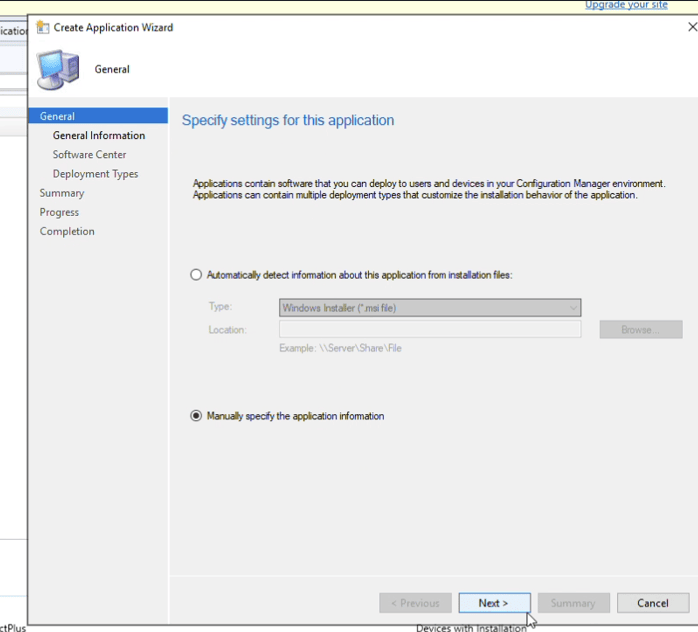
- Select Manually specify the application information and proceed.
- Enter the application name and continue.
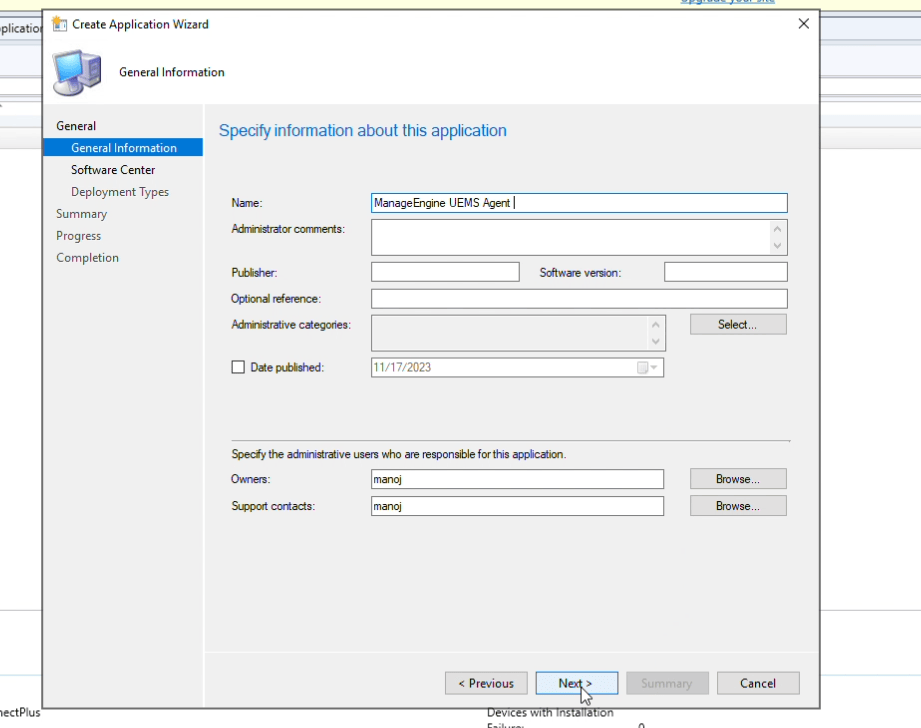
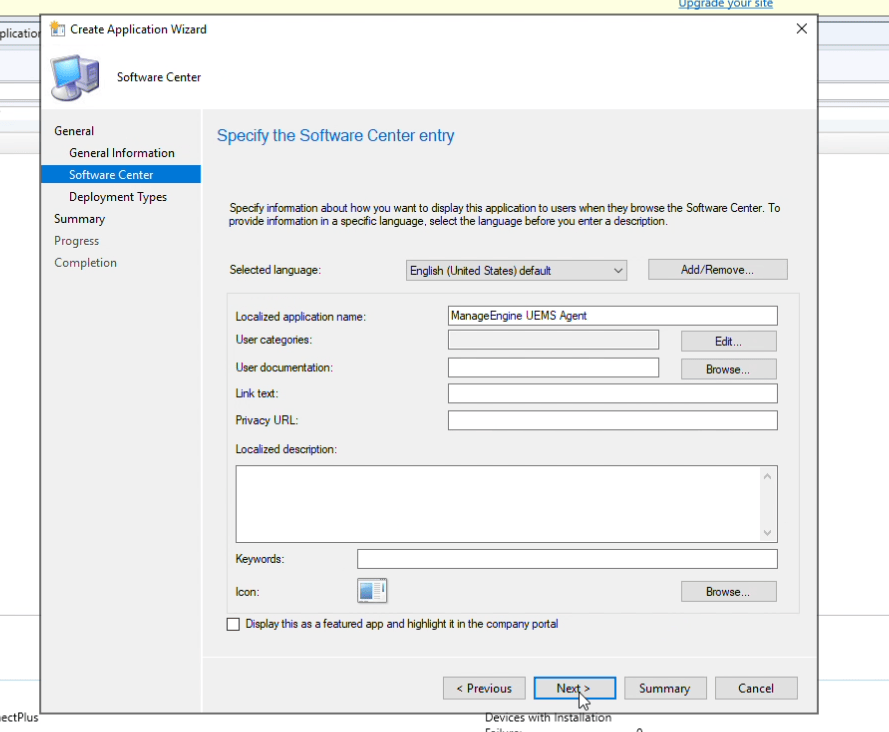
- Add a new deployment type:
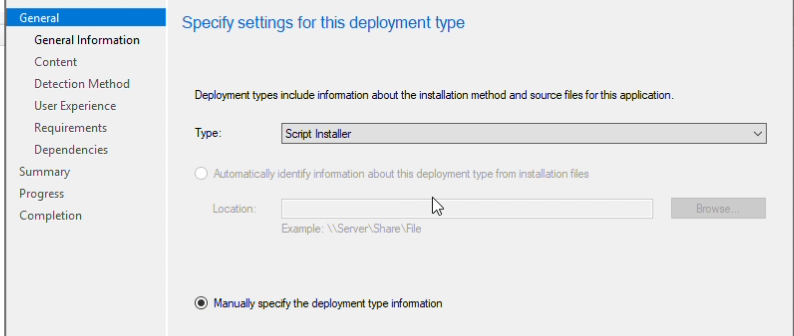
- Select the deployment type as Script Installer.
- Enable Manually specify the deployment type information.
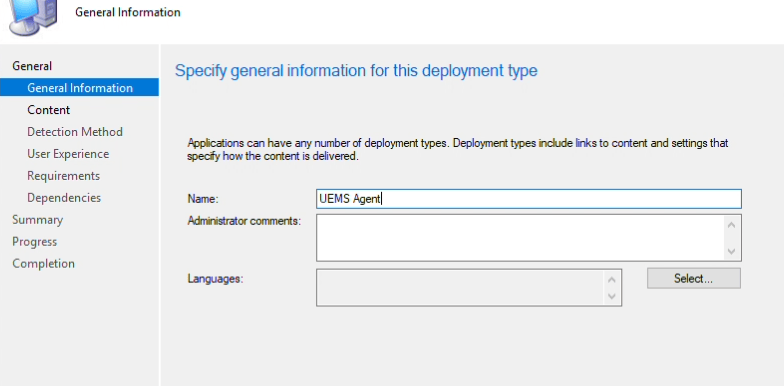
- Enter the deployment type name as UEMS Agent.
- Configure the following:
- Content Location: Specify the Application Share path.
- Install Command:
LocalOffice_Agent.exe /silent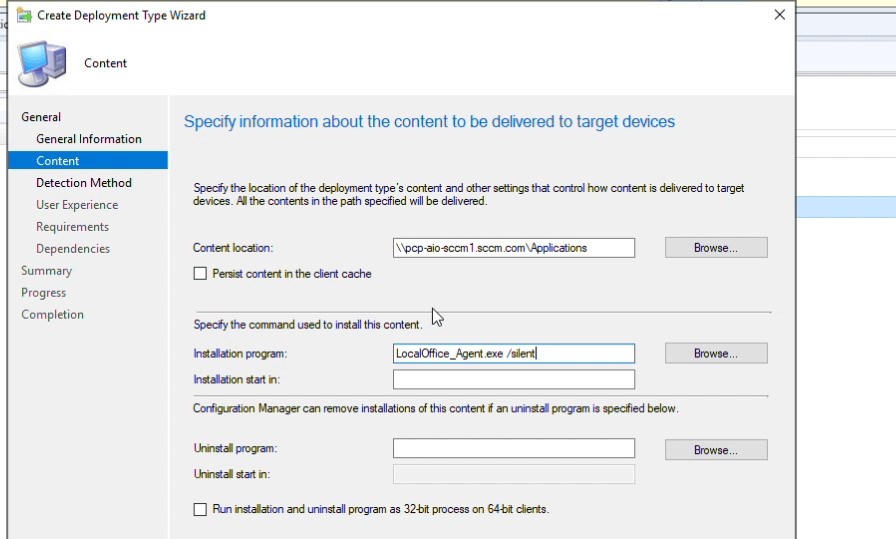
- Configure the detection rule as follows:
- Hive: HKEY_LOCAL_MACHINE
- Key Path: SOFTWARE\AdventNet\DesktopCentral\DCAgent
- Value: DCAgentVersion
- Data Type: String
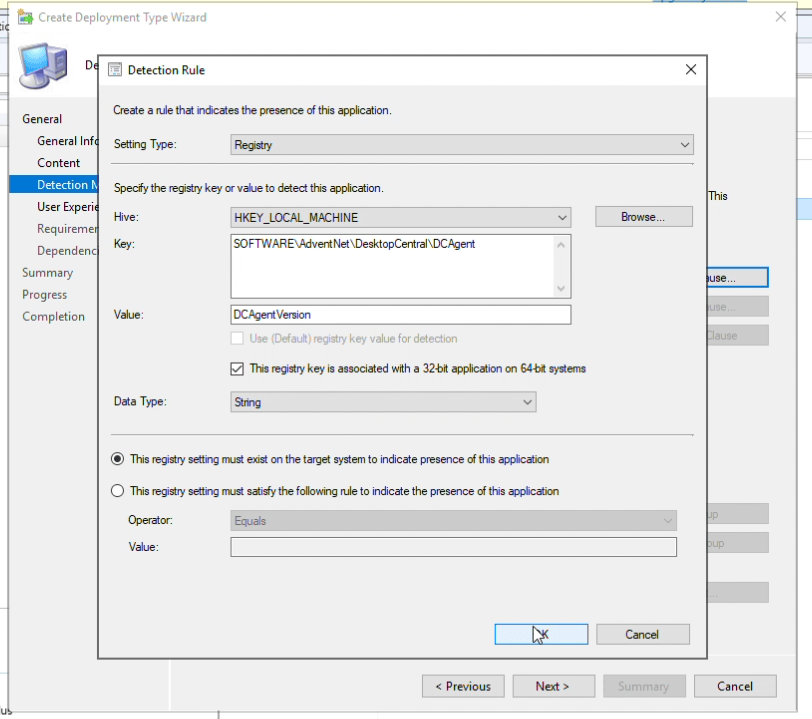
- Ensure that the option "This registry setting is associated with a 32-bit application on a 64-bit system" is enabled.
- Select the installation behaviour as shows in the below image.
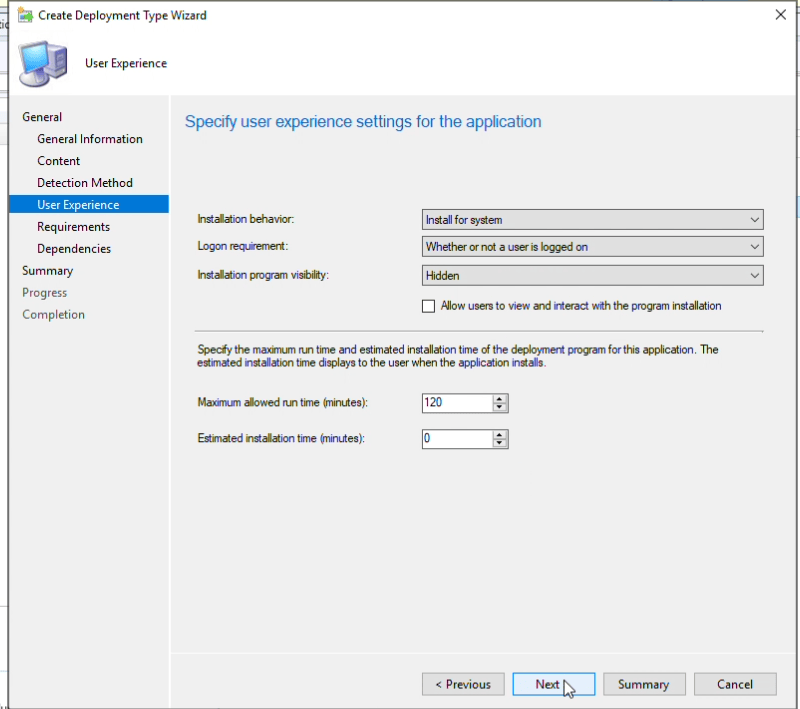
- Once the package is created successfully, select the target devices and initiate the deployment.
You have now successfully installed the agent on target endpoints using SCCM.
 Yes No
Visit Community