How to Image Computers with Endpoint Central Agent
This document guides you to image a computer with the Endpoint Central agent installed on it.
For Linux computers click here.
For Mac computers click here.
Issue
The agent has a unique ID which represents the machine with its name and system details. If more than one agent is identified with the same ID, the details listed in the product web console will be overwritten. This would end up listing details of only one computer though there are several computers with the same ID.
To avoid this issue, follow the steps mentioned below to image a computer with the agent on it.
Tools
| Tool | Purpose |
|---|---|
| UEMSAgentPreImage.exe | Run before imaging — blocks agent communication with the product server by setting the ImagedComputer registry value. |
| UEMSAgentPostImage.exe | Run on the source machine after taking the image — restores agent communication so the base machine can continue to be managed. |
Download the Pre & Post Image tools:
⬇ Download Pre_Post_Binaries.zip
Contains UEMSAgentPreImage.exe and UEMSAgentPostImage.exe
Steps (Pre-Image)
- Install the agent in the computer which is to be used for imaging.
- Copy
UEMSAgentPreImage.exeto the system that is supposed to be imaged. - Run
UEMSAgentPreImage.exeas Administrator. - On success, you will see the following confirmation:
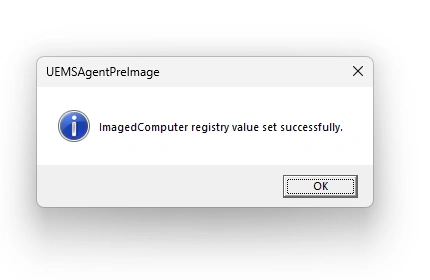
UEMSAgentPreImage — Registry value set successfully
- Now your computer is ready to be imaged with the agent for deployment. The agent in the newly image-captured computers will contact the product server only after they are renamed.
ImagedComputer = 1 (REG_DWORD) underHKEY_LOCAL_MACHINE\SOFTWARE\Wow6432Node\AdventNet\DesktopCentral\DCAgentThis blocks the agent from communicating with the product server.
Steps (Post-Image)
- After taking the image, if you want to continue using the source (base) machine, copy
UEMSAgentPostImage.exeto it. - Run
UEMSAgentPostImage.exeas Administrator. - On success, you will see the following confirmation:
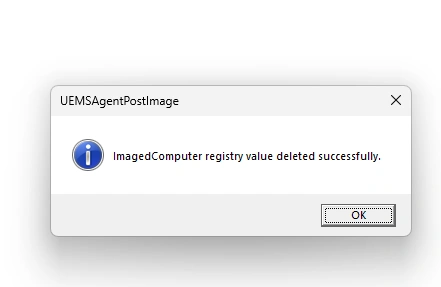
UEMSAgentPostImage — Registry value deleted successfully
- This restores the agent communication with the product server on the source machine, allowing it to be managed again.
ImagedComputer registry value fromHKEY_LOCAL_MACHINE\SOFTWARE\Wow6432Node\AdventNet\DesktopCentral\DCAgentThis unblocks the agent on the base machine so it can resume communication with the product server.
Error Handling
If the tool encounters an error (e.g., insufficient permissions), a message box will display the failure reason along with the Windows error code.
Common causes of failure:
- Error Code 5 — Access Denied. Ensure you are running the tool as Administrator.
- Error Code 2 — Registry key not found. Ensure the Endpoint Central agent is installed on the machine.
Summary
| Step | Action | When |
|---|---|---|
| 1 | Run UEMSAgentPreImage.exe as Admin | Before capturing the image |
| 2 | Capture the OS image | After PreImage succeeds |
| 3 | Deploy the image to target machines | Standard deployment |
| 4 | Run UEMSAgentPostImage.exe as Admin (on source machine) | After taking the image, to continue using the base machine |