How to setup Windows DFS Share in your environment?
Description
This document will walk you through the steps required to install Distributed File System in your environment.
What is DFS Share?
Distributed File System (DFS) is a file share replicated across multiple servers and locations to increase up-time and reduce access issues related to geography (latency and bandwidth).
Microsoft's Distributed File System is a role you can install on Windows Server to automatically synchronize files between servers. It gives you a unified namespace so you can always access files from the closest server. You can set it up for high availability of important files or efficient distribution of files, such as at branch offices.
Steps to setup DFS Share in your network
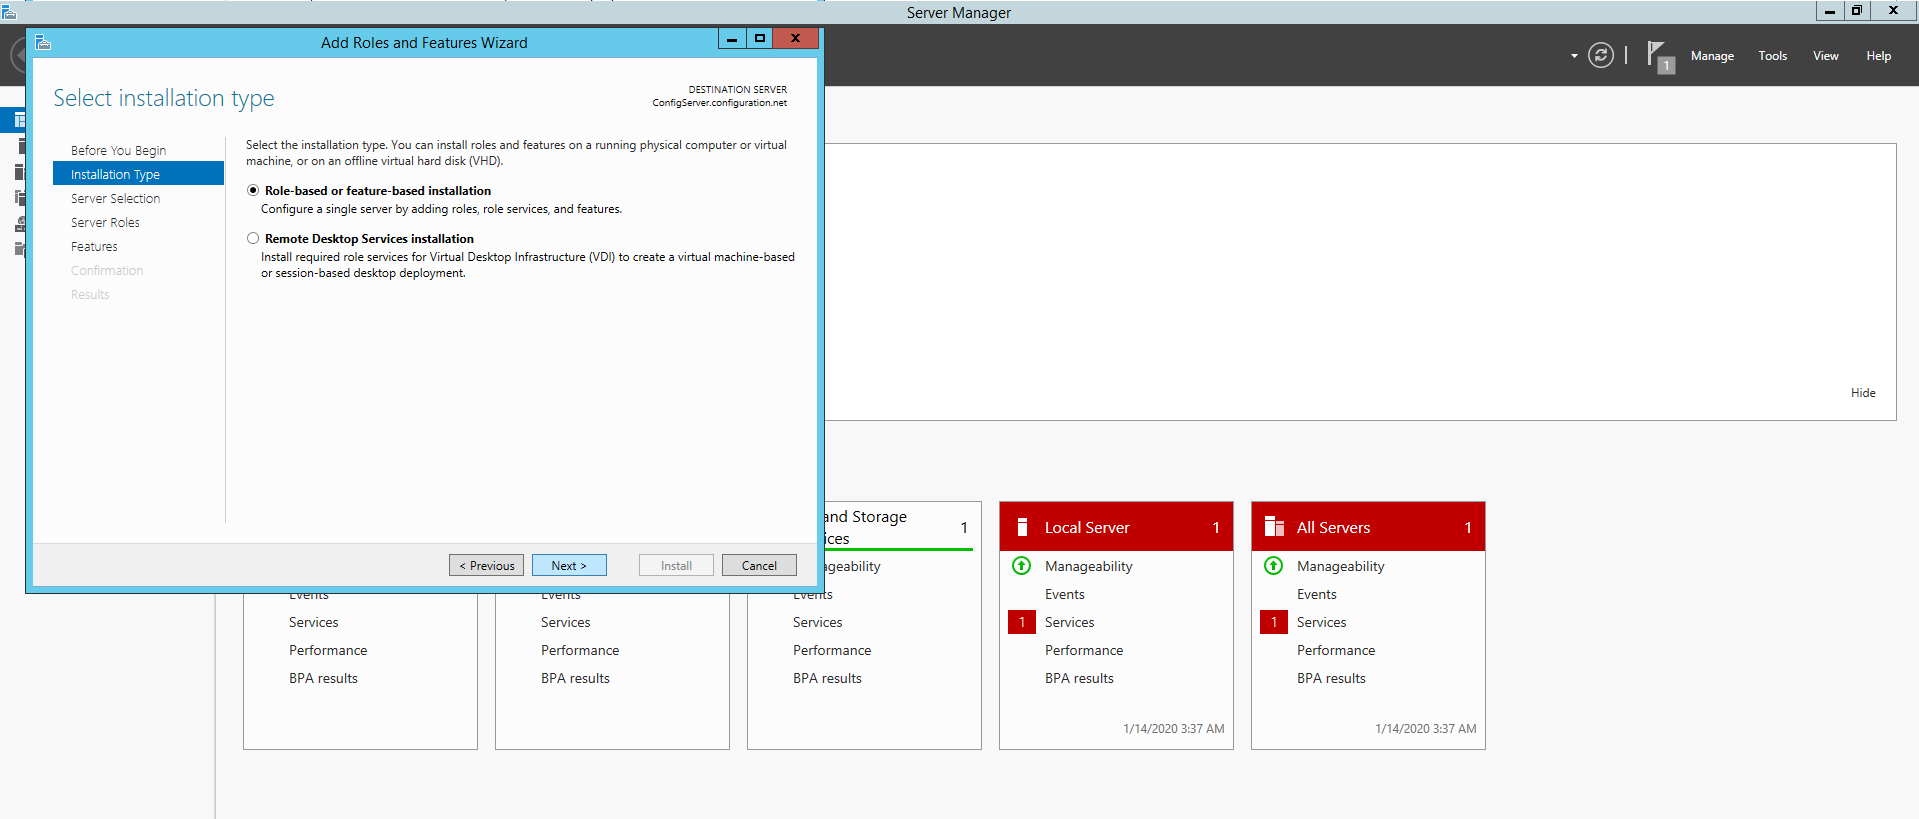
- Open Server Manager, click on Manage -> Add Roles and Features. This will open the add roles and features wizard.

- Click Next to start set up.
- Select role-based or feature based installation.
- Select the server.
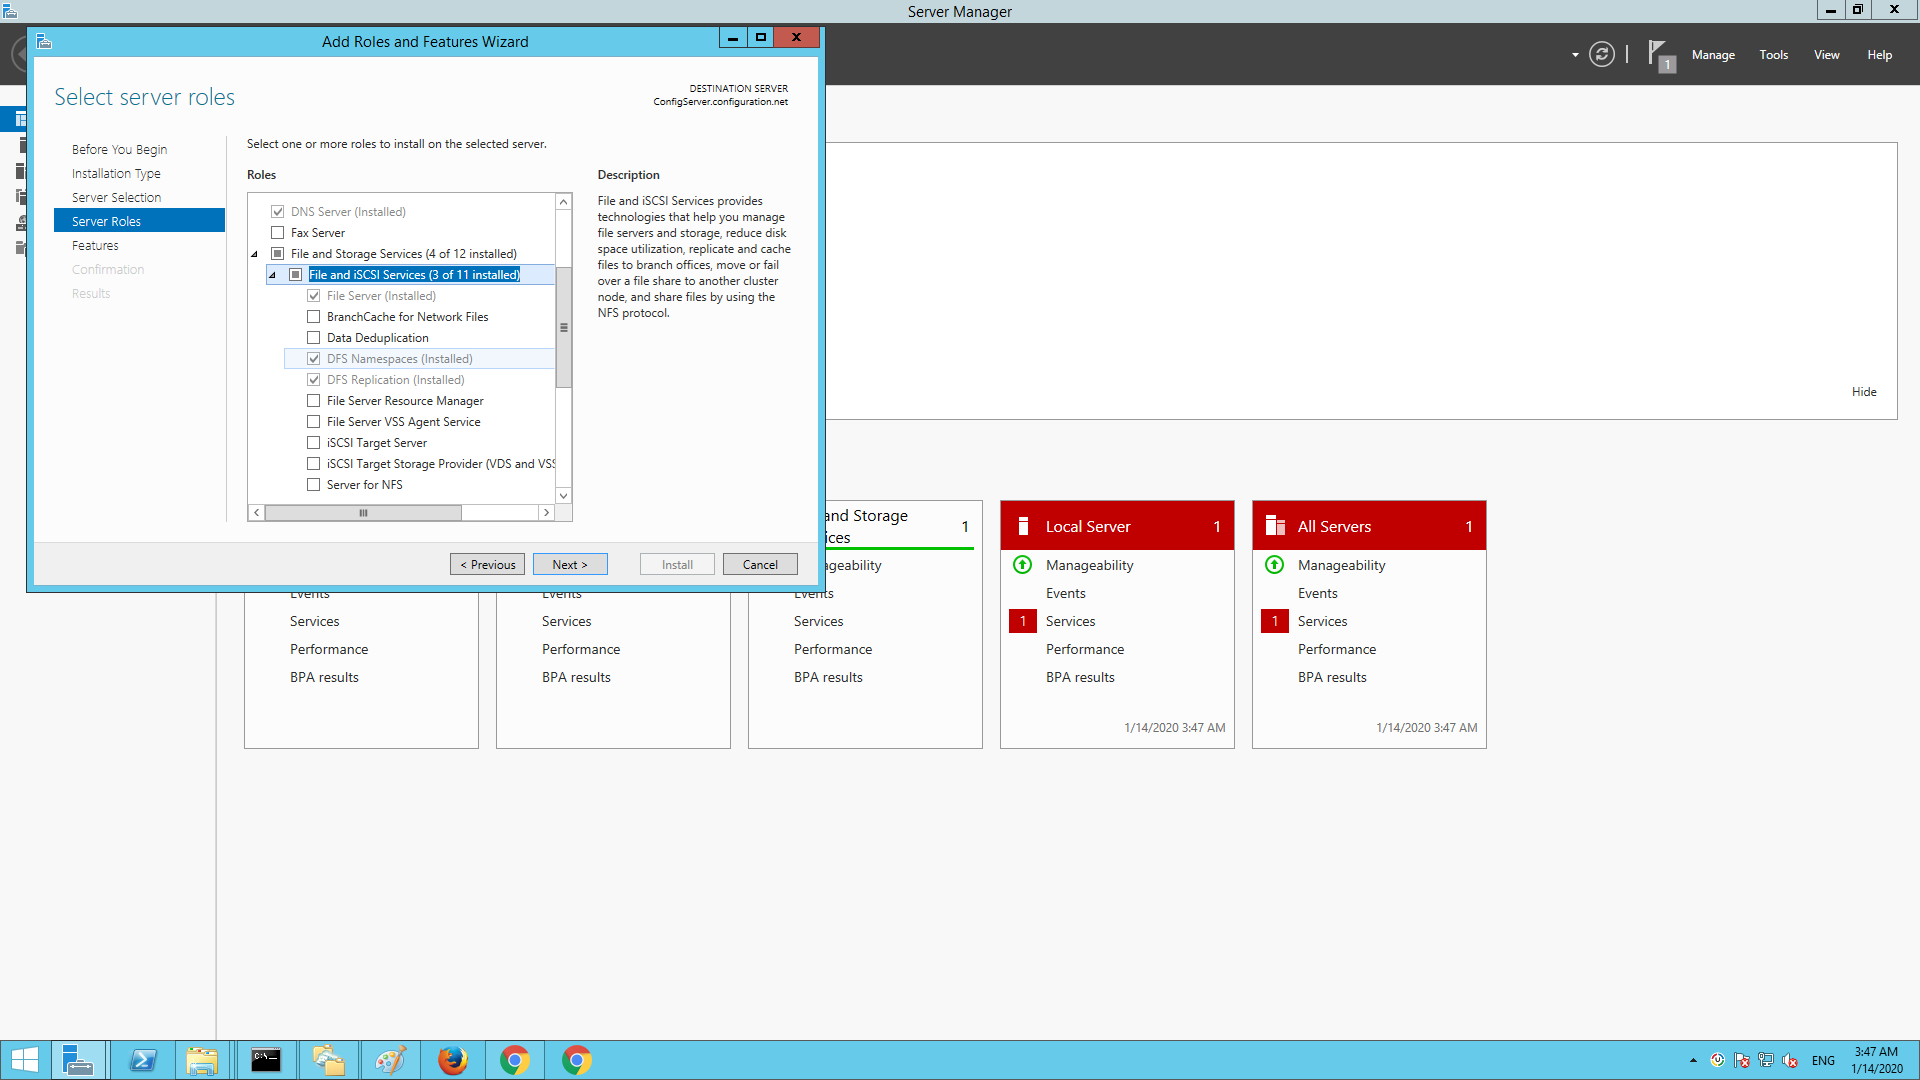
- The next section is Server Roles under file and storage services.
- Check DFS Namespaces and DFS Replication both on this(your main) server.
- When you go to check Namespaces, there will be a pop up that asks you if you would like to add features.
- Click Add Features.
- Hit next twice to confirm features and install.
Now, to setup site two, go through all the same steps for site one except step five in Server Roles. You only need to select DFS Replication and select Add Features. Do not need to select DFS namespaces.
Next steps in setting up DFS on Windows Server will be to set up your Namespaces. Namespaces are used to call the shared file area that you are replicating. To setup Namespaces:
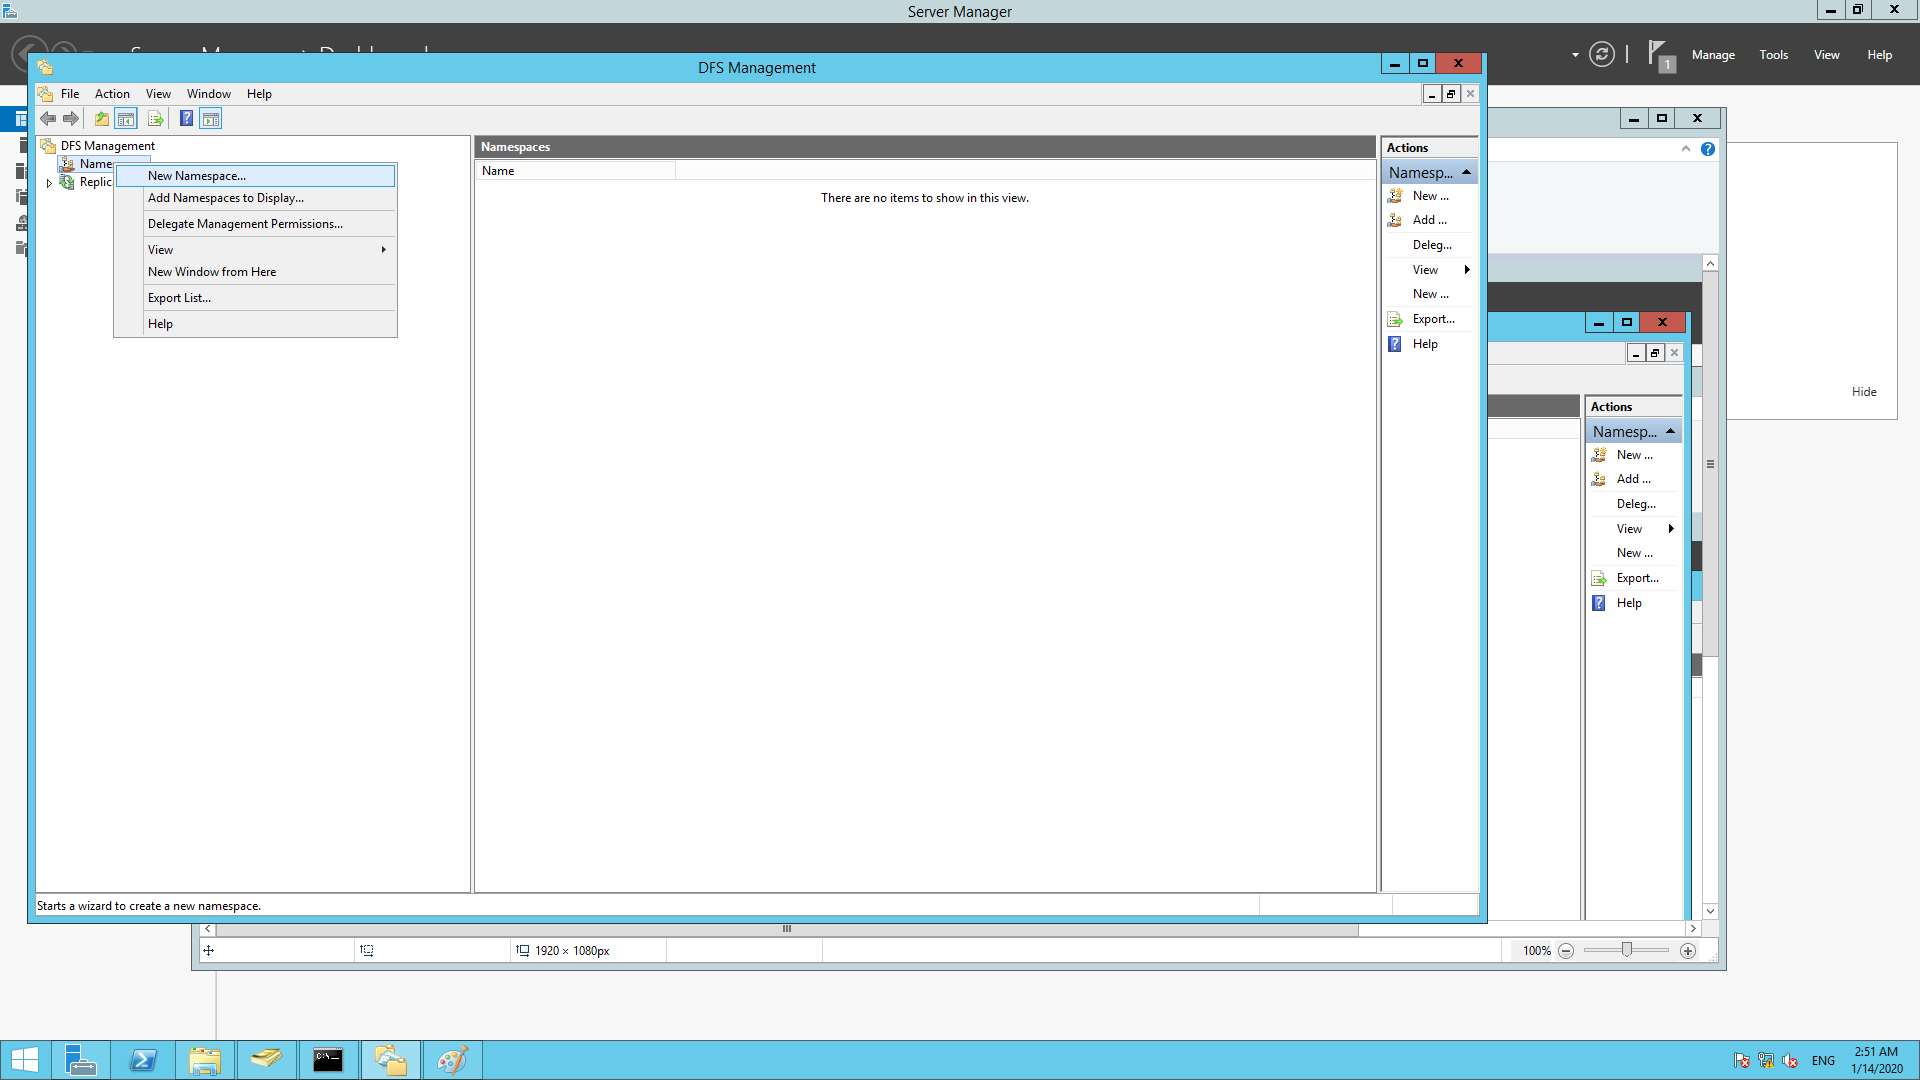
- Go to DFS Management.
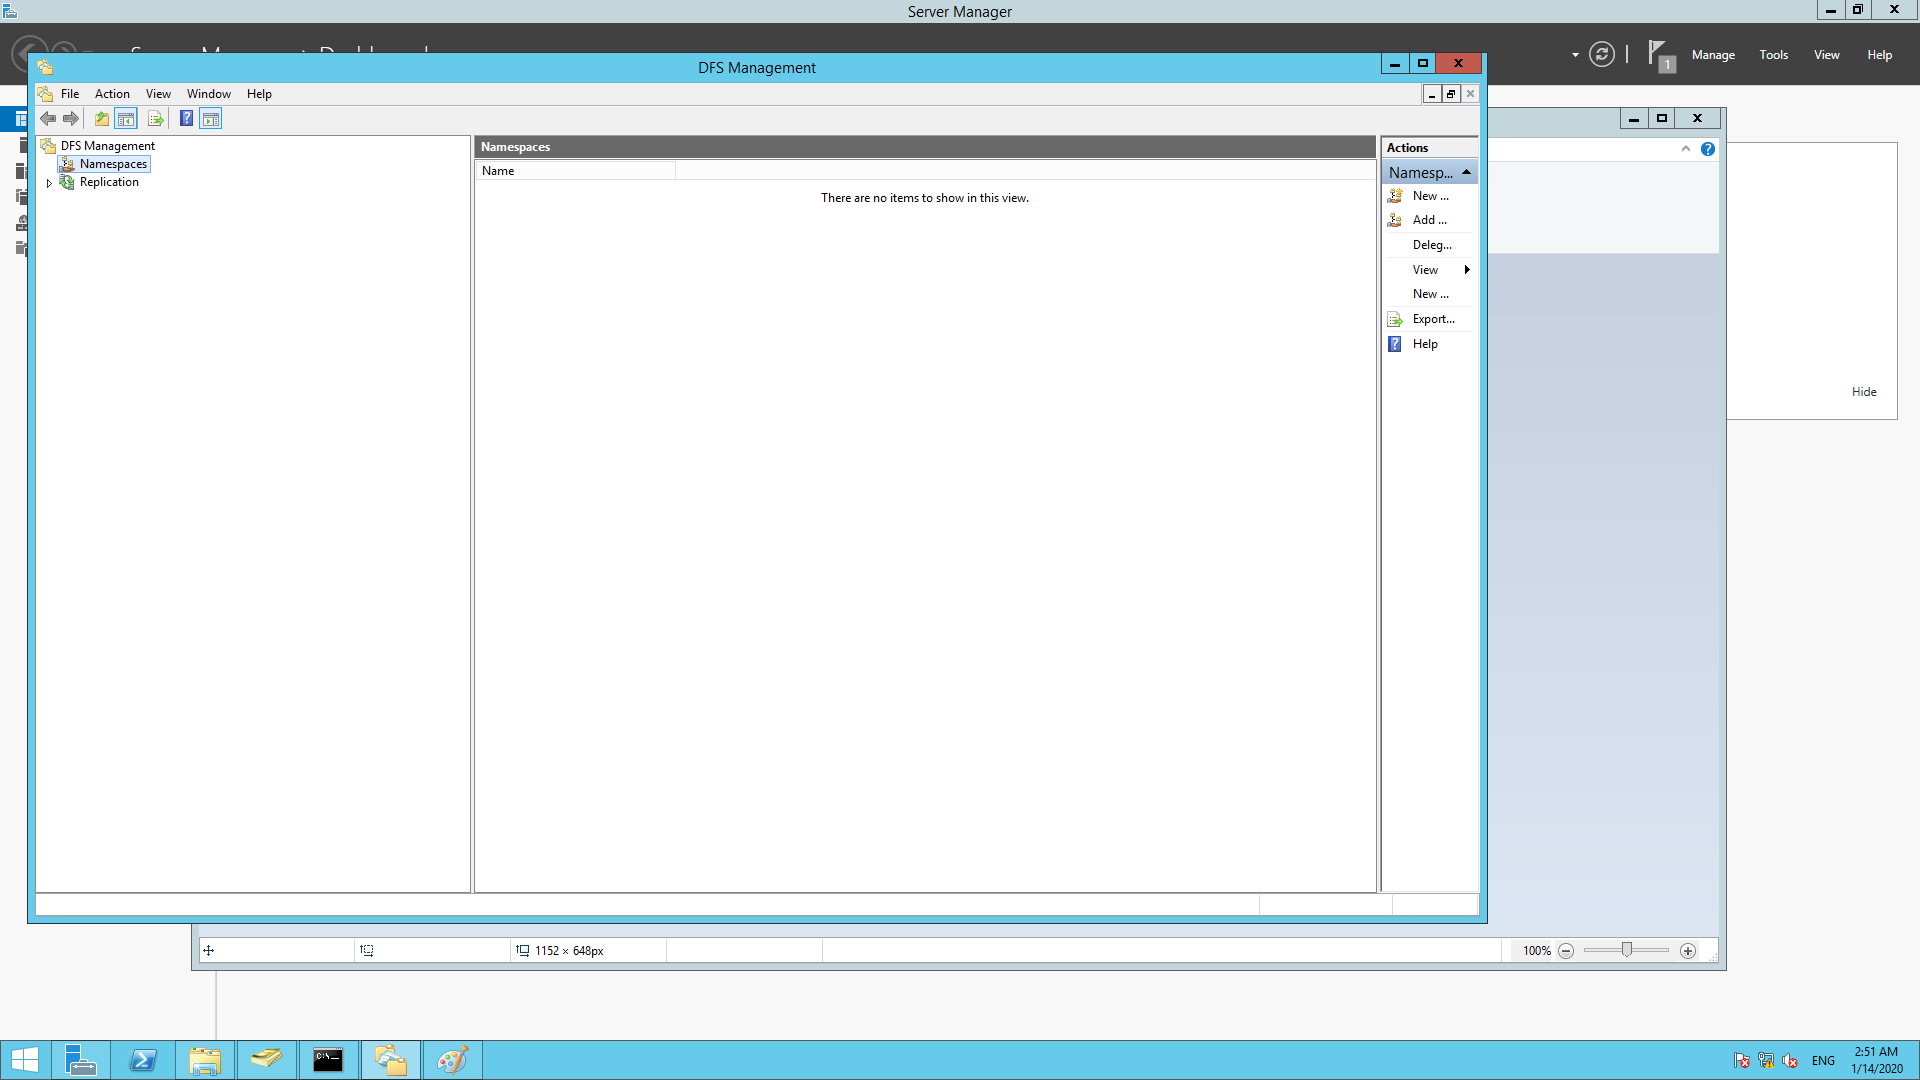
- Right click on Namespaces in the left panel and click New Namespace.
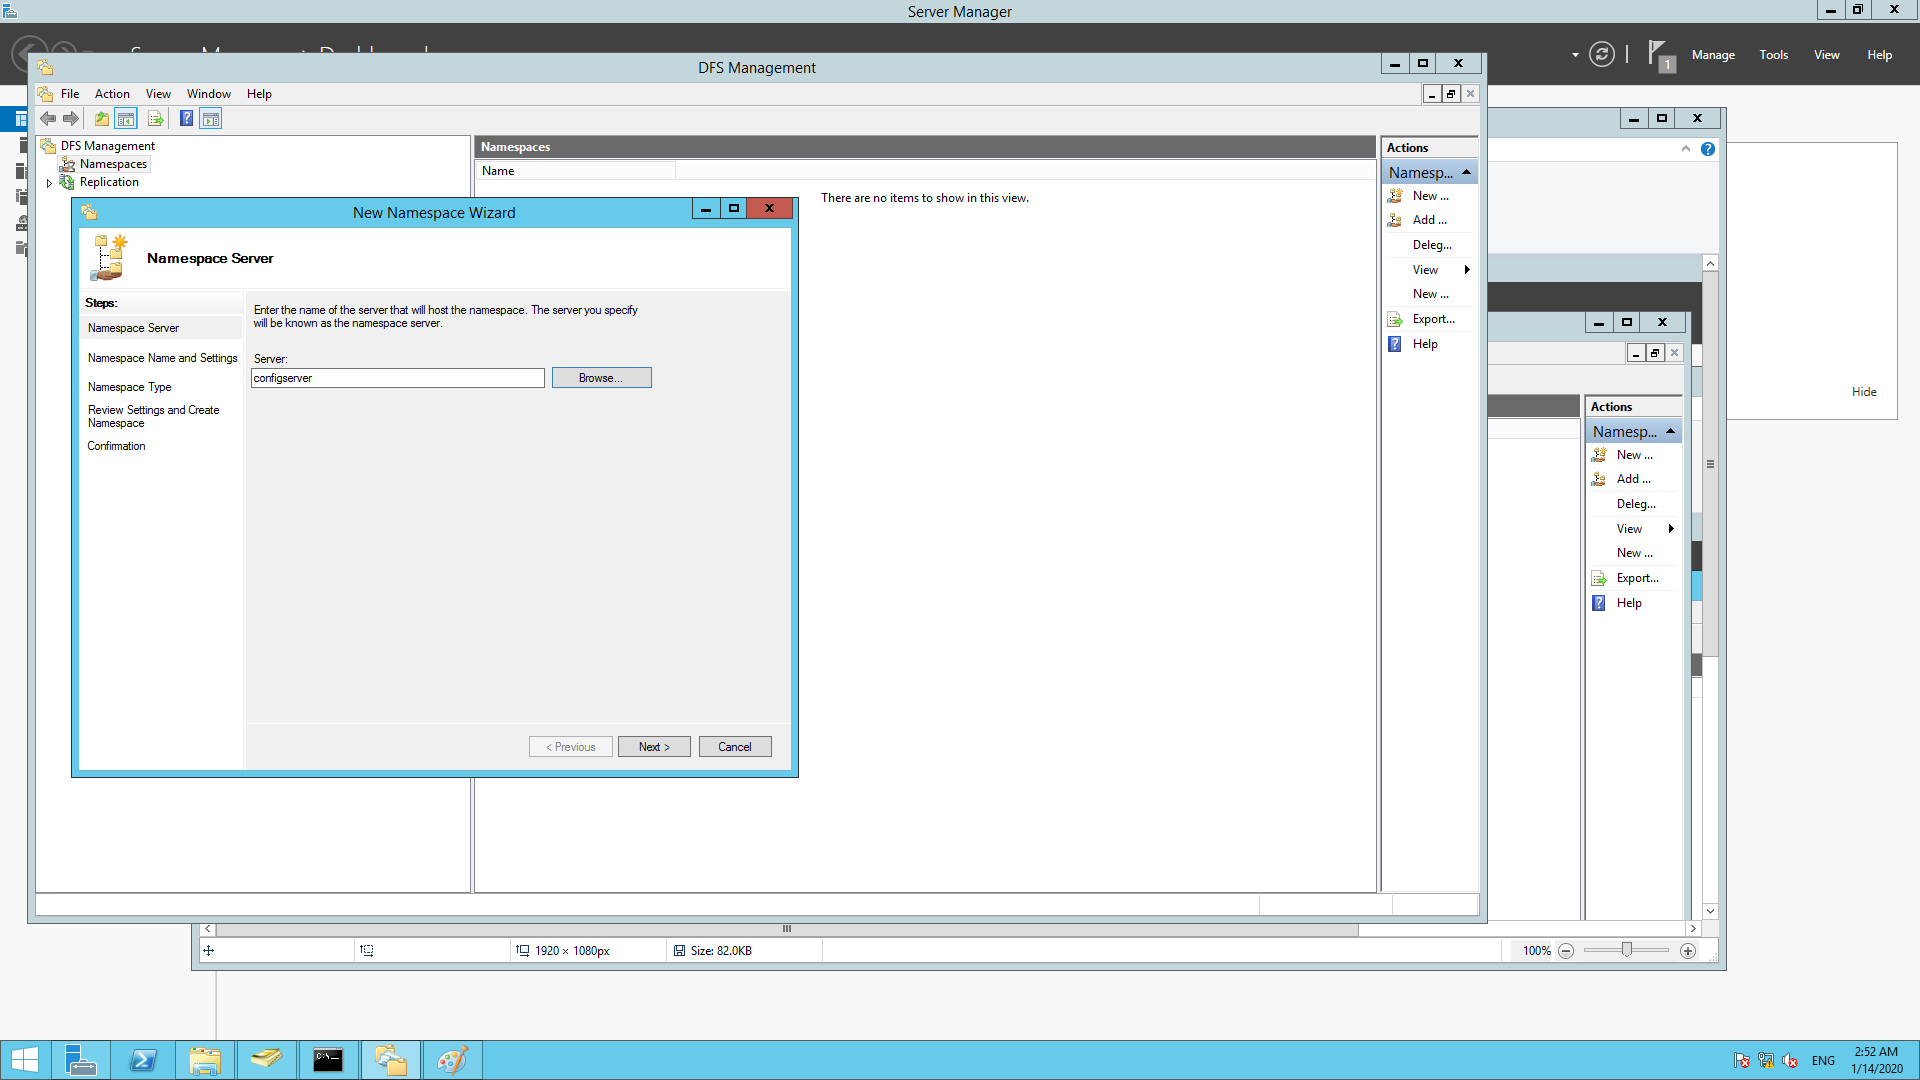
- Enter the name of the server. Click next.
- Provide a name for the Namespace.
- You can choose to edit the local path of the shared folder.

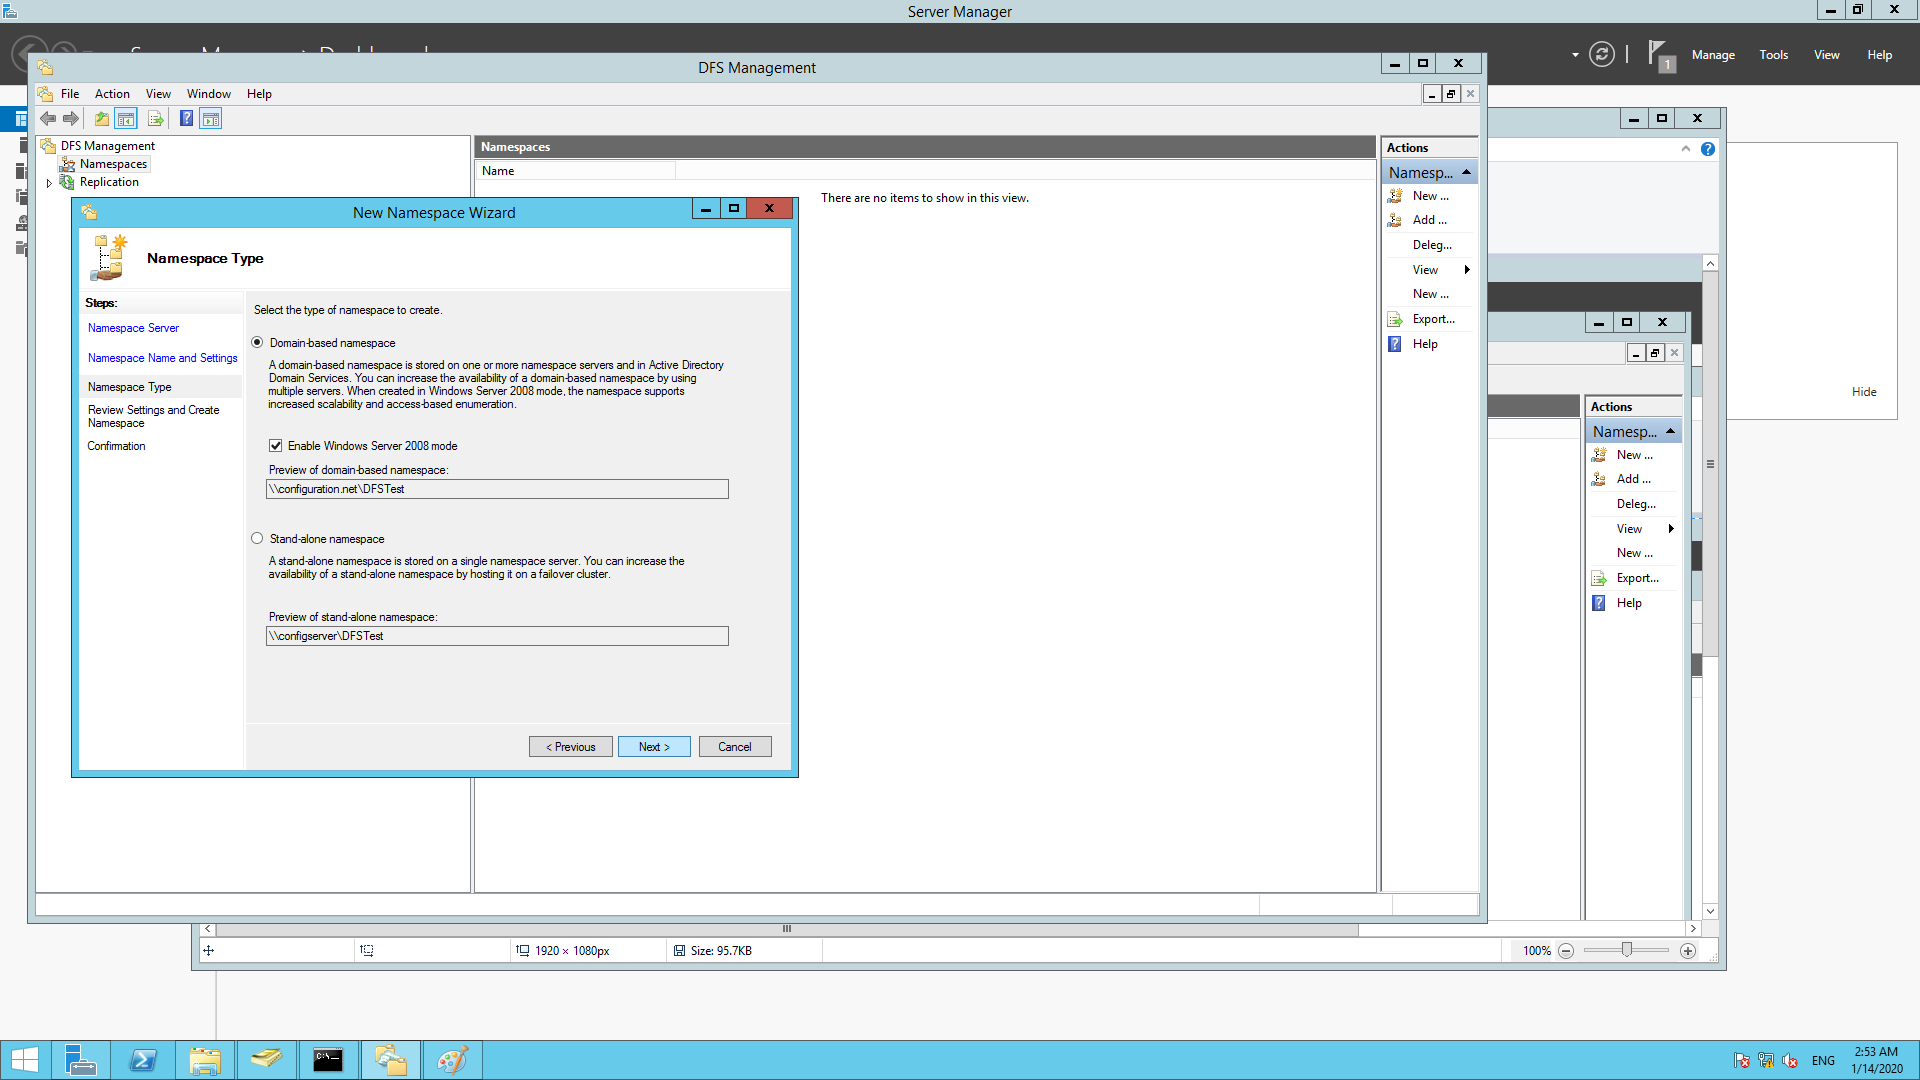
- Choose either a Domain-based or Stand-alone Namespace.
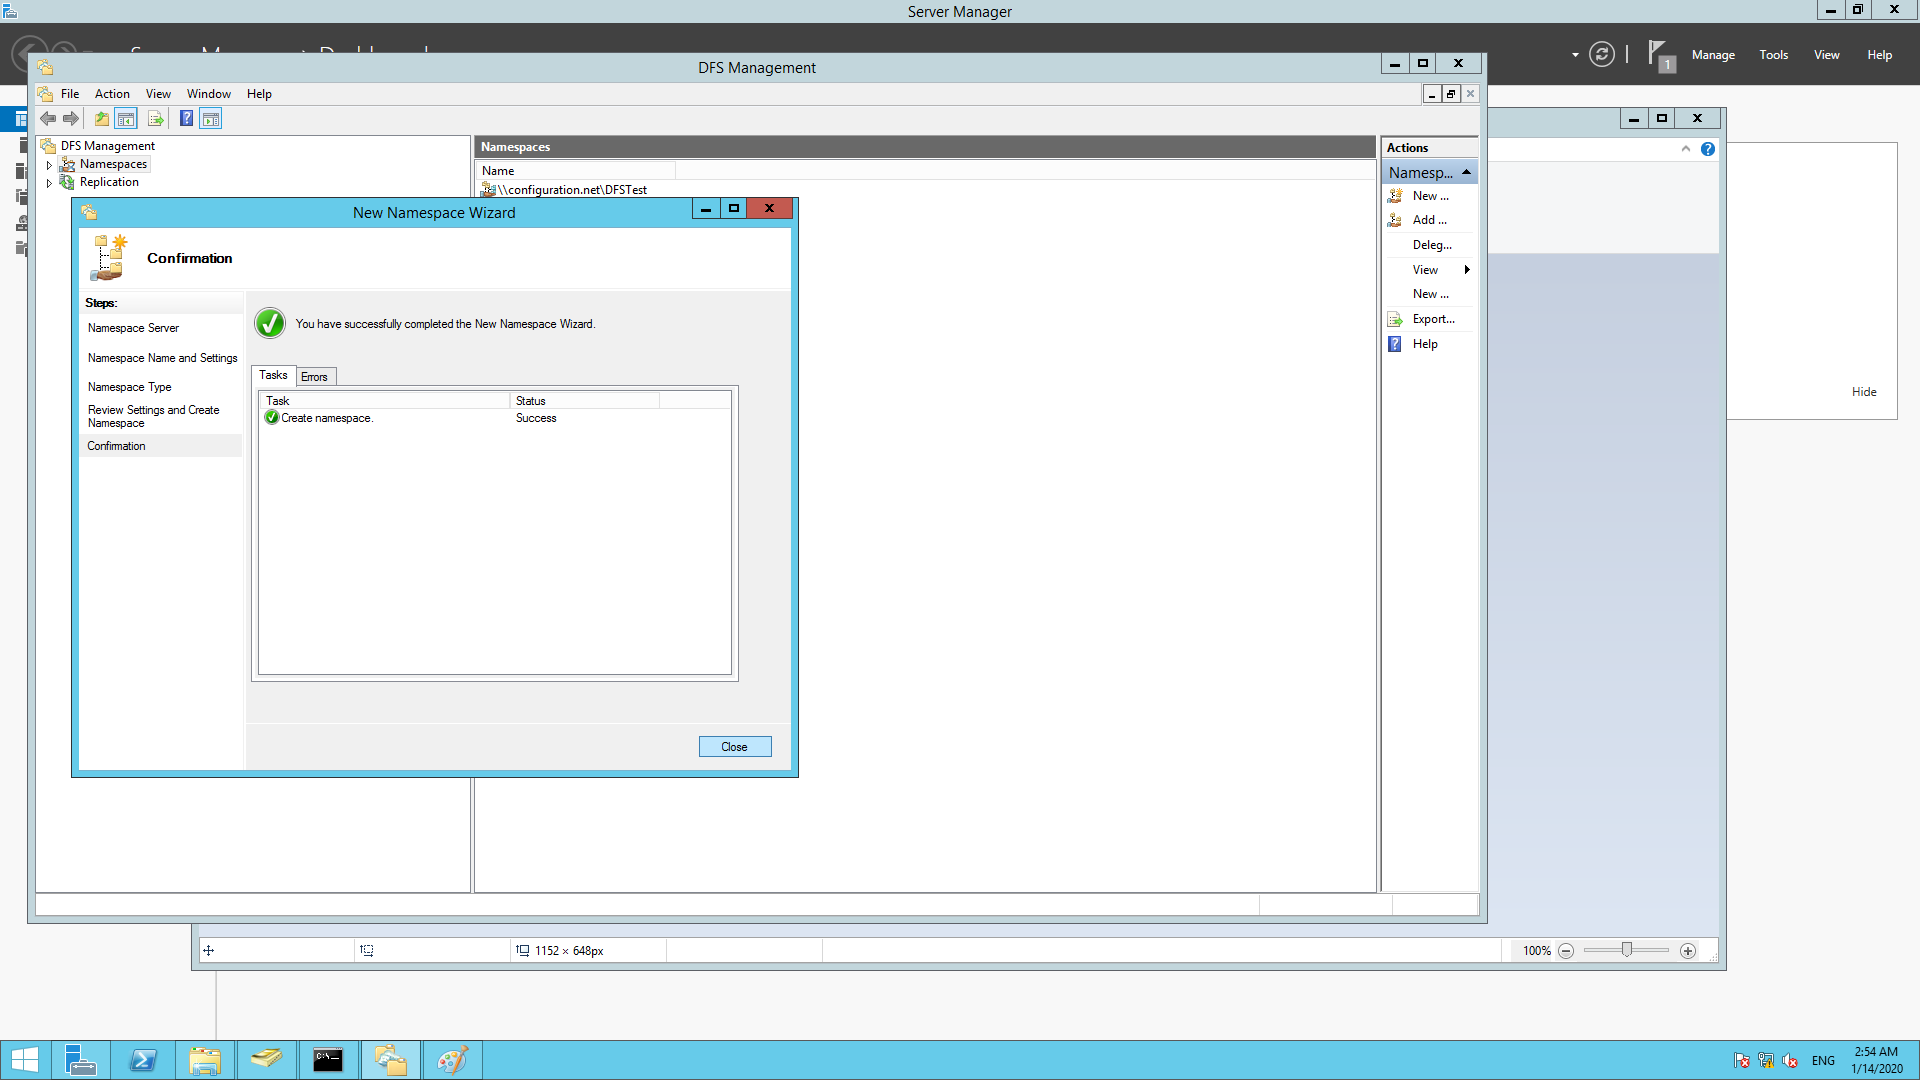
- Lastly, a summary will be displayed. Click create to finish configuring your new Namespace.
Note: It is not mandatory to configure the replication group, In case the Replication Group is configured, the endpoints in the network will access the nearest server in the replication group.
To configure a DFS Replication Group:
- In the DFS Management home windows, right click on new replication group.
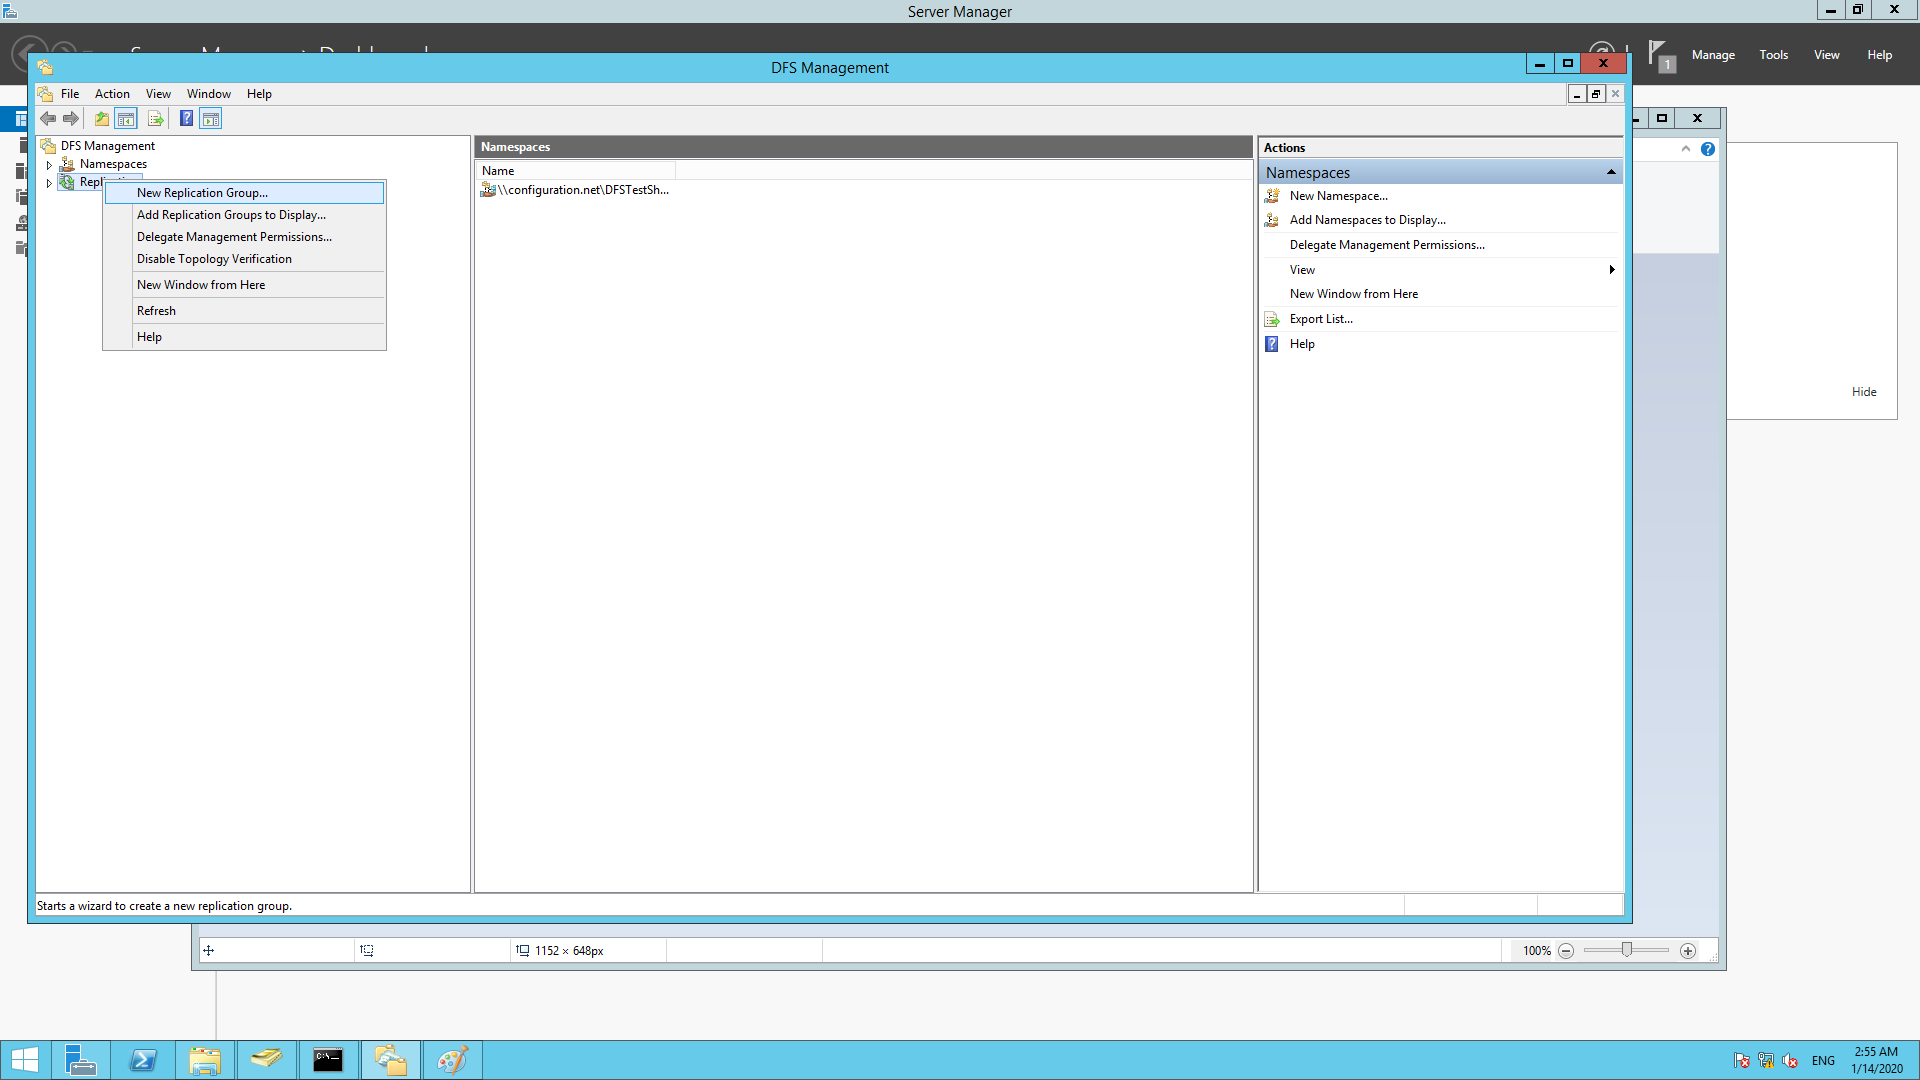
- Provide the name of the replication group and click Next.

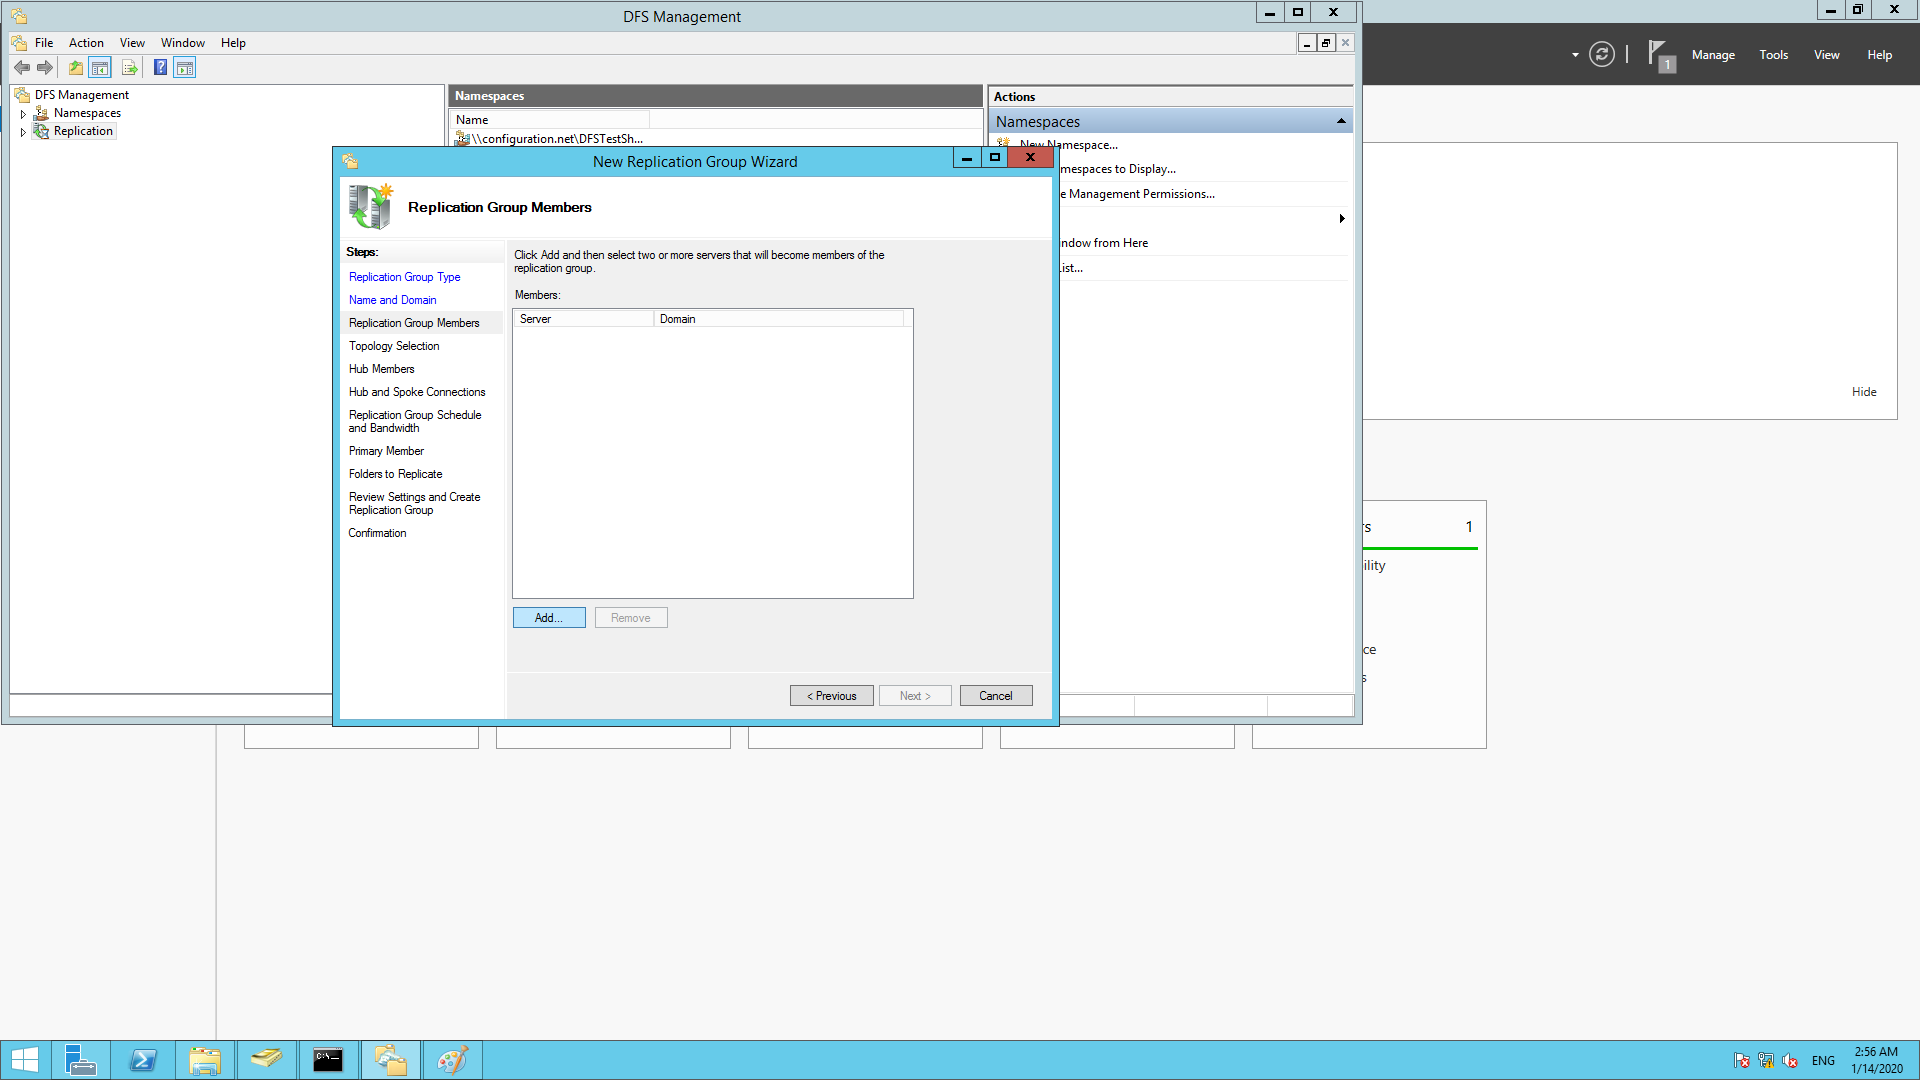
- Add the servers to the replication group.
- In the next window, select Full Mesh(recommended). This will ensure that anything on the first server will be on the other server and vice versa.

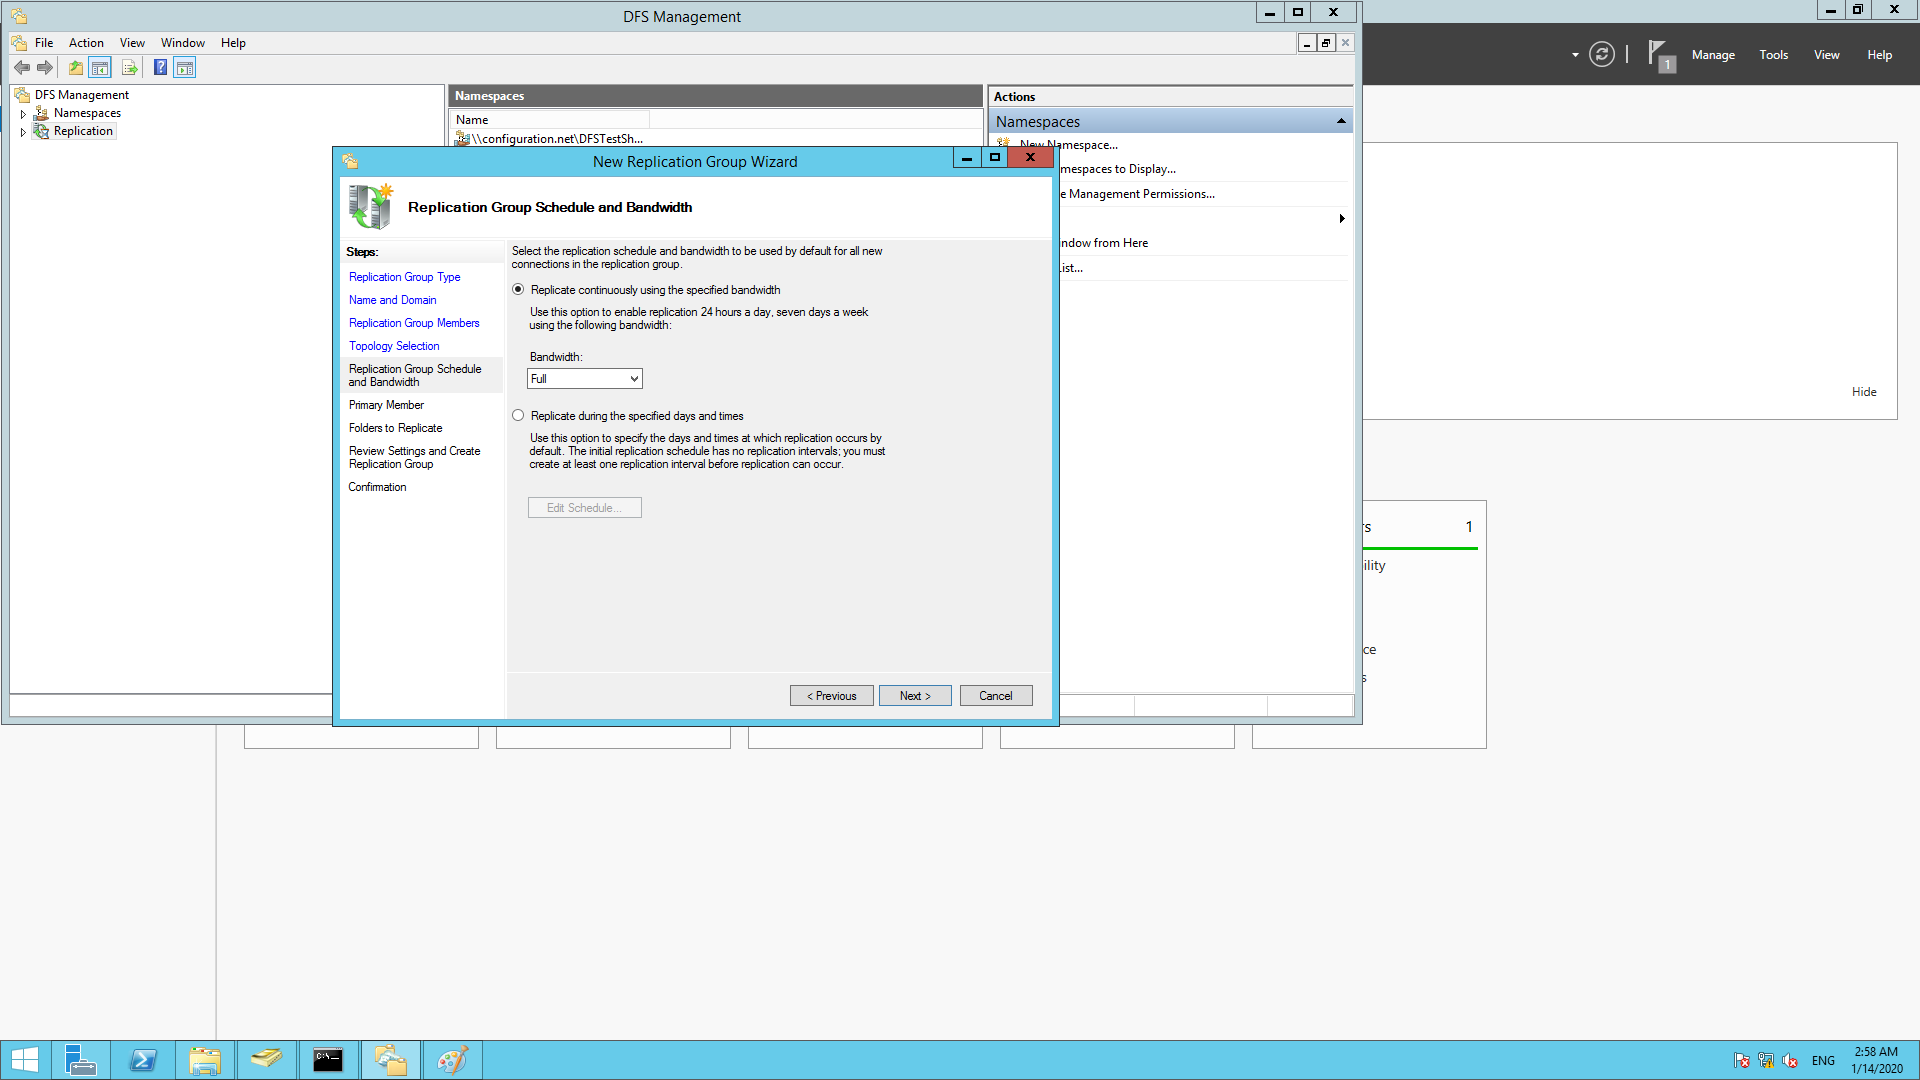
- Next, set the bandwidth. Consider your network traffic and set it accordingly.
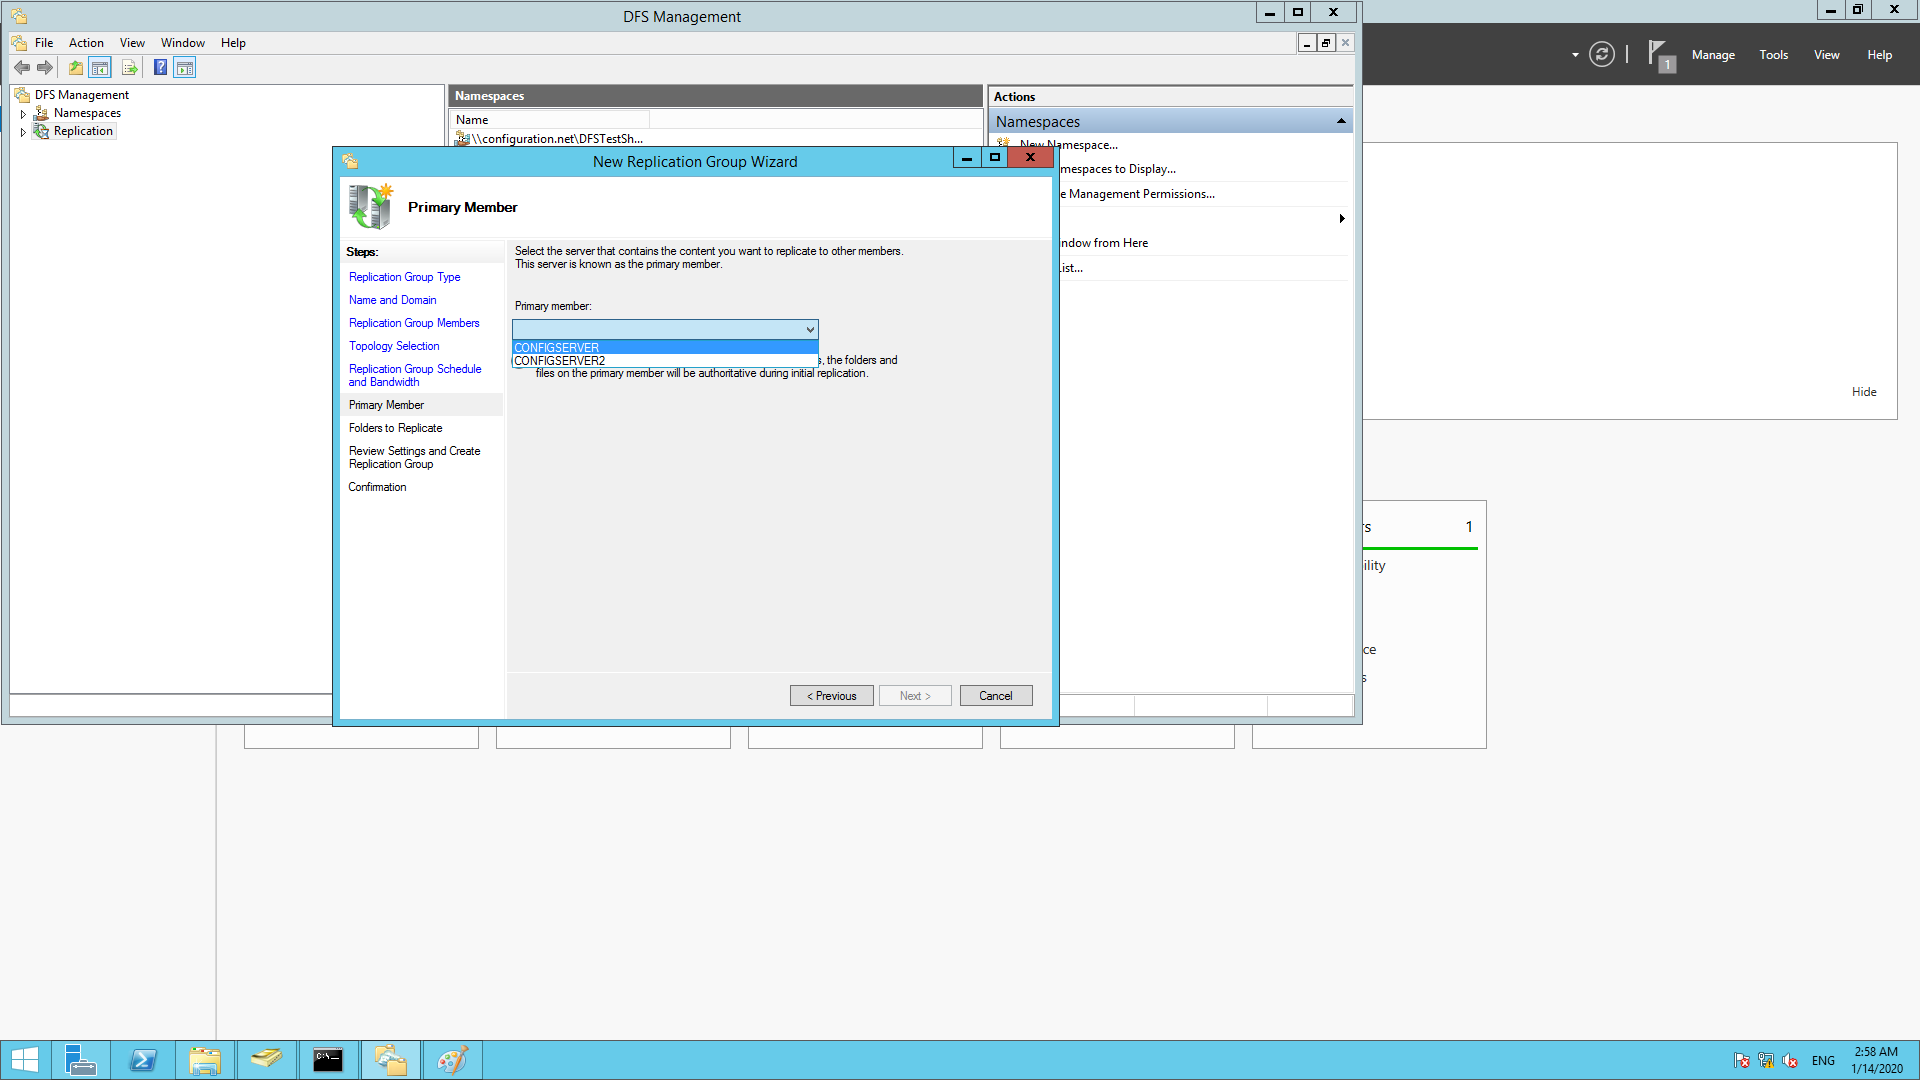
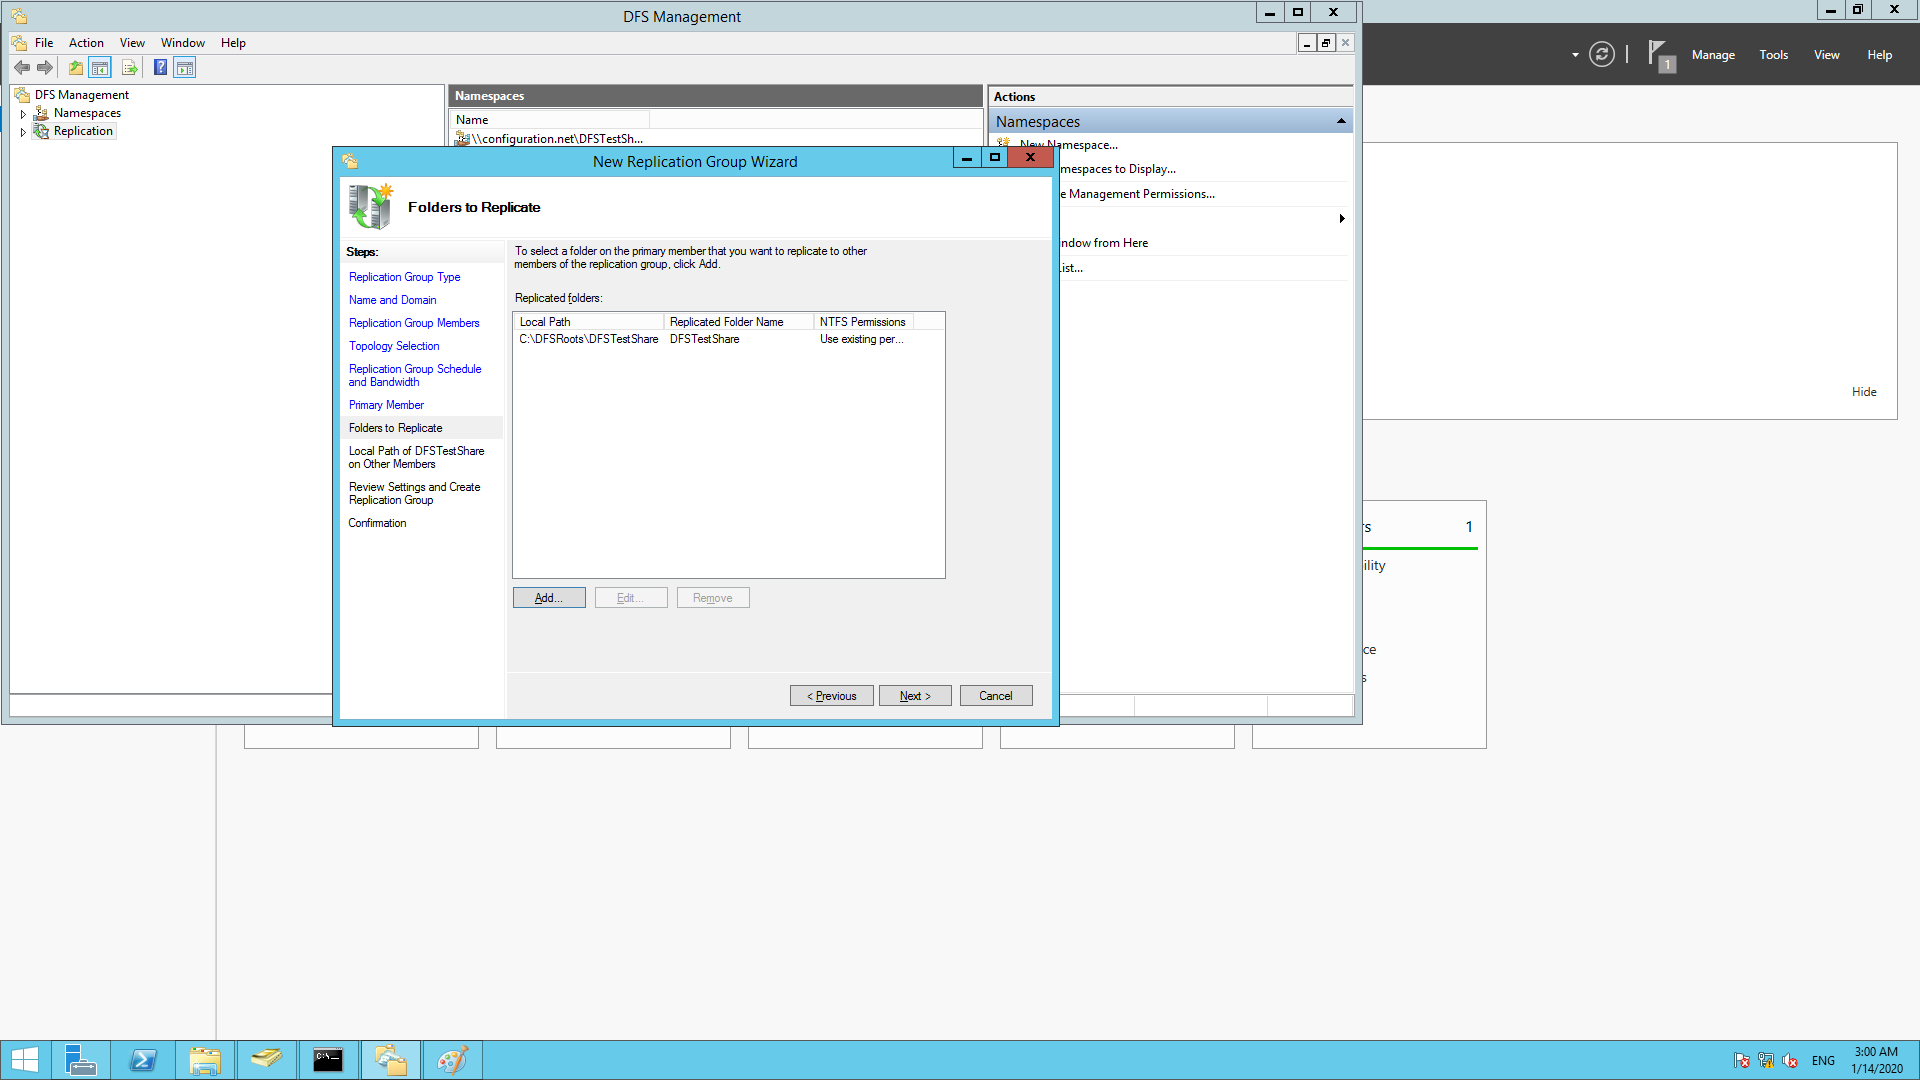
- Select the primary server and then add a local path of a folder to replicate.
- Select Permissions ->Custom Permissions, to add groups and provide the necessary permissions. Click Next once the changes are made.
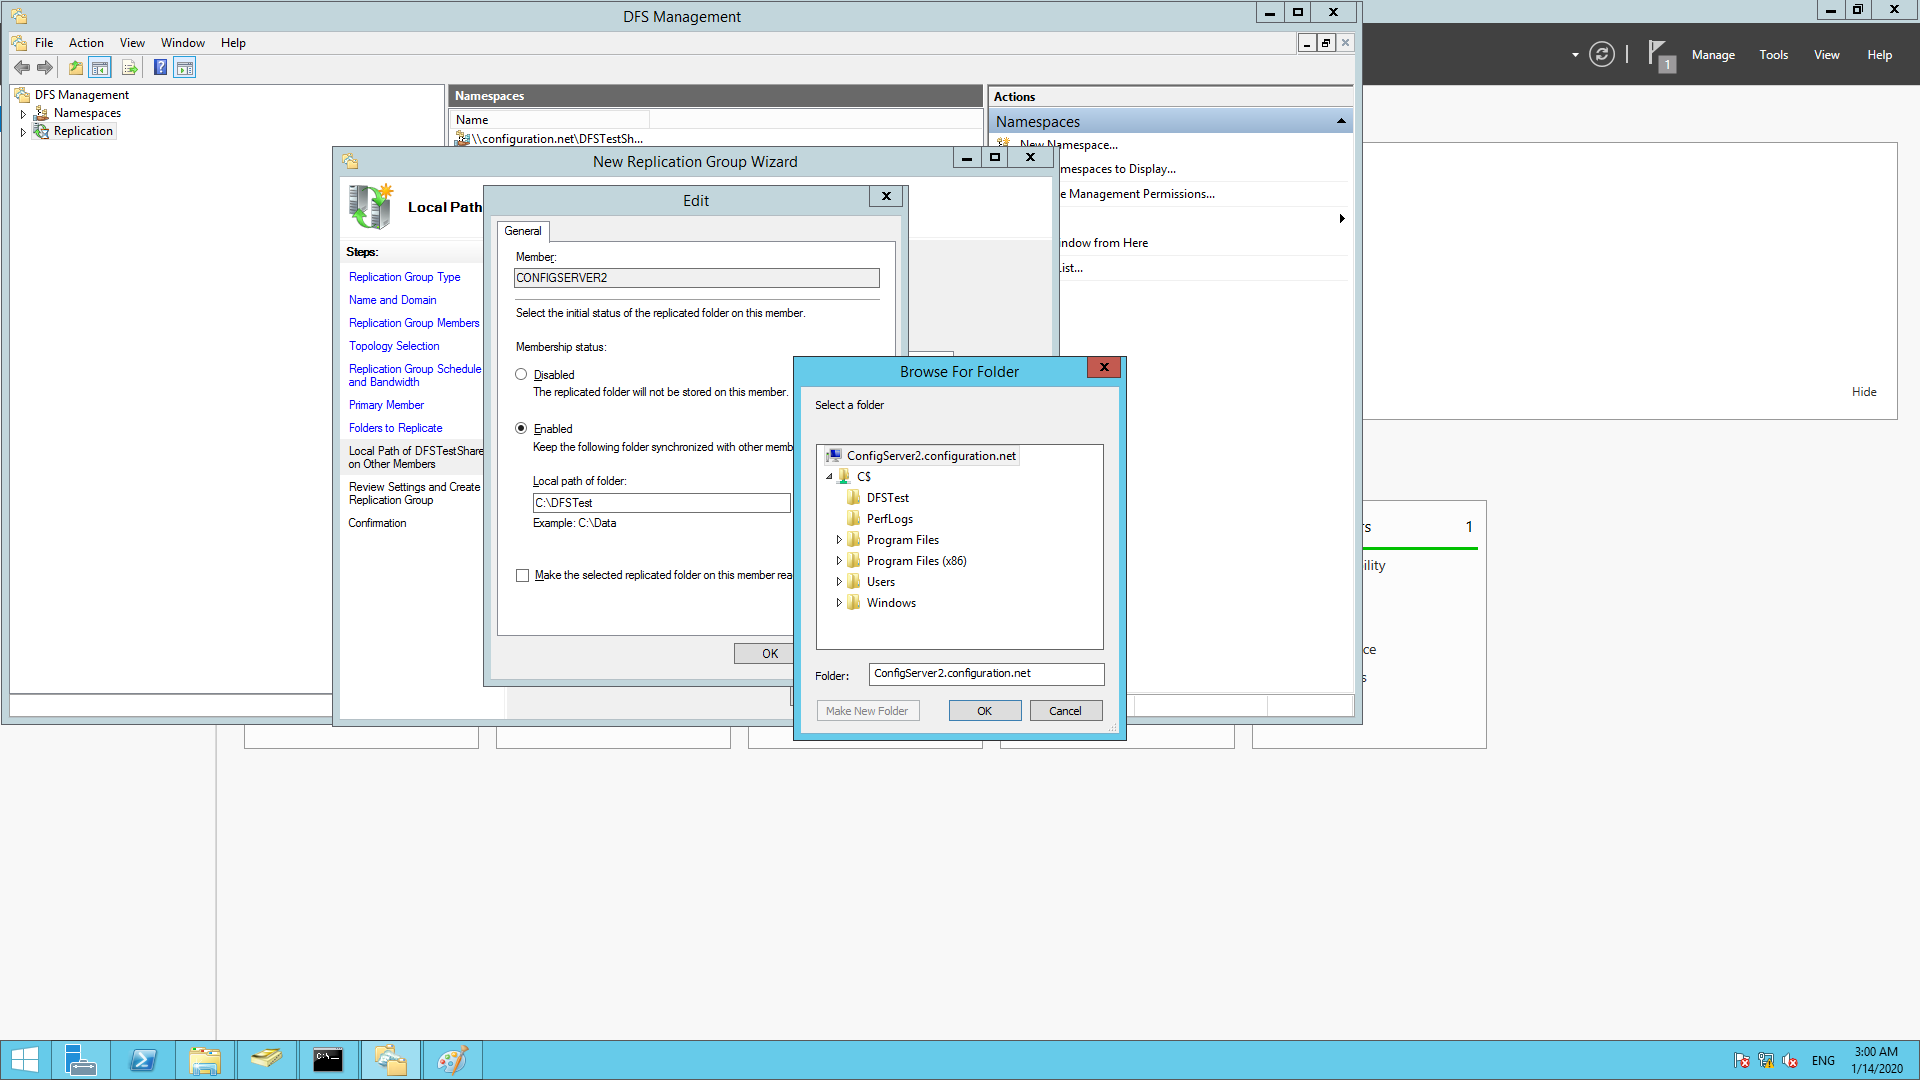
- Double click on the servers listed to enable them for replicating.

- Click enable and specify the path that needs to be synchronized with the server.
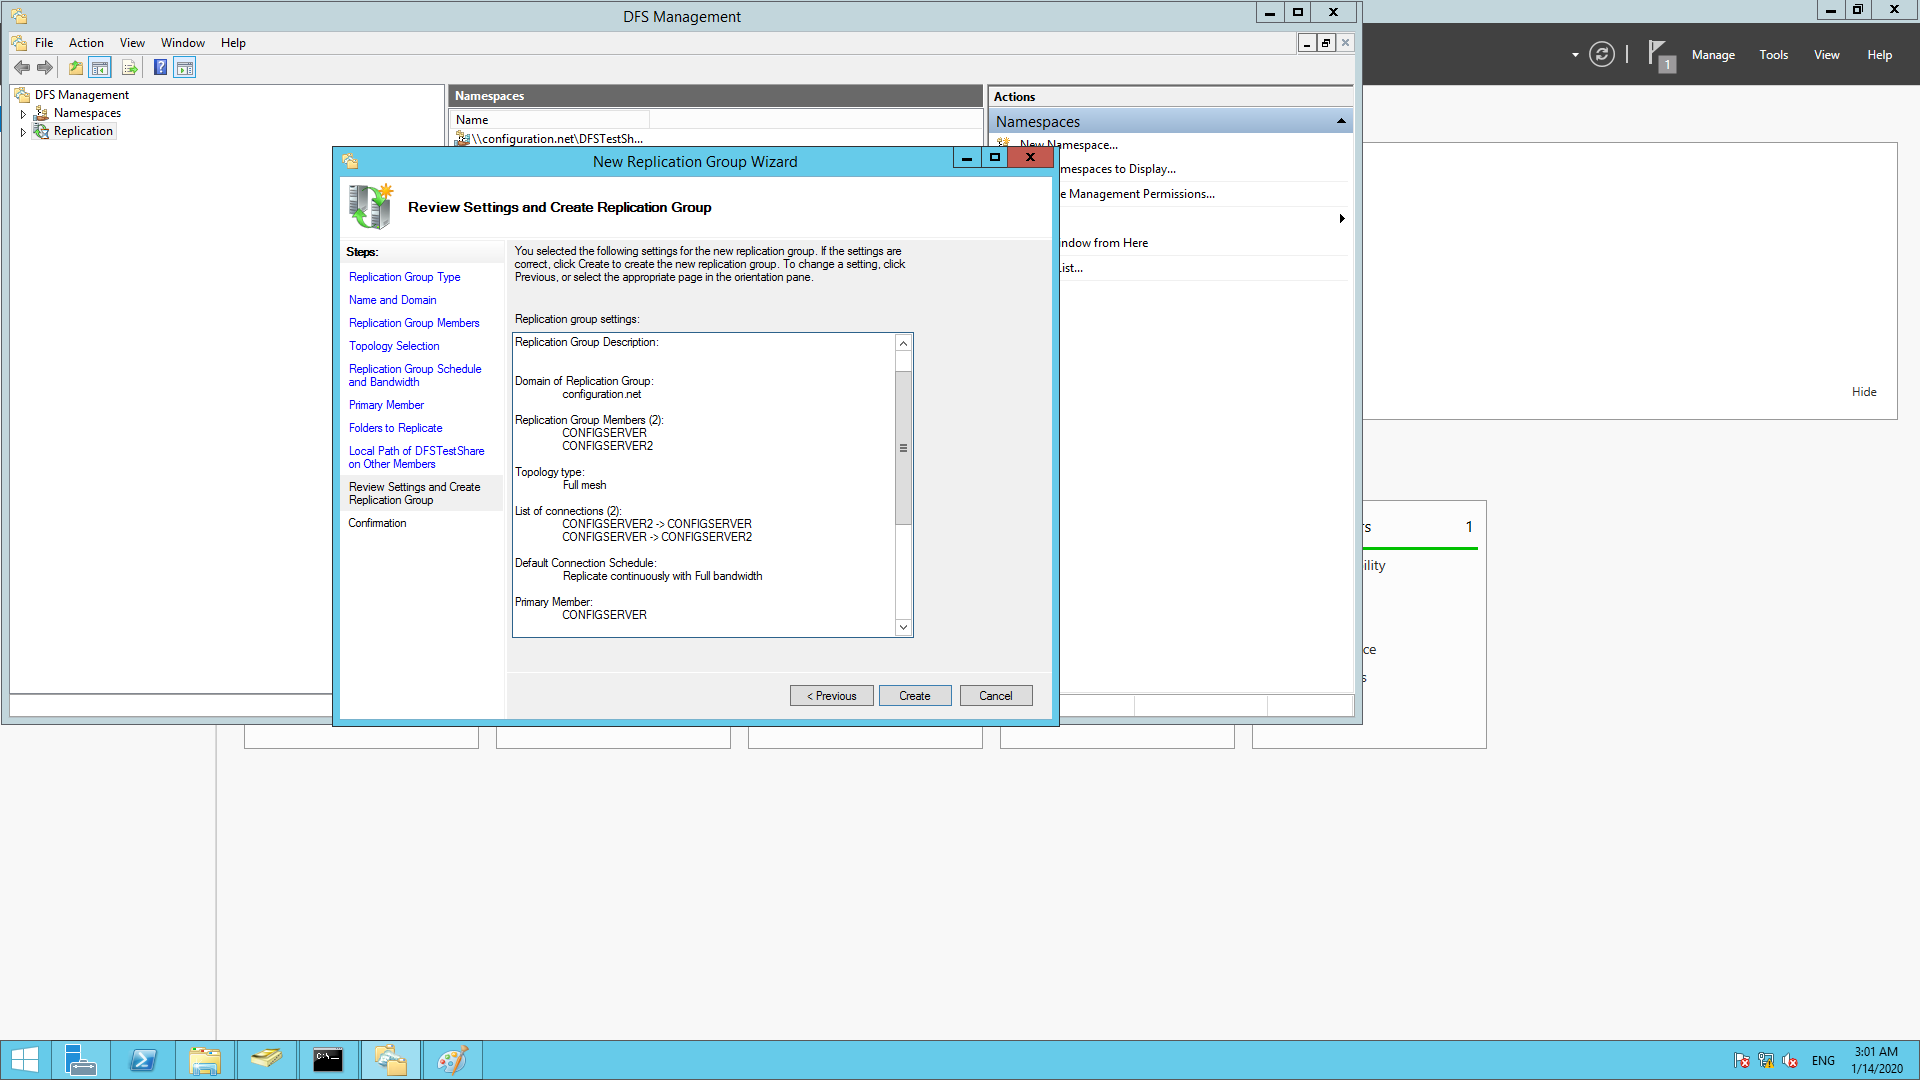
- View the summary of your selections and click create.
- In your DFS Management Console, double click on your replication folder and go to the Replicated Folder tab.
- The publication status will be displayed as "Not Published". Right click on that and select Share and Publish in Namespace.
- Click next until you get to the Namespace path. Browse to the parent folder and name the folder.
- A preview of the namespace path will be listed. Click next to view the summary and click on Share.
You have now successfully finished setting up DFS on Windows Server.
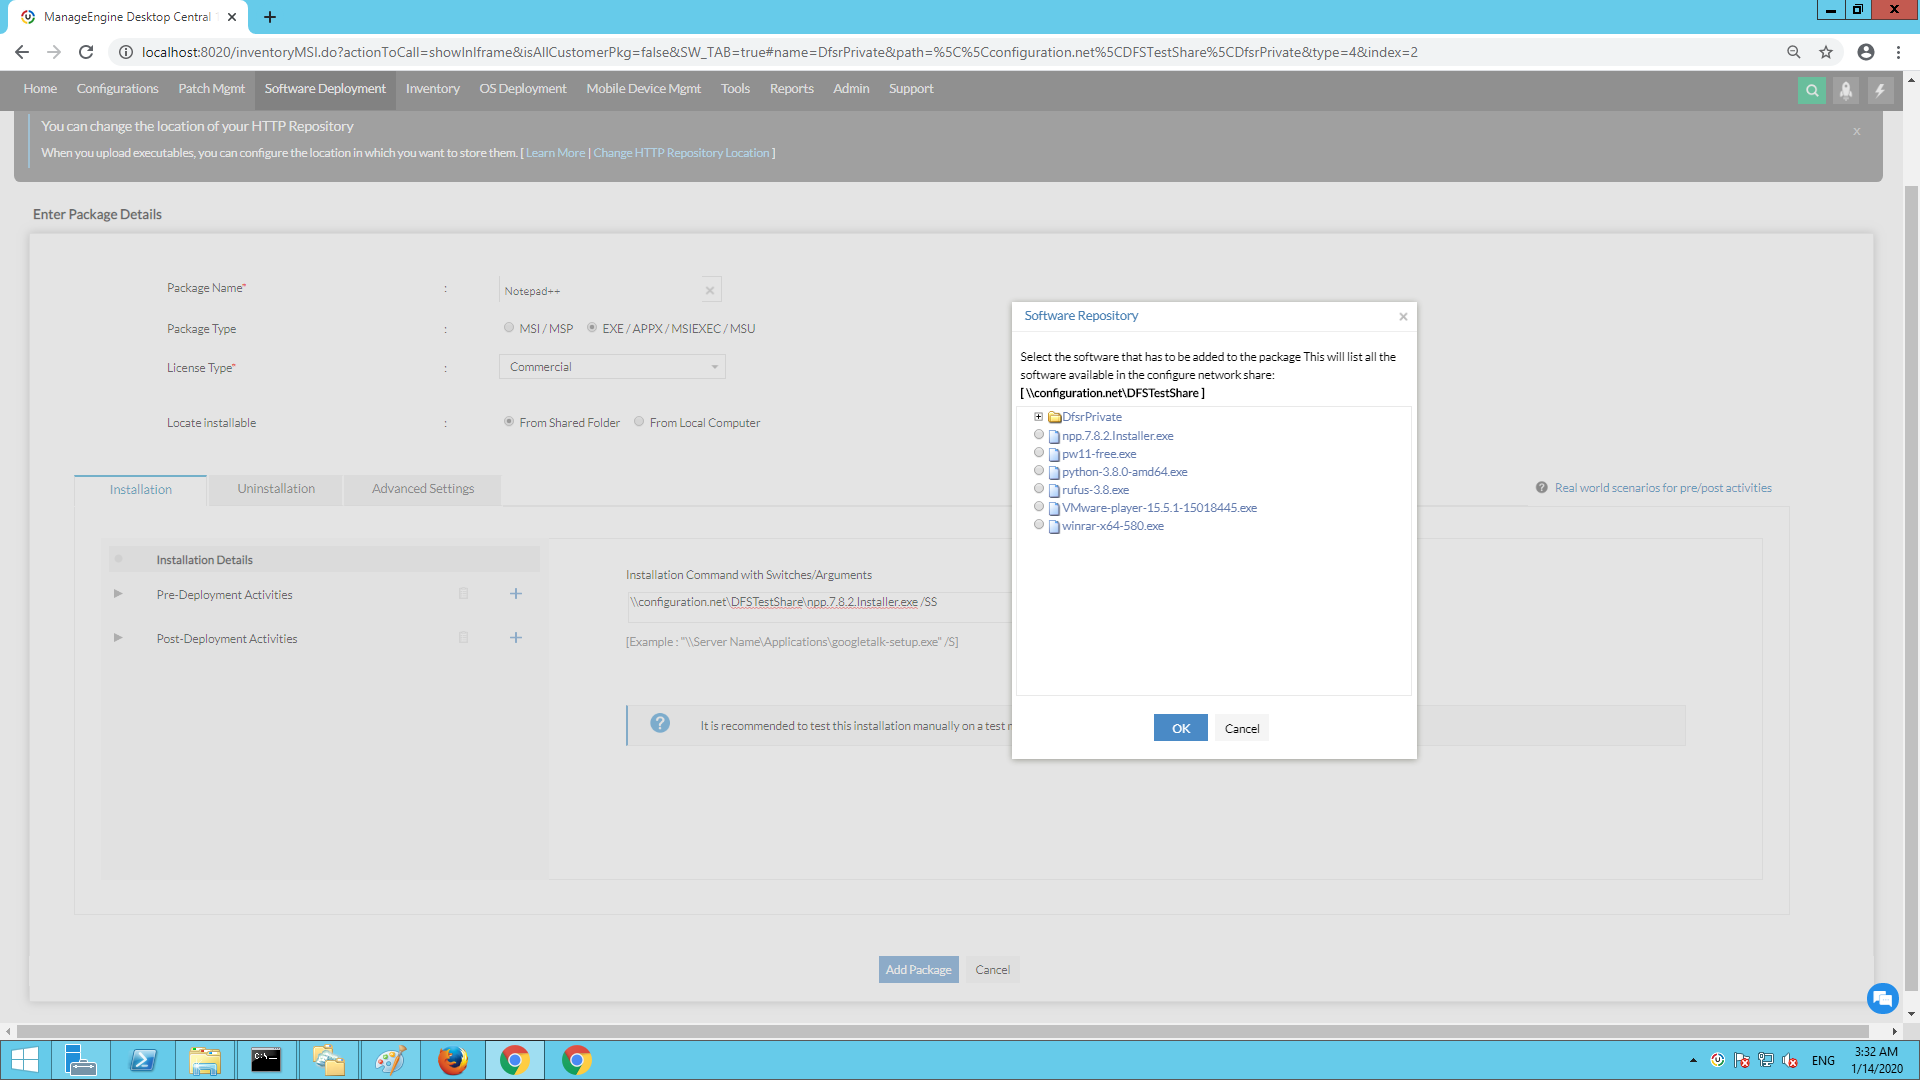
Endpoint Central can leverage DFS shares to replicate software packages to local field offices so that, they can deploy quickly to local machines in that office. This decreases the installation time and reduces network pressure on the WAN network from the home office to the field site.
To configure DFS Share
- Login to the product web console.
- Under Software Deployment tab, click on Software repository.
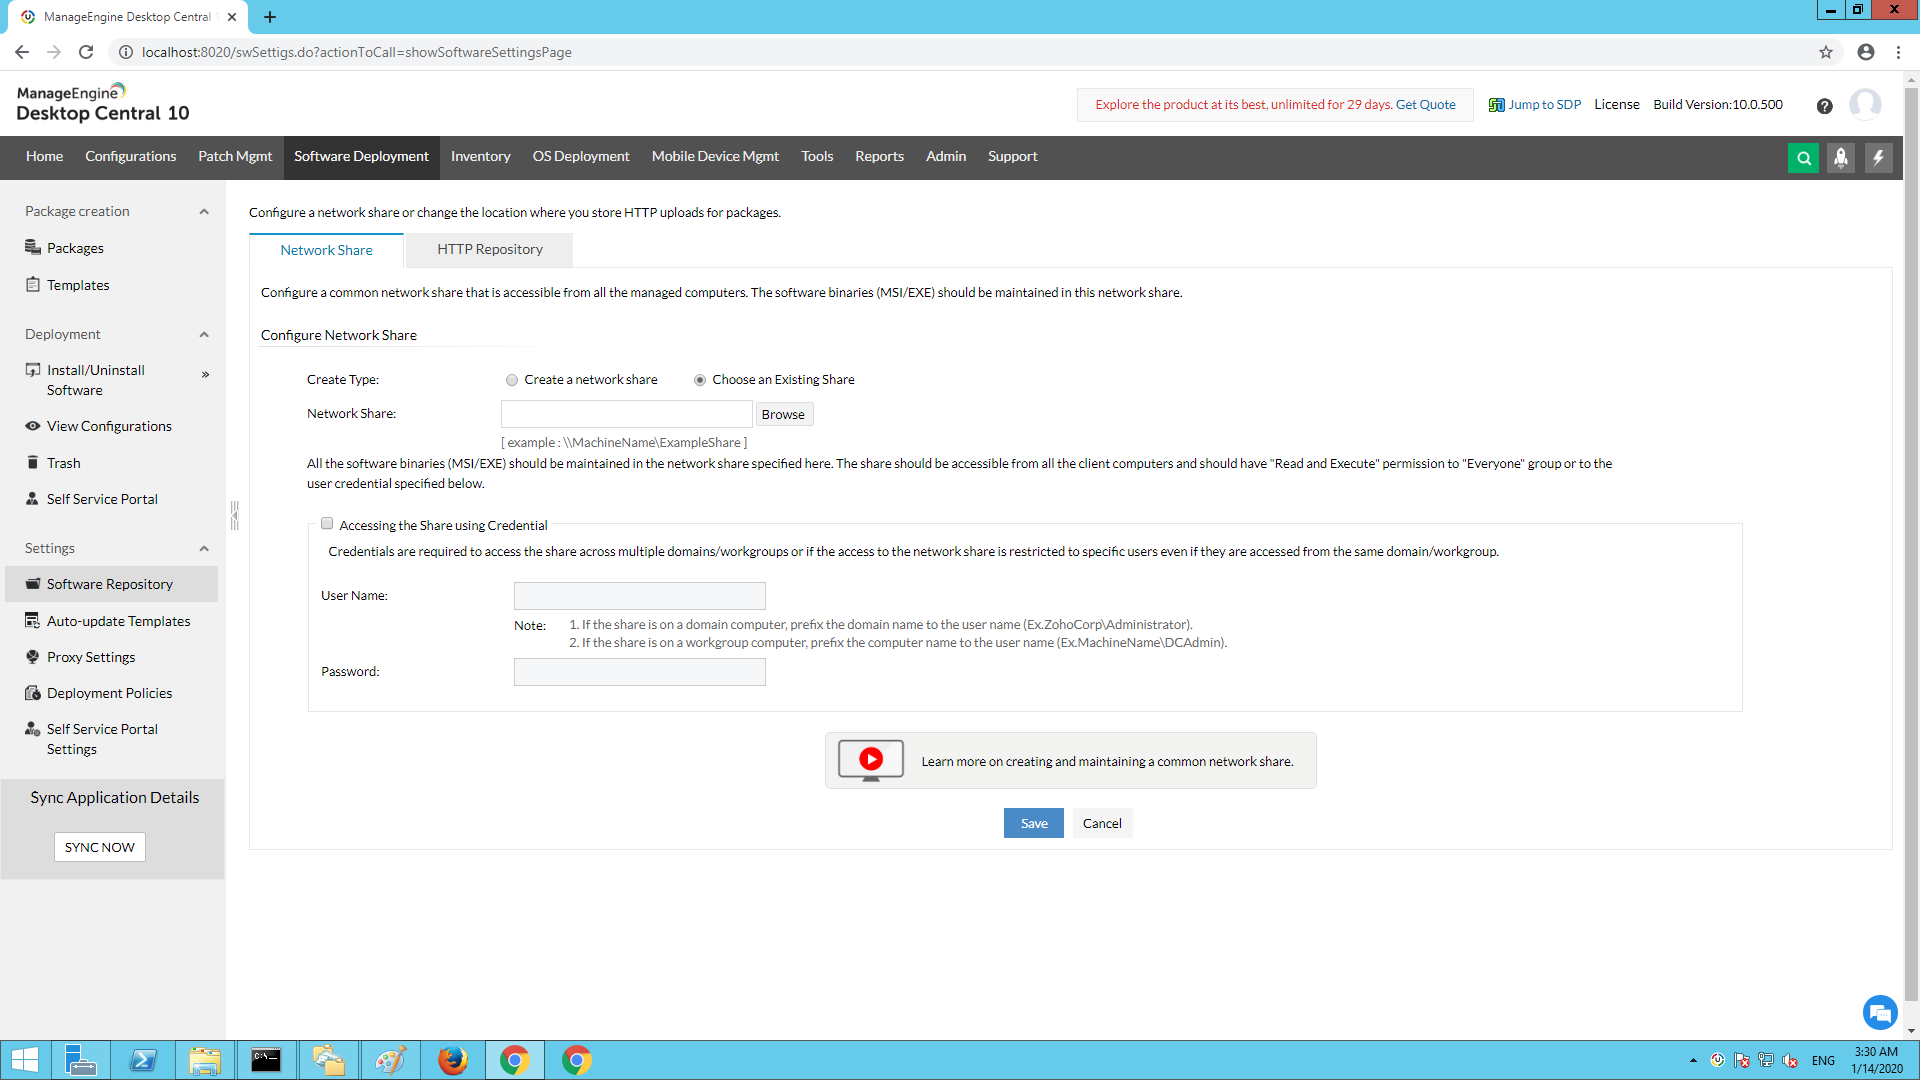
- Select "Choose an Existing Share" and provide the shared path of the DFS Share folder.
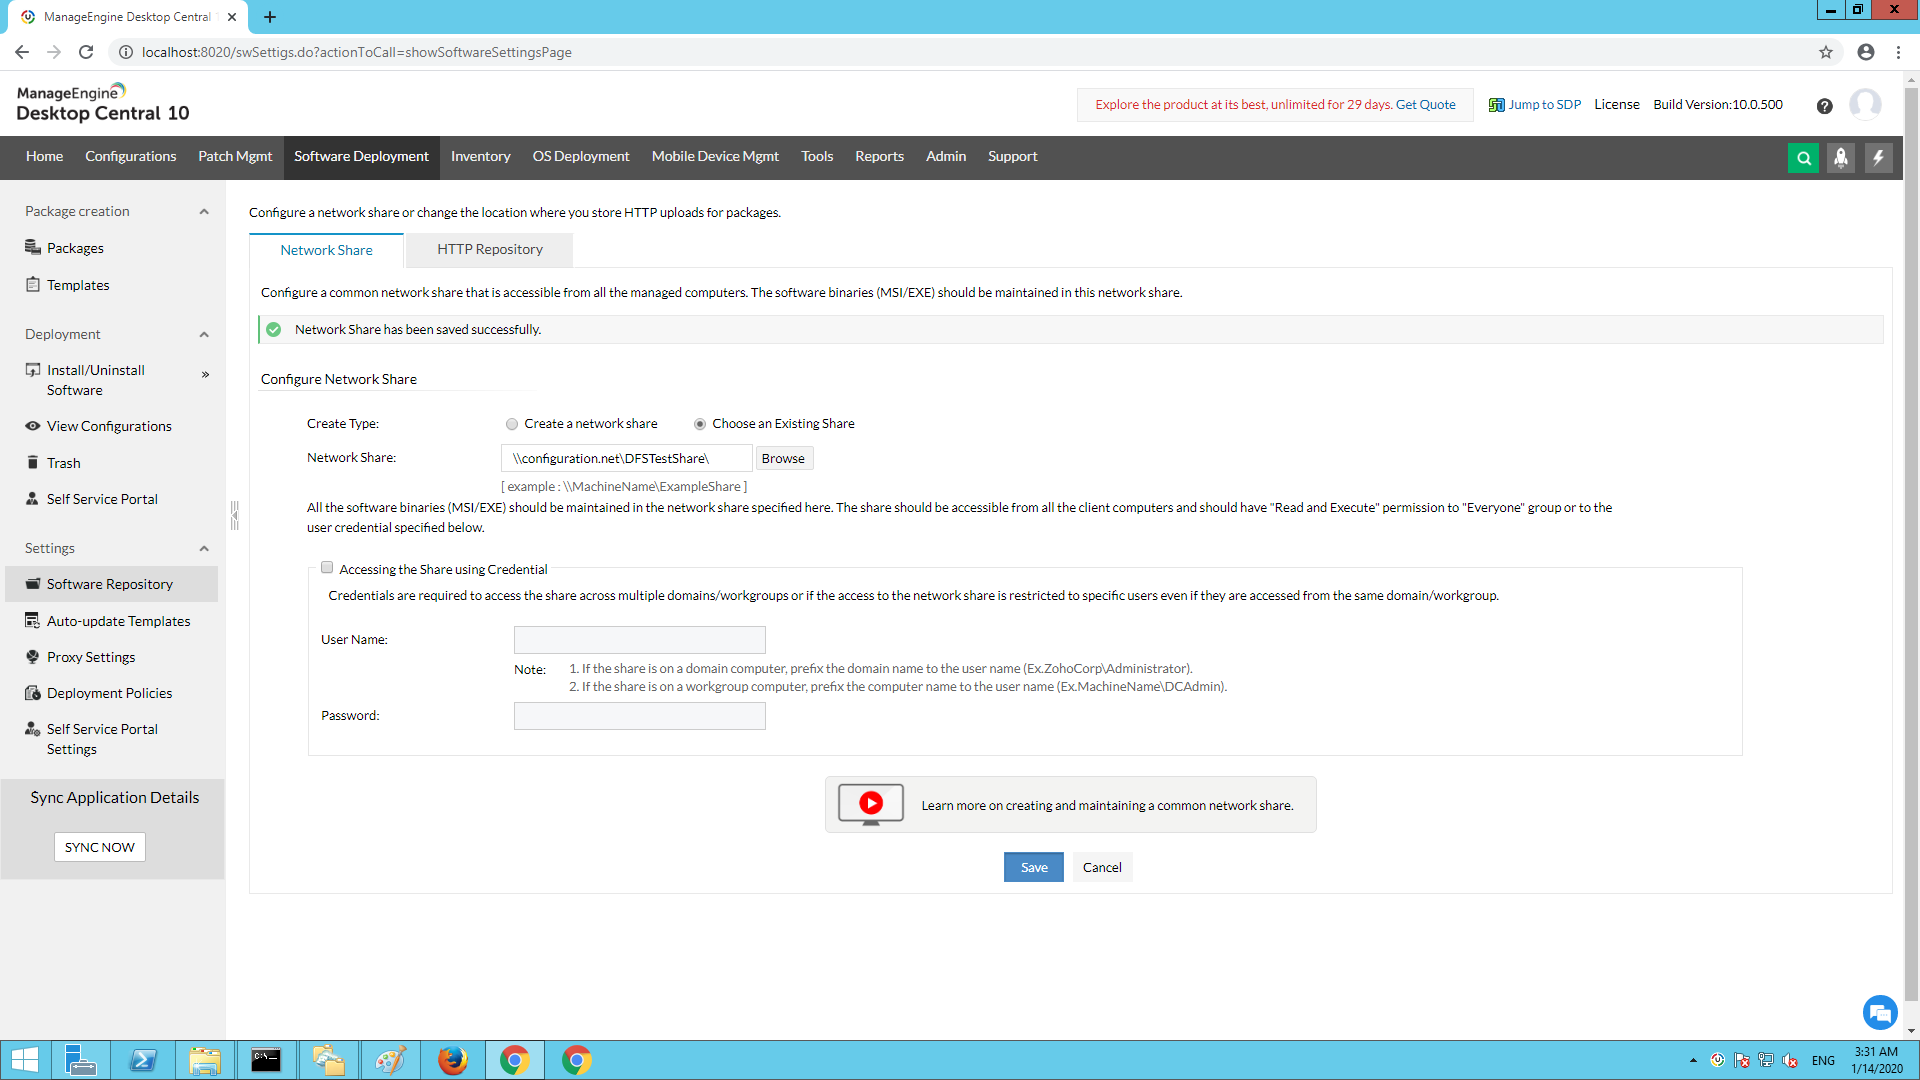
- Click on Save to enable the changes.
You have now chosen DFS Share as your Network Share repository. When you create a package, you can choose the packages present in the DFS Share folder as shown below.