How to Deploy Microsoft Intune Service Without a Storage Account
This document provides a step-by-step guide for deploying the Microsoft Intune Service without utilizing a storage account. It covers downloading the required agent, creating an installation package, and configuring the deployment in Microsoft Intune.
Table of Contents
- Prerequisites
- Download the Agent
- Create the IntuneWin Package
- Configure the Application in Microsoft Intune
- Set Installation and Uninstallation Commands
- Define System Requirements
- Establish Detection Rules
- Assign the Application
Prerequisites
- A valid Microsoft Intune subscription.
Step 1: Download the Agent
- Access the Console:
- Log in to the web interface.
- Download the Agent:
- Navigate to Agent > Computers > Download Agent.
- Rename the downloaded file to
agent.exe.
- Set Up the Directory:
- Create a new folder and place
agent.exeinside it. - Note: Ensure that this folder contains only the
agent.exefile.
- Create a new folder and place
- Directory Path Reference:
- Use the path of the folder containing
agent.exeas<directory_of_agent_exe>. - Specify your preferred output path as
<output_directory>in the upcoming steps.
- Use the path of the folder containing
Step 2: Create the IntuneWin Package
- Download IntuneWinAppUtil:
- Download the zip file from the provided link.
- Extract
IntuneWinAppUtil.exefrom the zip.
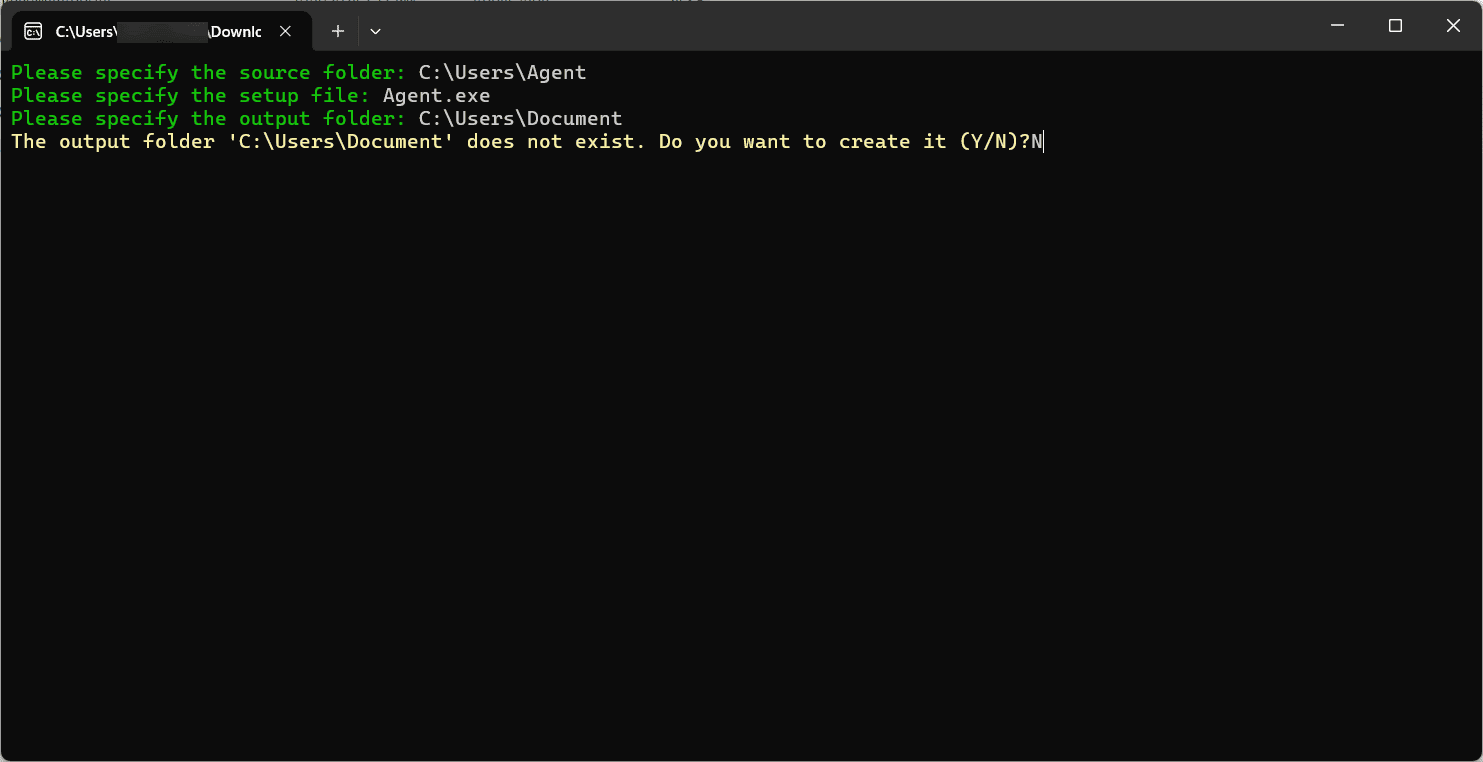
- Generate the IntuneWin Package:
- Double-click
IntuneWinAppUtil.exeand provide the following inputs:- Source Folder:
<directory_of_agent_exe> - Setup File:
agent.exe - Output Folder:
<output_directory> - Catalog Folder: When prompted, select
N.
- Source Folder:
- Double-click
- Output Confirmation:
- An
agent.intunewinfile will be created in the specified output folder.
- An
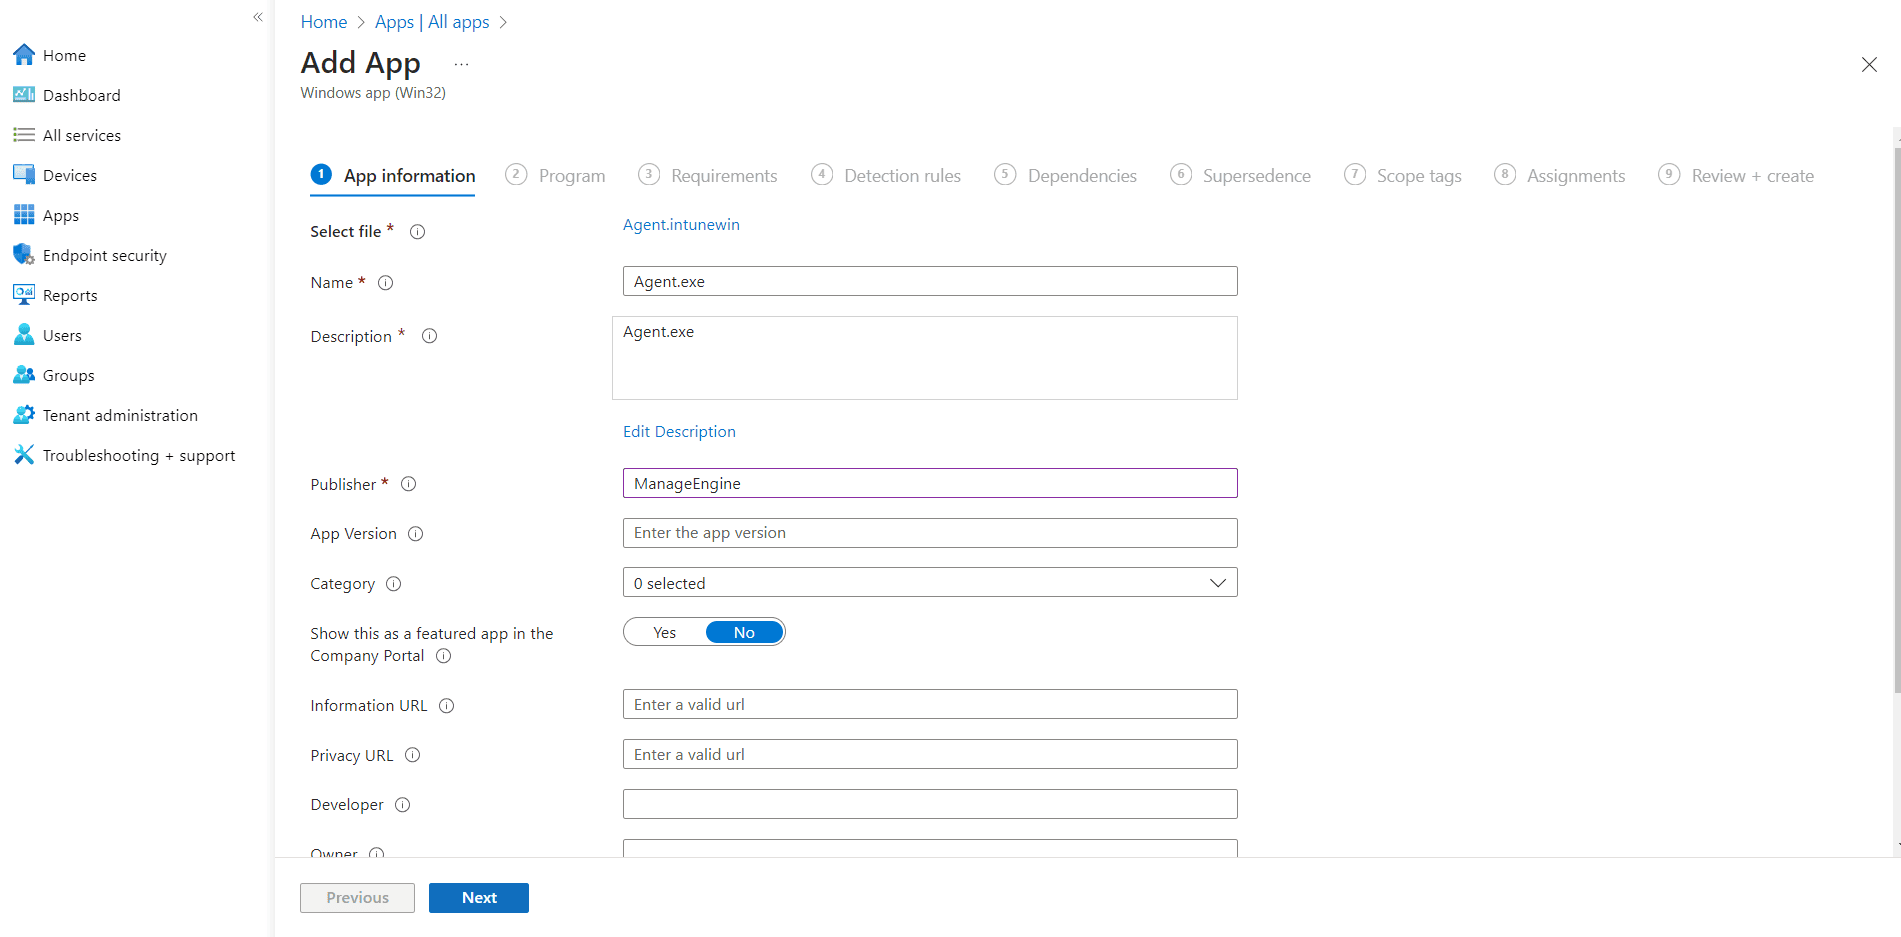
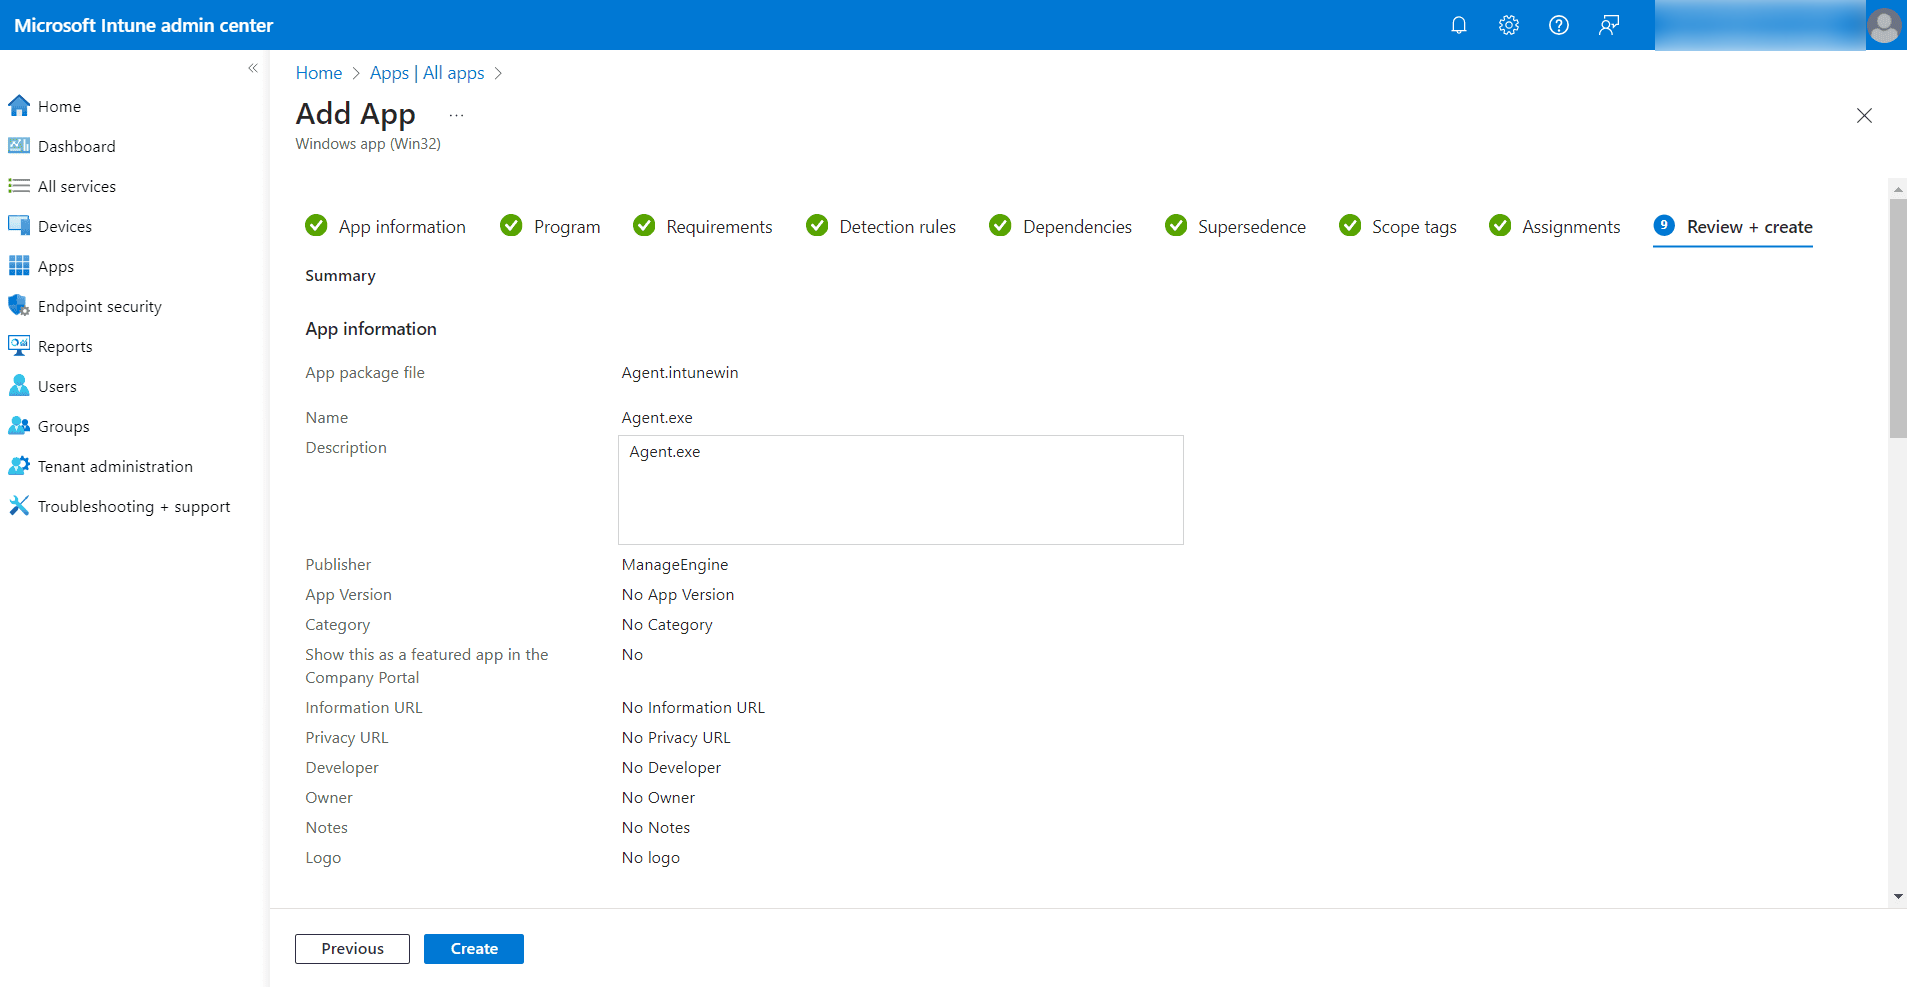
Step 3: Configure the Application in Microsoft Intune
- Log Into Intune:
- Access the Microsoft Intune Admin Center.
- Add New Application:
- Go to Apps > All Apps > Add.
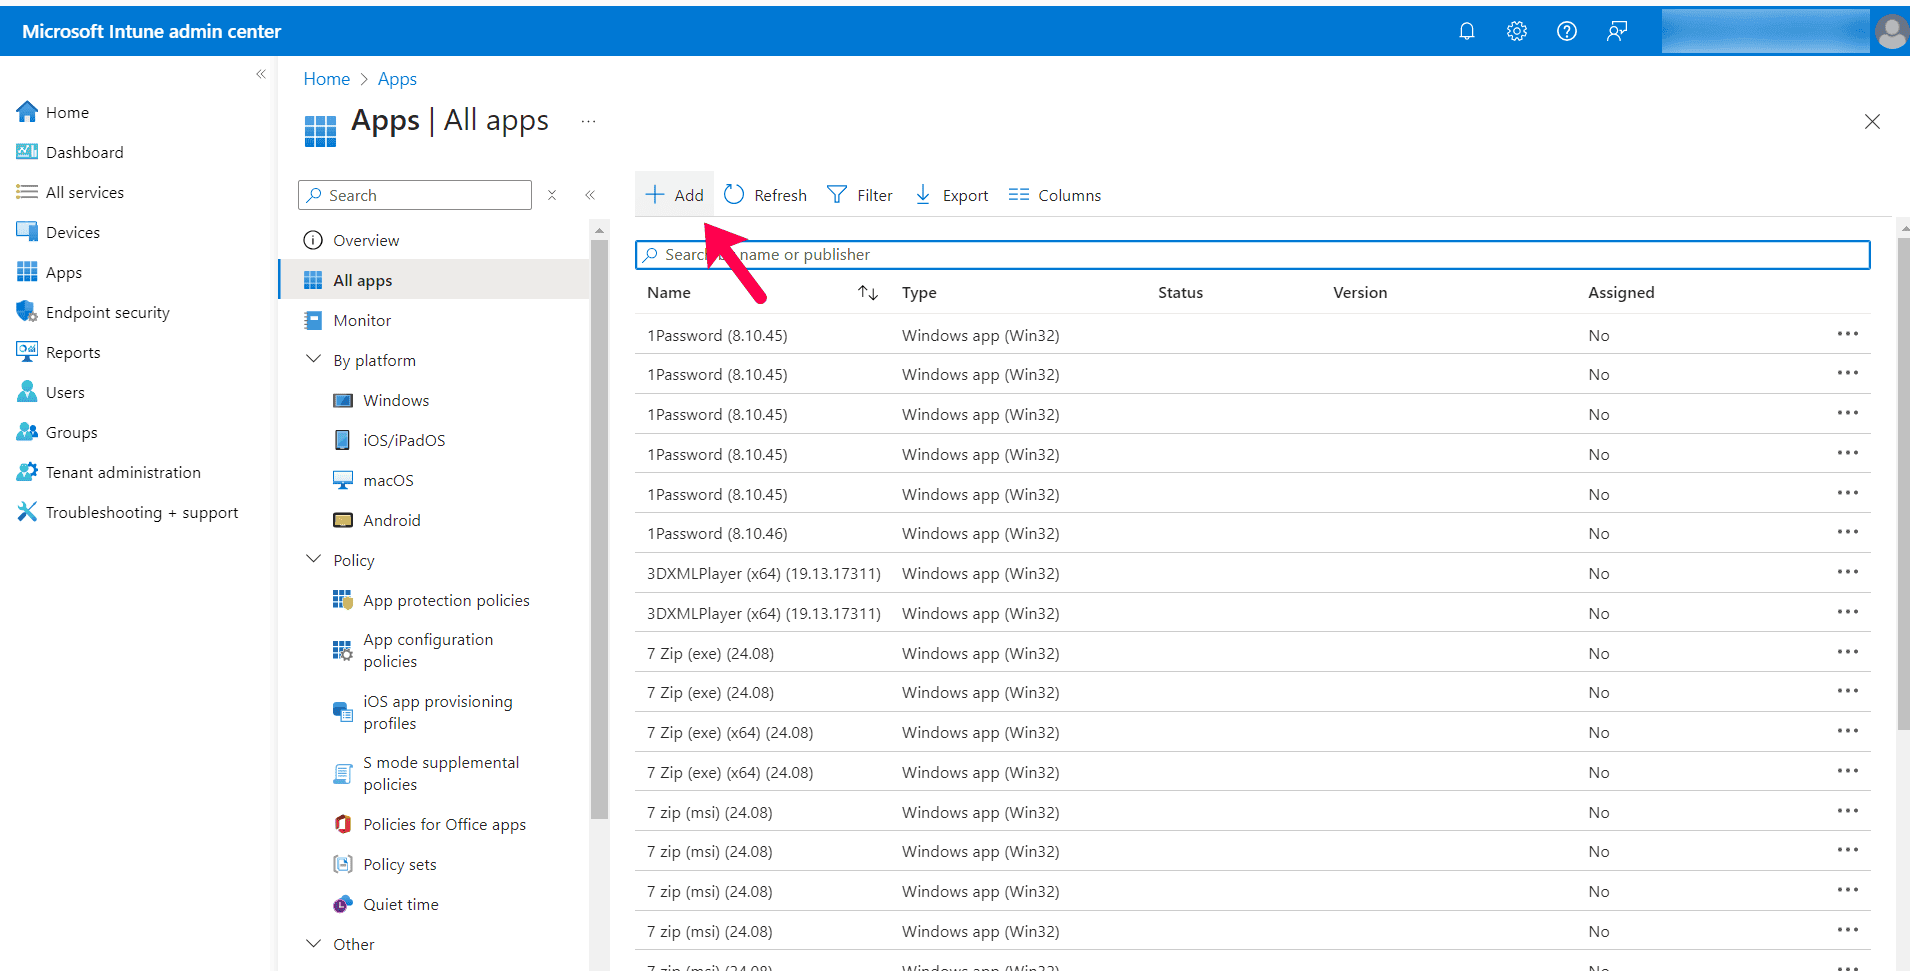
Choose App Type:
- Select Windows app (Win32)

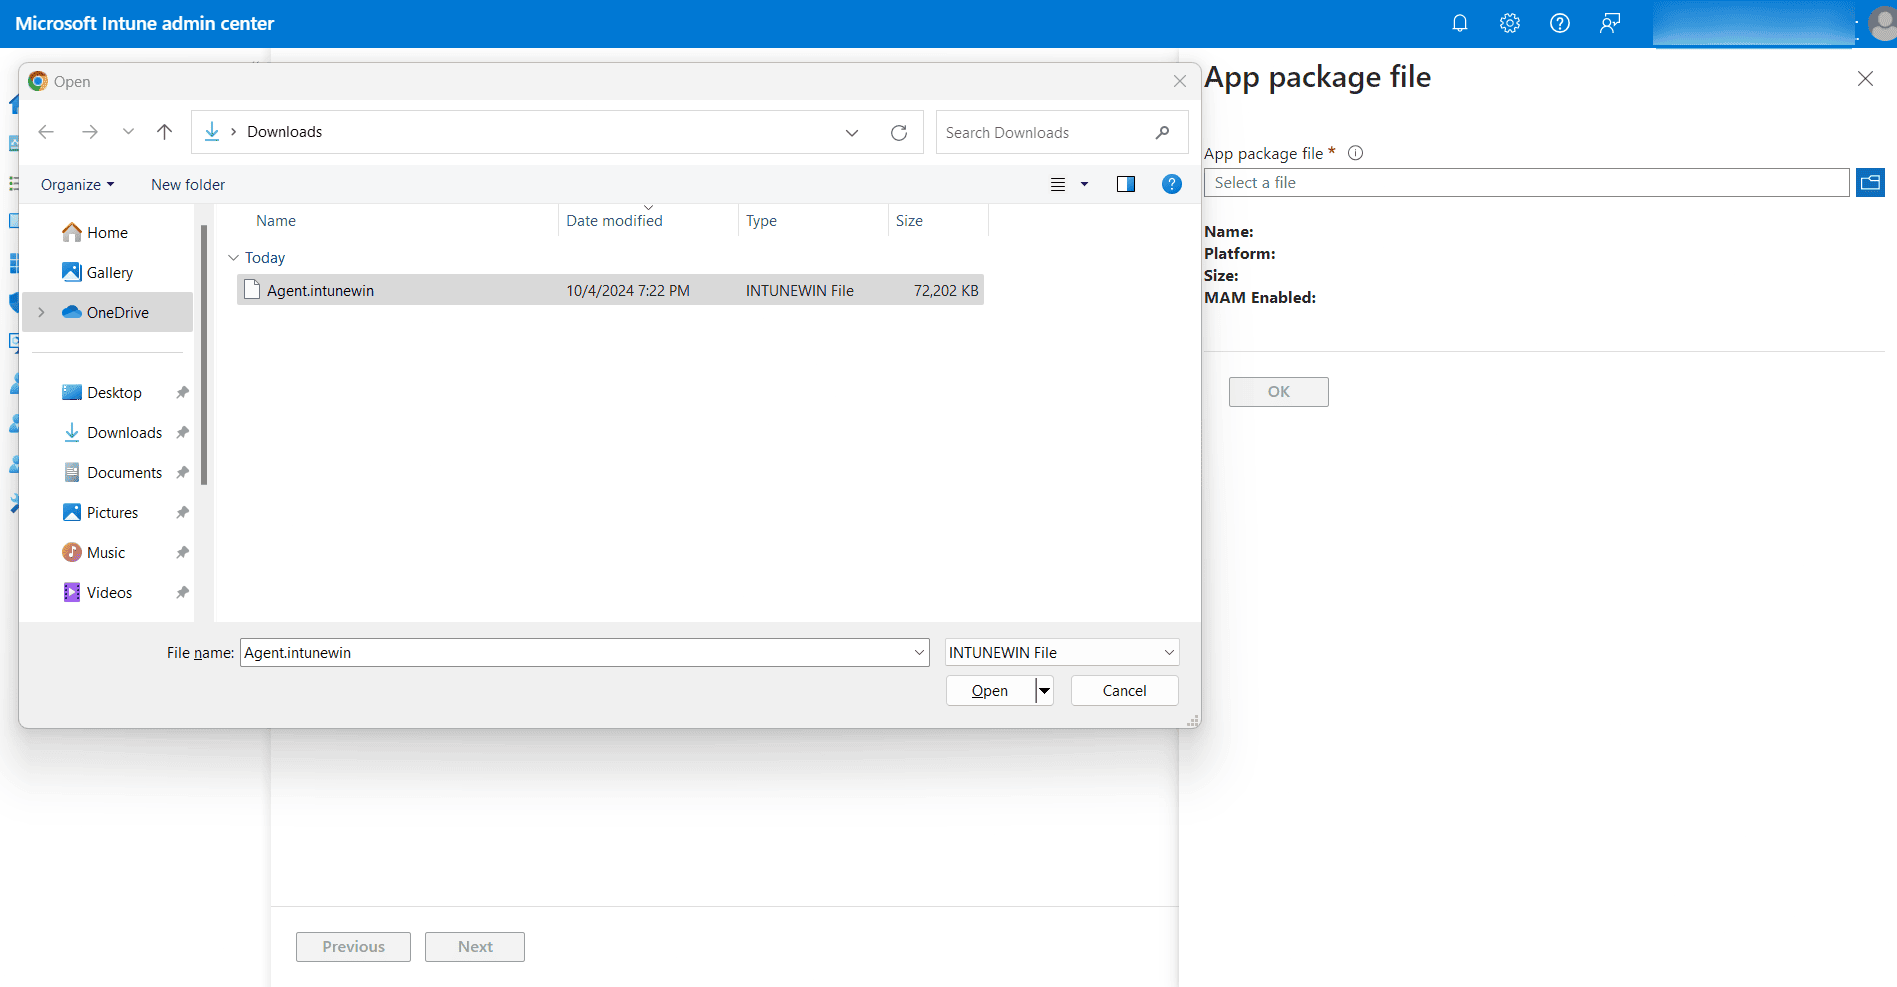
- Upload the Package:
- Choose the package file and navigate to
agent.intunewin.
- Choose the package file and navigate to
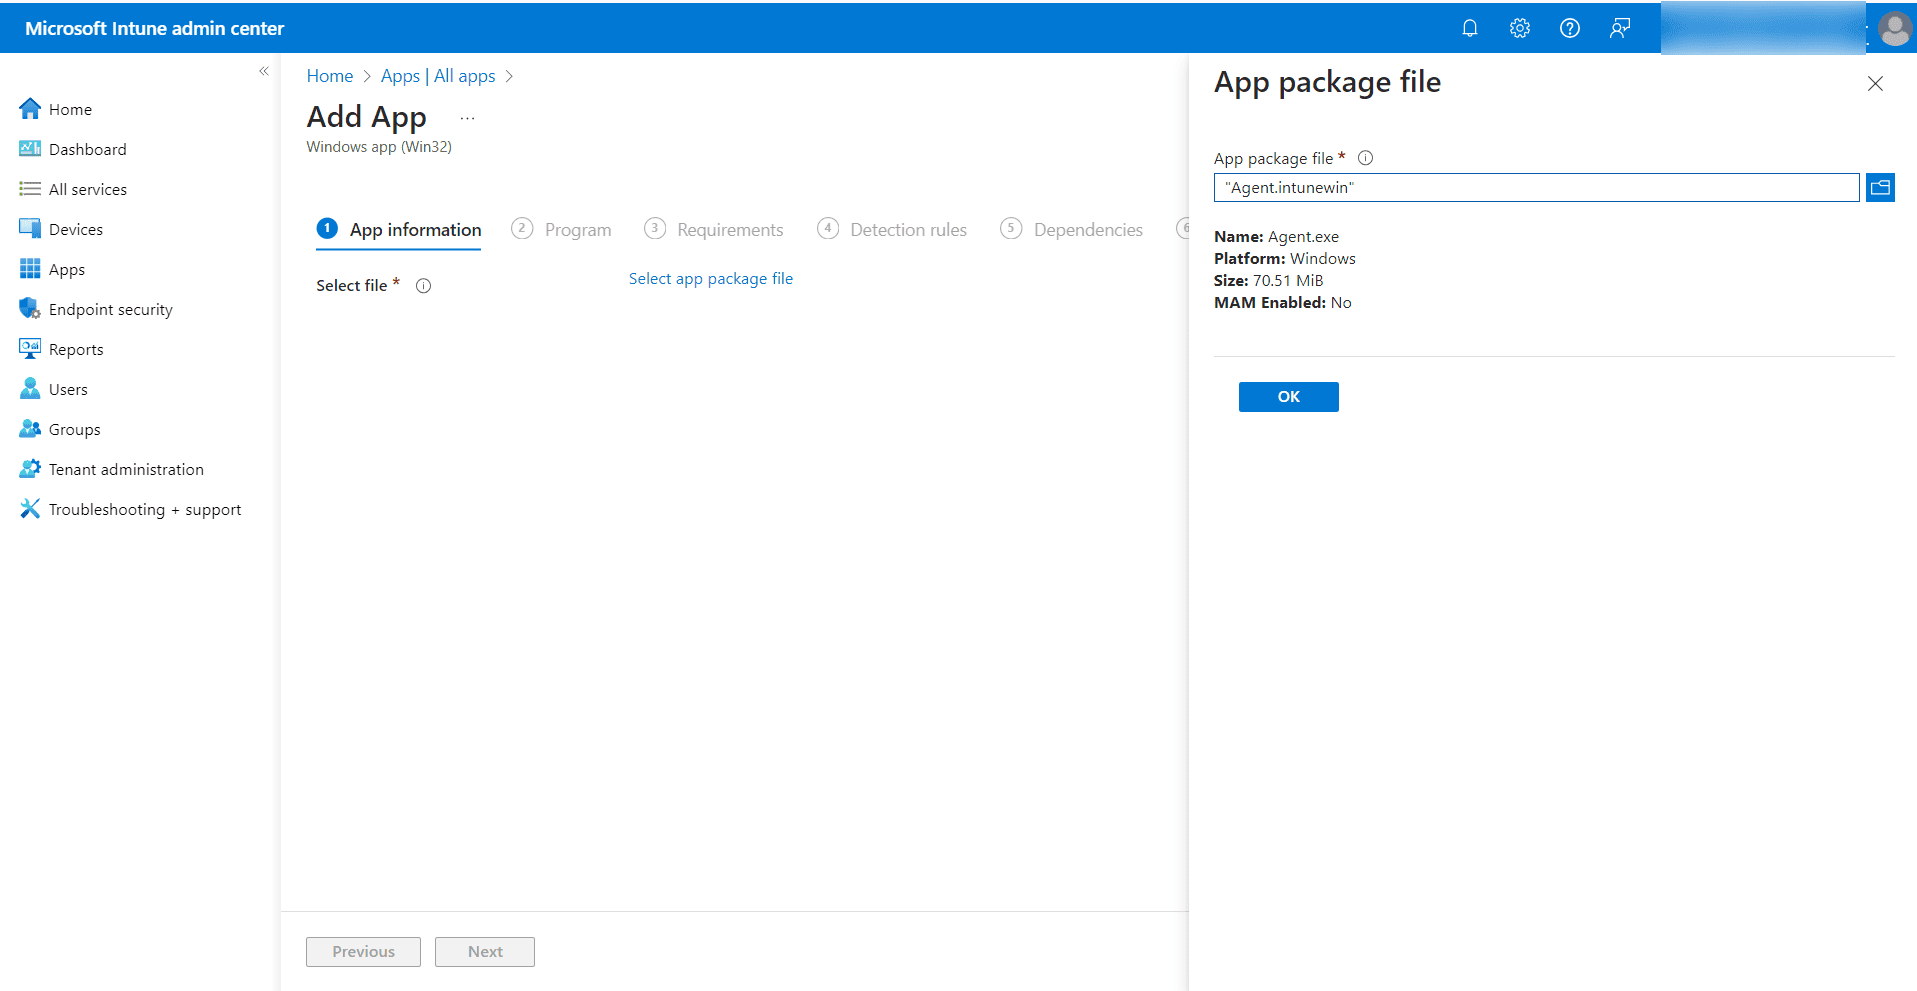
- Input Application Details:
- Provide the application name and publisher information, then click Next.
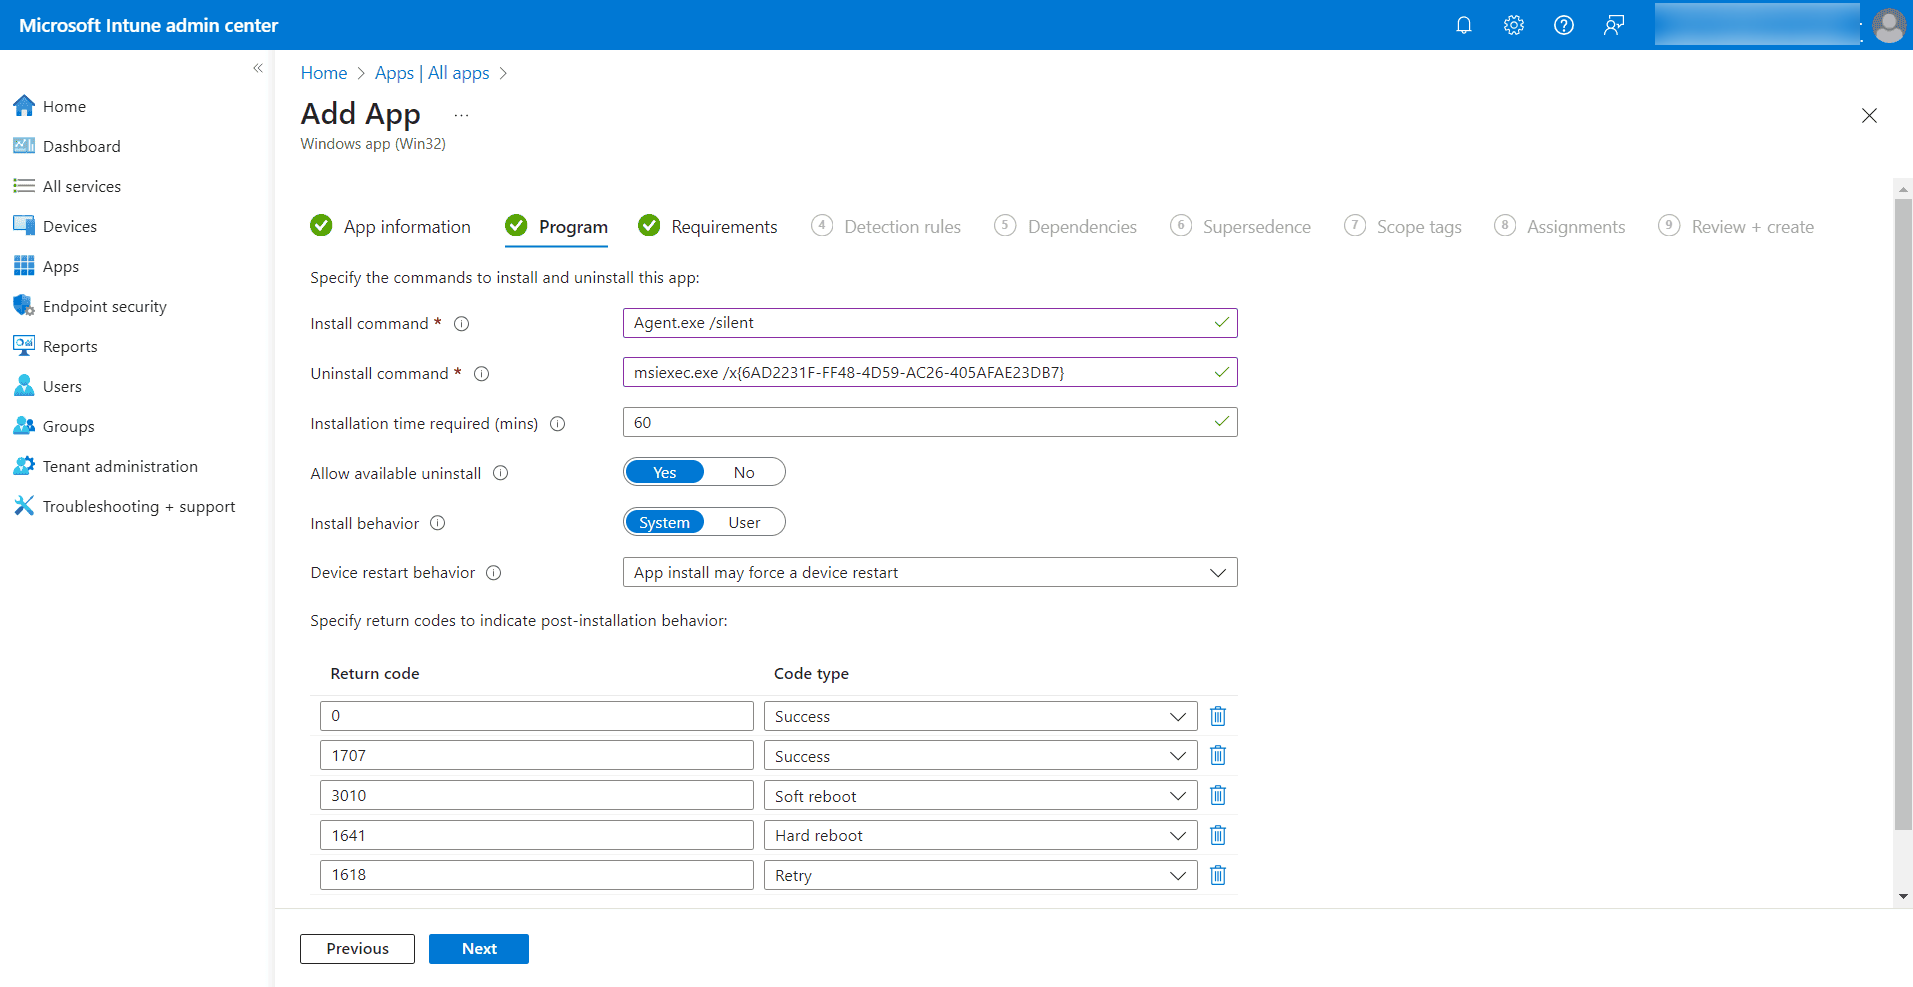
Step 4: Set Installation and Uninstallation Commands
- Program Configuration:
- Install Command:
Agent.exe /silent - Uninstall Command:
msiexec.exe /x{6AD2231F-FF48-4D59-AC26-405AFAE23DB7}
- Install Command:
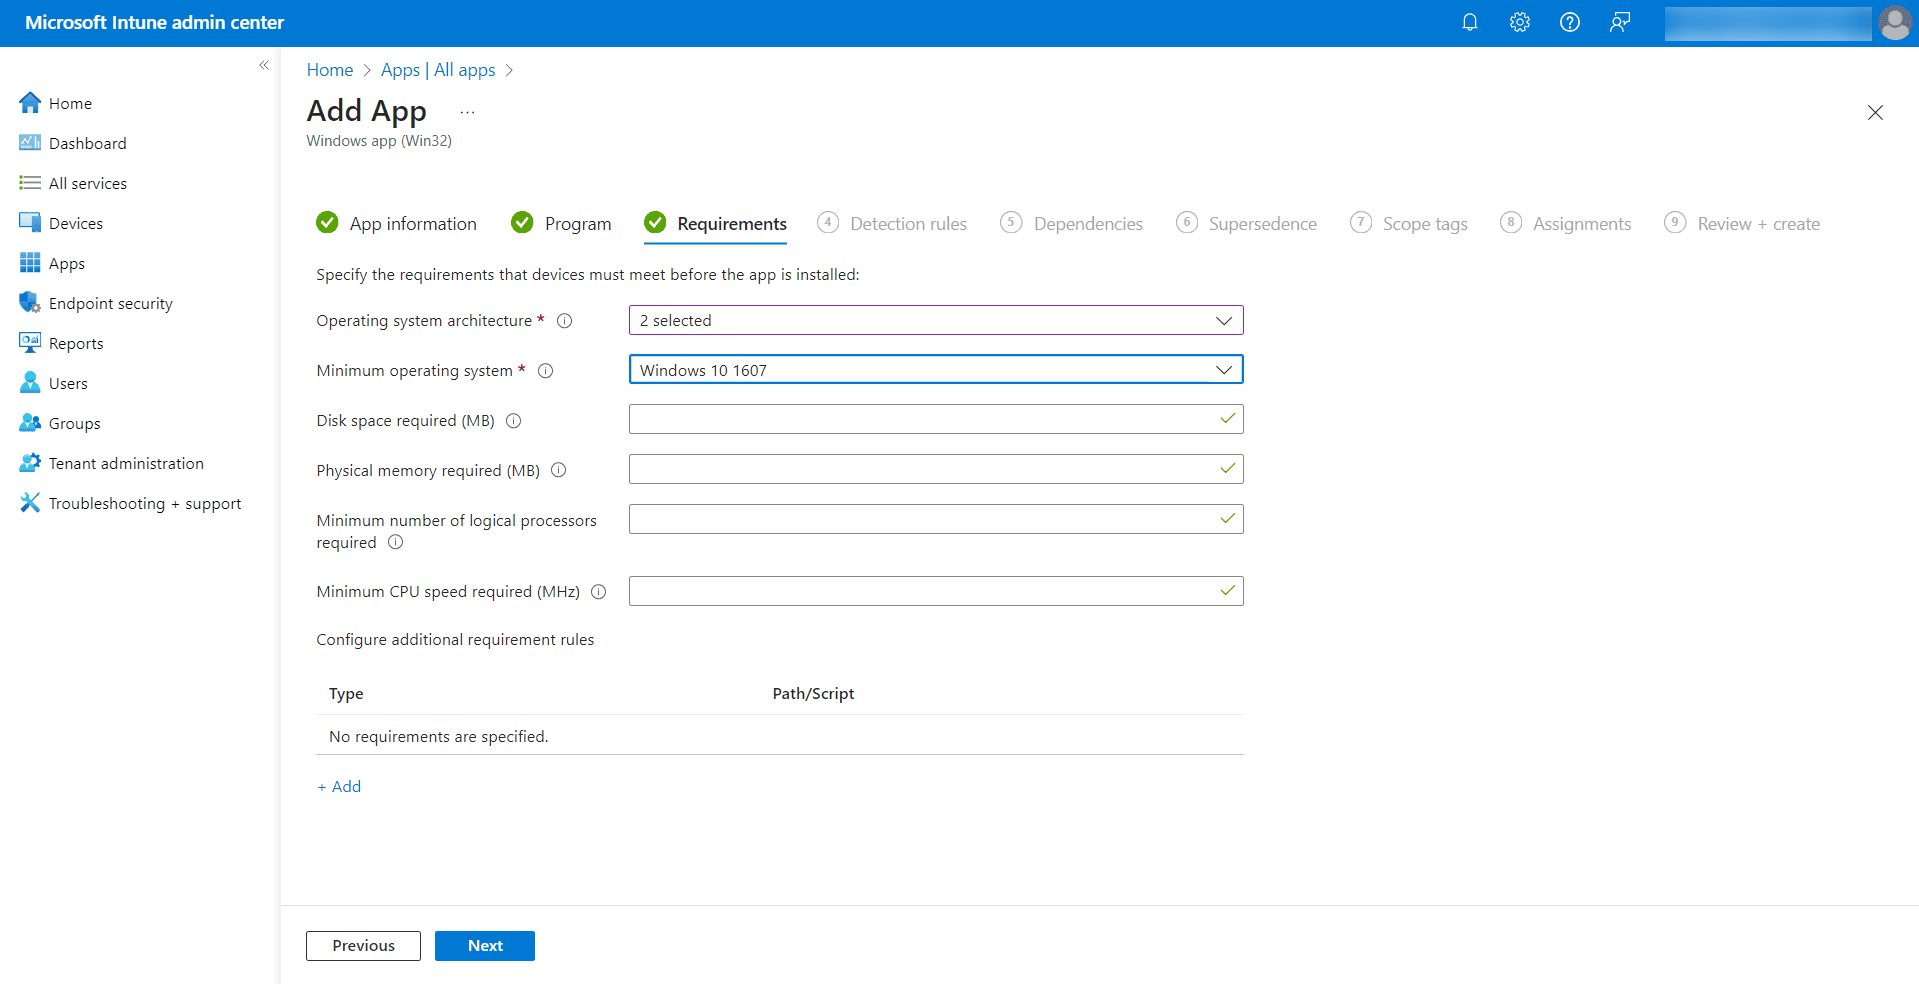
Step 5: Define System Requirements
- Requirements Tab:
- Operating System Architecture: Choose either 32-bit or 64-bit.
- Minimum Operating System: Set to Windows 10.
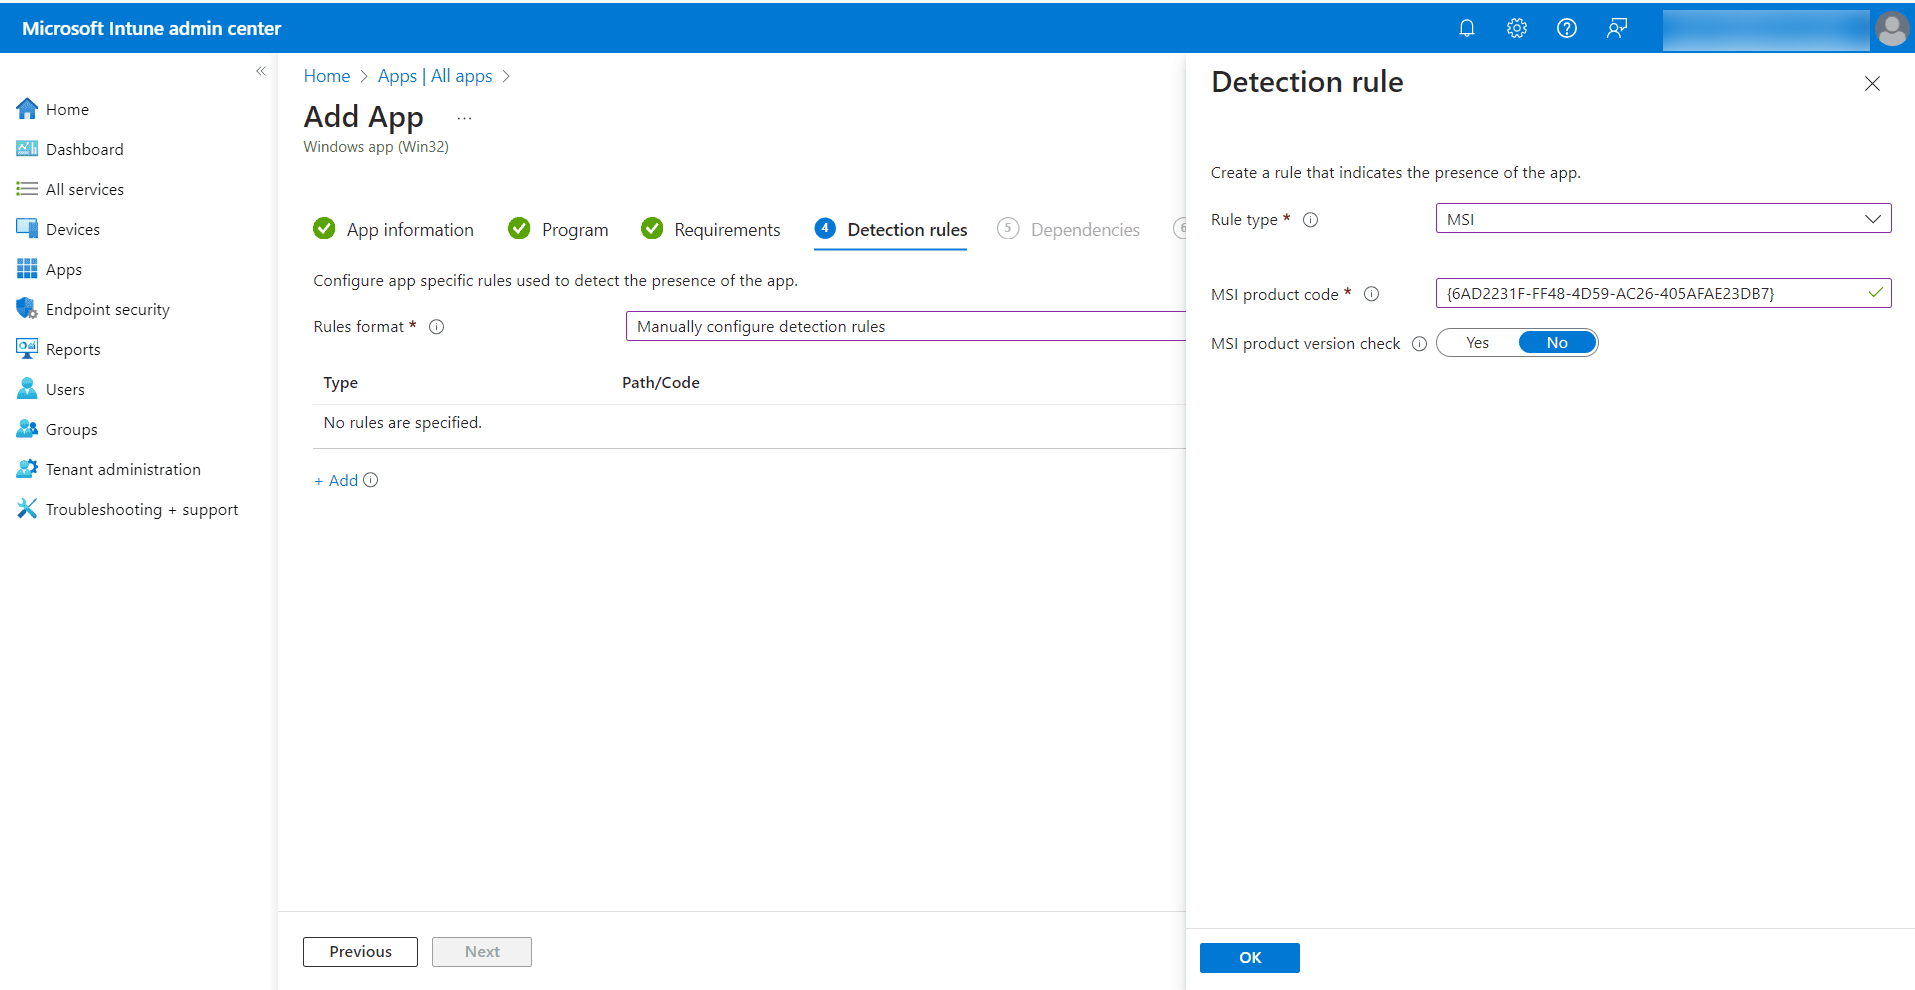
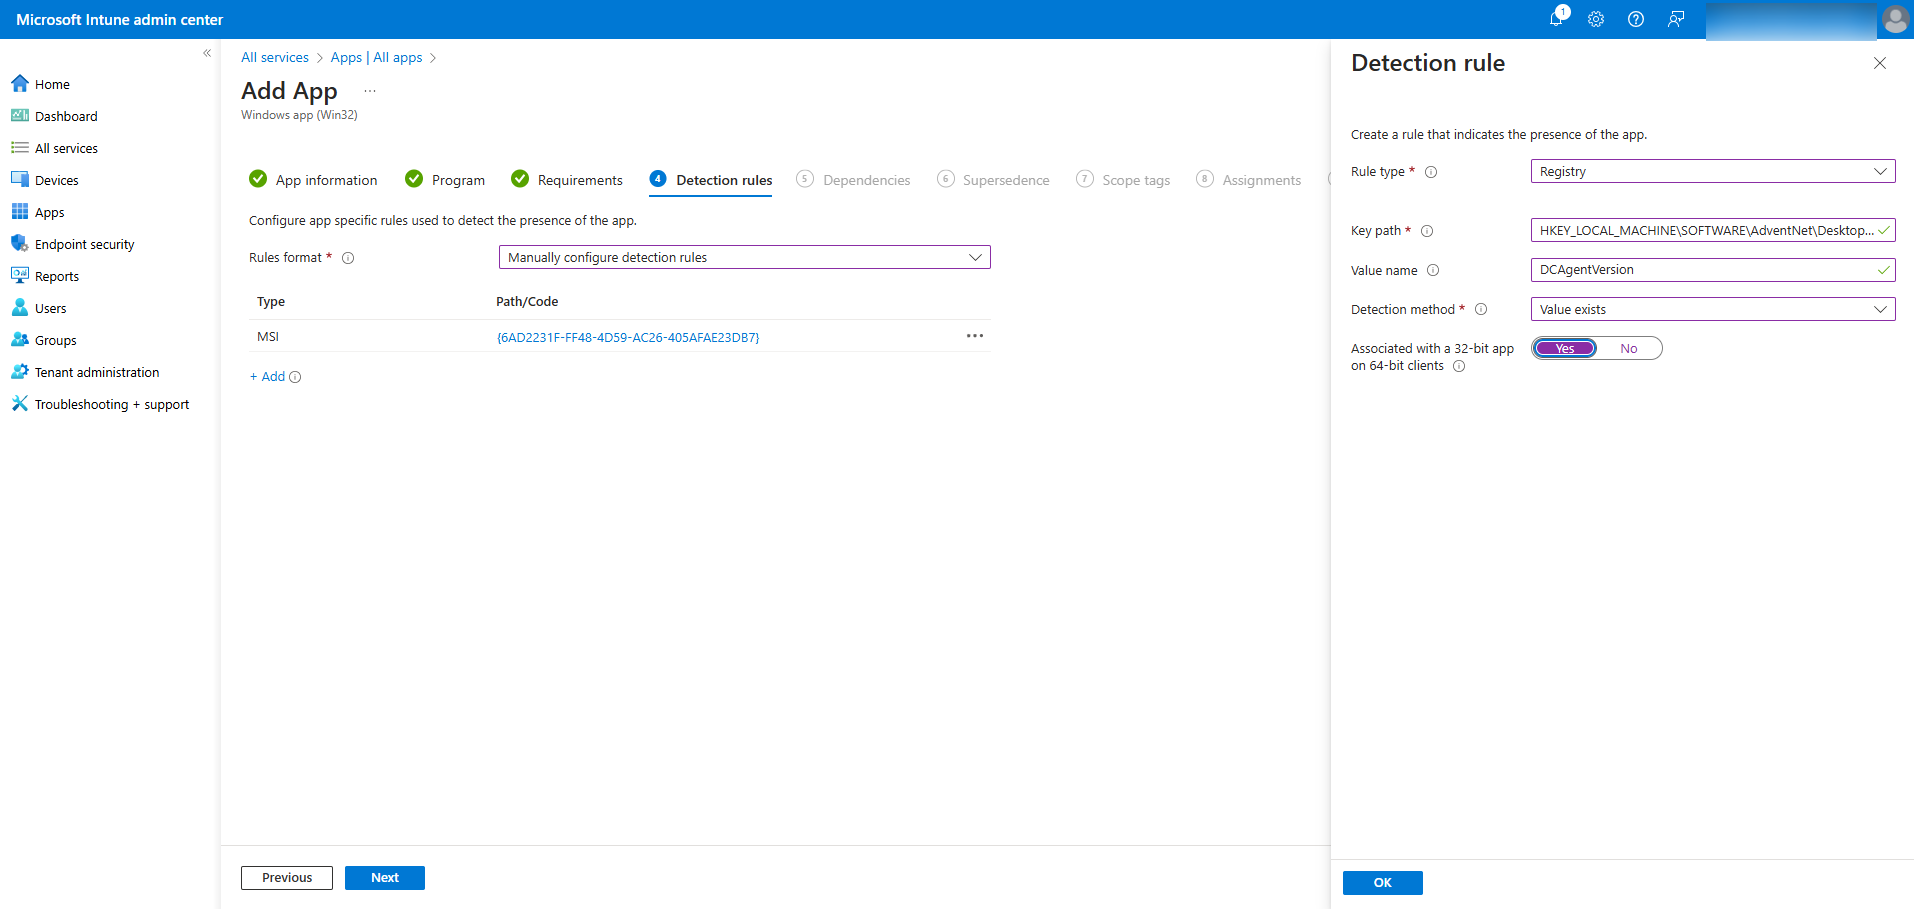
Step 6: Establish Detection Rules
- Configure Detection Rules:
- Select Manually configure detection rule.
- Click the + Add icon.
- MSI Detection Rule:
- Rule Type: MSI
- MSI Product Code:
{6AD2231F-FF48-4D59-AC26-405AFAE23DB7} - MSI Product Version Check: No
- Registry Detection Rule:
- Click Add again.
- Rule Type: Registry
- Key Path:
HKEY_LOCAL_MACHINE\SOFTWARE\AdventNet\DesktopCentral\DCAgent - Value Name:
DCAgentVersion - Detection Method: Value exist
- Associated with a 32-bit app on 64-bit clients: Yes
Step 7: Assign the Application
Assign the application to selected pilot users or to all users based on your deployment needs.
Conclusion
This guide provides clear instructions for deploying the Microsoft Intune Service without a storage account. Follow these steps for an efficient setup and deployment process.