☰
Exchange Reporter Plus allows you to create alert profiles to get real-time updates while auditing the actions you prefer. These alerts provide insights on the critical events happening within the Exchange environment and are categorized based on severity levels.
Alerts for specific events that require immediate action like a non-owner user gaining access to a mailbox or database dismounting can be configured and sent to admin or other stakeholders. This can help in detecting the issues soon and taking a quick follow up action. Alerts are sent as email or SMS notifications.
Alerts can be configured using the Exchange Server → Alerts option in the LHS under Audit tab. When the Alert option is clicked, a window appears using which the following actions can be done.
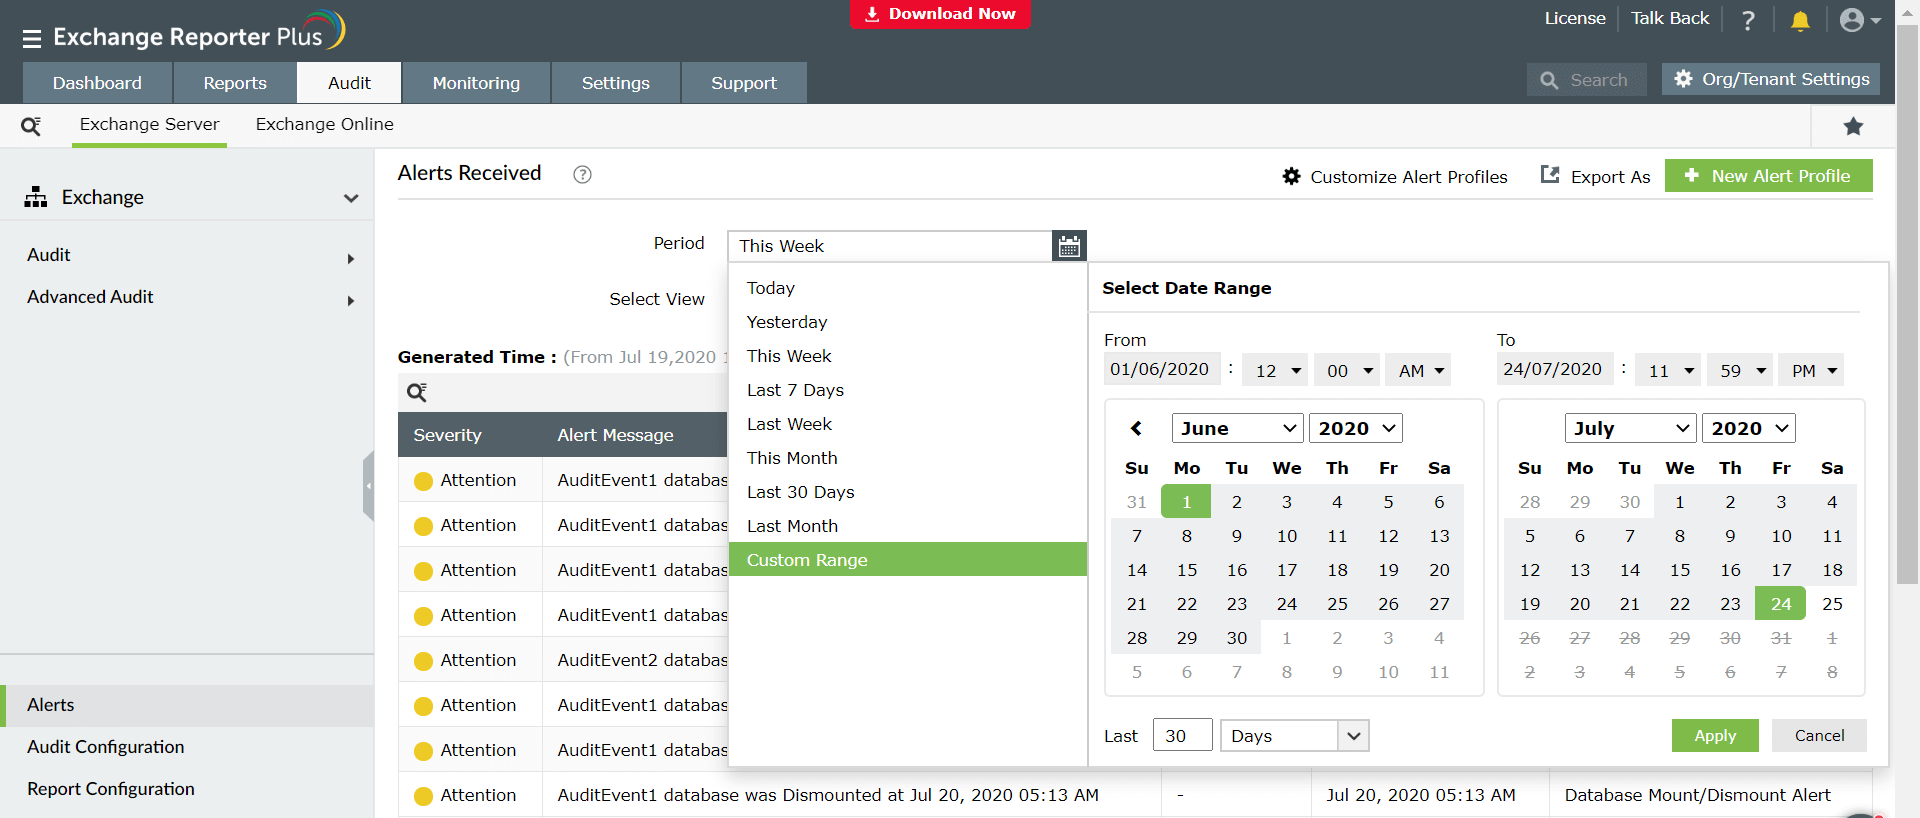
All alerts are displayed with the severity of the alert, the alert message received and the alert time stamp in the default view. The alert view can be customized using the period selection and the view type. By applying the period selection and view option, only the alerts of selected severity level within the specified time period will be displayed.
Alerts are notifications about important events that require immediate attention. Audit Alerts on the product’s home page at the top-right corner show the alerts in dashboard form for quick access. The Alerts option on the top-right corner of the Exchange Server and Online auditing tab also displays notification of alerts under various severity levels.
In addition to the alert notification, you can also get details of its severity, alert message, and alert time. You can export these reports to CSV, PDF, HTML, XLS or XLSX formats using the Export As option available on the top-right corner of the window.
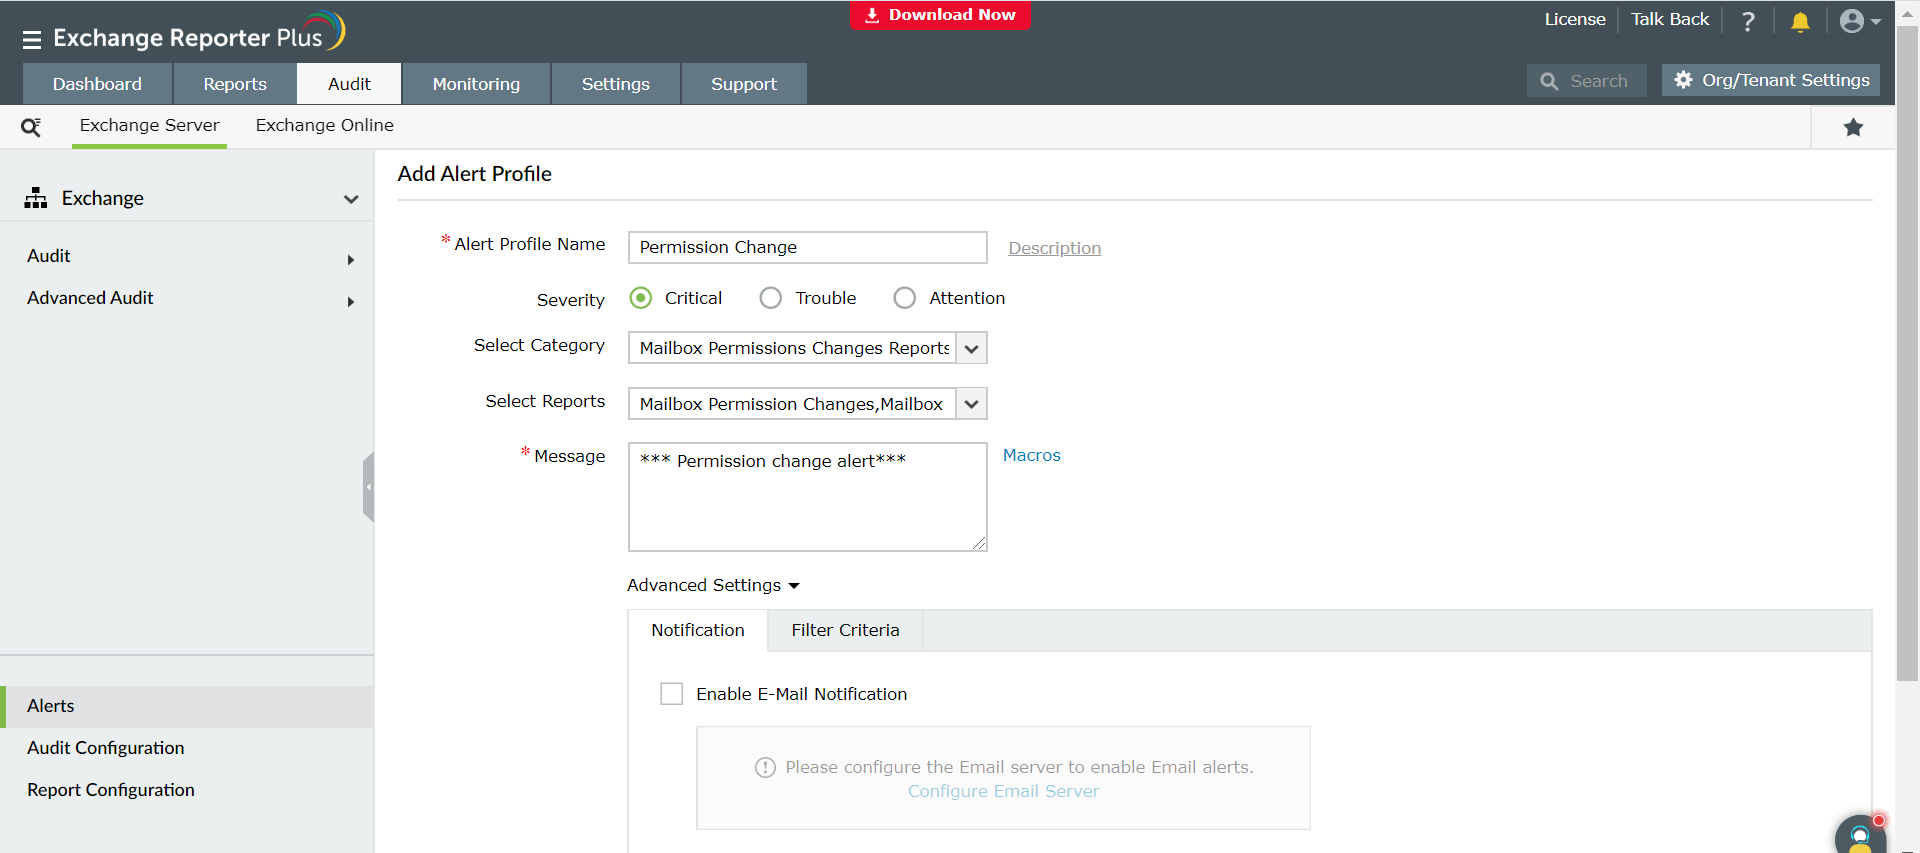
To create a new alert profile, follow the steps given below:
All the alert profiles can be customized after creation. Navigate to Alerts → Customize Alert Profiles where all the alert profiles are listed and can be customized as follows:
To enable or disable an alert profile:
To edit an existing alert profile:
To delete an alert profile:
If an email or SMS notification was not configured for an alert profile initially, you can use the Configure option corresponding to the alert profile to add it now. To configure email or SMS notification:
Note: You can also use the Alert Settings options at the top-right to choose the number of days you want to retain the alerts for. You can choose to retain the alert indefinitely.
Copyright © 2024, ZOHO Corp. All Rights Reserved.
 ADManager Plus
 ADAudit Plus
 ADSelfService Plus
 M365 Manager Plus