Endpoint Central MSP Integration with ConnectWise PSA
This guide will walk you through the process of integrating Endpoint Central MSP with ConnectWise PSA, enabling you to efficiently manage your systems. Follow these steps to seamlessly connect the two platforms.
Prerequisites
Before you begin the integration, ensure you have the following information ready:
In ConnectWise PSA:
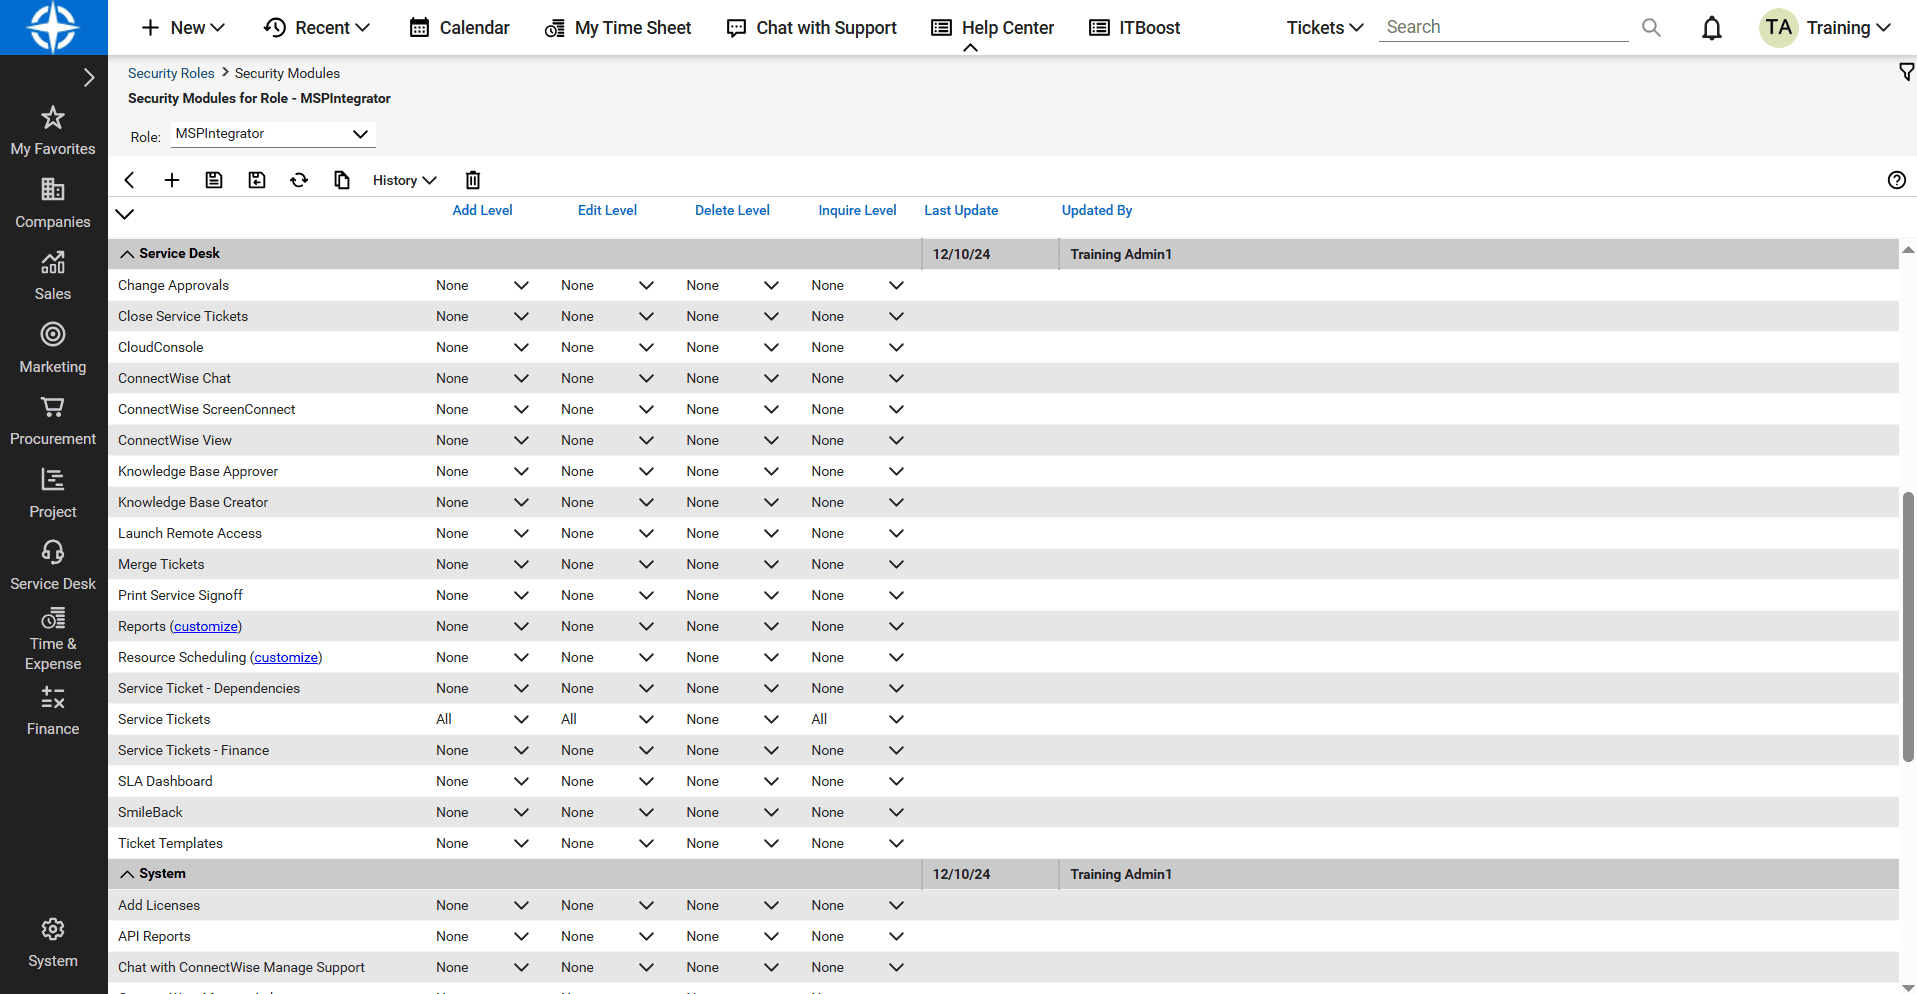
- Create a Role: Refer to the documentation for instructions on creating an integration role in ConnectWise PSA with the necessary permissions.
- Create an API Member: Follow these steps to create a new ConnectWise API member who will manage the integration and assign the newly created role to this member:
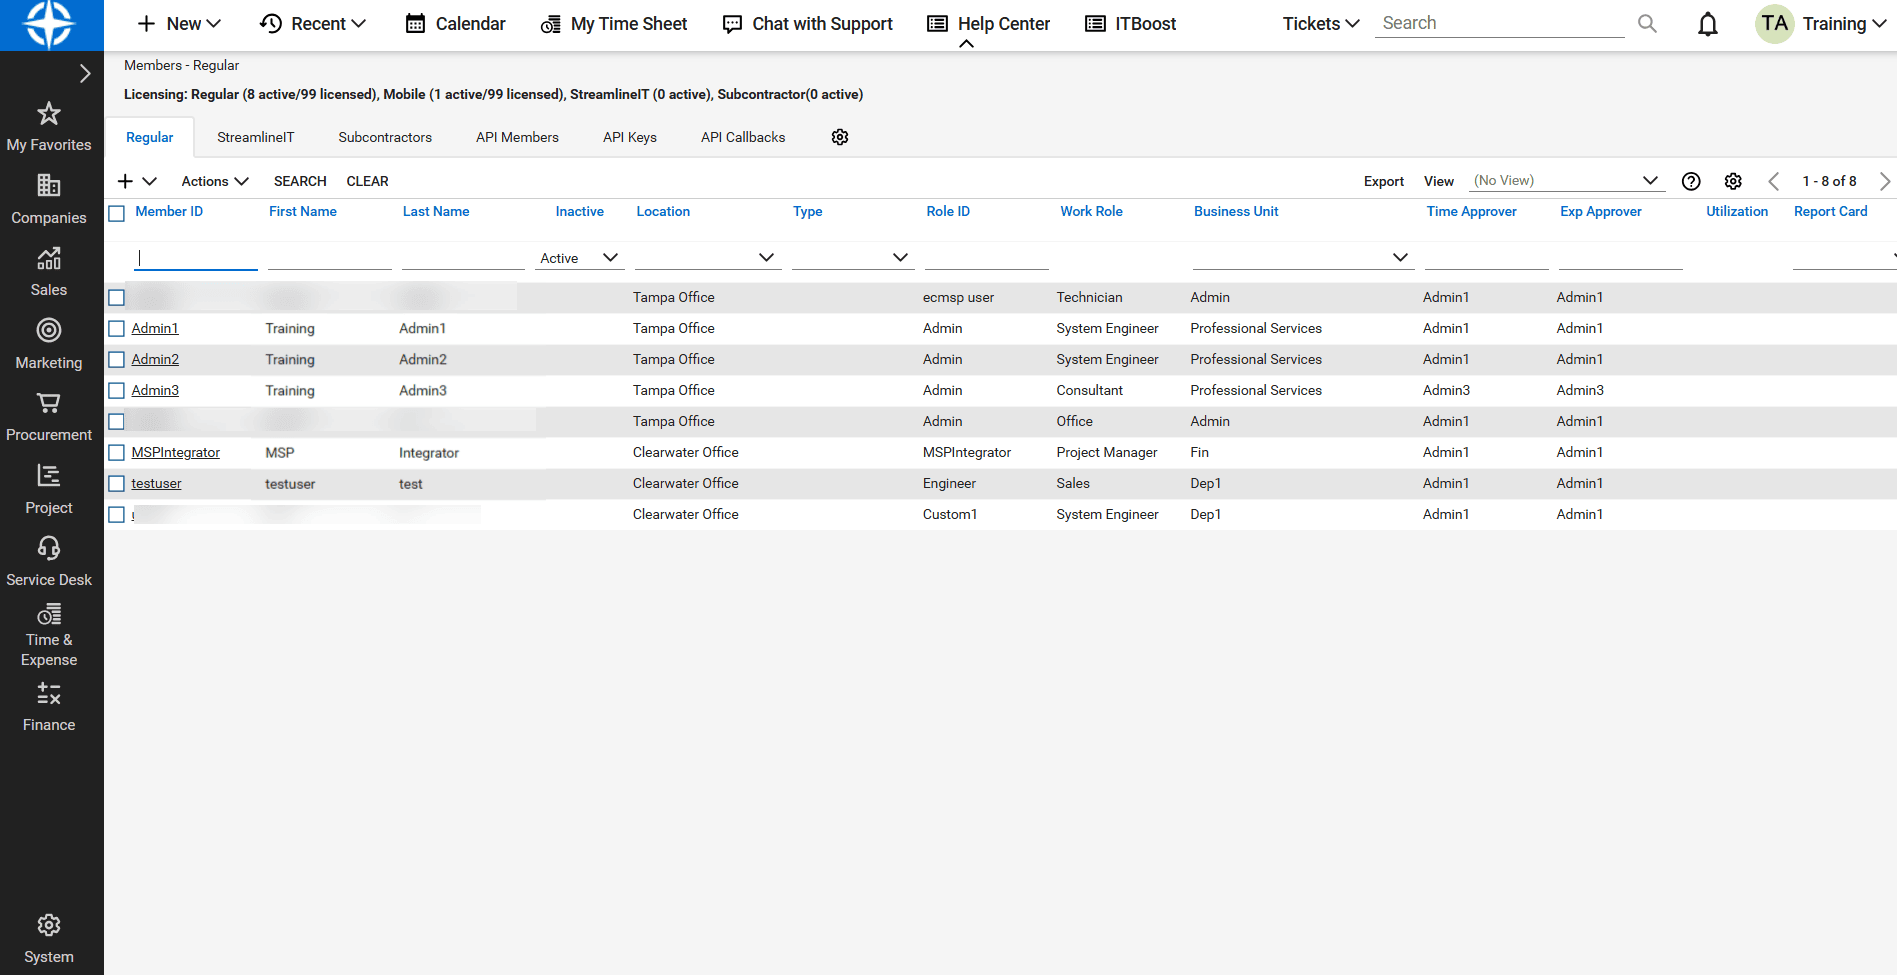
- Login to ConnectWise PSA and navigate to System -> Members.
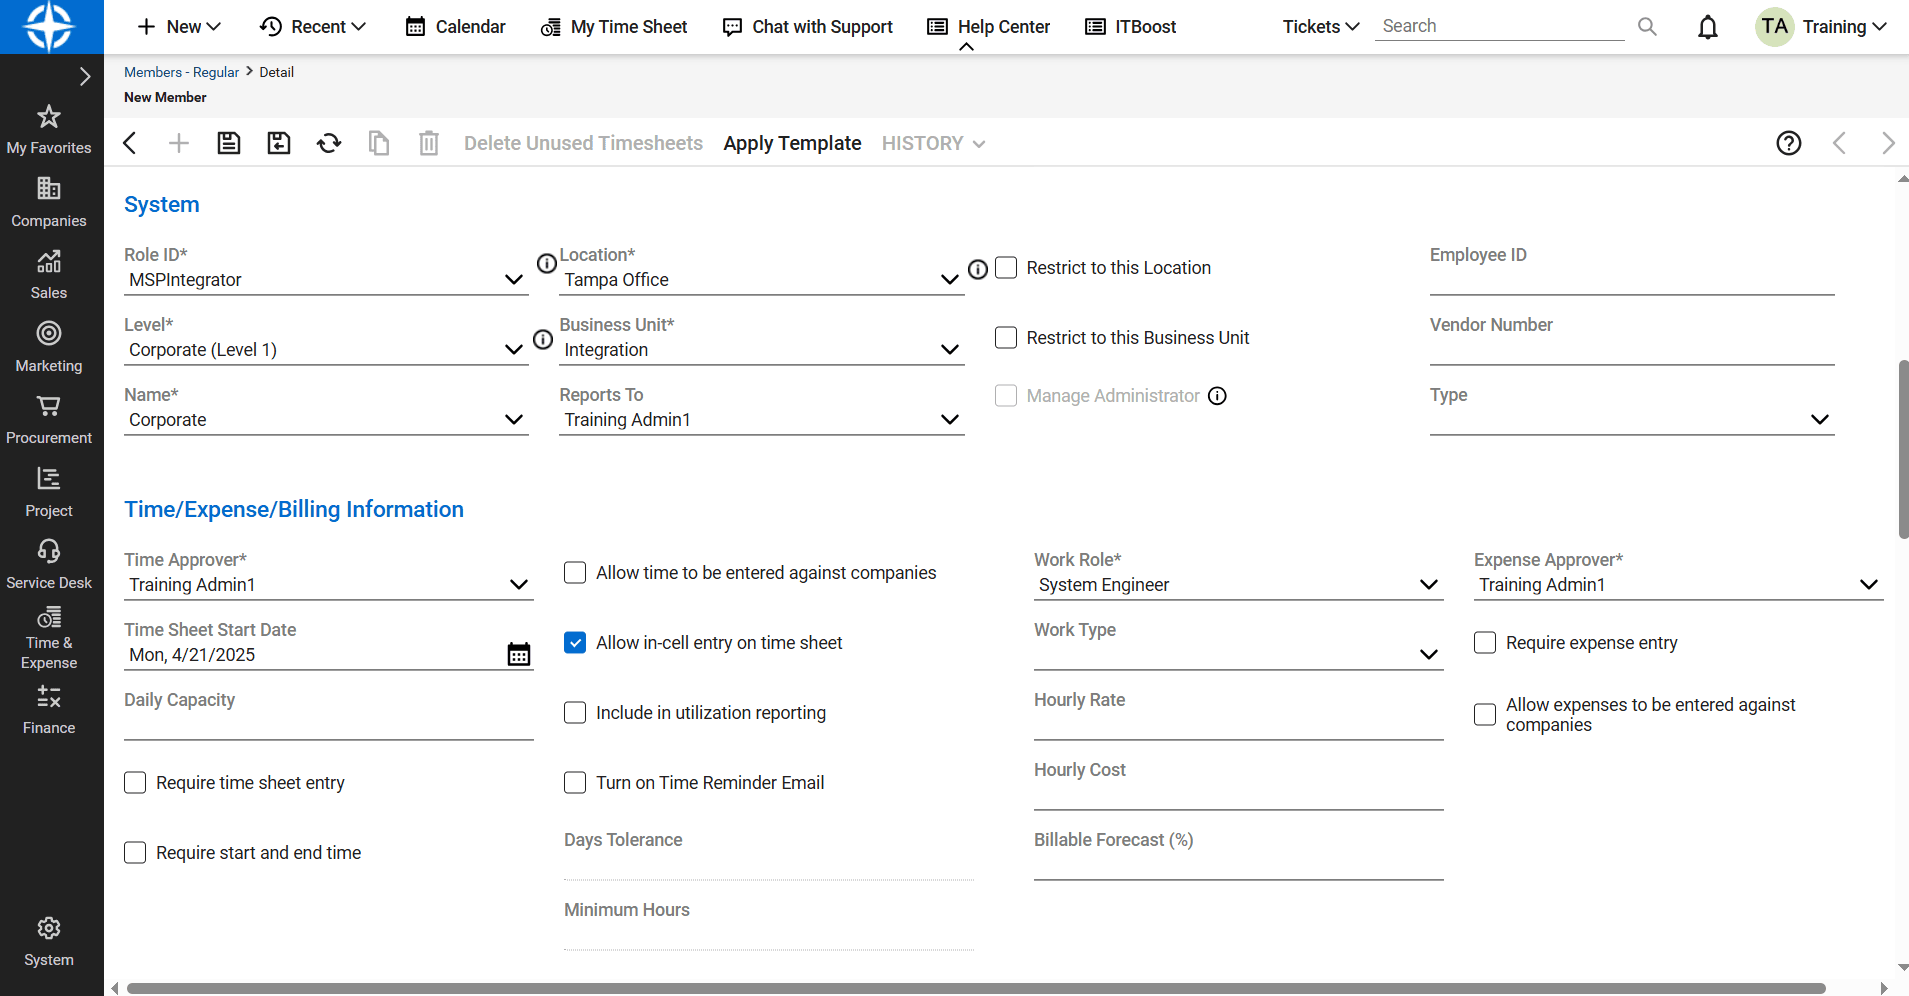
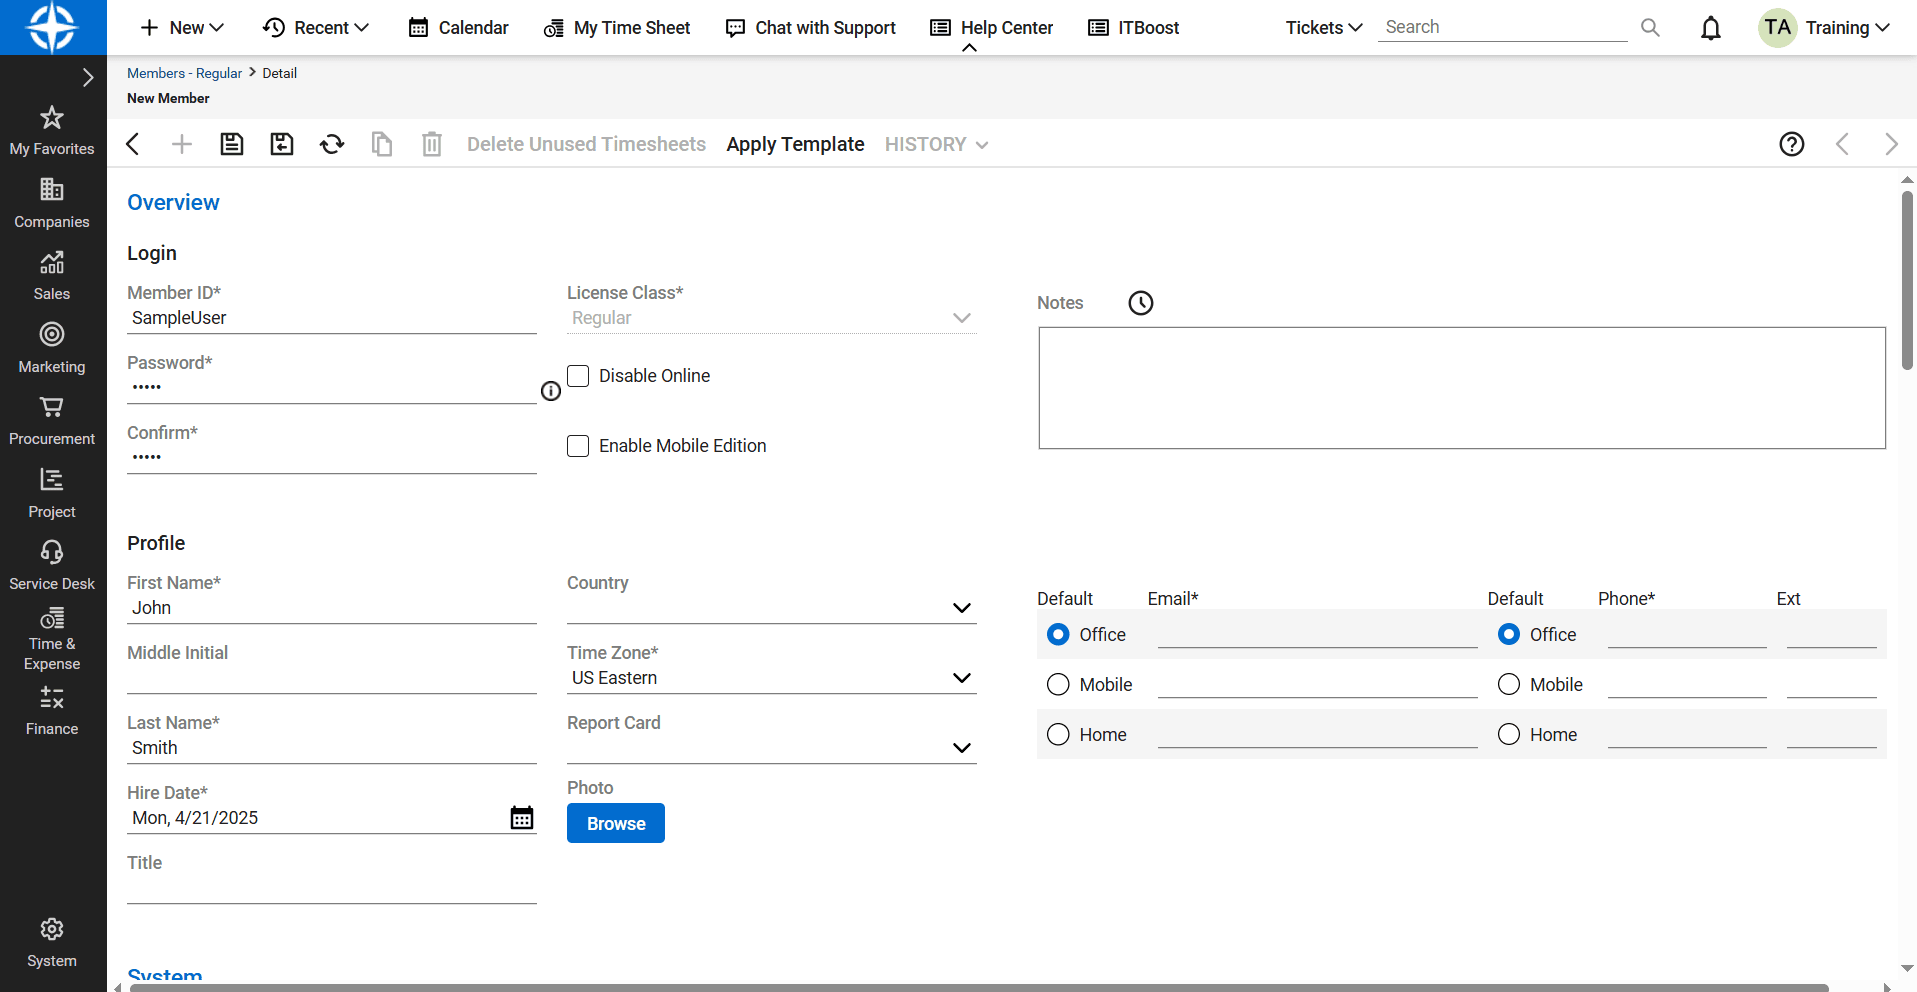
- Go to the API Members tab and click the "+" icon to create a new API member.
- Fill in member details such as name and ID, and associate the integration role with this member.
- Click the Save icon.
- Generate API Keys: Generate API keys to securely authenticate Endpoint Central MSP with your ConnectWise PSA instance. Follow these steps:
- Login to ConnectWise PSA and navigate to System -> Members.
- Go to the API Members tab and select the newly created member.
- Navigate to the API Keys tab and click the + button.
- Enter a description for the public API key and click the Save icon.
You have successfully created the public key and private key required for this integration. Note both the keys down as they will be needed later for the integration.
Get Client ID: Obtain the Client ID, which will be used for authentication during the integration. To generate the client ID, visit this page and follow these steps:
- Enter name, email & description of the integration
- Integration type: Private
- Product: Manage
- Click Submit
You have successfully created the client ID required for this integration. Note down the Client ID as it will be needed later for the integration.
Steps to Integrate
Once you have gathered the public key, private key, and the client ID from ConnectWise PSA, follow these steps to complete the integration:
- Login to Endpoint Central MSP: Access your Endpoint Central MSP dashboard using your credentials.
- Navigate to ConnectWise PSA Settings:
- In the dashboard, go to Admin -> Integrations -> ConnectWise PSA Settings.
- Enter ConnectWise PSA Details: Enter the ConnectWise Server URL and fill in the public key, private key, and client ID you obtained earlier.
- Choose Features to Integrate: Select the specific features you want to integrate with ConnectWise PSA.
- Asset Data Sync: This feature ensures that information about your endpoints, collected during scheduled scans, is consistently and automatically pushed to ConnectWise PSA. Enable this feature if you want real-time updates on the status and configuration of your endpoints in ConnectWise PSA.
- Logging Help Desk Tickets: This feature allows you to log help desk tickets directly from the agent tray icon in Endpoint Central MSP to ConnectWise PSA. Enable this feature if you want a streamlined way to manage and respond to support requests and issues raised by your users within ConnectWise PSA.
- Initiate Integration: After configuring the required settings and selecting the desired features, click the Integrate button to complete the integration process.
*Note:This feature is not yet available in the cloud version.
You have successfully integrated Endpoint Central MSP with ConnectWise PSA, streamlining your management processes and improving efficiency.
Automatic Customer Mapping
Customer mapping is a crucial aspect of integrating Endpoint Central MSP with ConnectWise PSA. It ensures that your customer information remains synchronized between the two solutions. Here's how customer mapping works:
- When you integrate the two platforms, existing customers in Endpoint Central MSP will be checked against Connectwise PSA companies based on the identifiers. If a match is found, the mapping will occur automatically.
Managing Customer Mapping
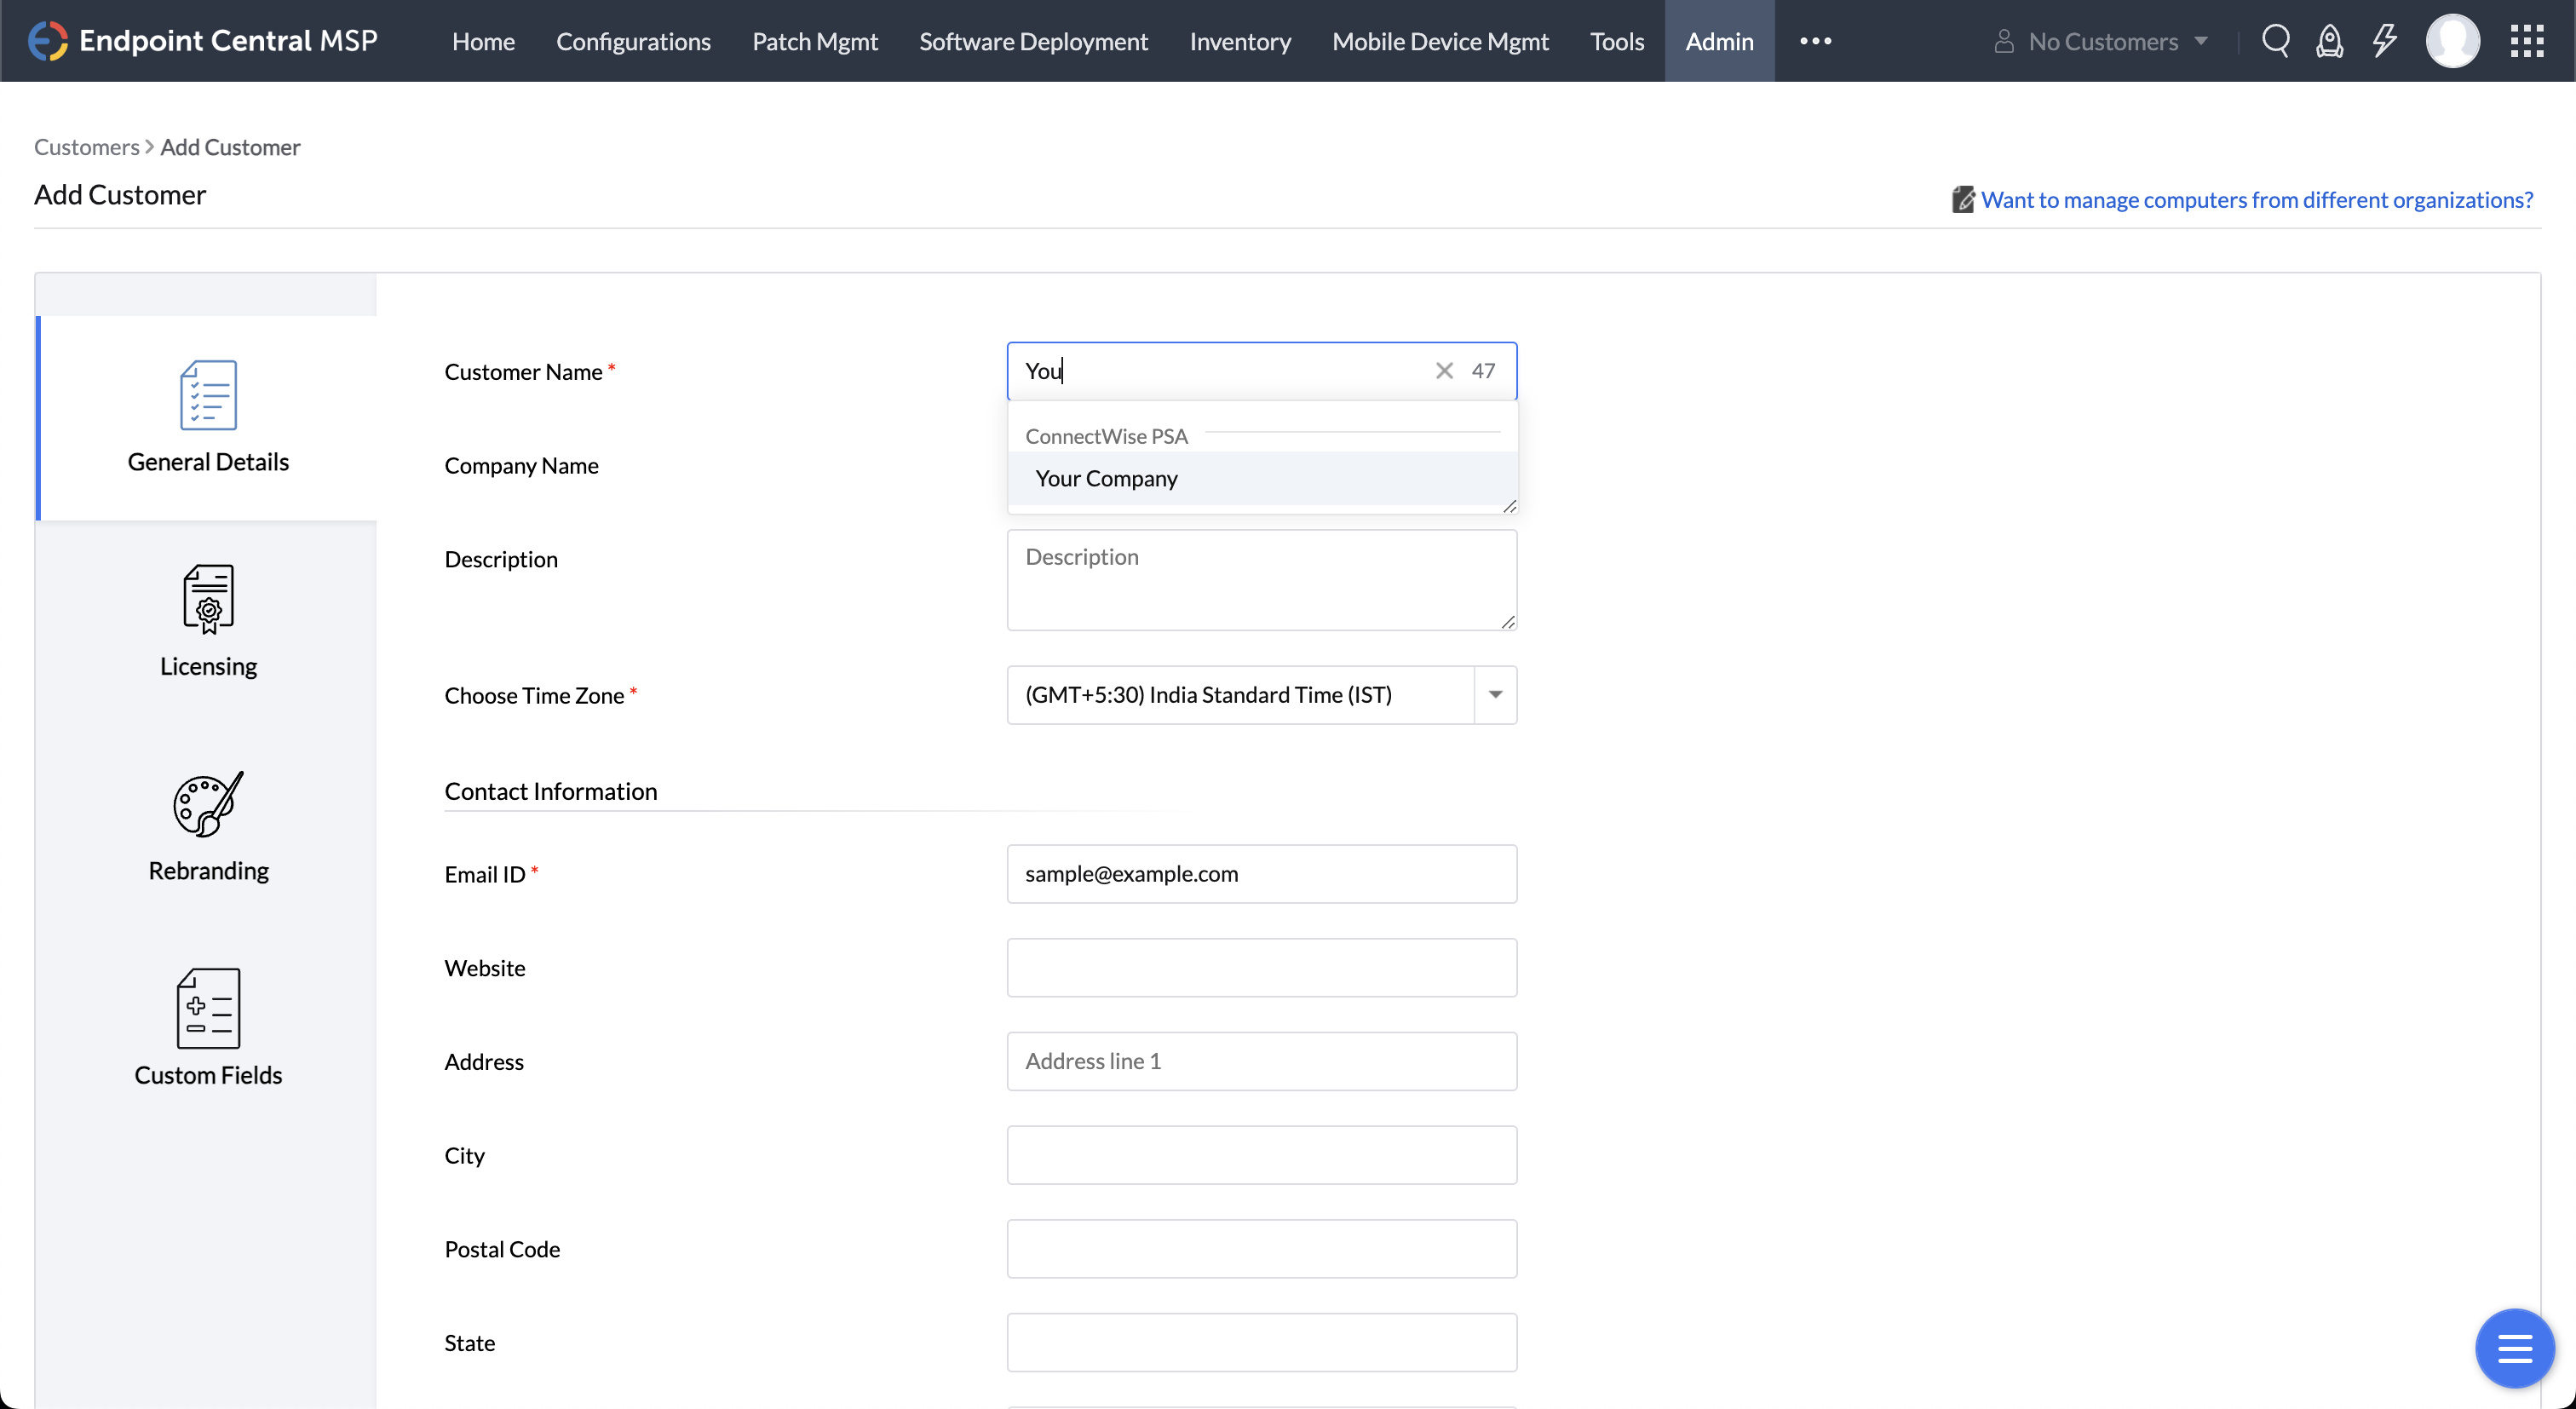
Creating a New Customer
When you create a new customer in Endpoint Central MSP after integration, you will have the list of all companies from Connectwise to map it when you enter the customer's name.
Manual mapping
If you need to manually map a customer between Endpoint Central MSP and ConnectWise PSA, follow these steps:
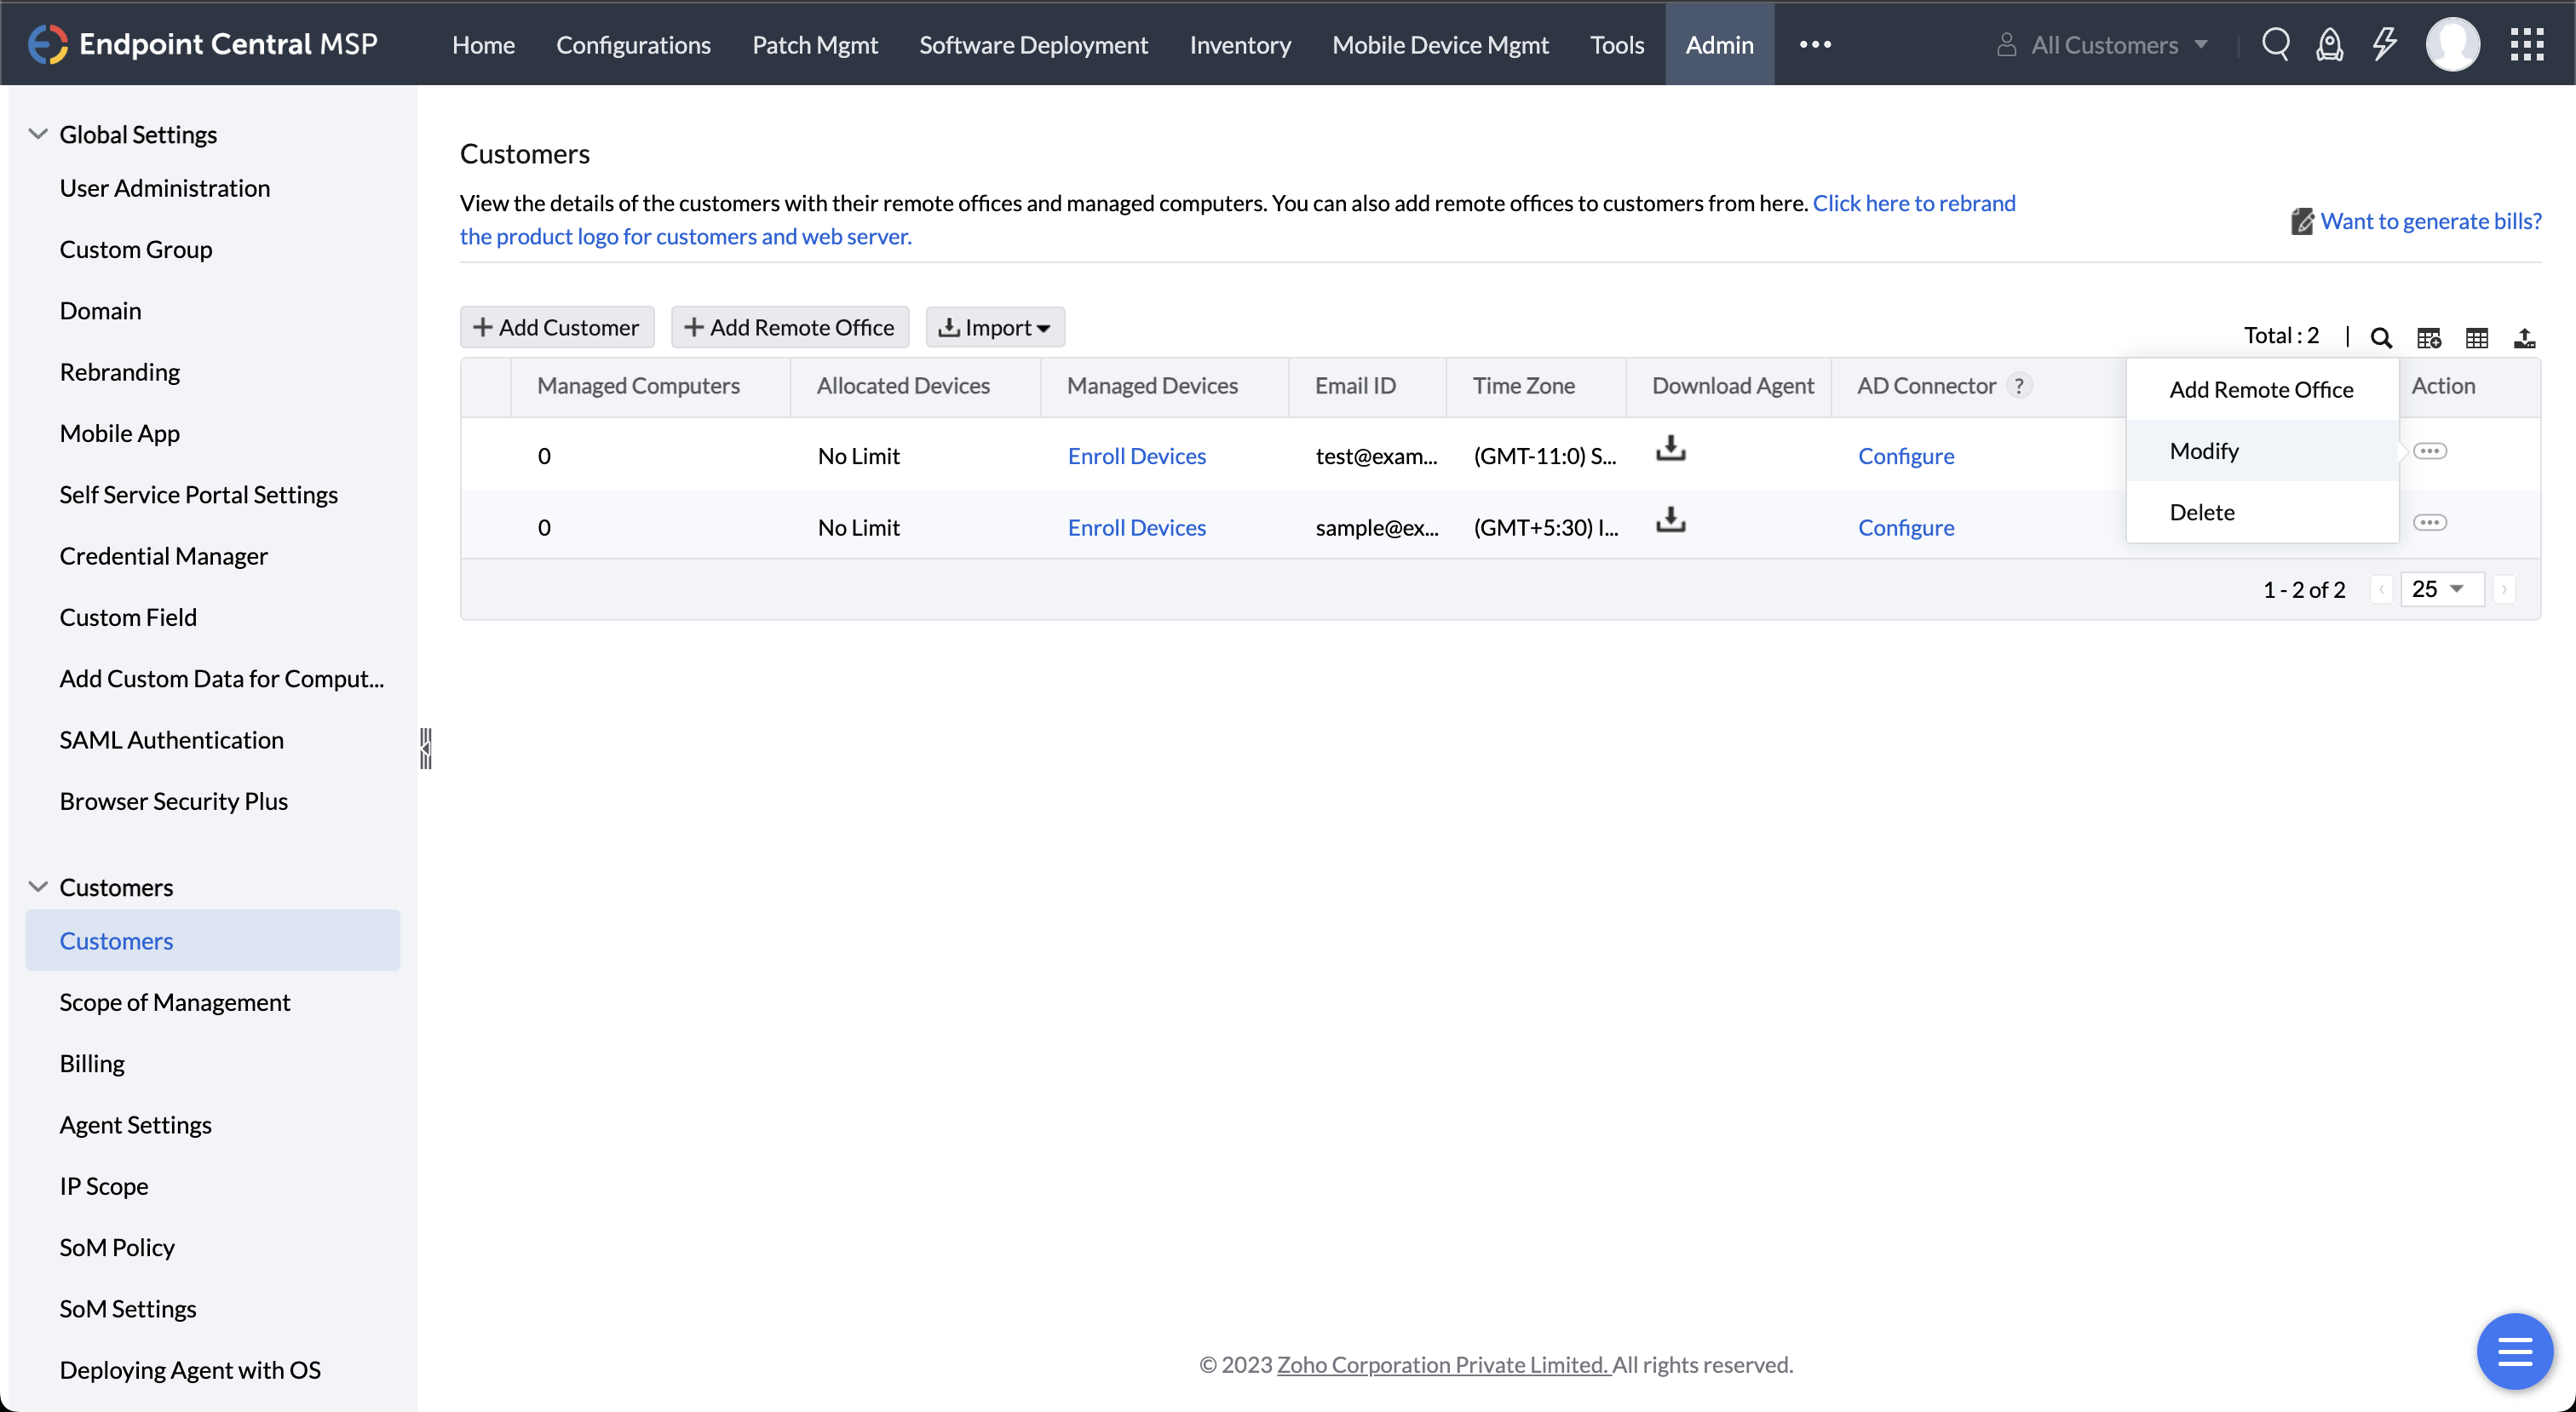
- In your Endpoint Central MSP dashboard, go to Admin > Customers.
- Locate the customer you want to map.
- Click on the Action dropdown next to the customer's name, and select Modify.
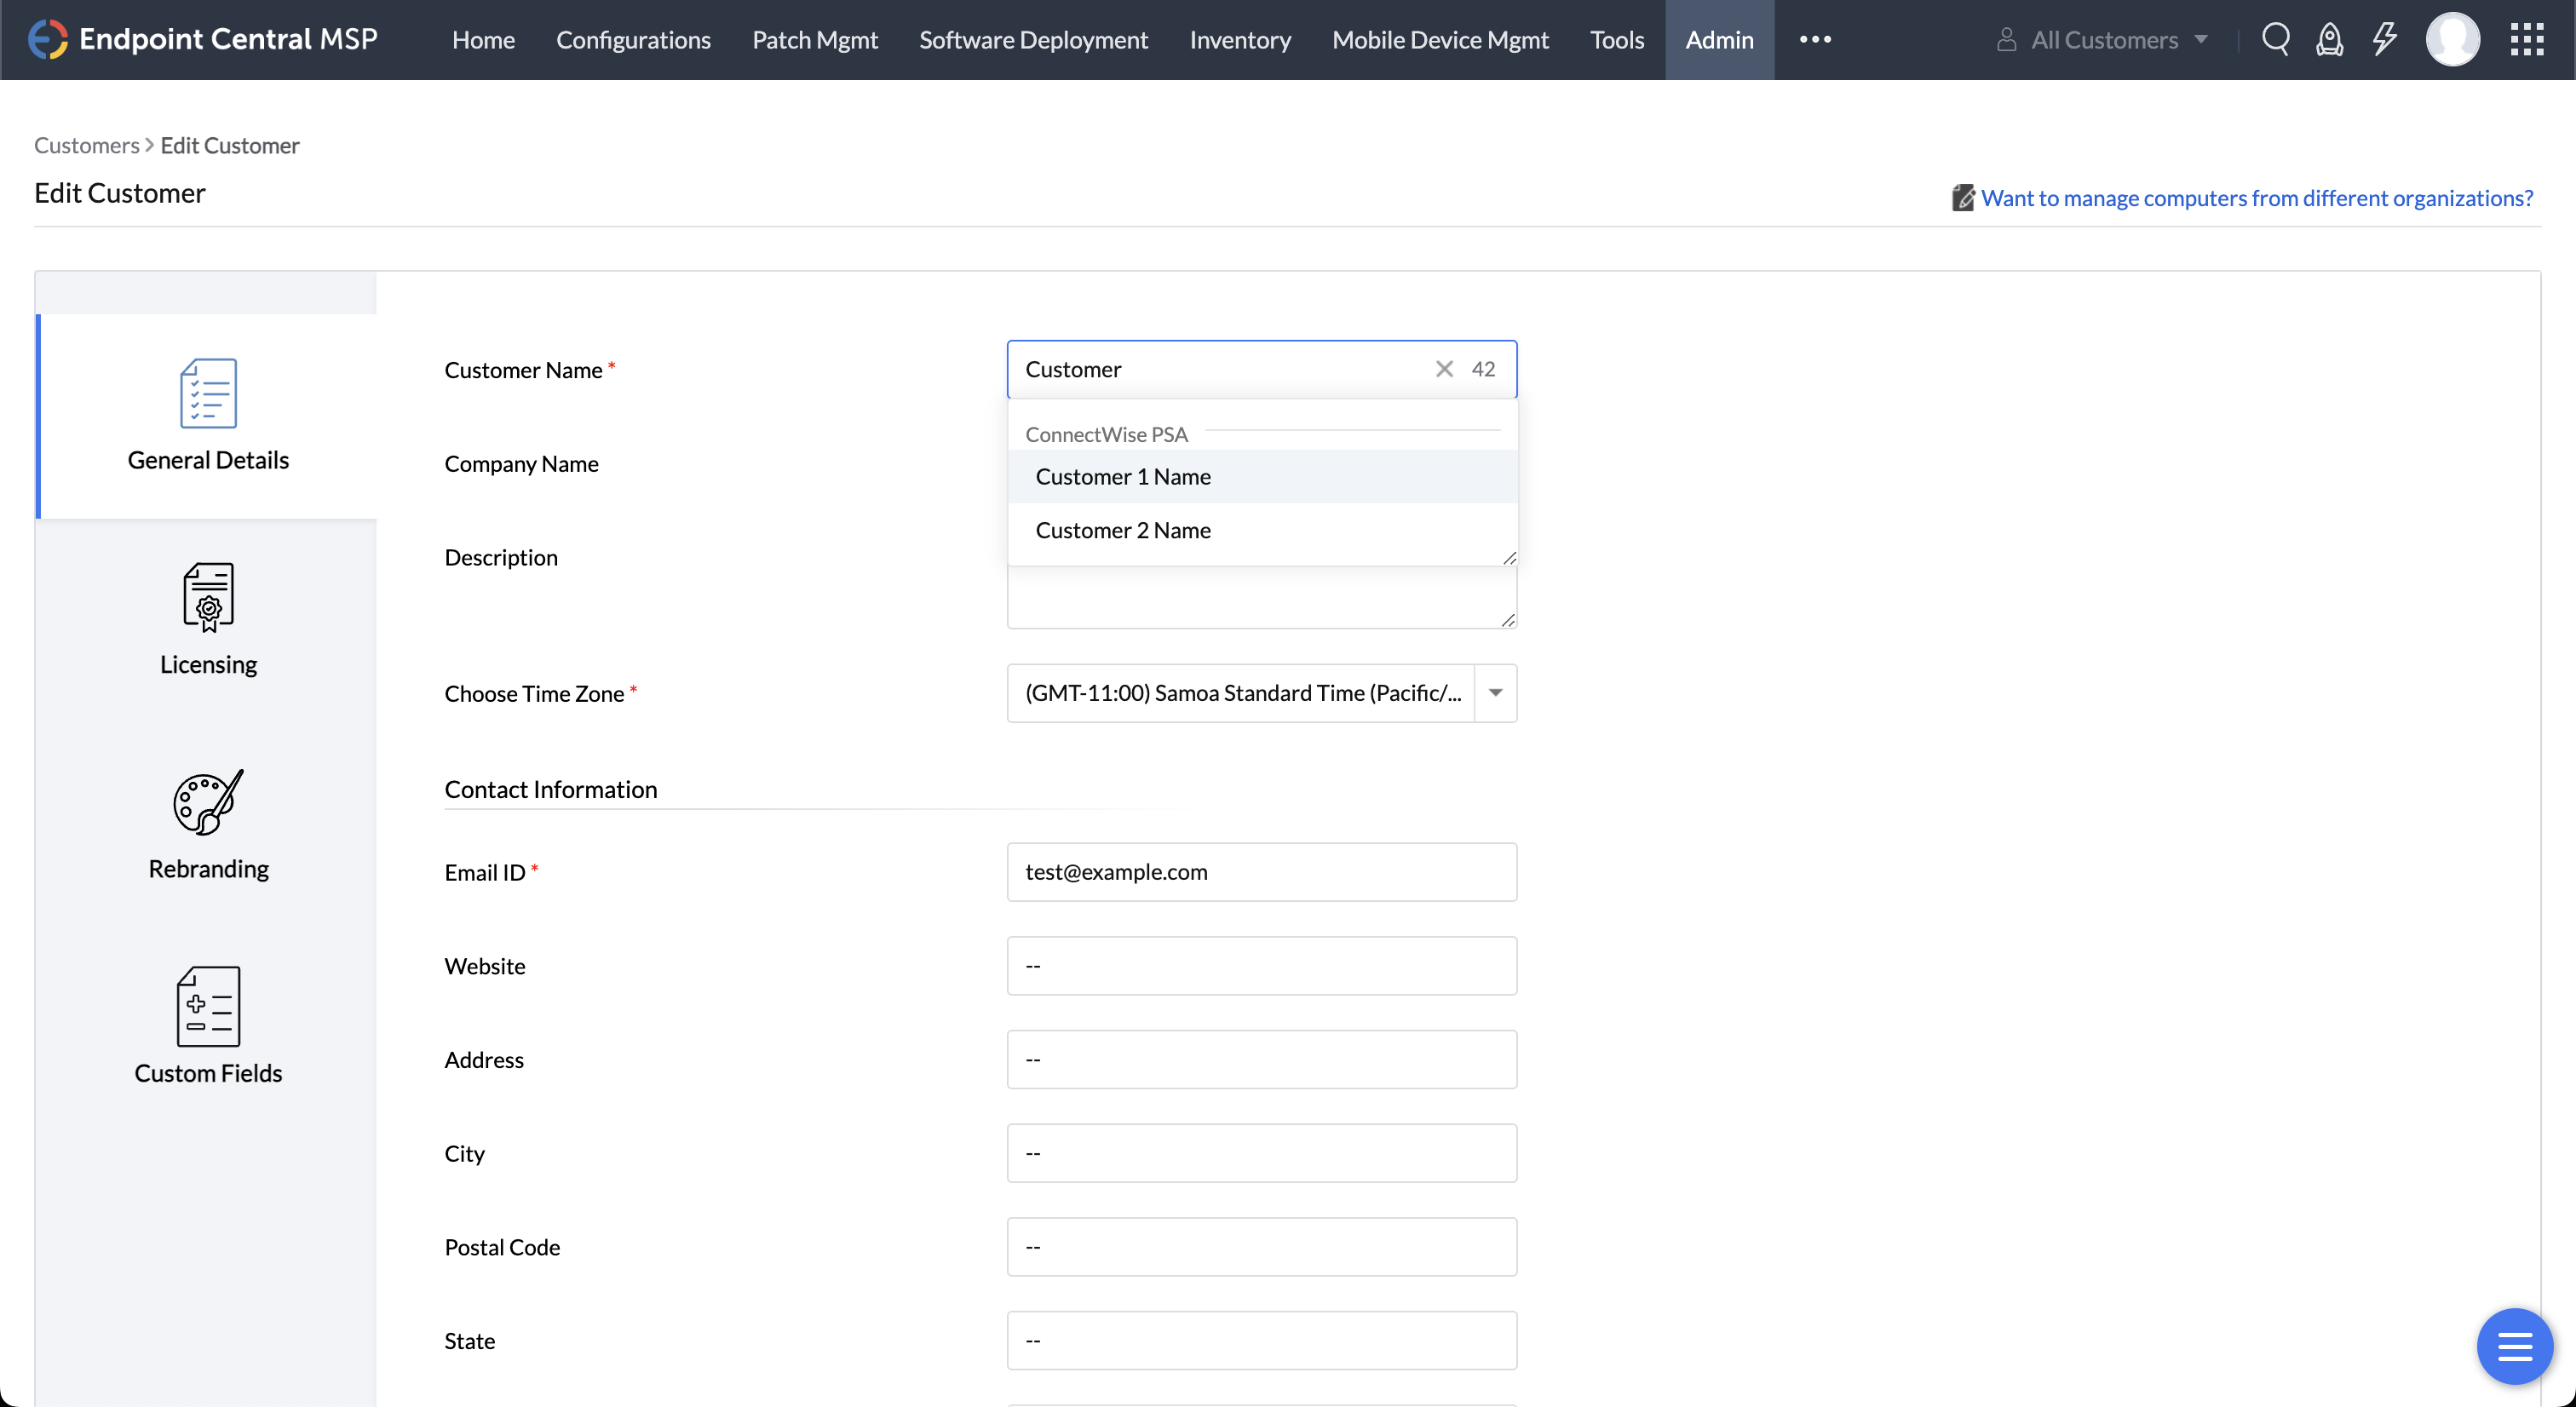
- In the Modify Customer interface, enter or modify the customer's name.
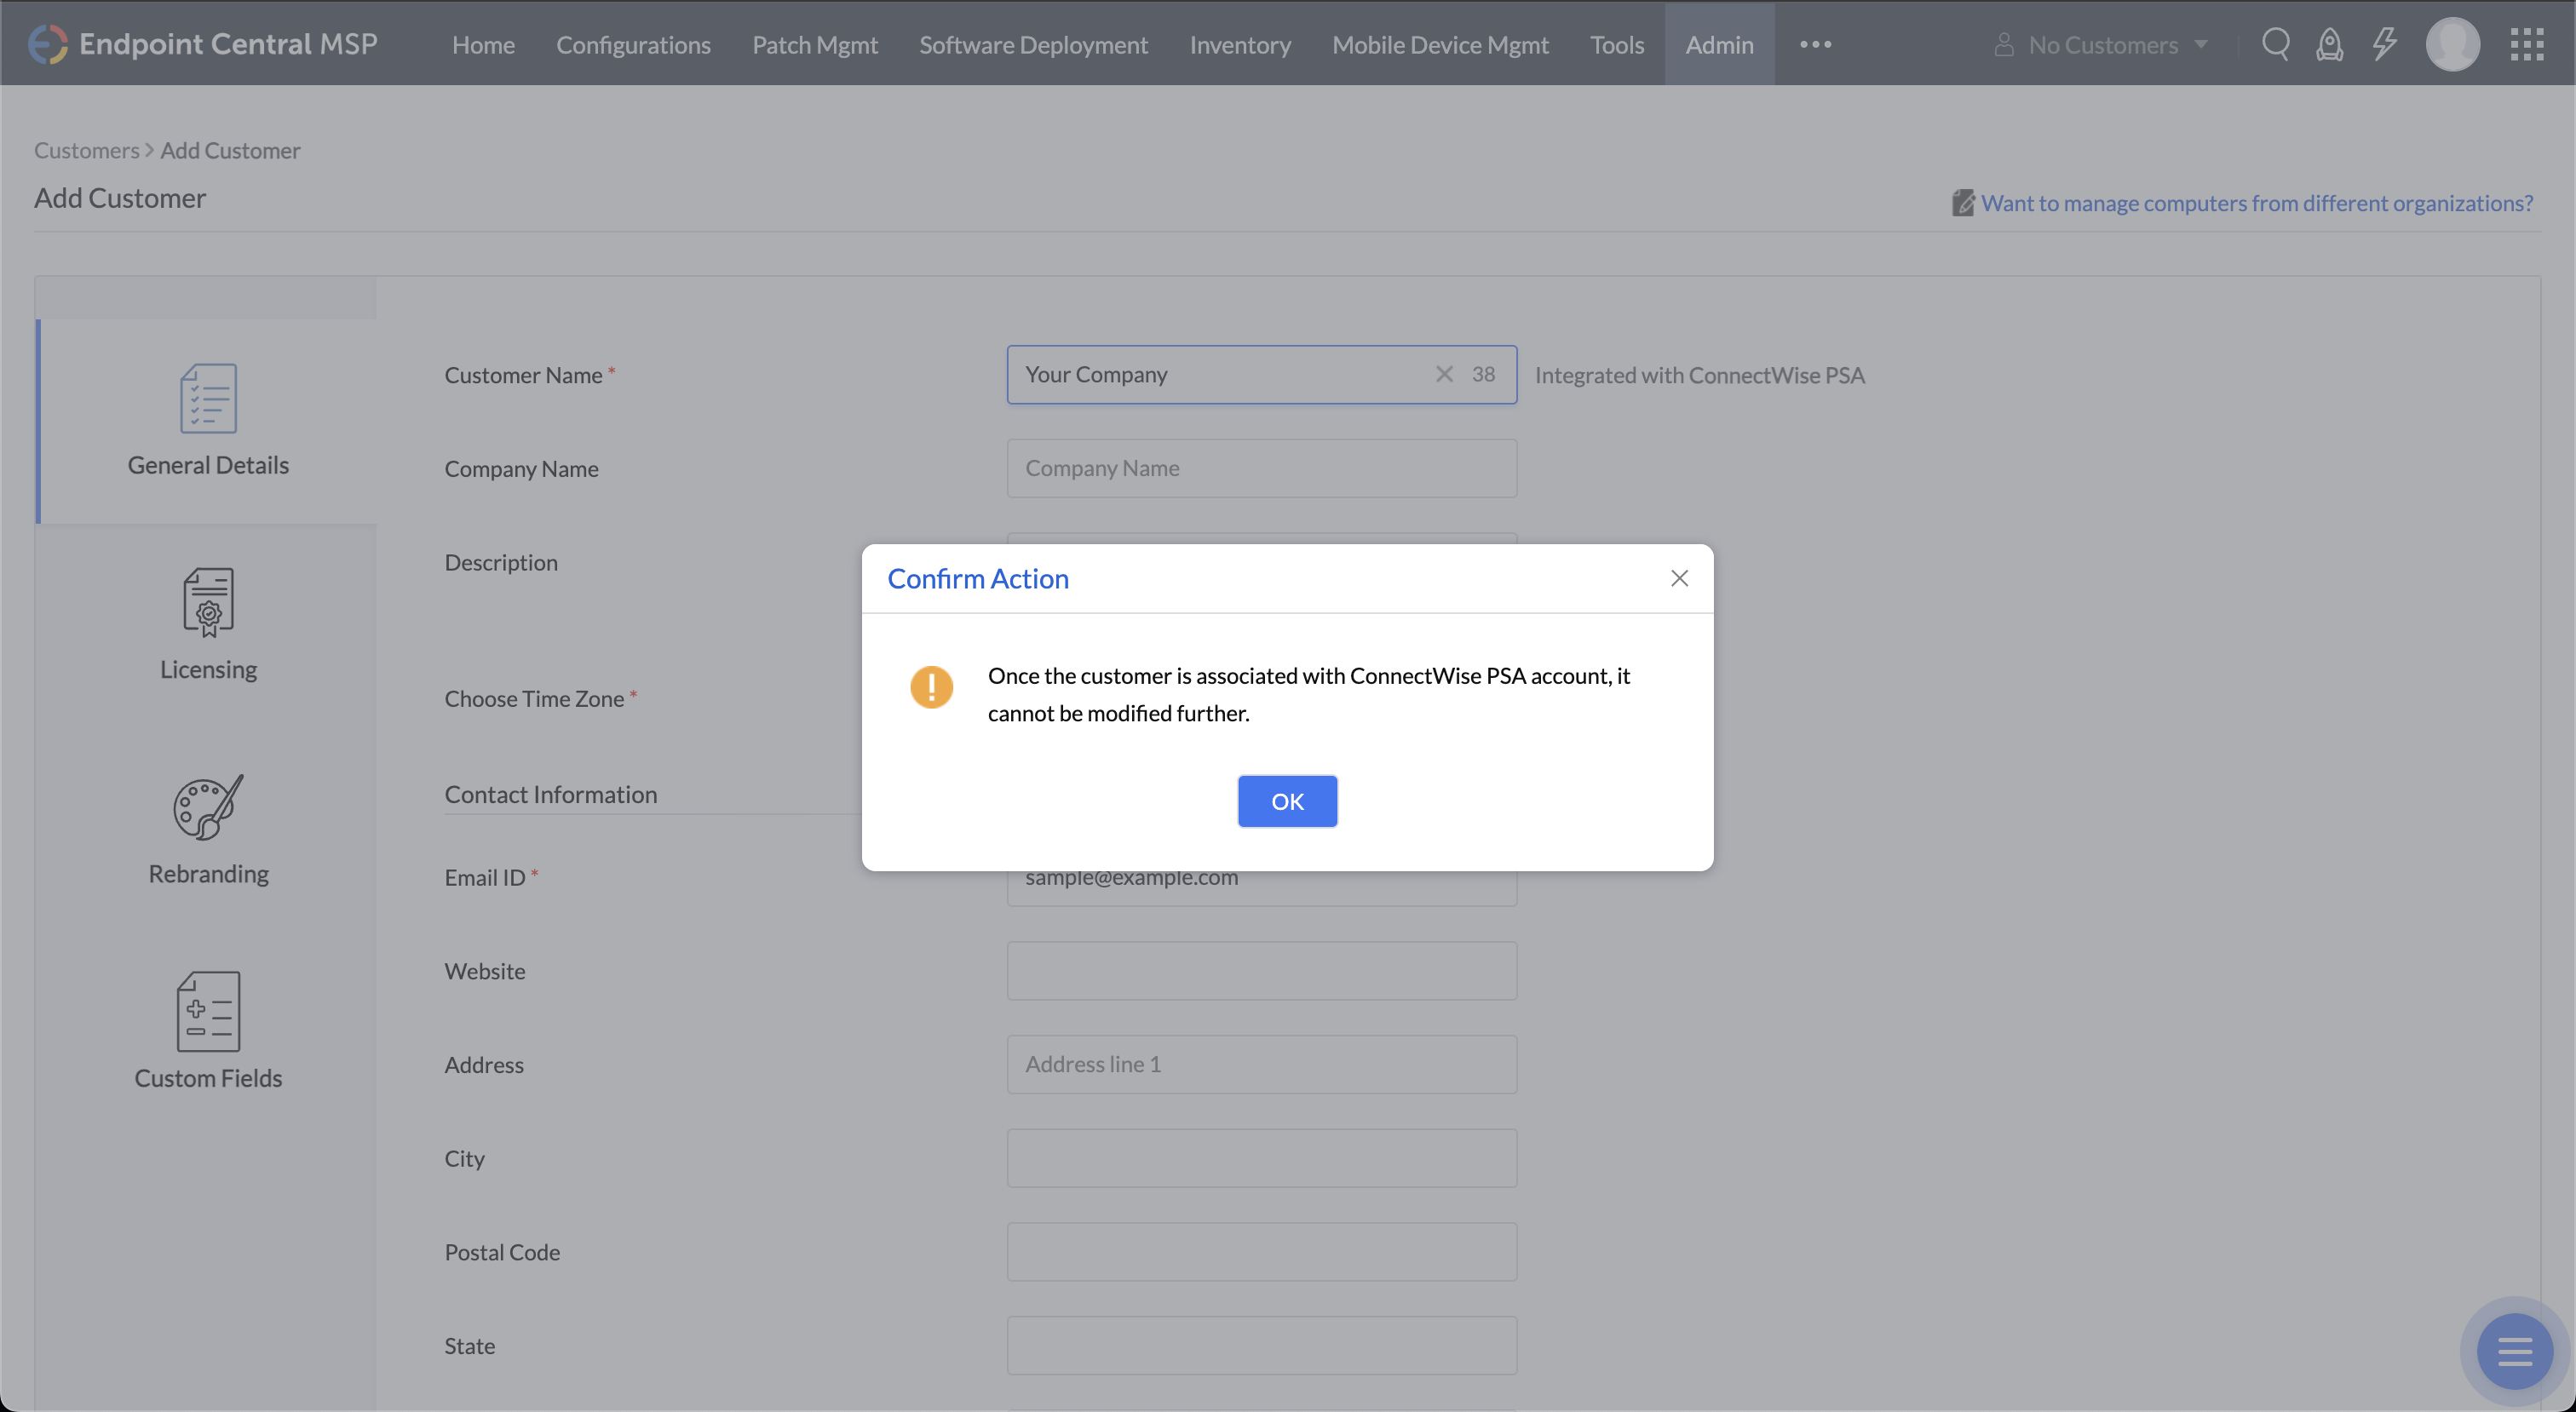
- As you type, a dropdown will display matching ConnectWise companies. Choose the relevant one.
- Save your changes to complete the manual customer mapping process.
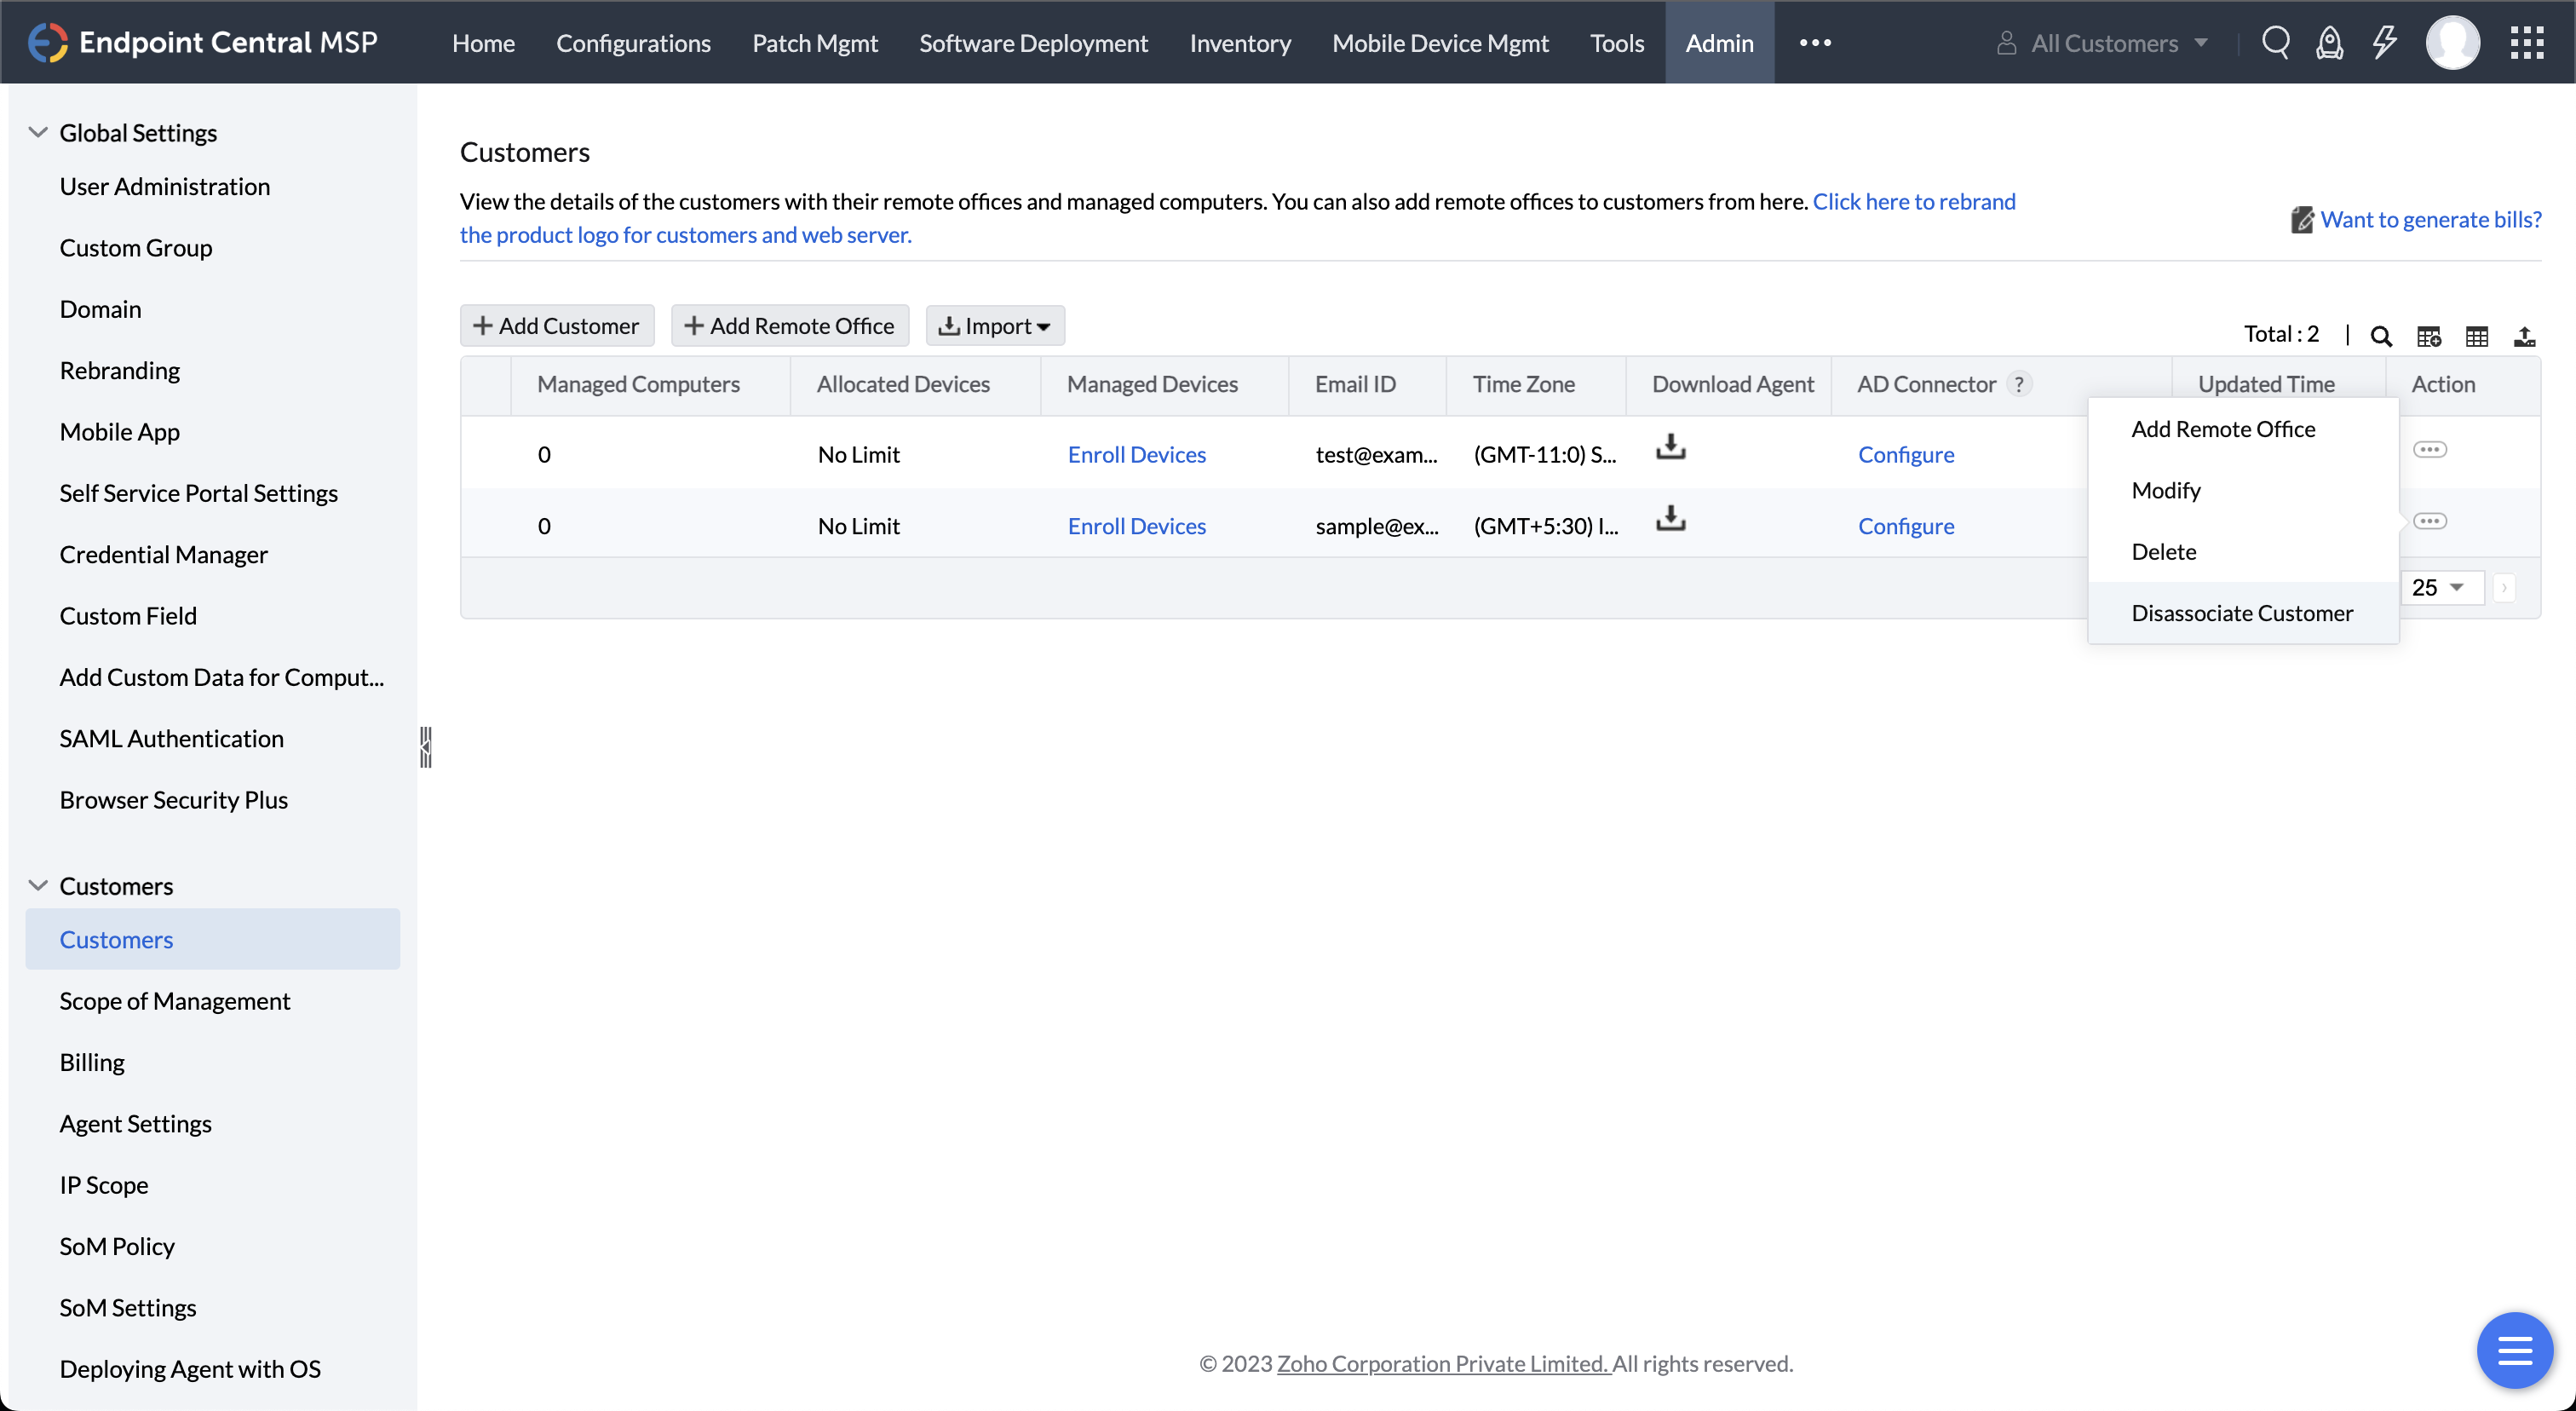
Dissociate customer mapping
When you no longer want to link a customer between the two platforms, ensuring that changes in one platform do not affect the other.
- Navigate to Admin>Customers and choose dissociate under action. This will remove the mapping, and changes in one platform will no longer affect the other.
By managing customer mapping effectively, you ensure data consistency between the two platforms.
If you encounter any issues or require further assistance, please contact our support team for assistance.