Configuring proxy server in DDI Central
Many enterprises place servers behind strict network firewalls. By configuring a forward proxy, you ensure that DDI Central can still reach critical internet services—like updates, cloud APIs, or external DNS resolvers—without compromising your security policies.
To add a proxy server, go to Settings → System. Navigate to the Proxy tab in the top navigation bar. If you are configuring a proxy server for the first time, the NOT CONFIGURED label appears on the top right corner of the page.
On this page, you set up a forward proxy that your DDI Central console will use for all outbound connections (software updates, API calls, cloud integrations, etc.) when direct internet access is restricted.
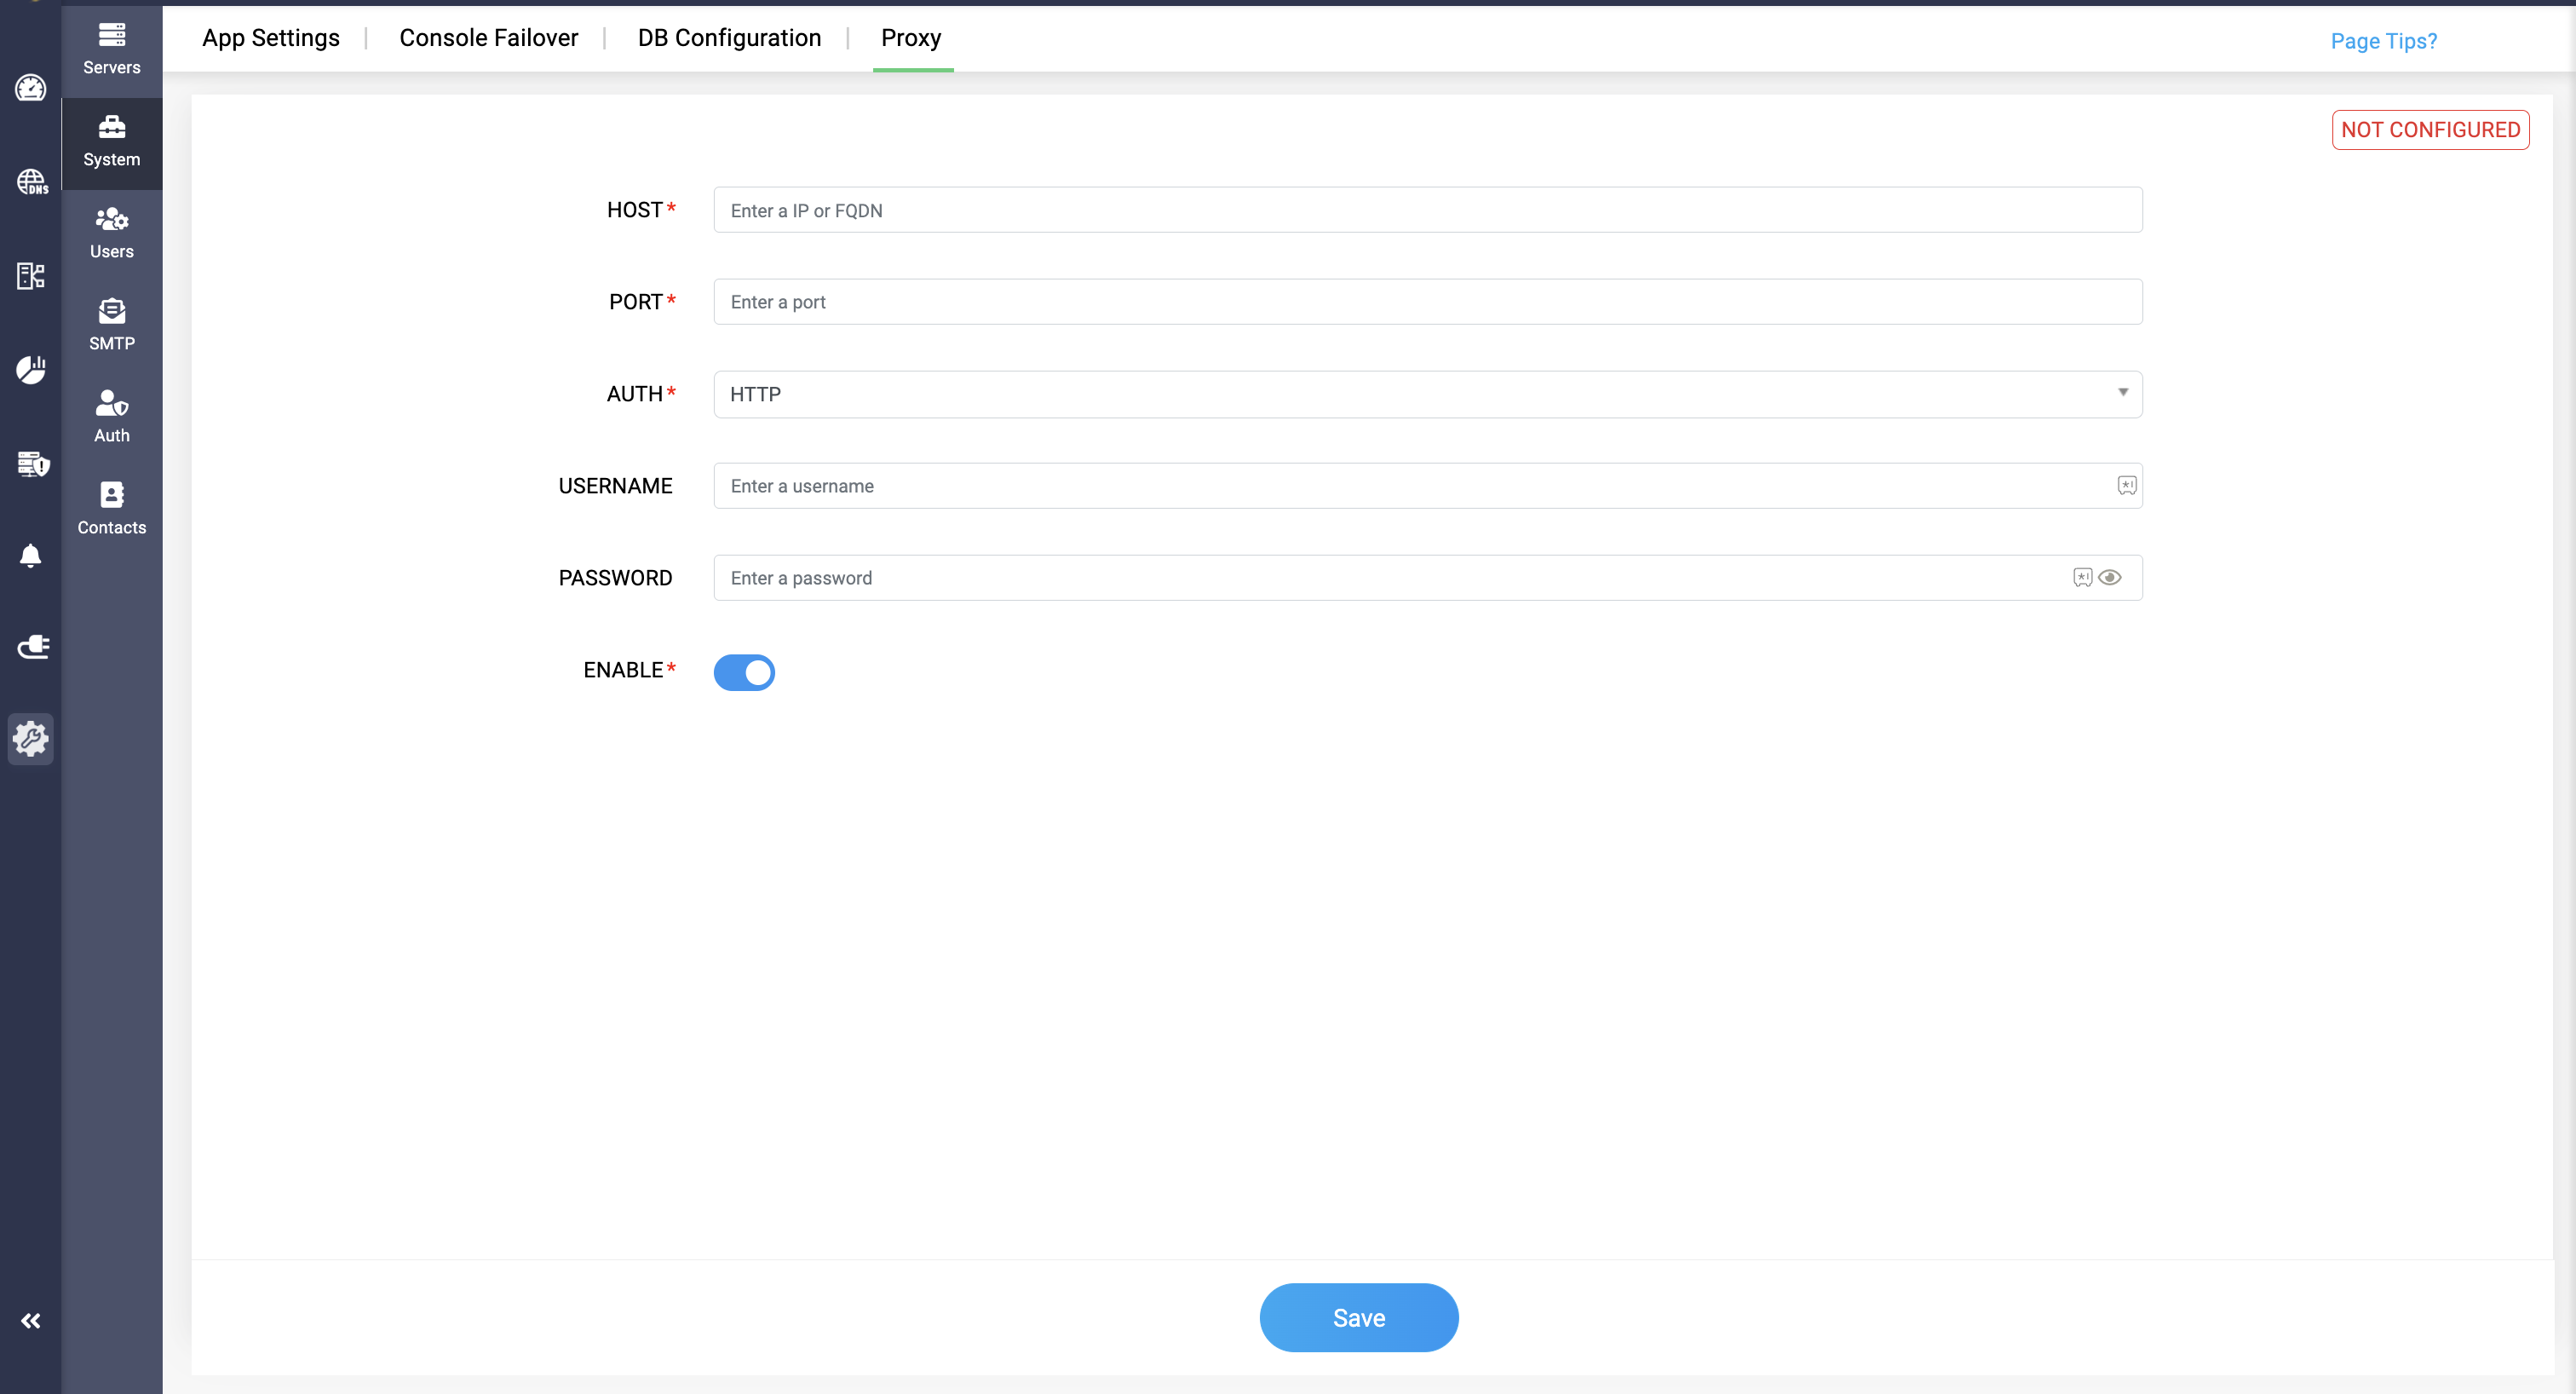
- Host and Port details
Enter the proxy server’s address (IP or FQDN) and port number so the console knows where to send its web requests.Note: Proxy configuration workaround—When setting up an HTTP or HTTPS proxy with an FQDN (e.g. http://<FQDN>:8080 or https://<FQDN>:8443), if the name resolves to both A and AAAA records but your resolver ignores the AAAA lookup, specify the server’s IP address instead of its FQDN in the proxy configuration. - Auth Method:
Choose the protocol (e.g. HTTP, HTTPS) used by your proxy for authentication. - Username and Password:
If your proxy requires credentials, enter them here so DDI Central can log in automatically. - Enable the Toggle to turn the proxy on or off. When enabled, all external traffic will be routed through your specified proxy.
- Click Save to finalize the configurations. The NOT CONFIGURED label will now turn into CONFIGURED once the configuration is activated.