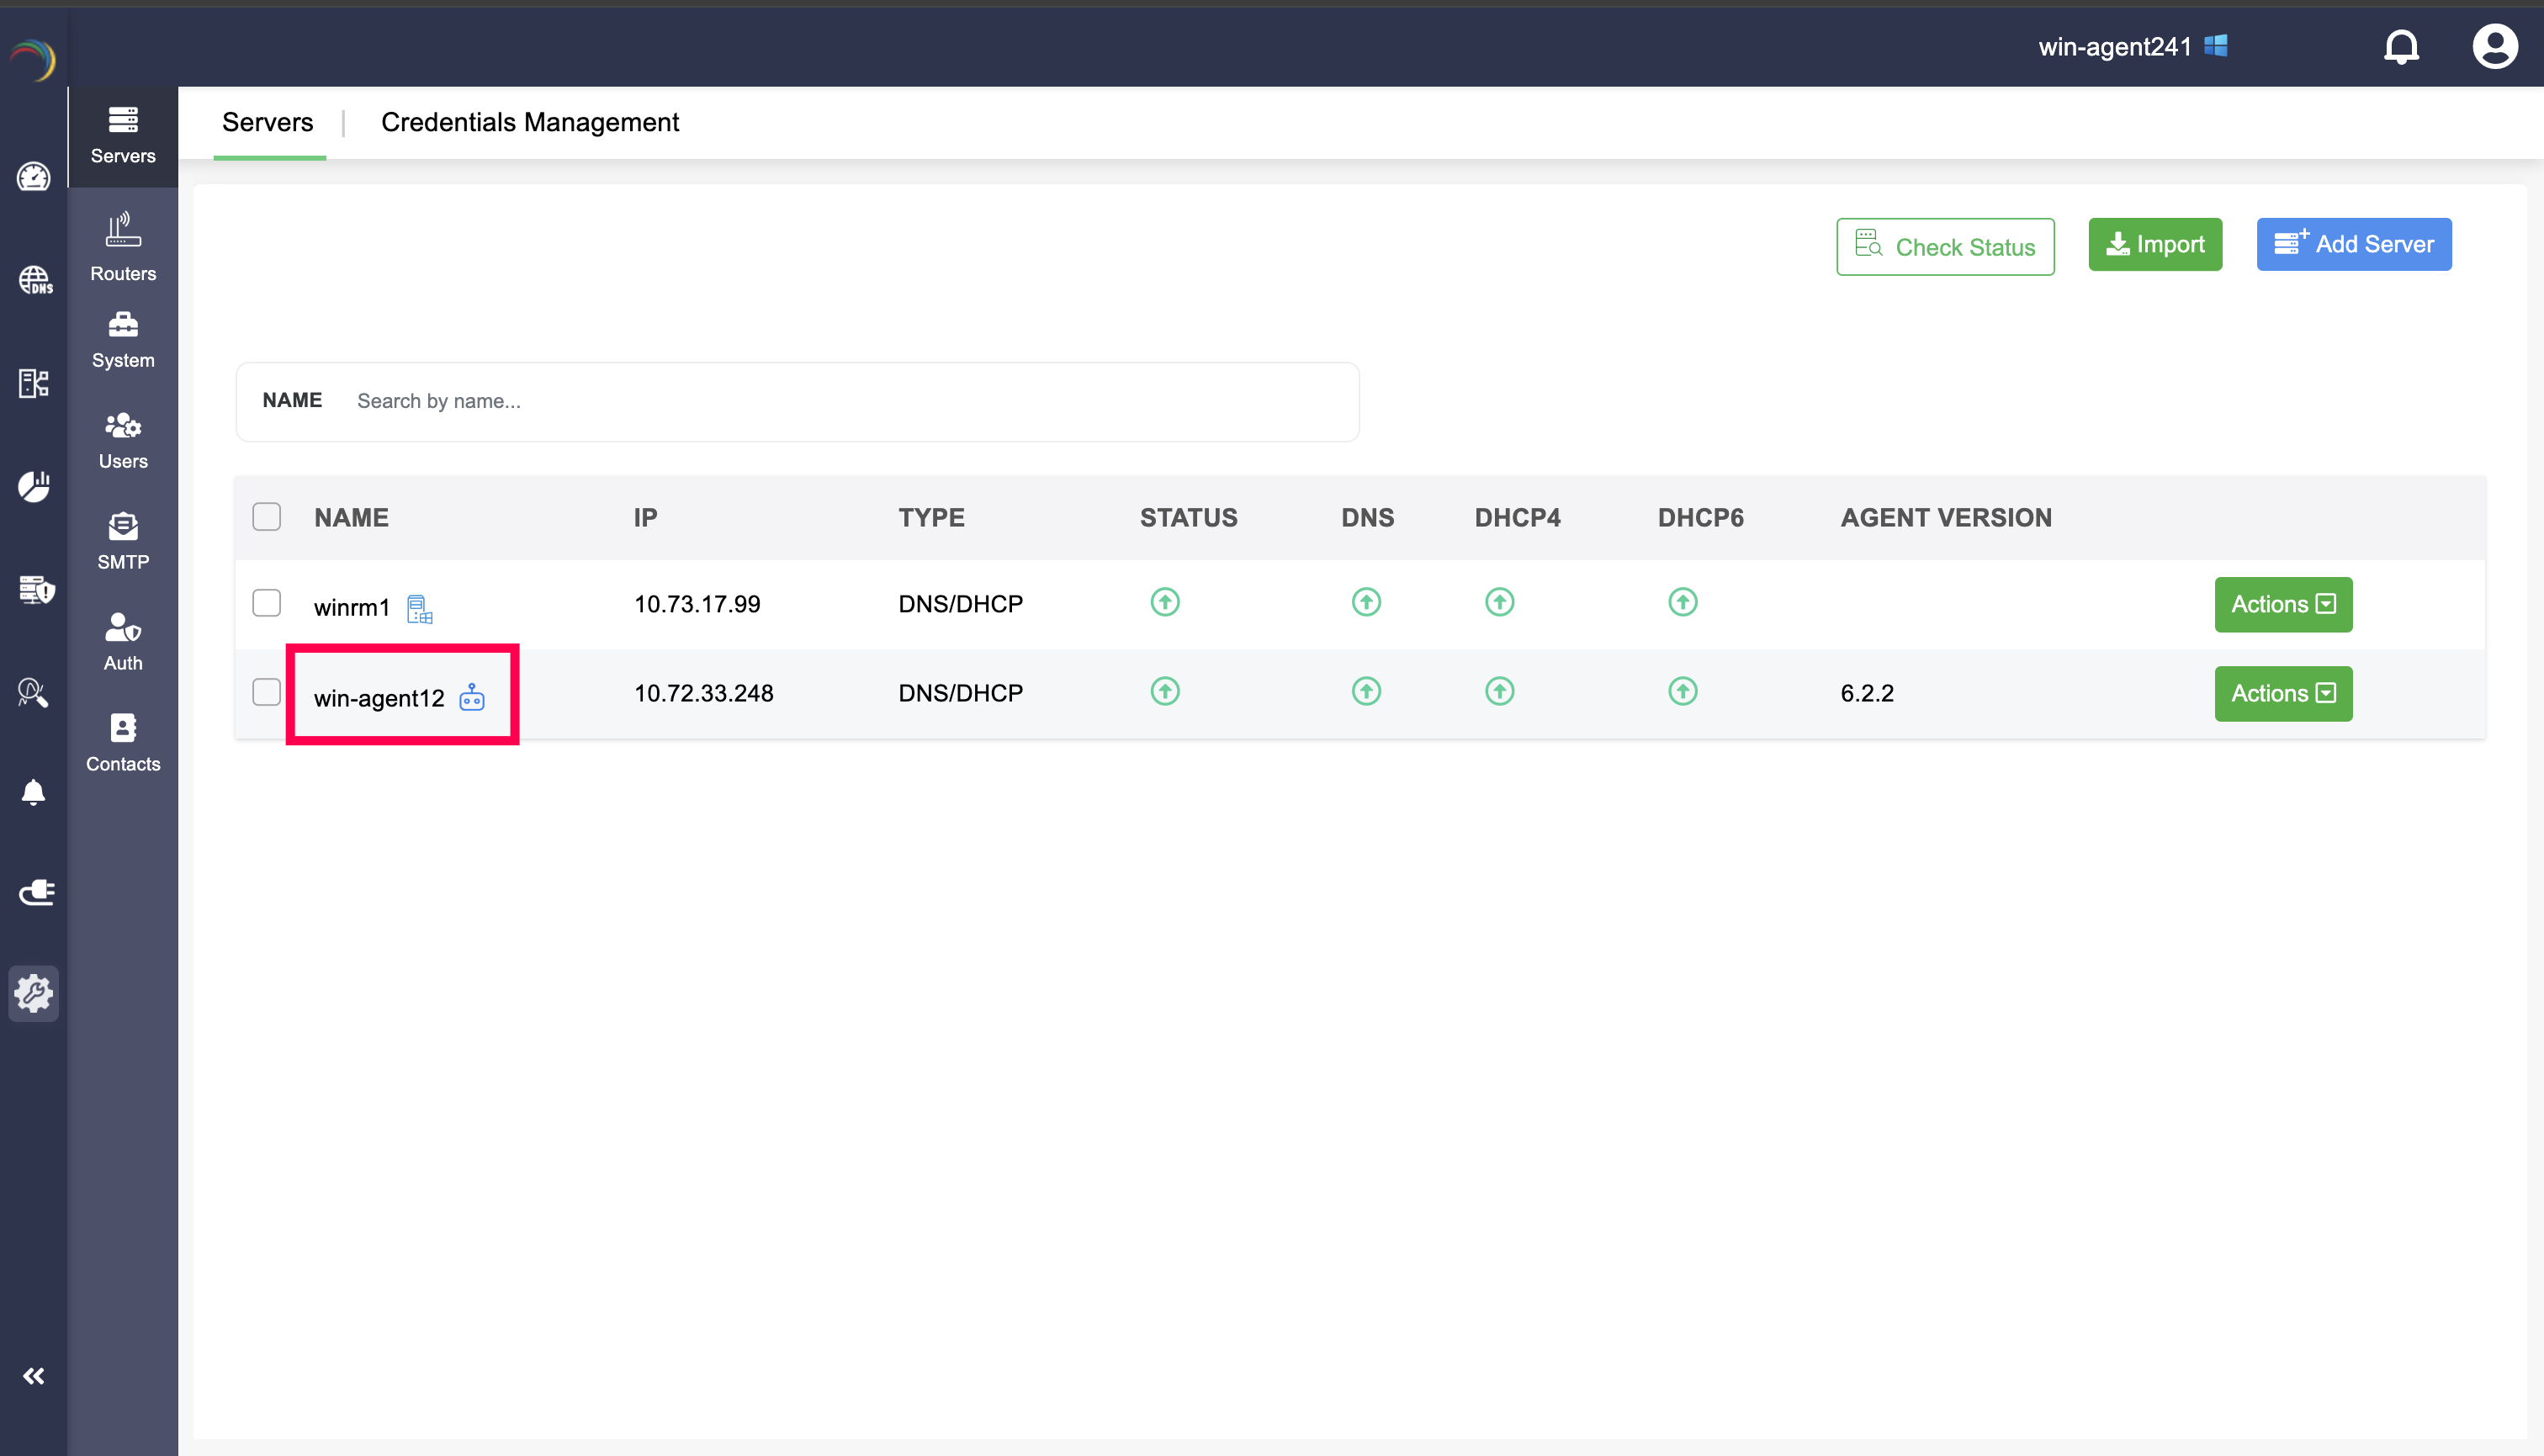
DDI Central Windows Node Agent configuration
Overview
The DDI Central Windows Node Agent enables agent-based communication between Windows DNS/DHCP servers and the DDI Central App Console. Once installed on a Windows server, the agent handles all data transfer and DNS/DHCP process management on behalf of the App Console, replacing the need for WinRM-based (agentless) communication.
What is Windows Node Agent?
The Node Agent is a lightweight service installed directly on your Windows DNS/DHCP servers. It establishes a persistent, HTTPS-based channel between each Windows server and the DDI Central App Console.
How it differs from agentless (WinRM) communication?
Without the Node Agent, the App Console connects to Windows servers over WinRM, executing PowerShell scripts remotely to retrieve DNS/DHCP data and manage configurations. This places the communication burden entirely on the App Console side.
With the Node Agent installed, the agent takes over: it monitors the Windows server for DNS/DHCP configuration changes and pushes updates to the App Console autonomously. The App Console no longer needs to initiate connections or run remote scripts.
Key advantages
- Scalability — WinRM is not suited for environments with a large number of Windows servers. The Node Agent handles high-volume deployments more reliably.
- Security compliance — Organizations that restrict or prohibit WinRM for security reasons can use the Node Agent as an alternative communication method.
- Simplified connectivity — Communication uses a single HTTPS port, requiring no PowerShell scripts or WinRM configuration.
- Change detection — The agent detects DNS/DHCP configuration changes on the Windows server in real time and syncs them to the App Console automatically.
Installation guide:
Note: The user must have DHCP Administrator or Domain Administrator privileges to install the Windows Node Agent on the DHCP server.
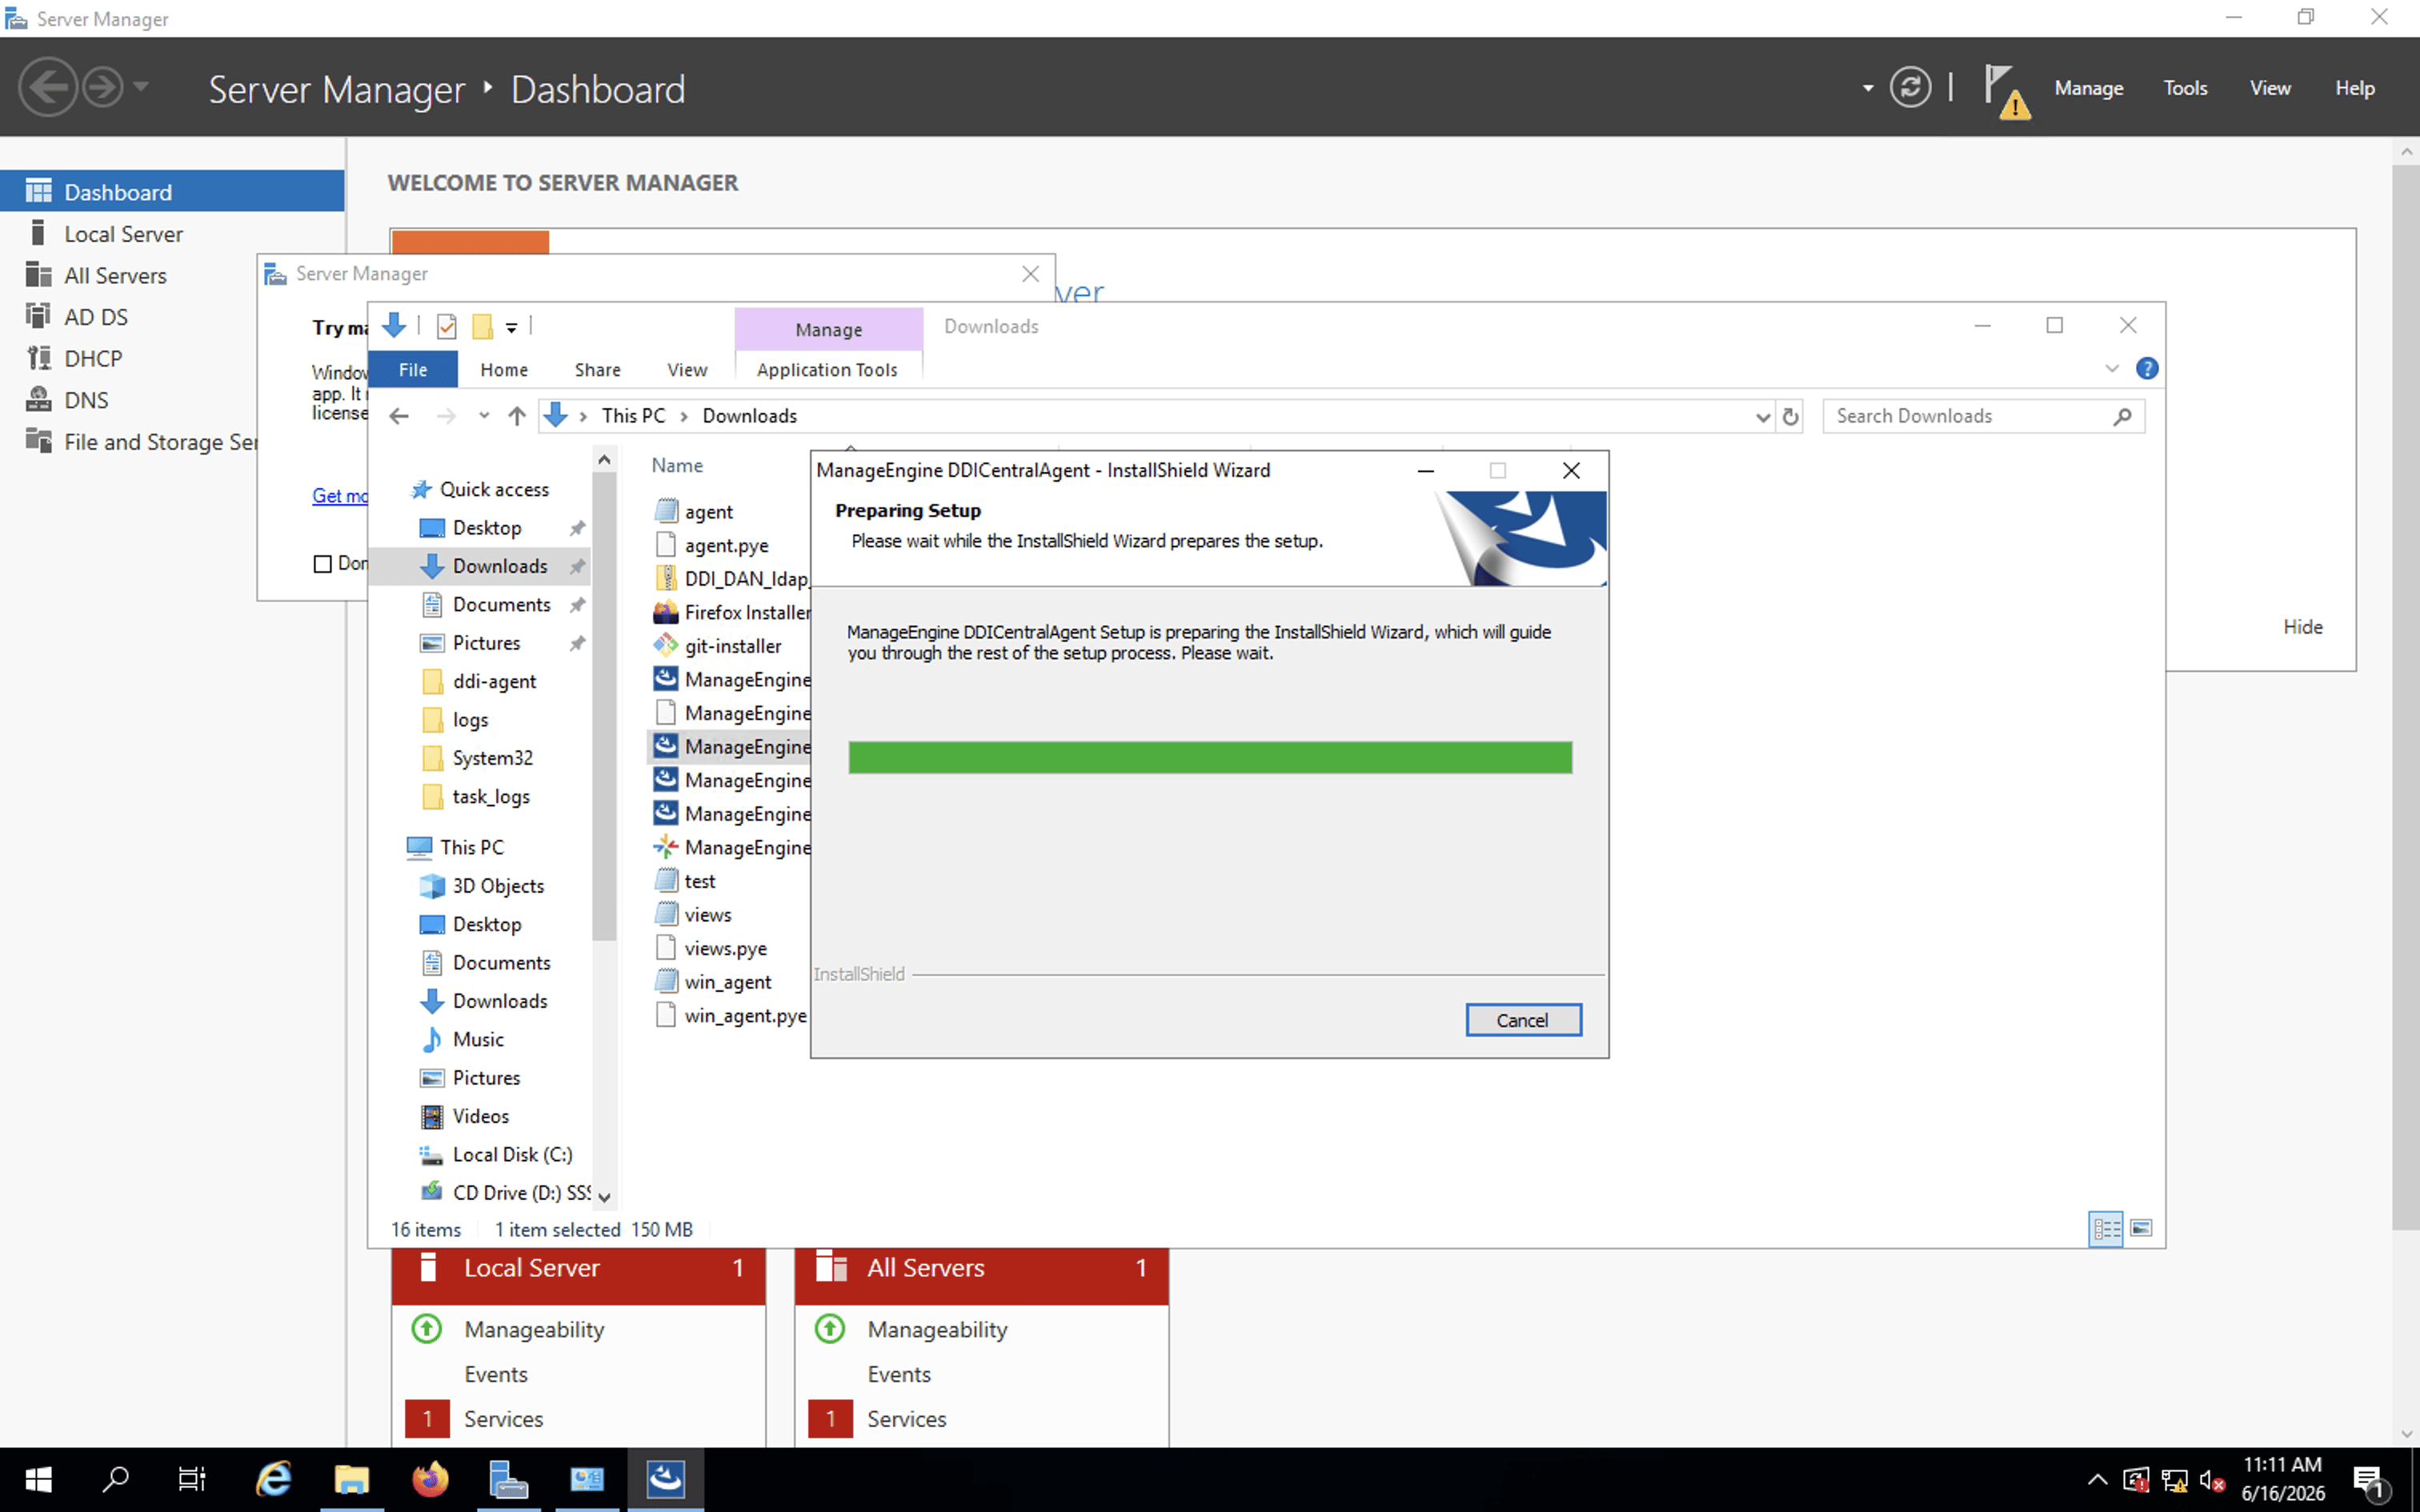
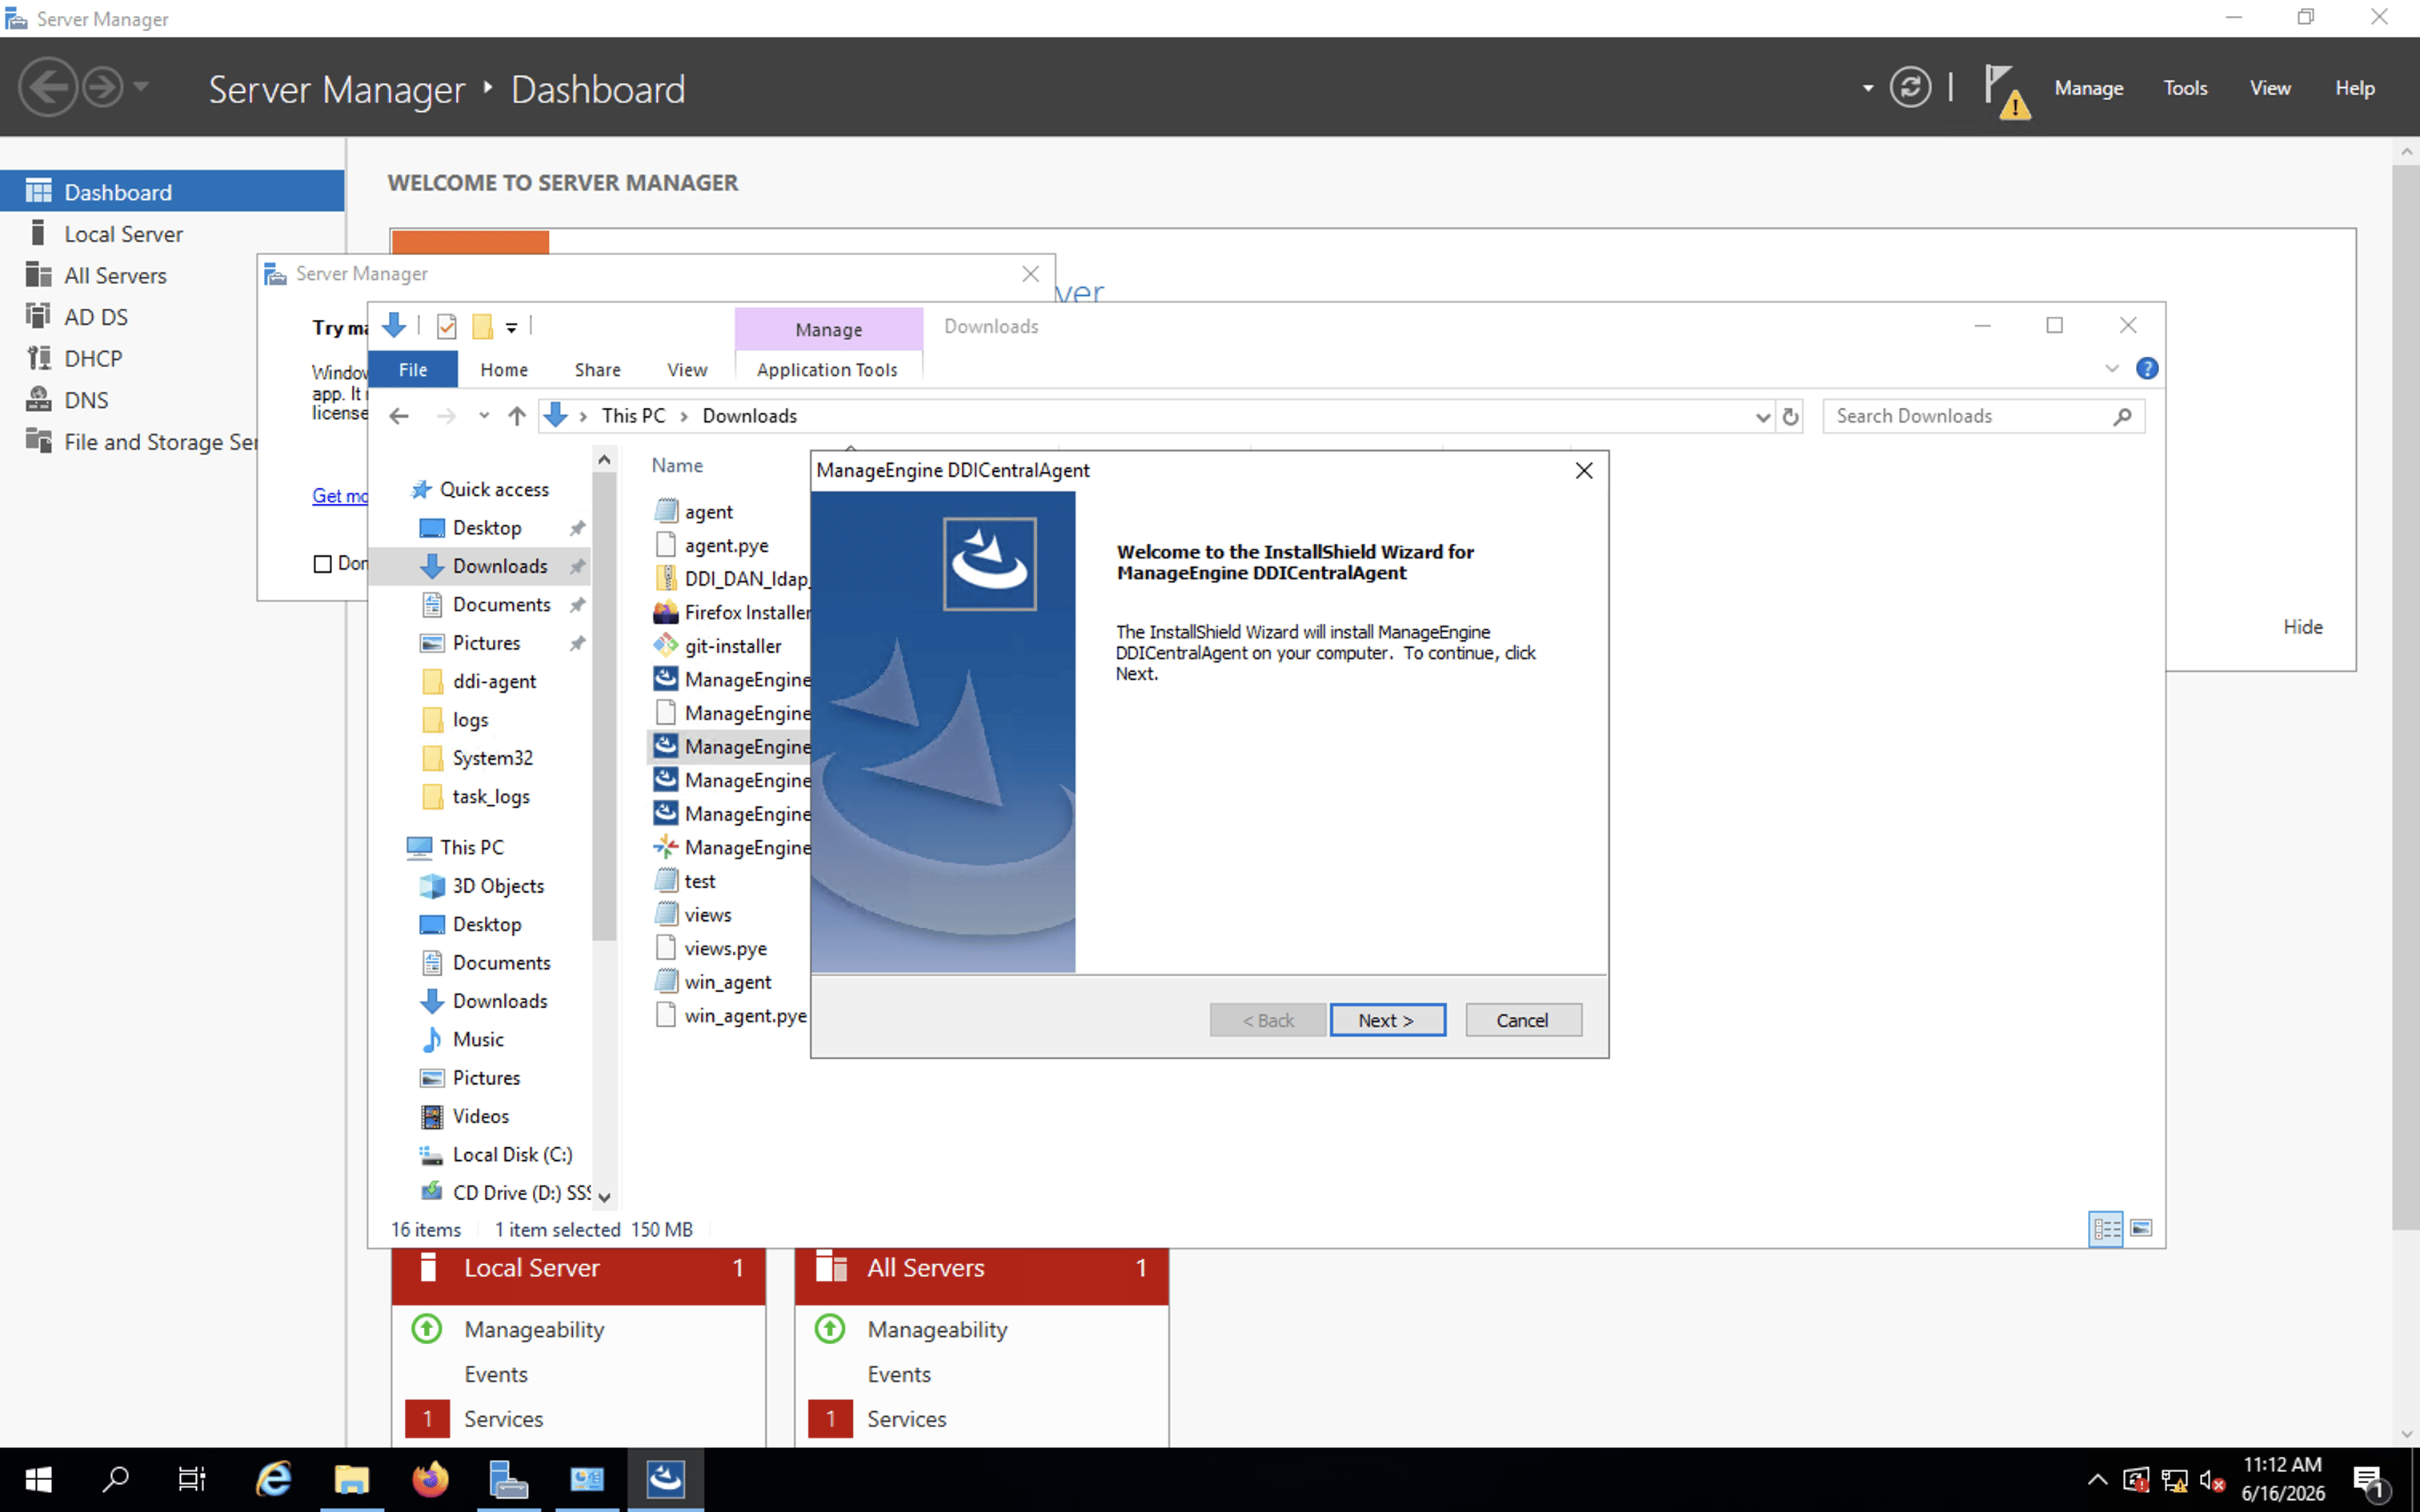
- Download the DDI Central Windows Node Agent file from the official website. Once downloaded, right-click the file and select Run as Administrator.
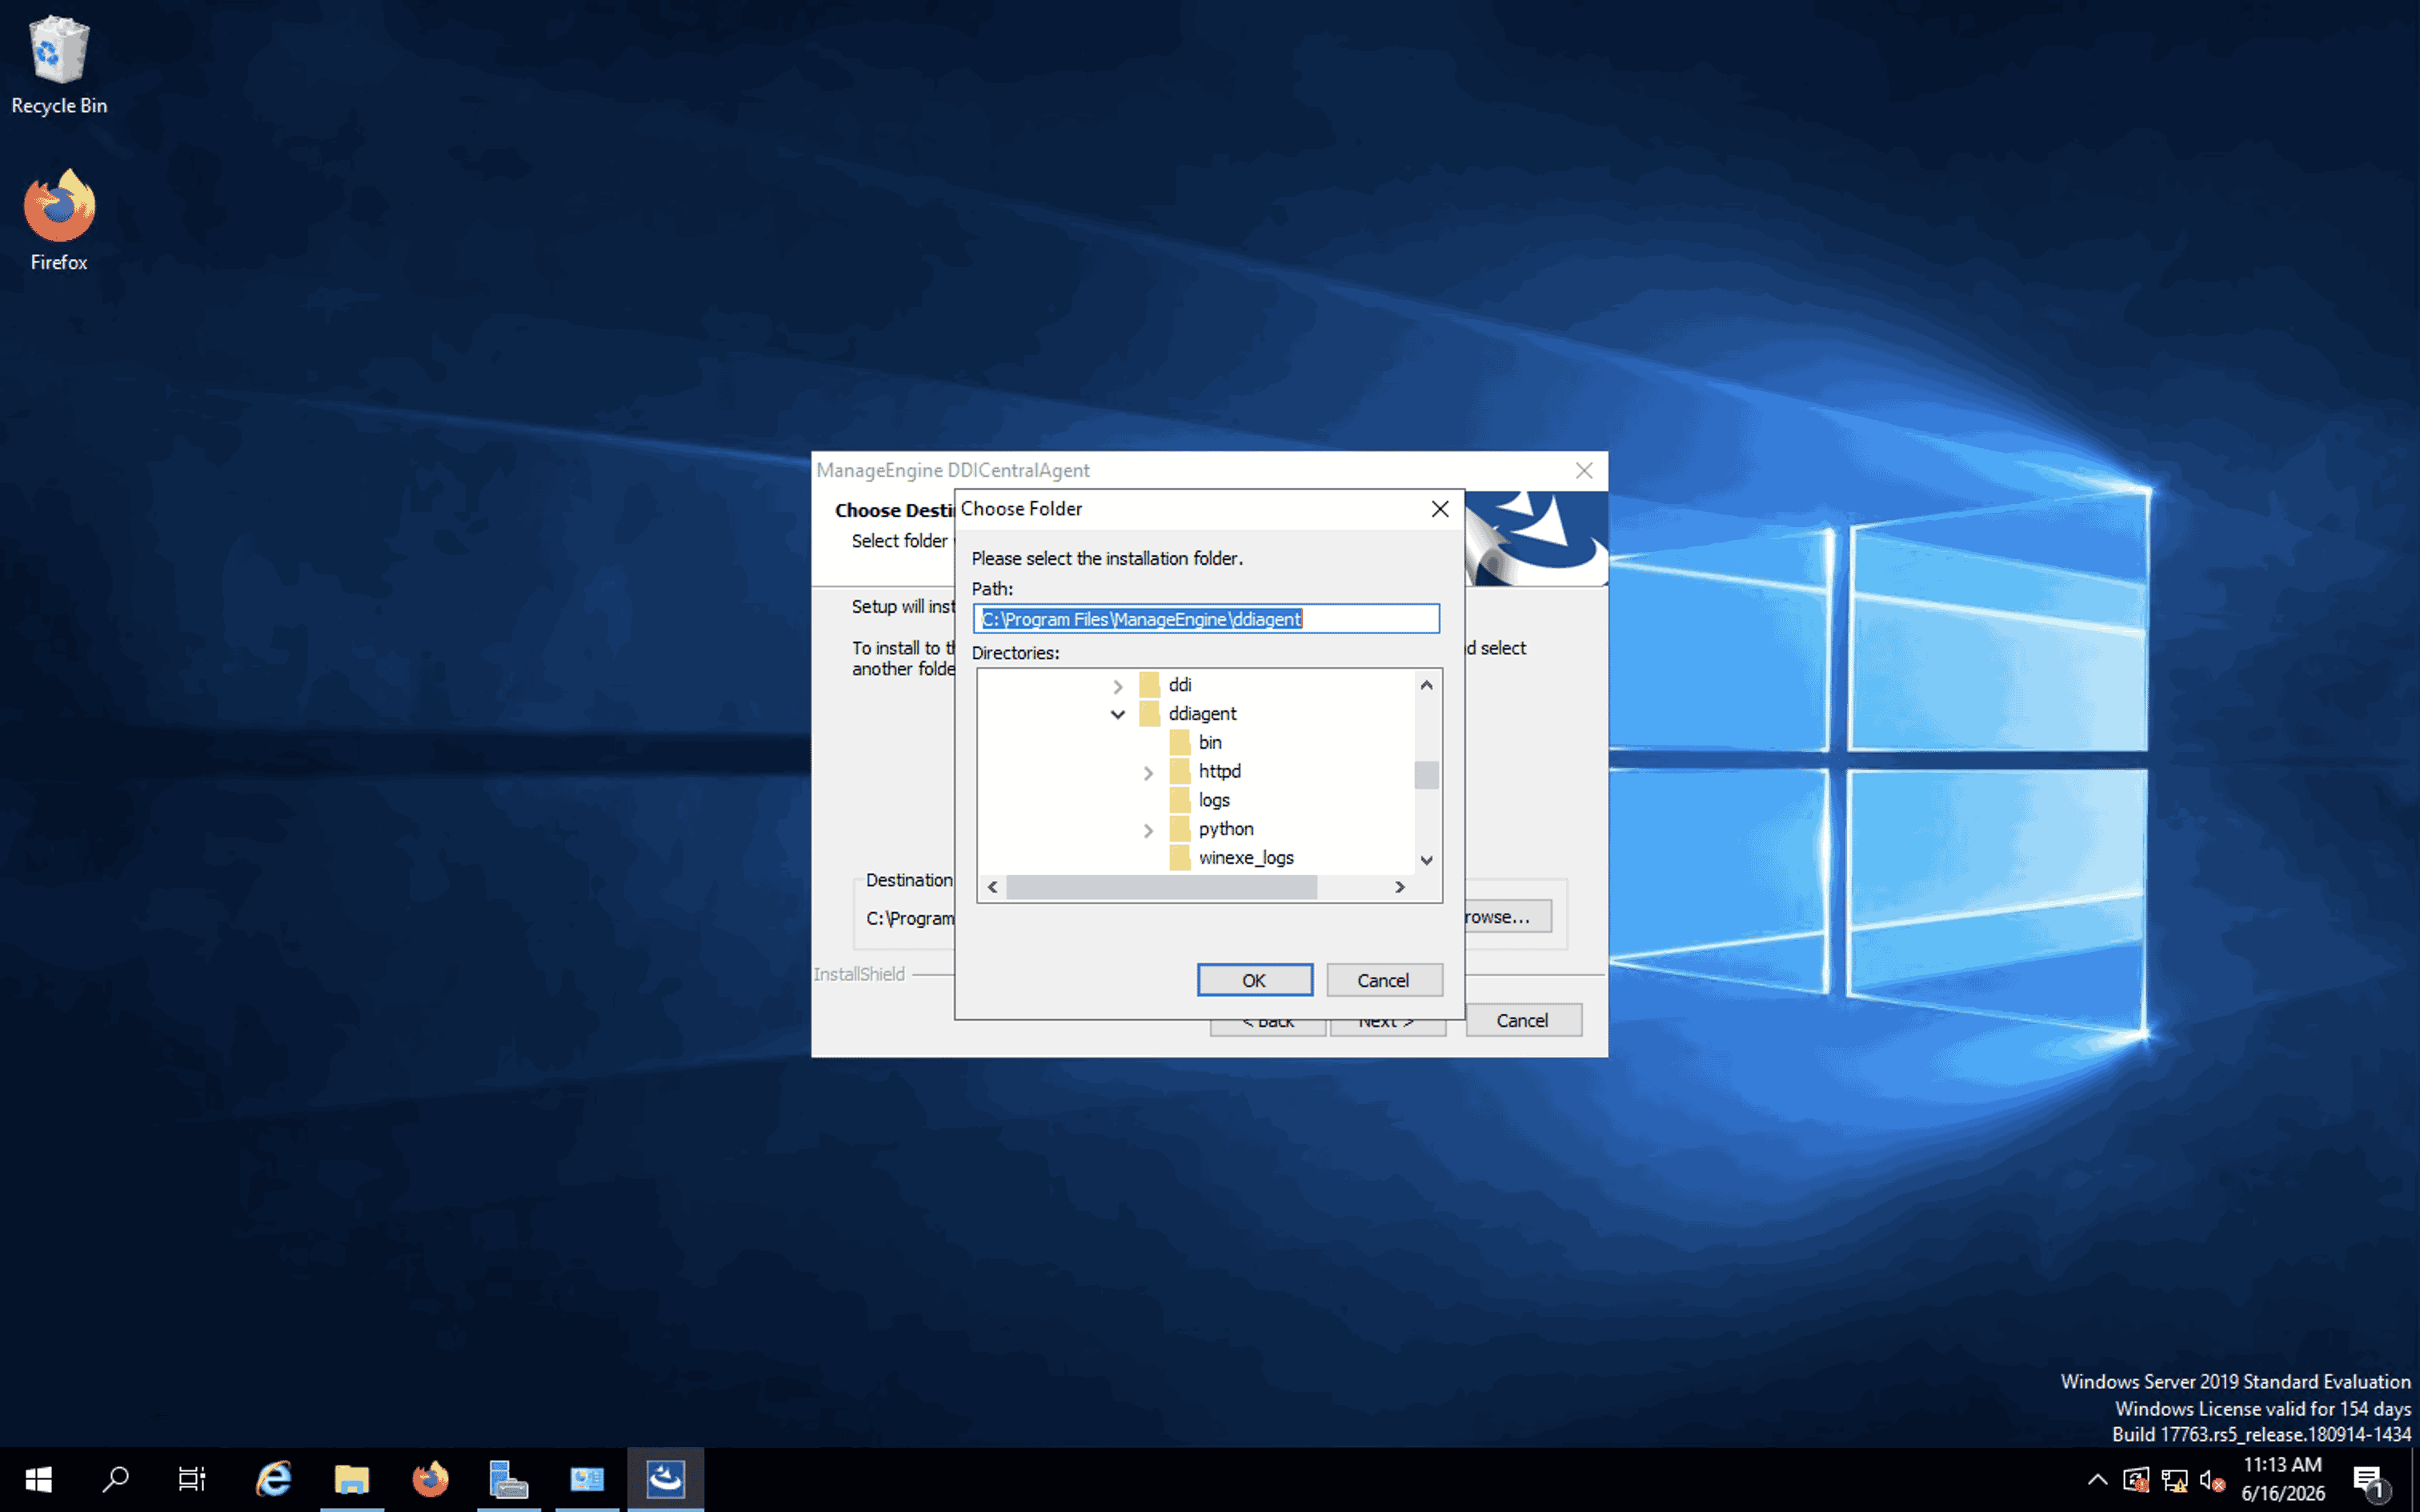
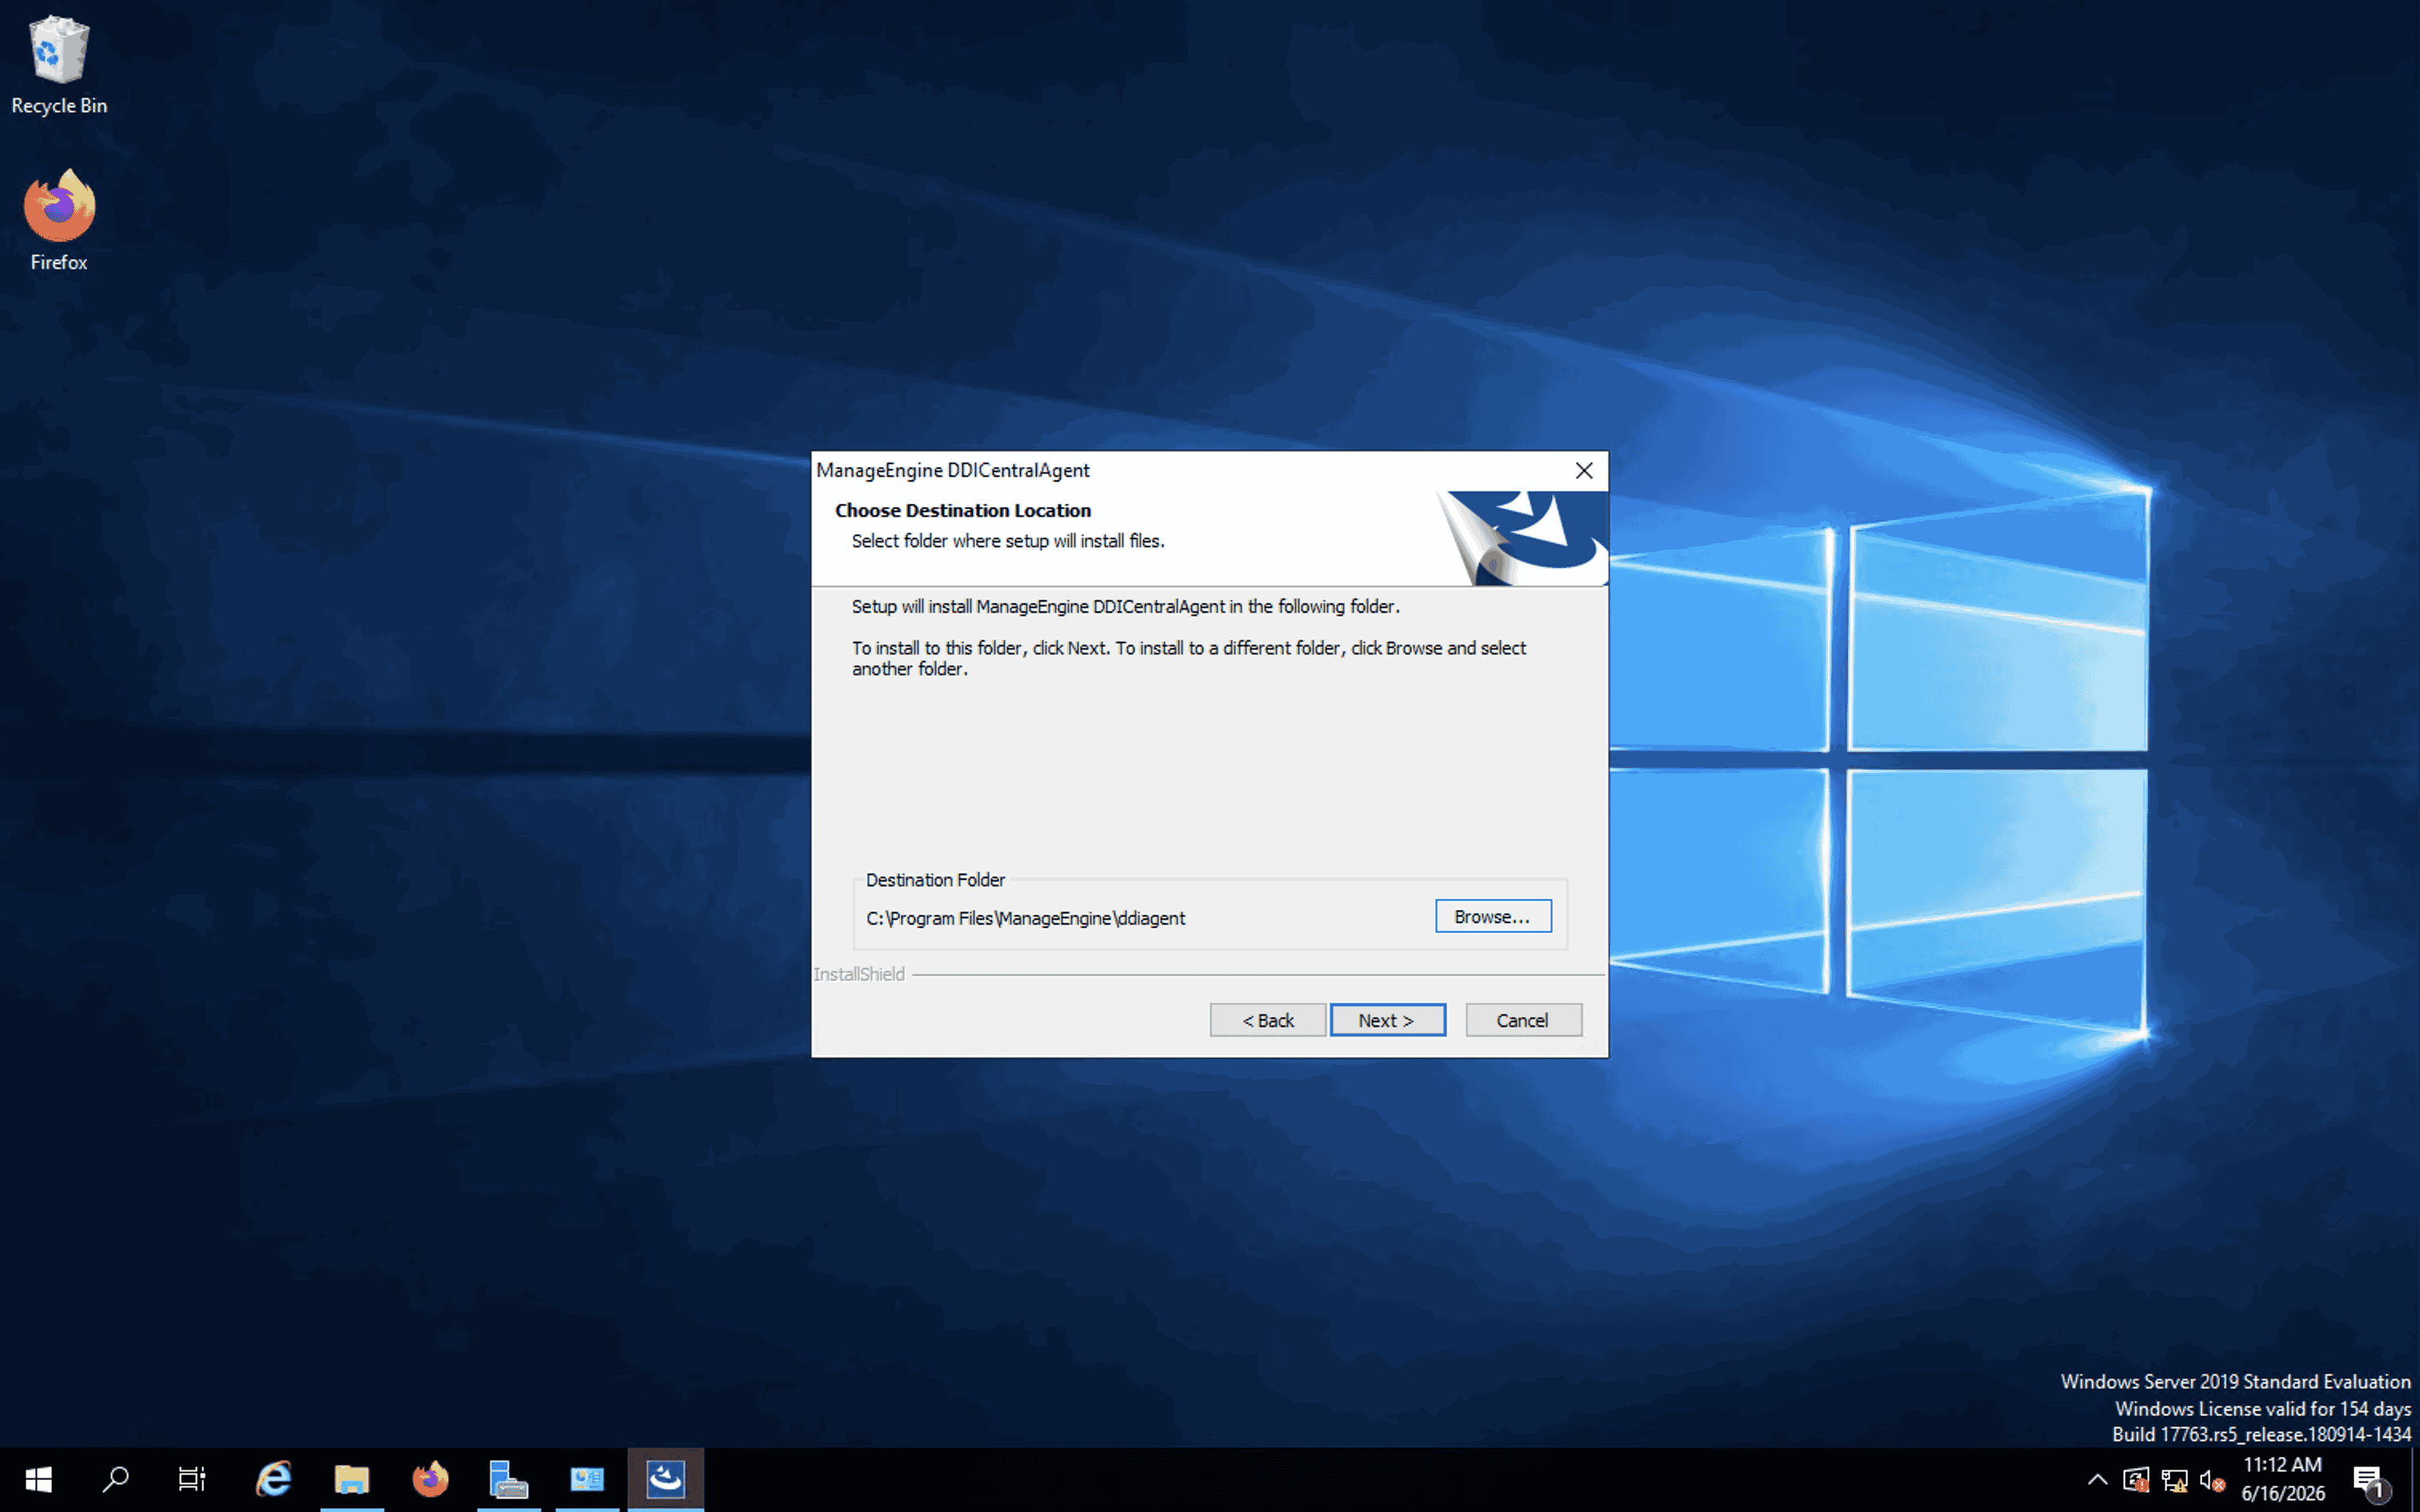
- Click Next and provide the destination path.
- You can either browse and select the required installation path folder you want.
- Or, you can proceed with the predefined default installation path folder given there.
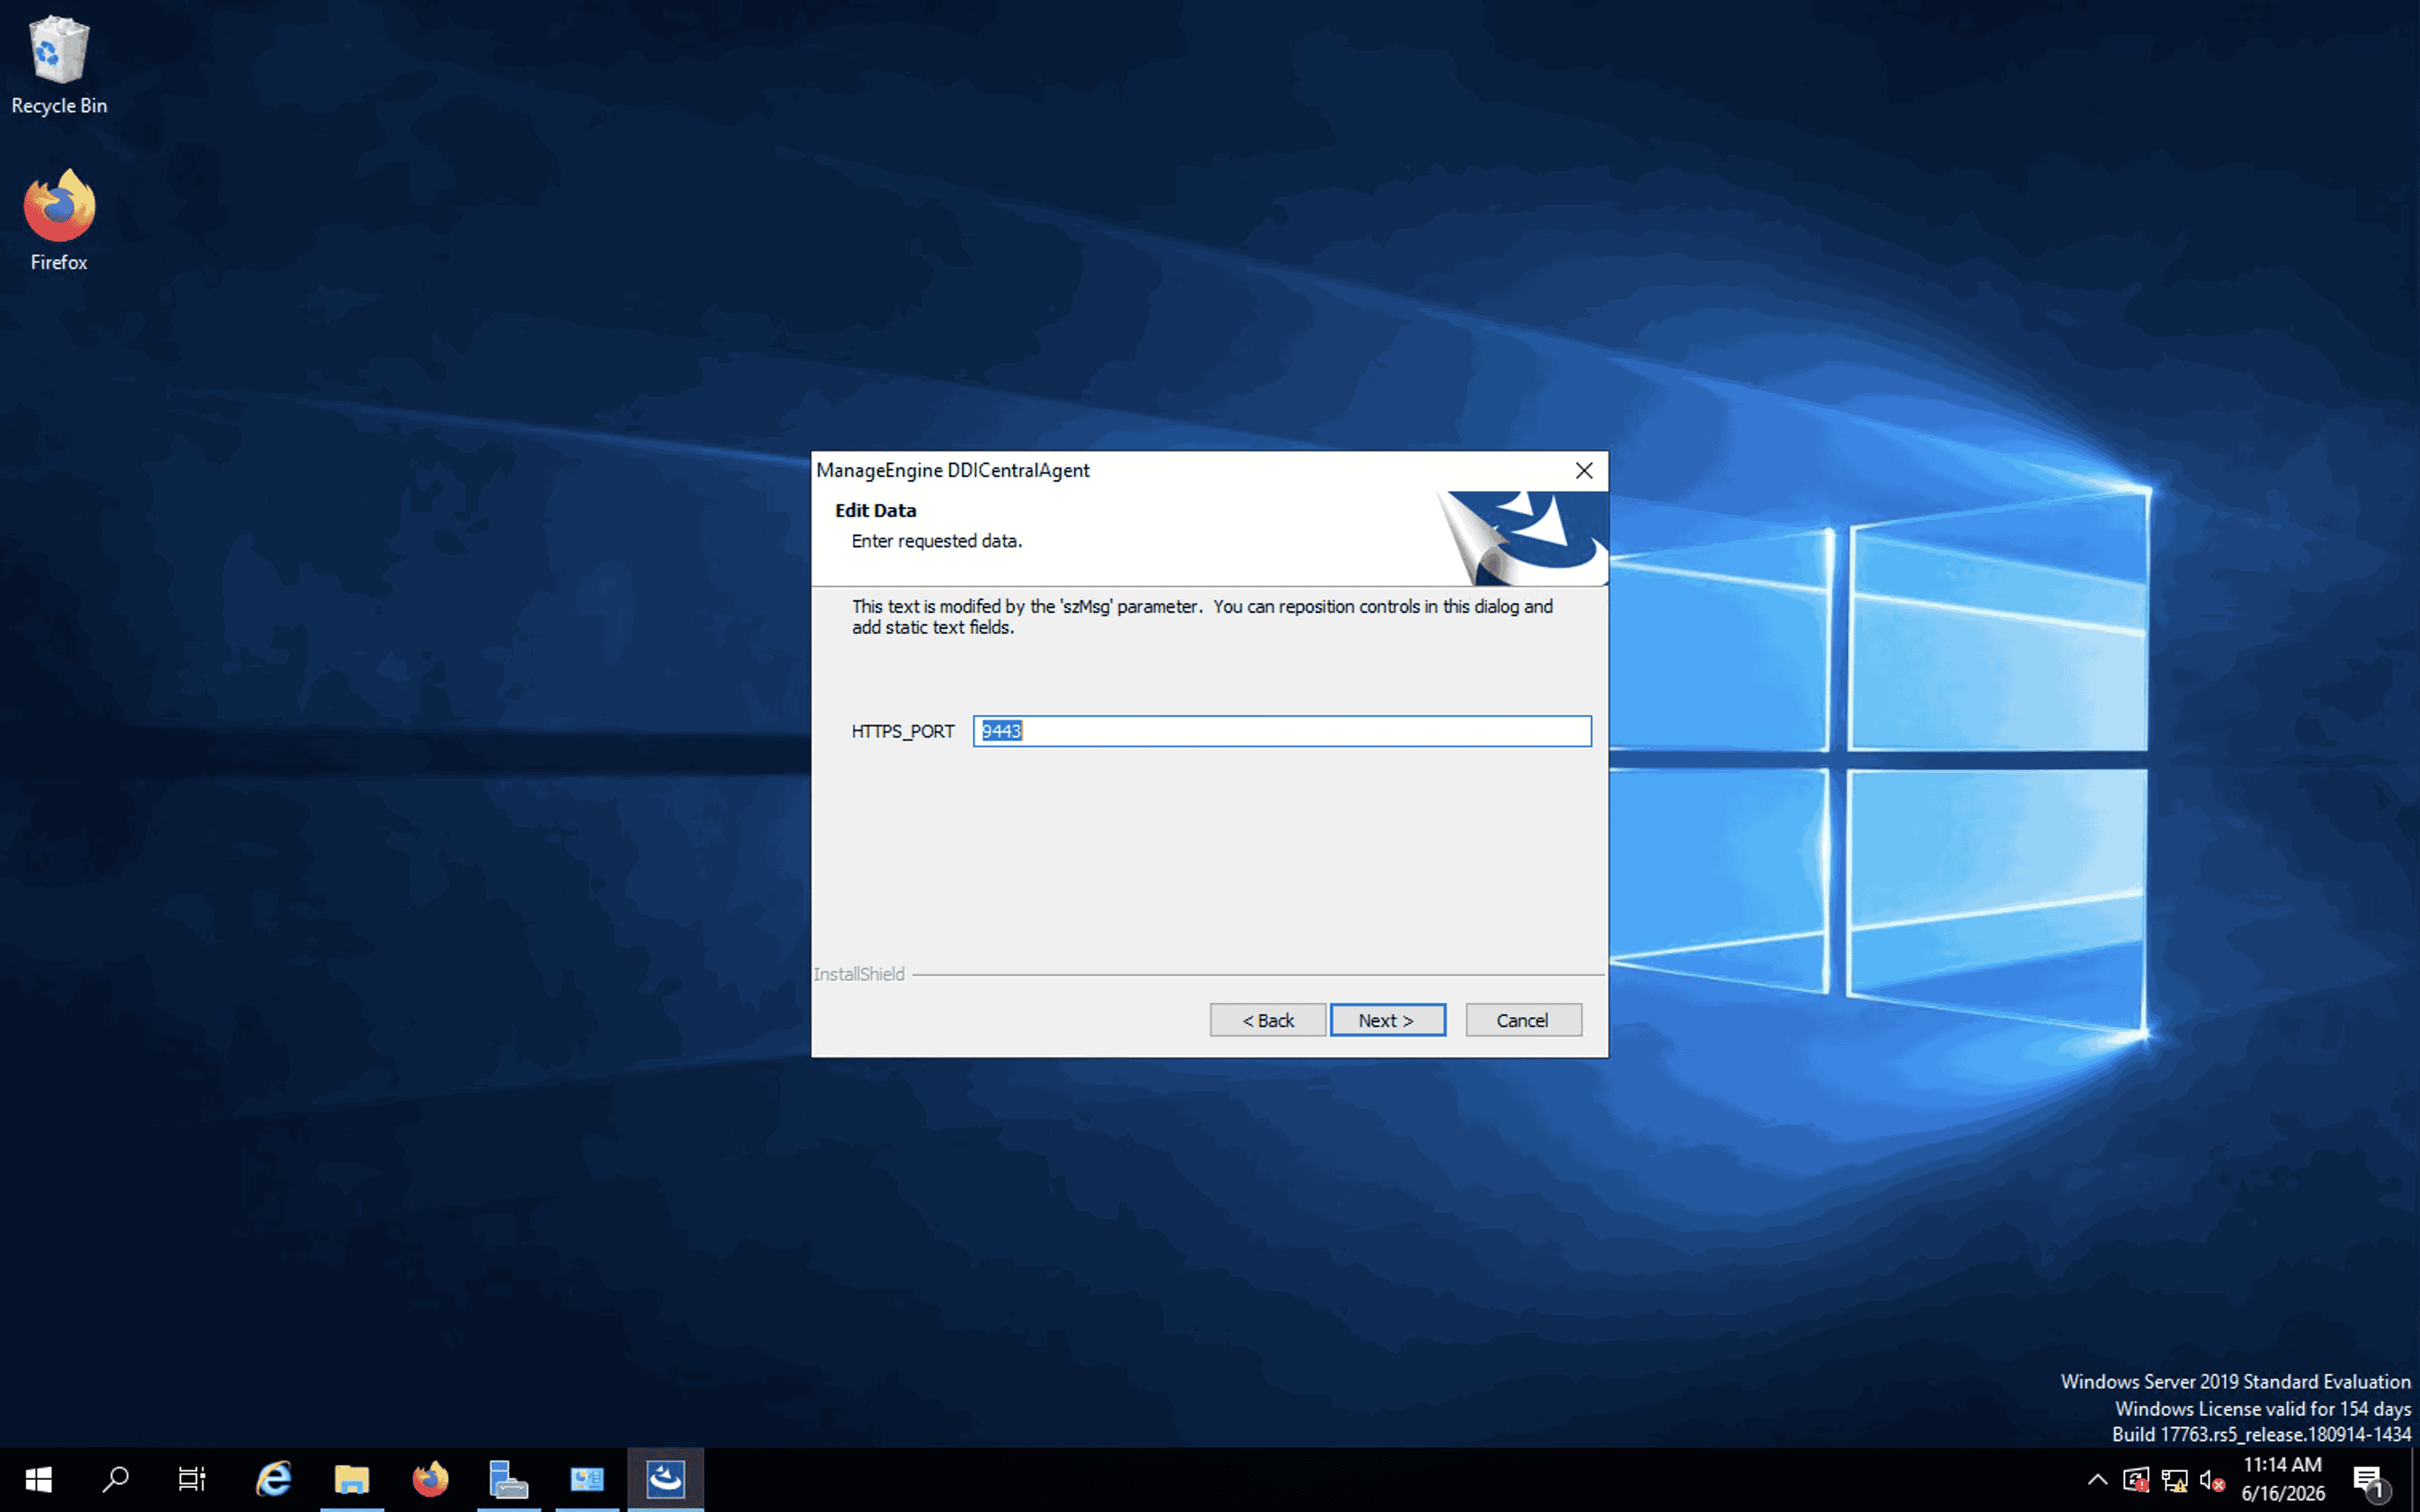
- Click Next and provide the HTTPS port value for connecting the agent with the App Console server.
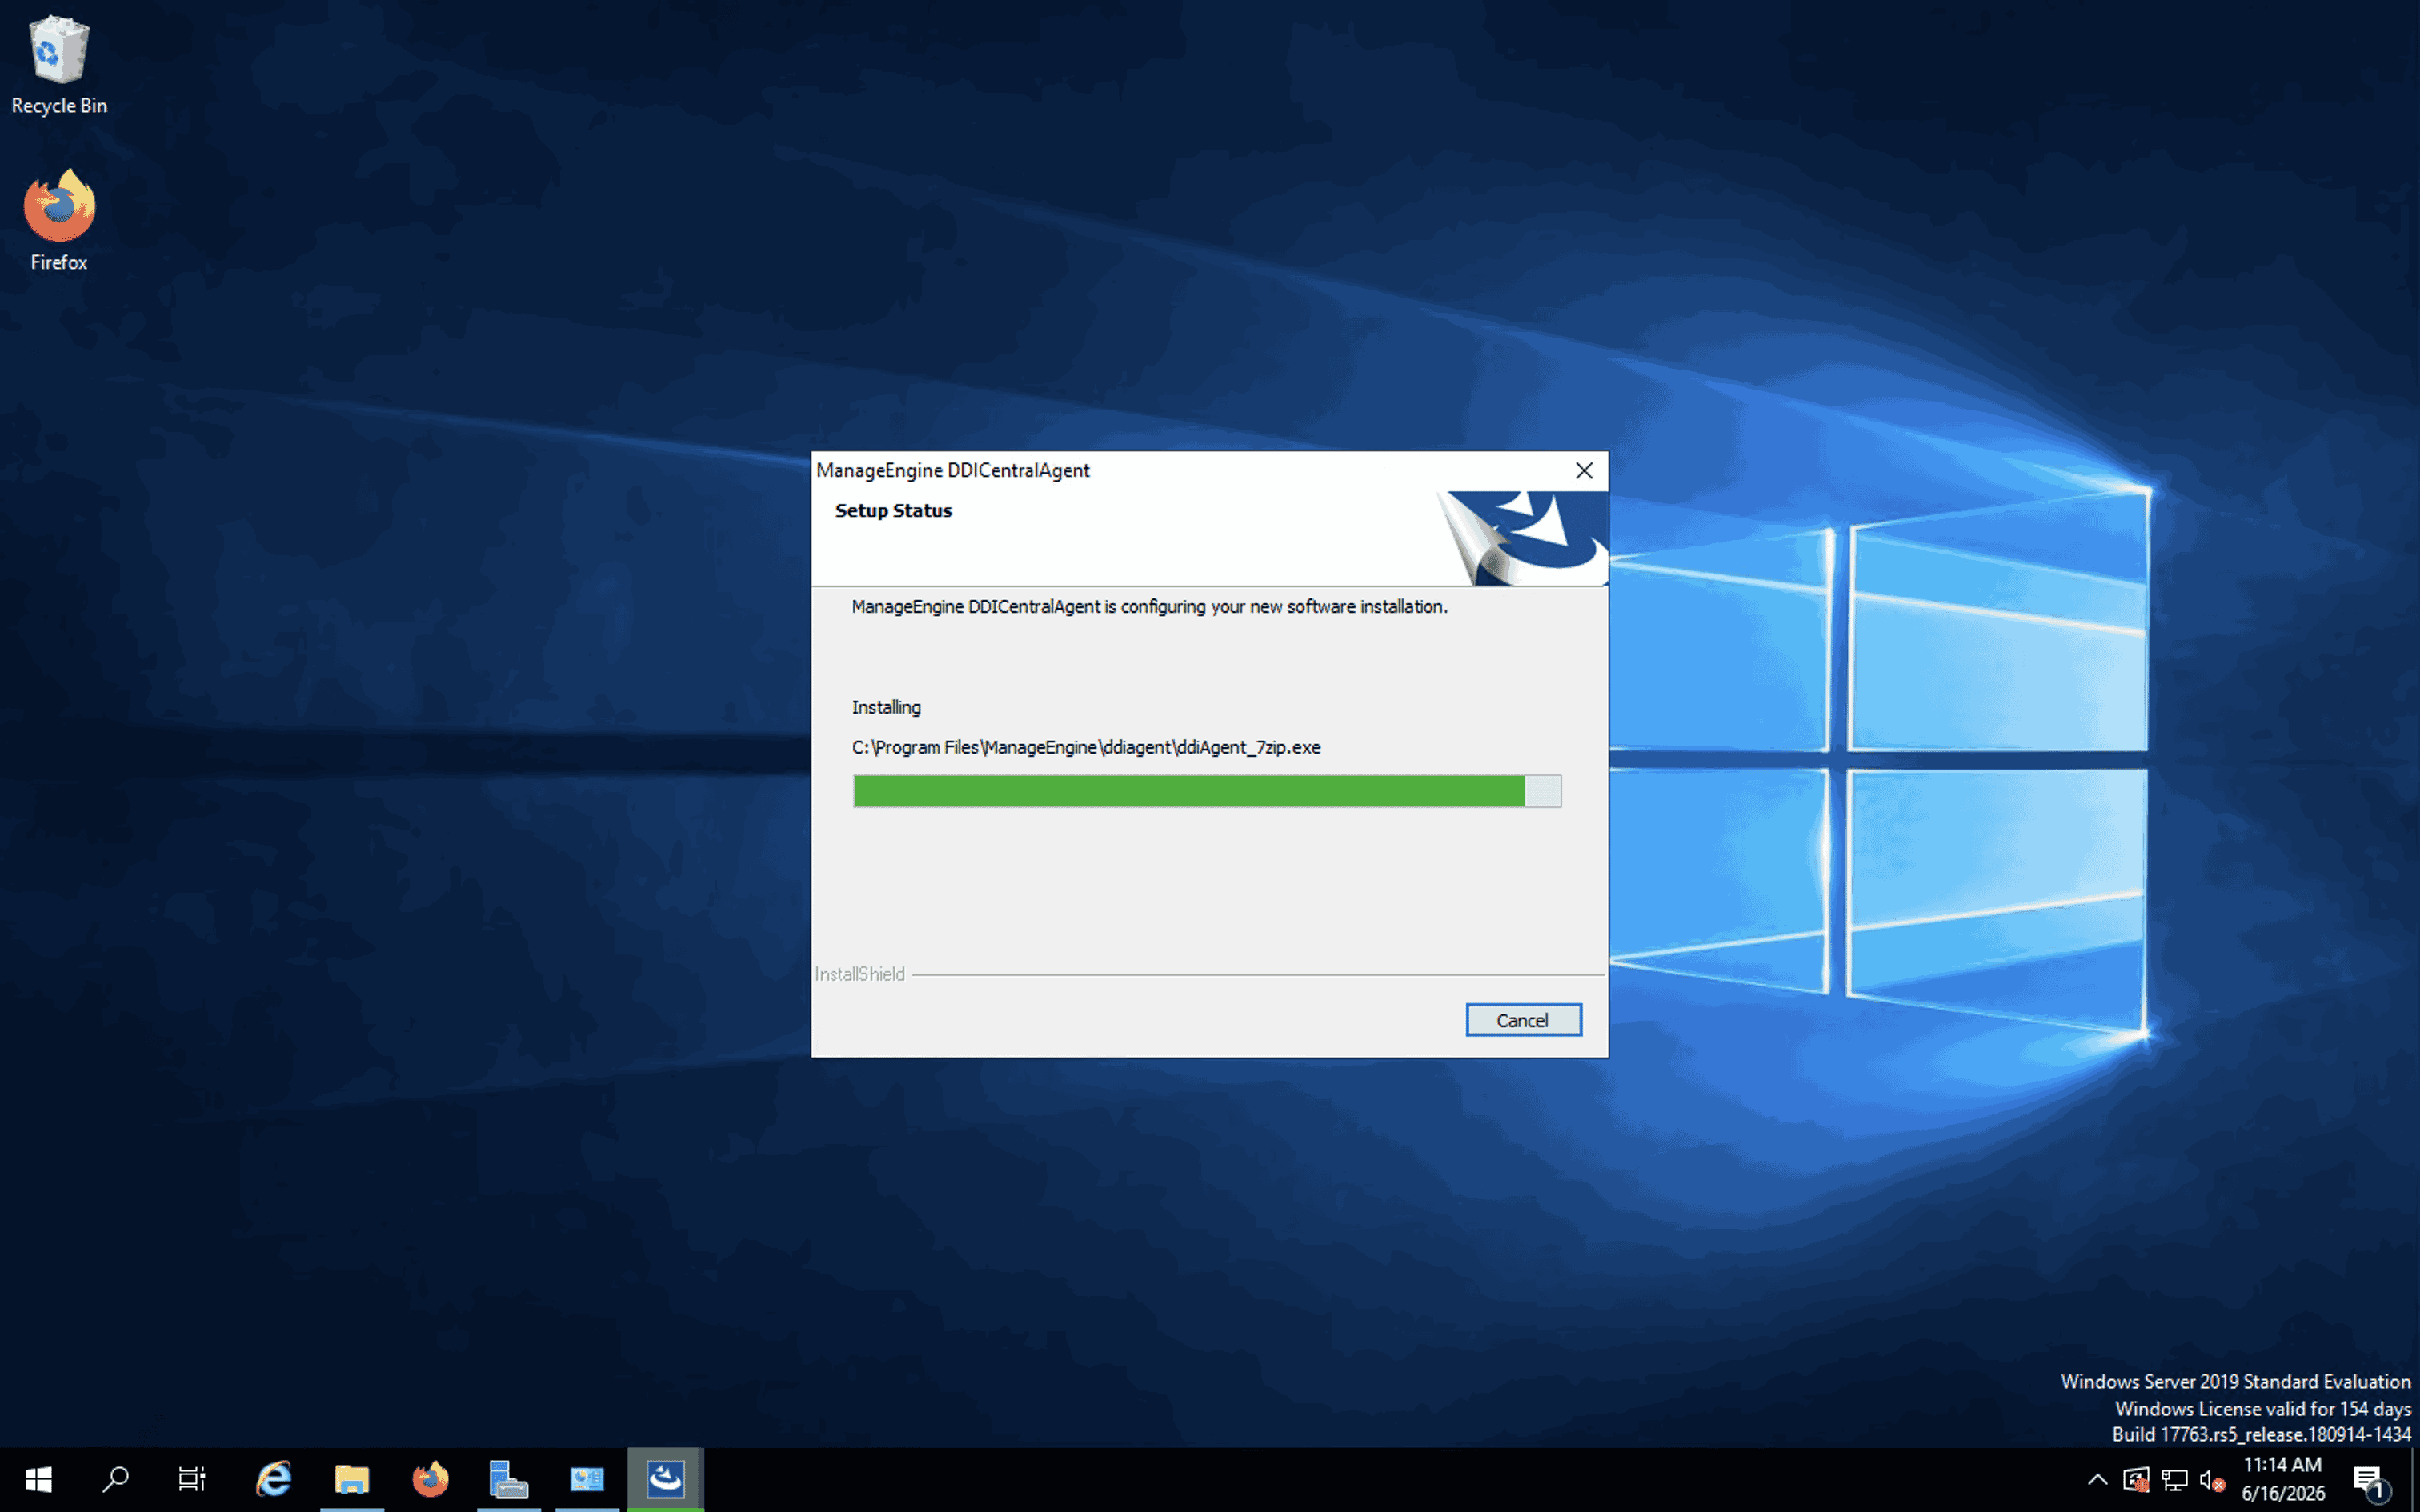
- After providing the port value, click Next and the installation setup begins.
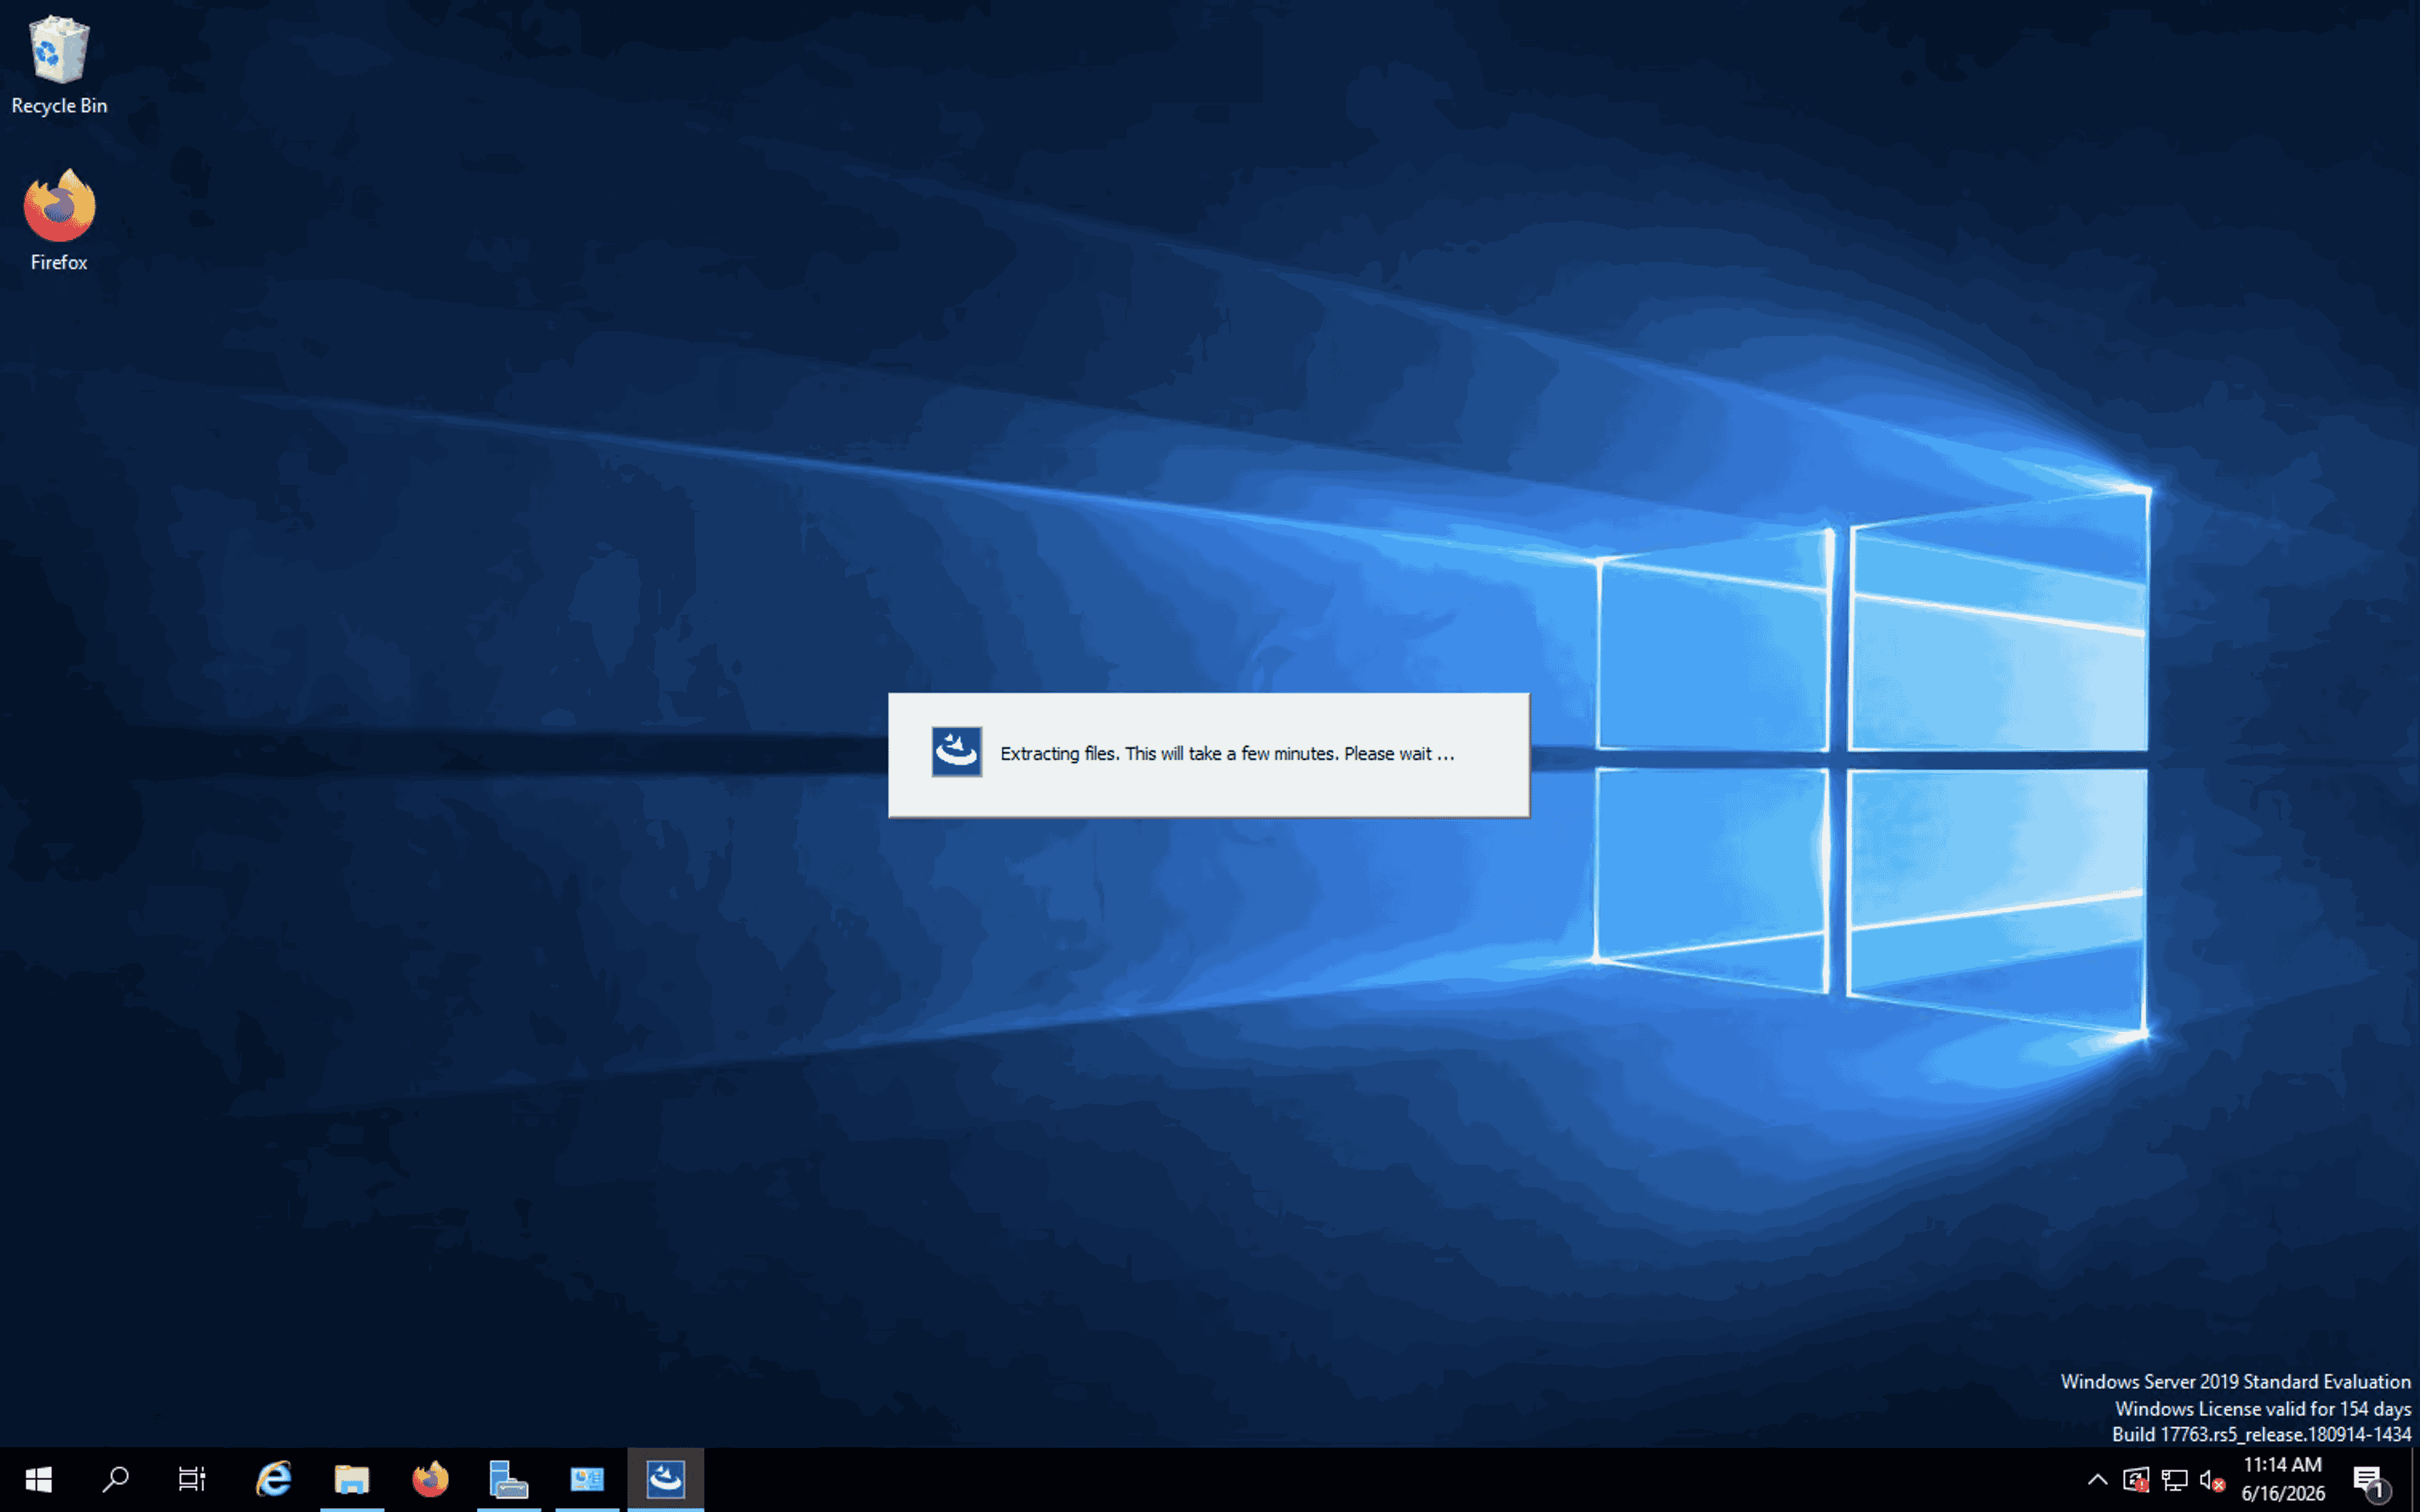
- Then it begins to extract the Node Agent files.
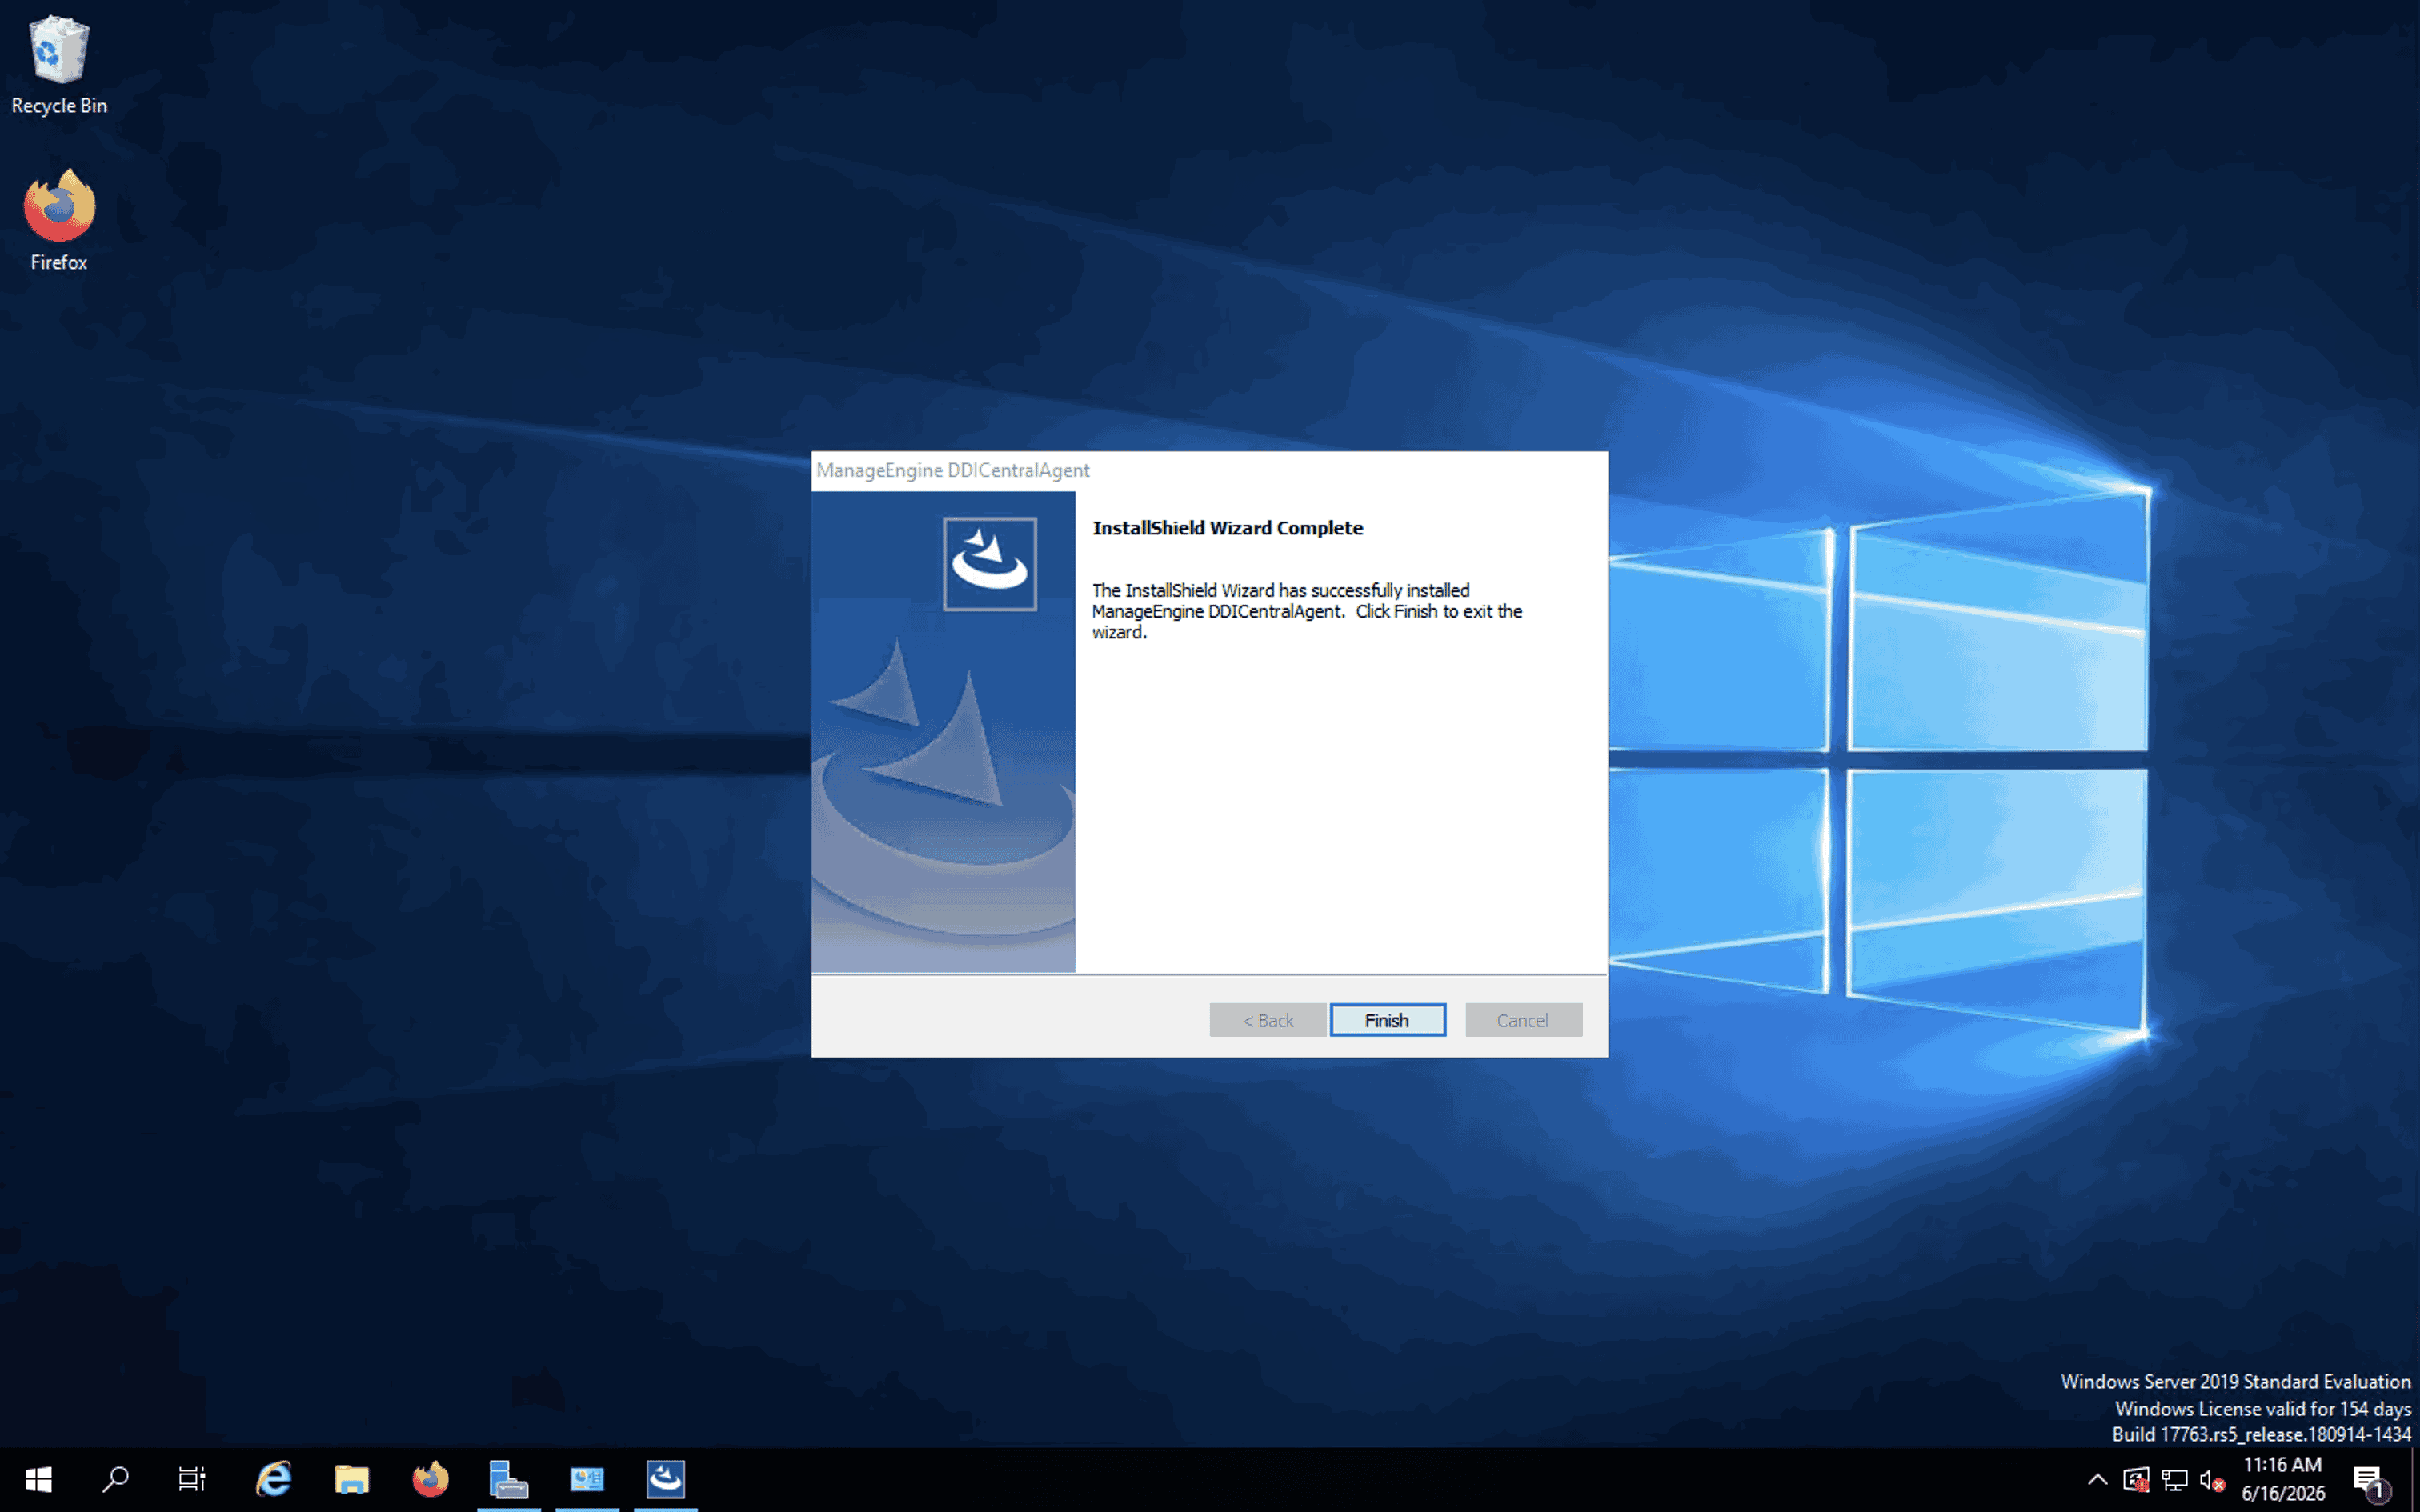
- After extracting the files, the installation can be completed by clicking Finish.
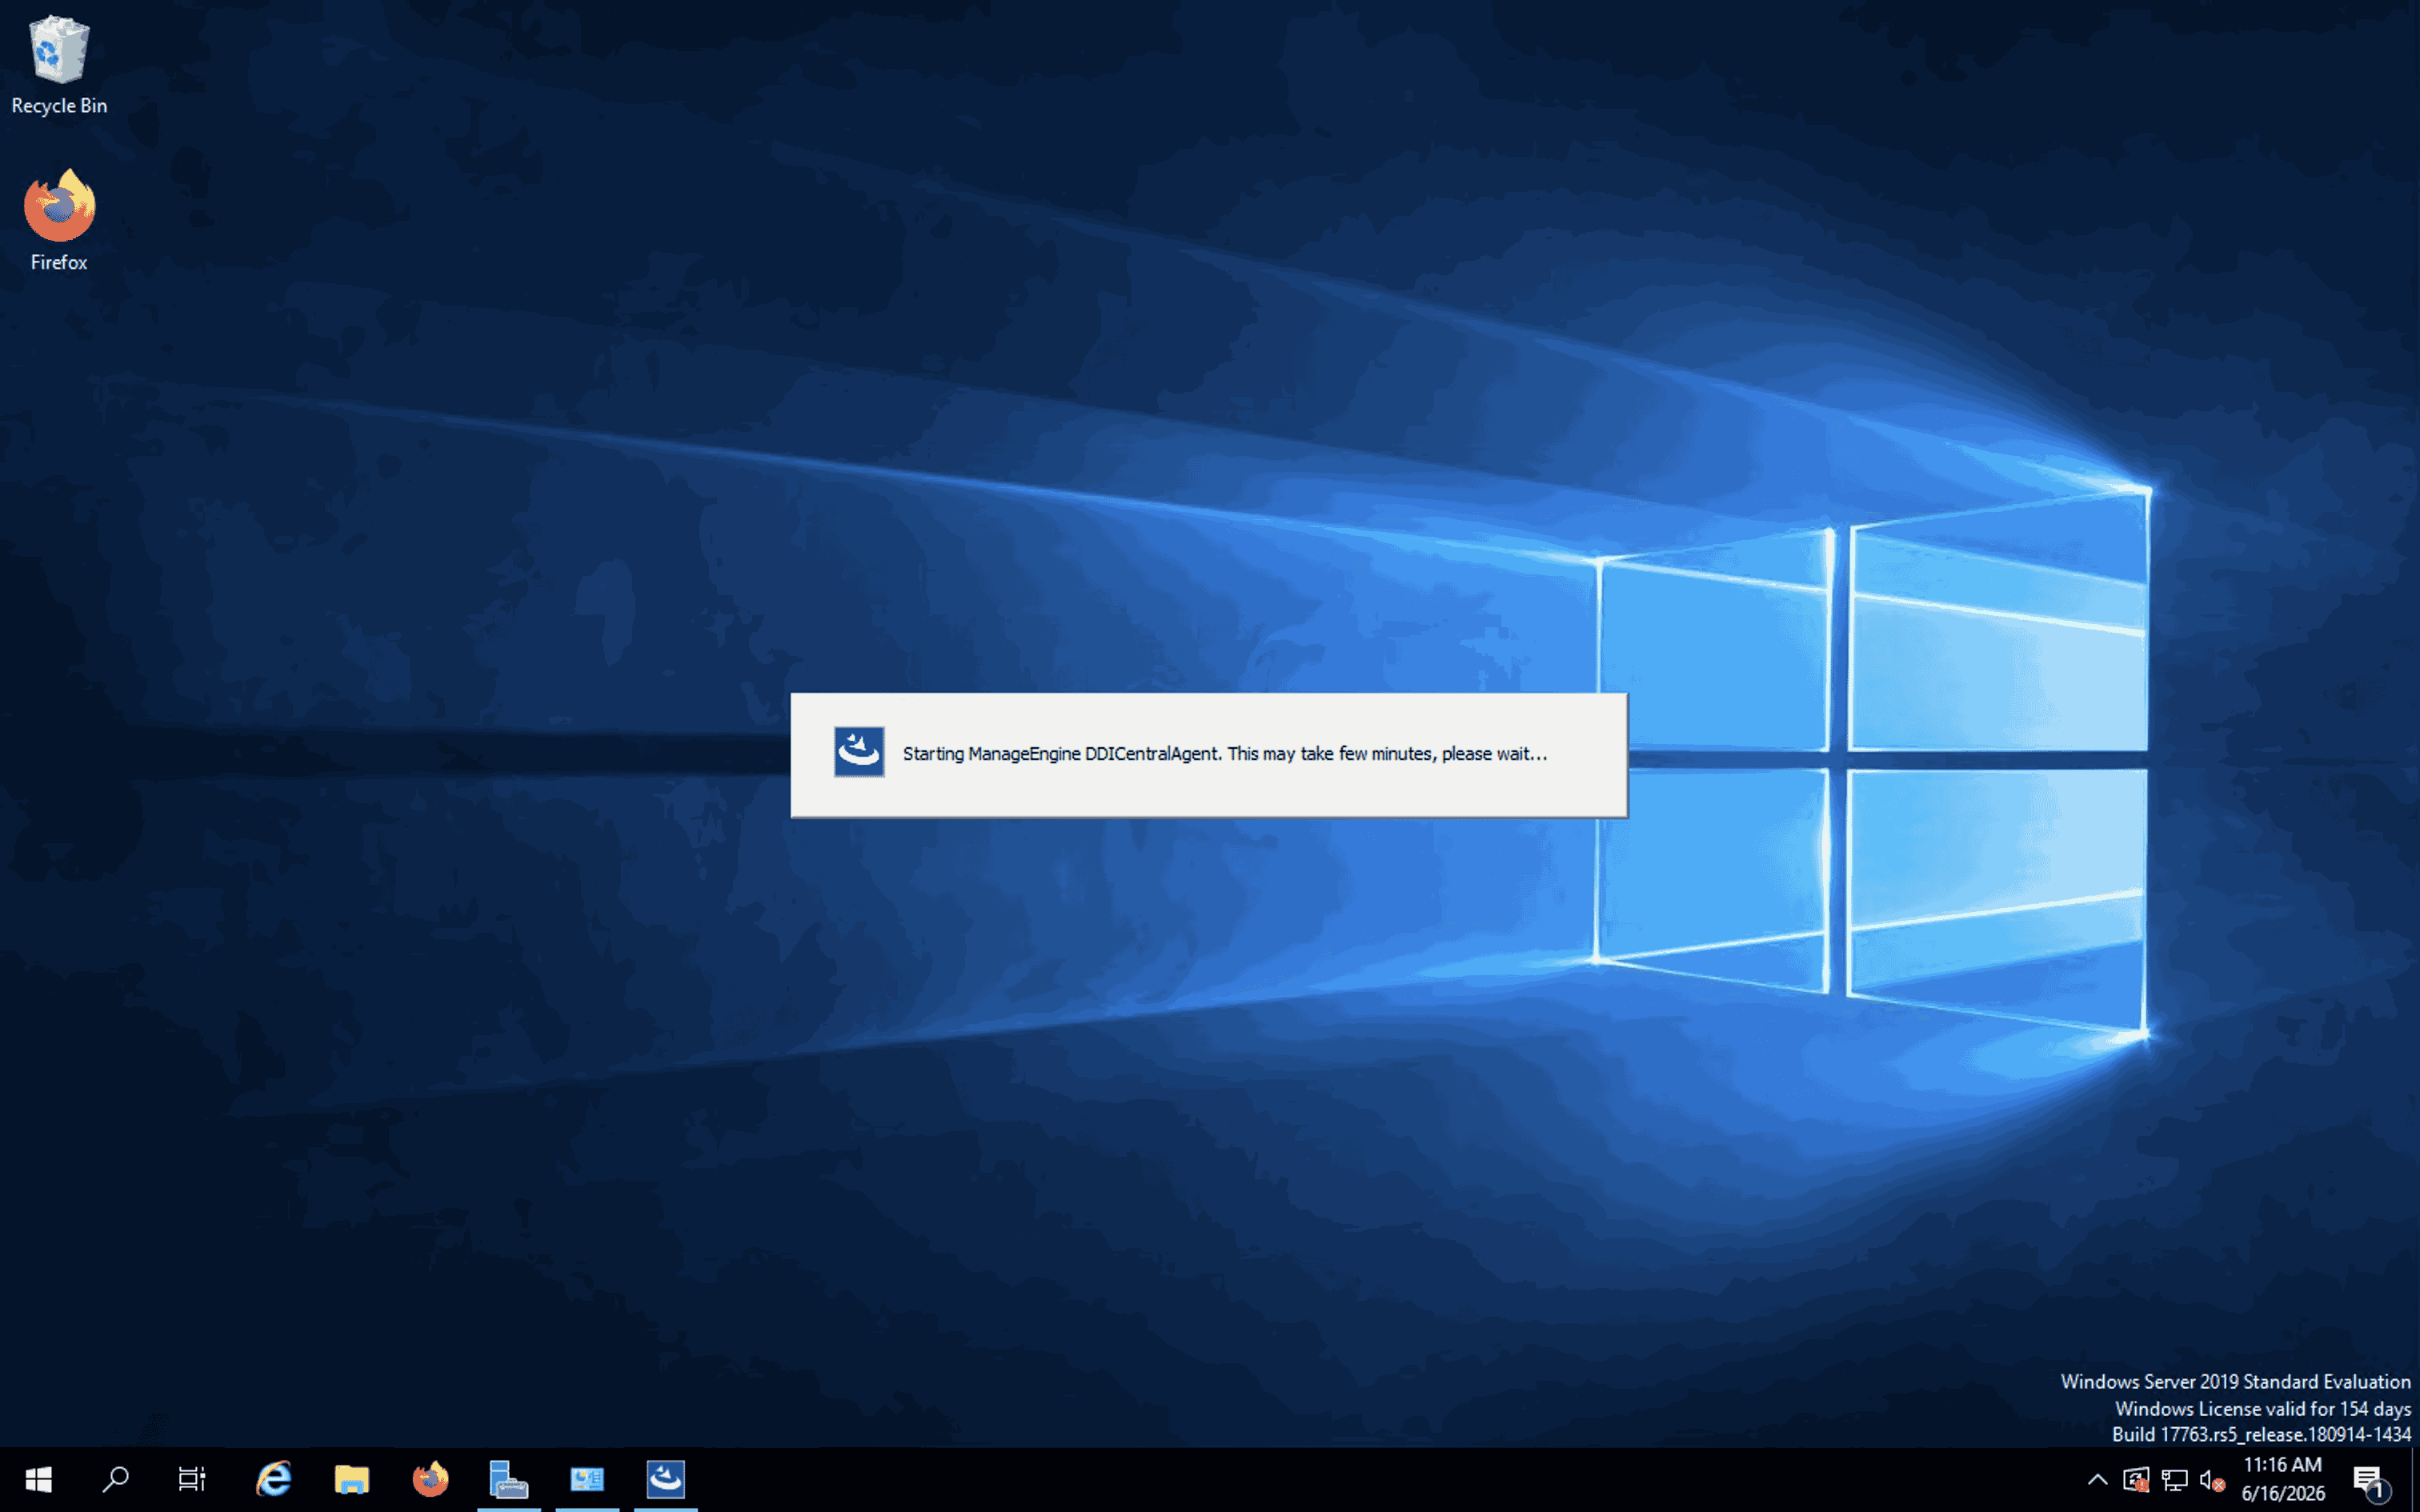
- The installation completes and the Node Agent is now running on the selected Windows server.
Configuring Windows Node Agent installed server in DDI Central Application:
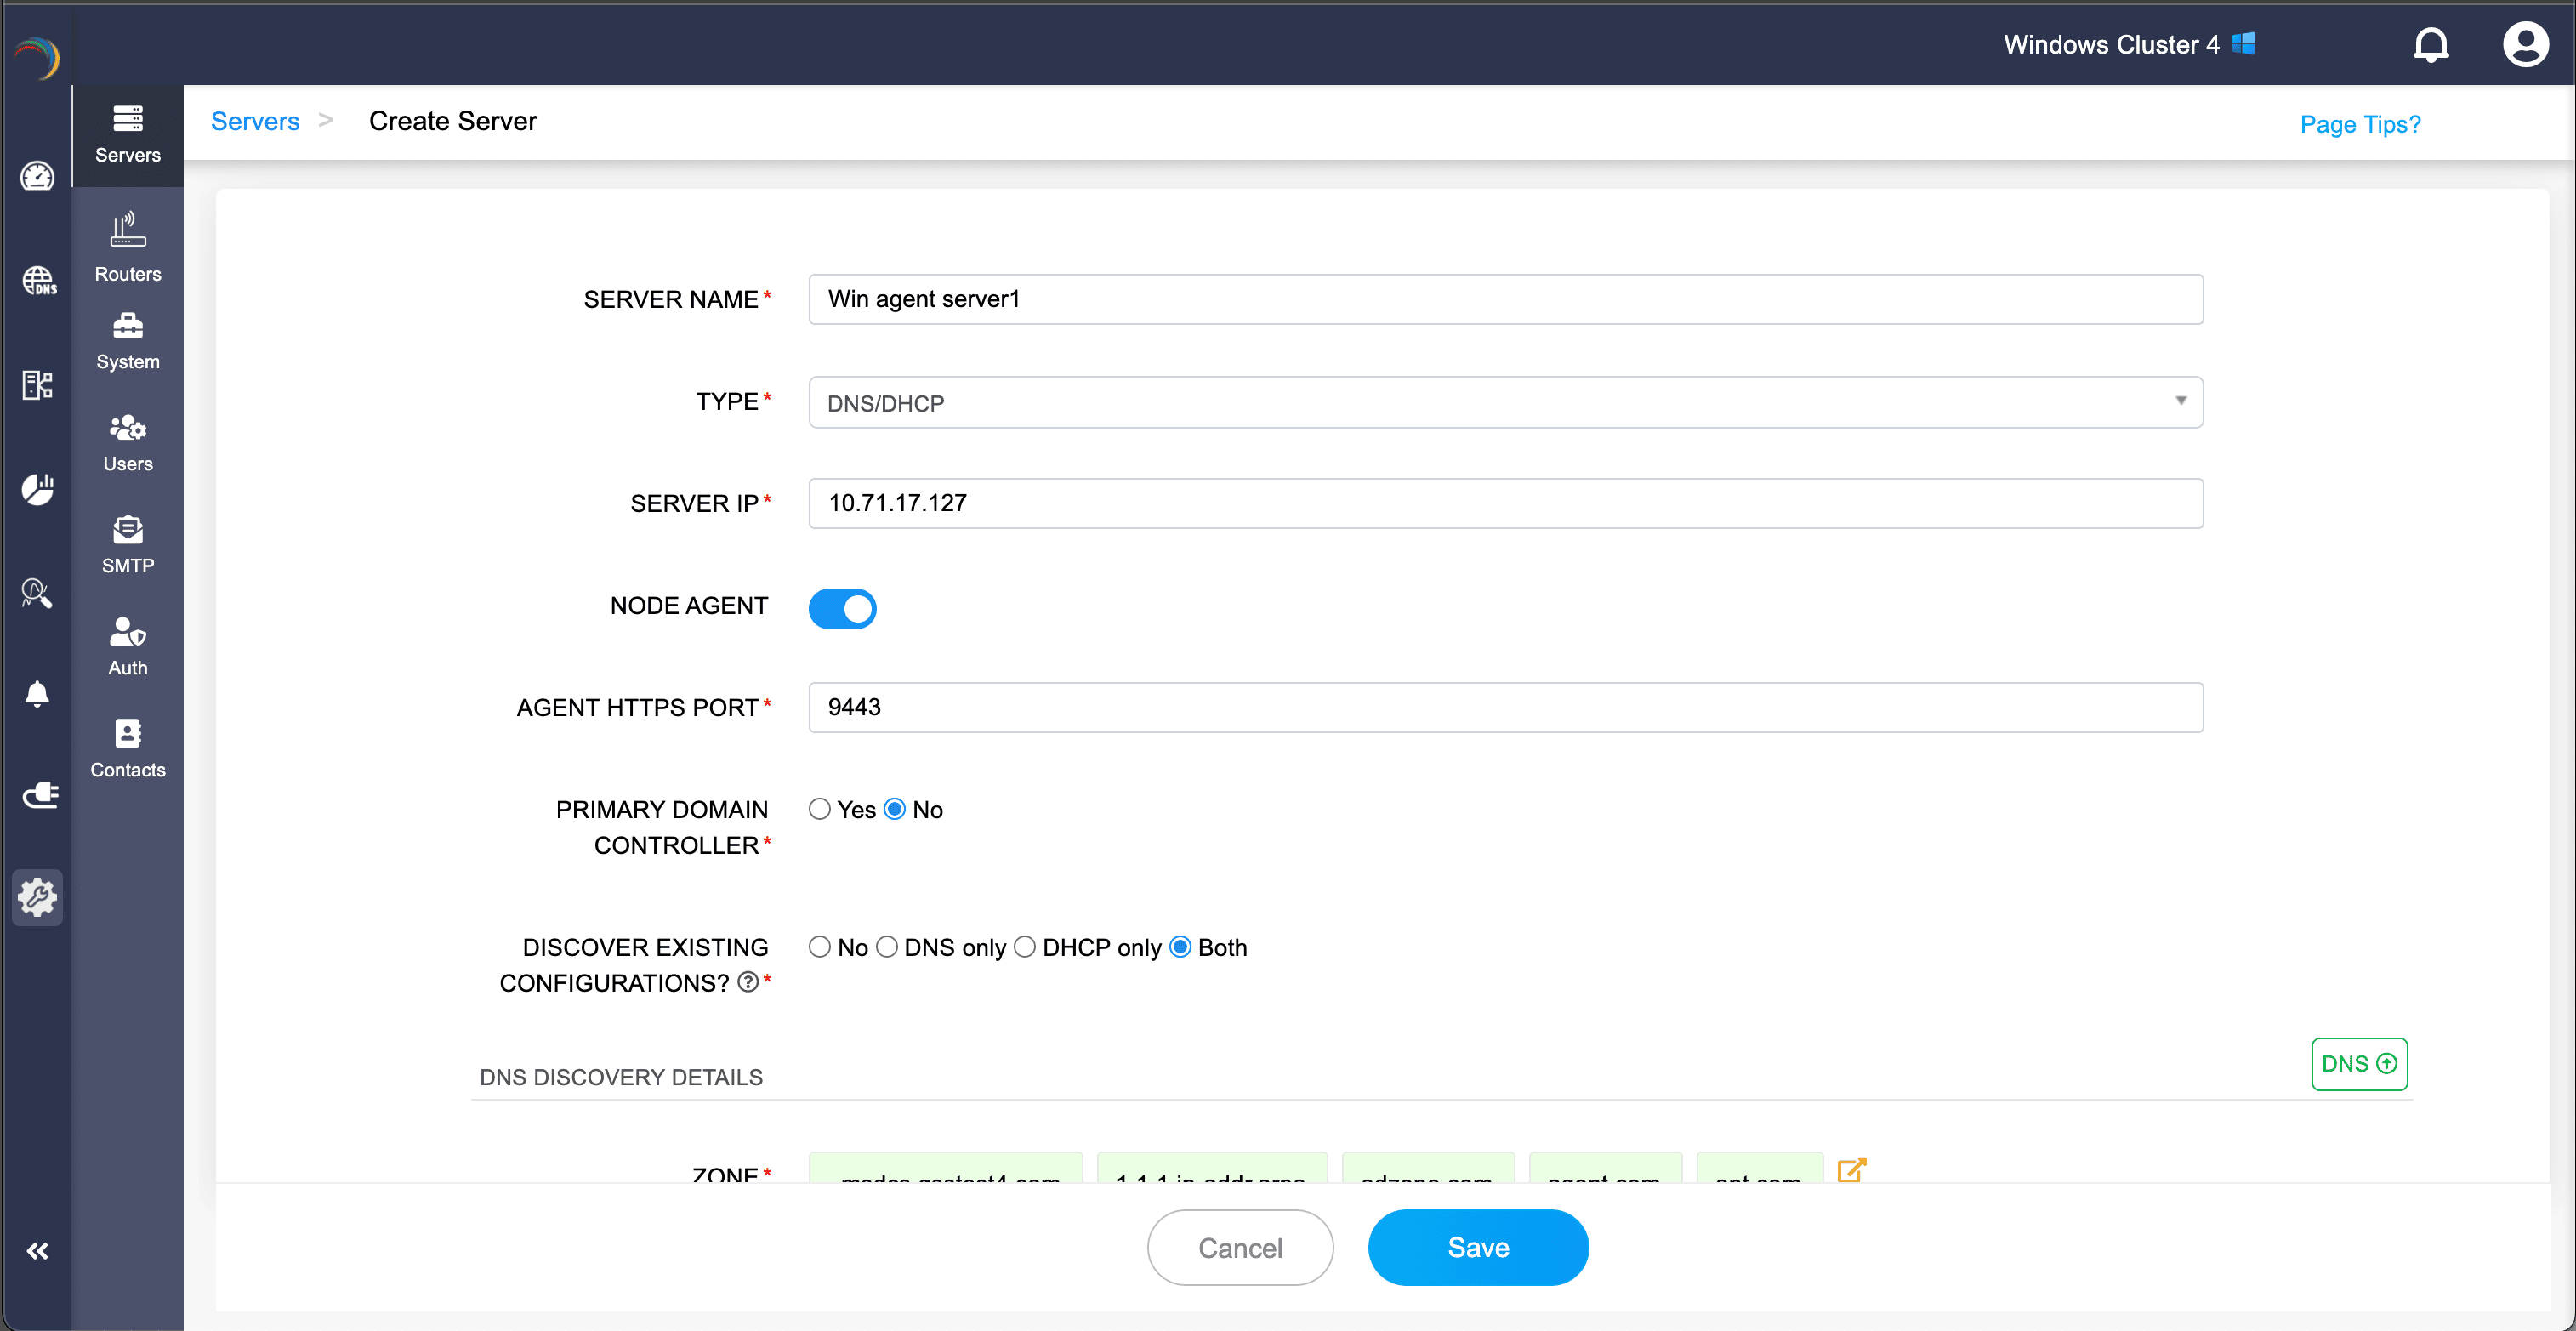
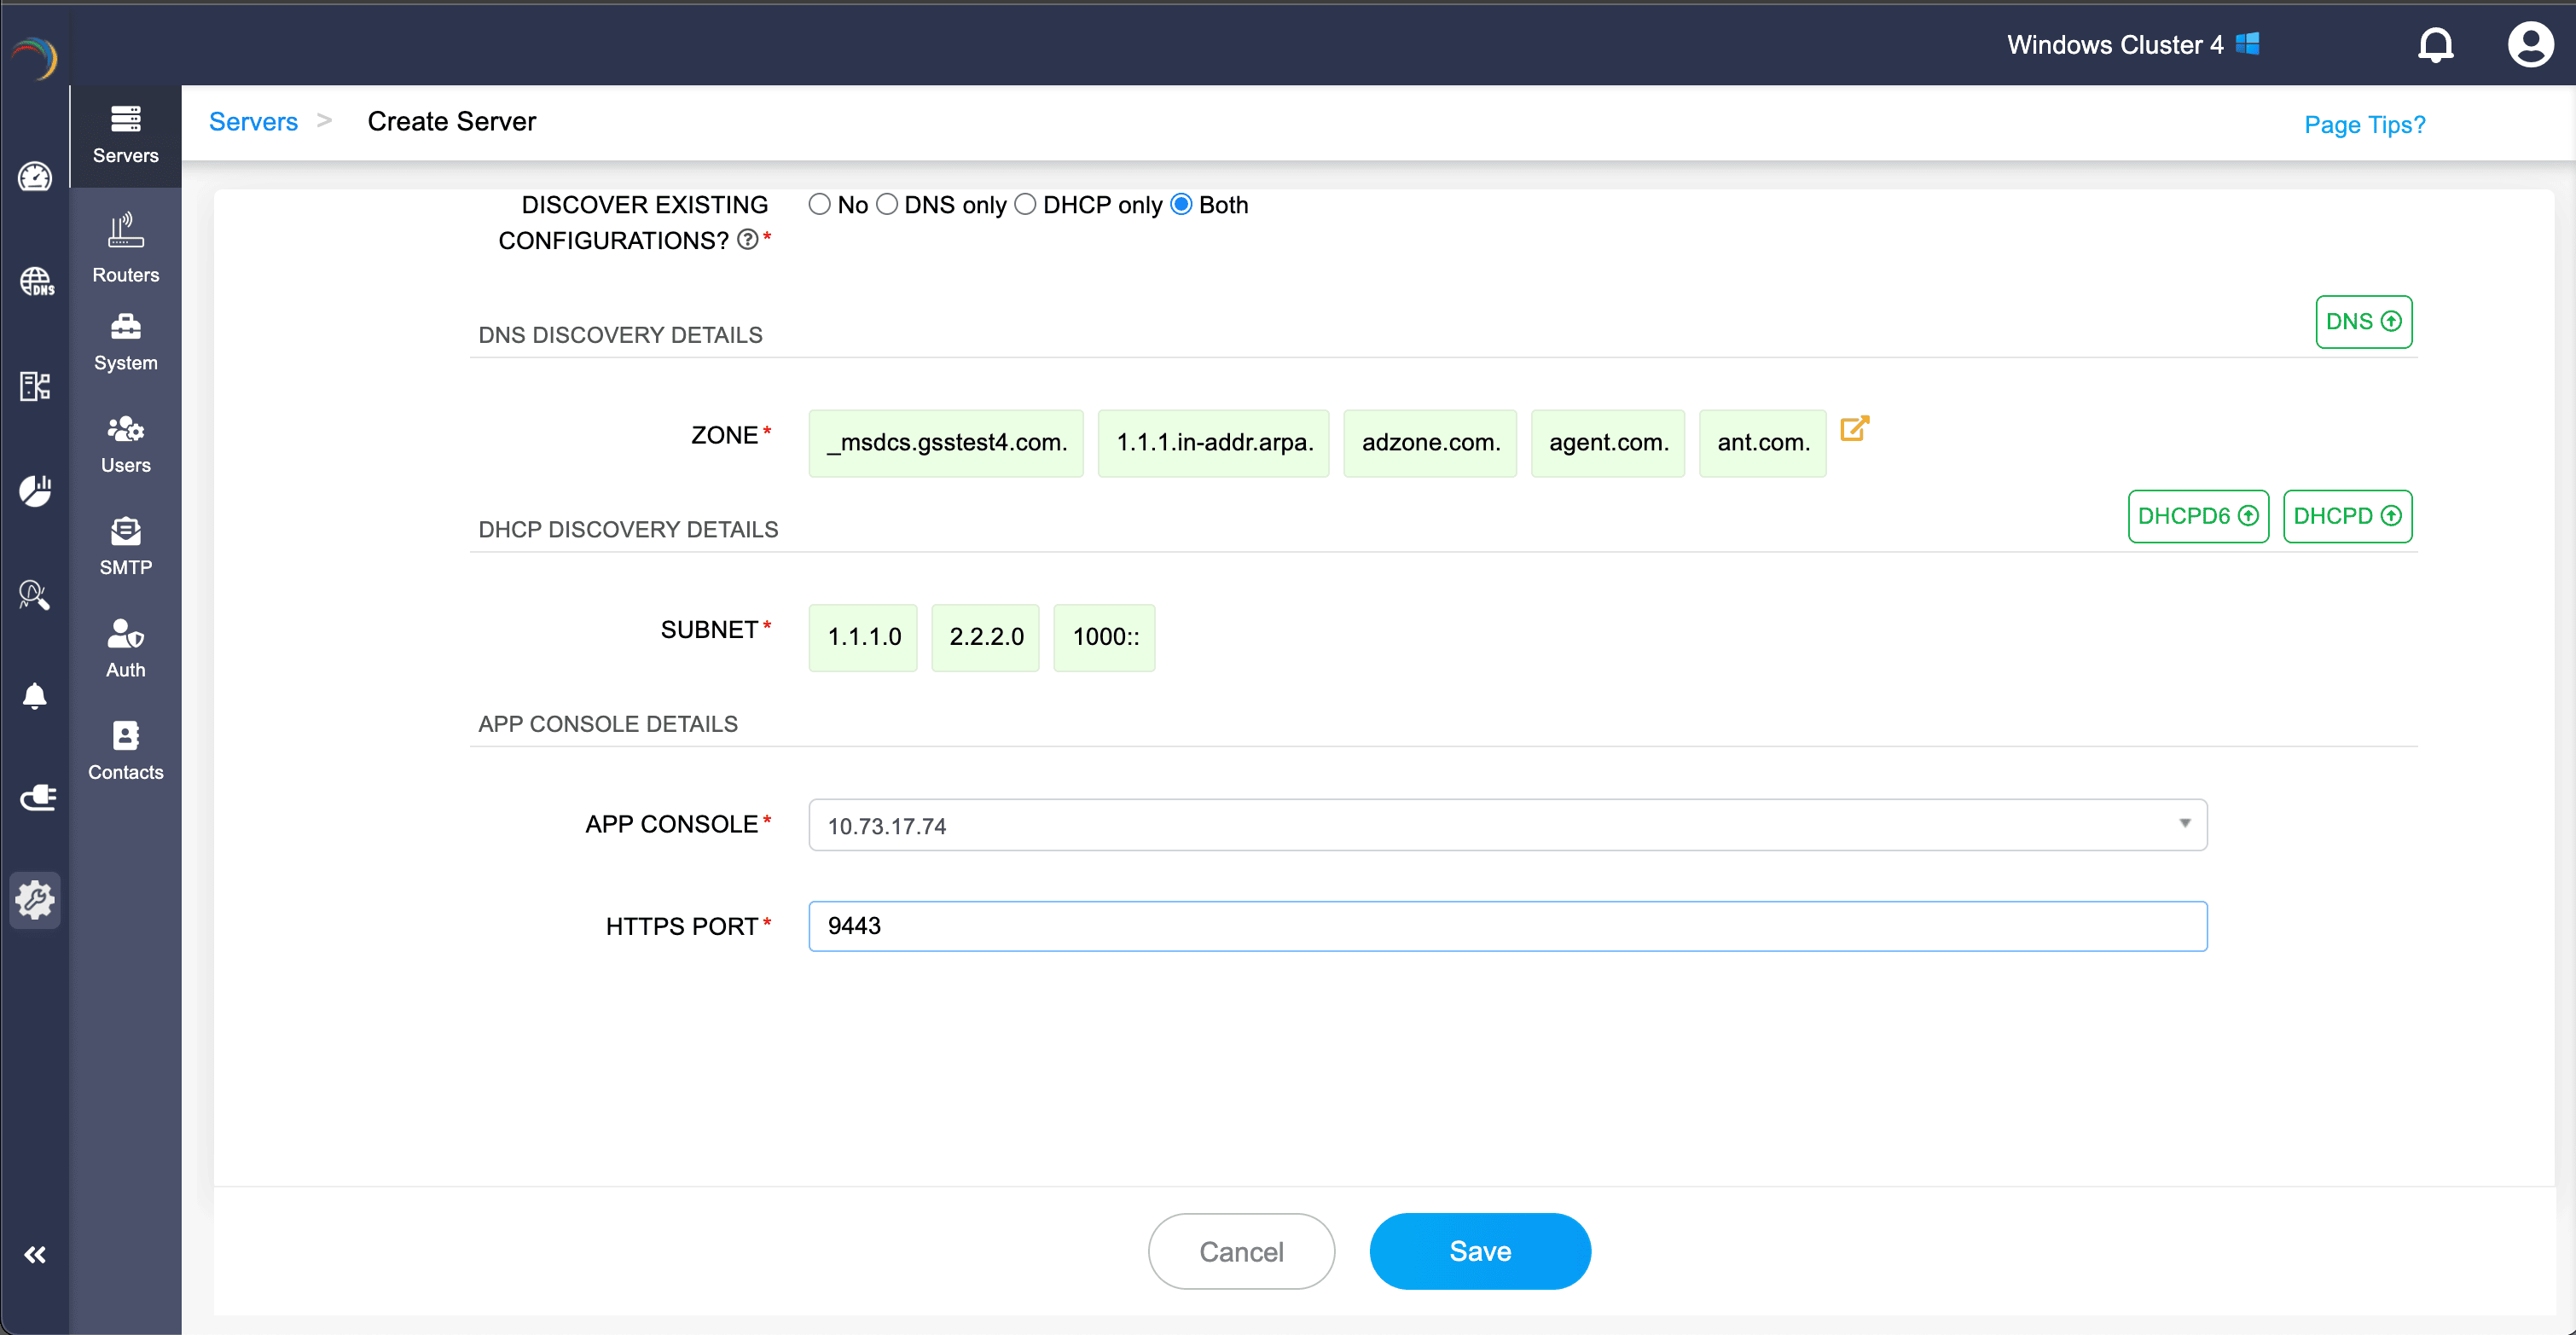
- In the DDI Central Application, under Settings > Servers > Add Server, provide the Windows Node Agent server's name, type, and IP address.
Enable the Node Agent option to configure this as an Agent-installed server. Enabling this option displays the following fields:
AGENT HTTPS PORT: Provide the HTTPS port value of the Windows server that you entered during installation. The default HTTPS port value is 9443.
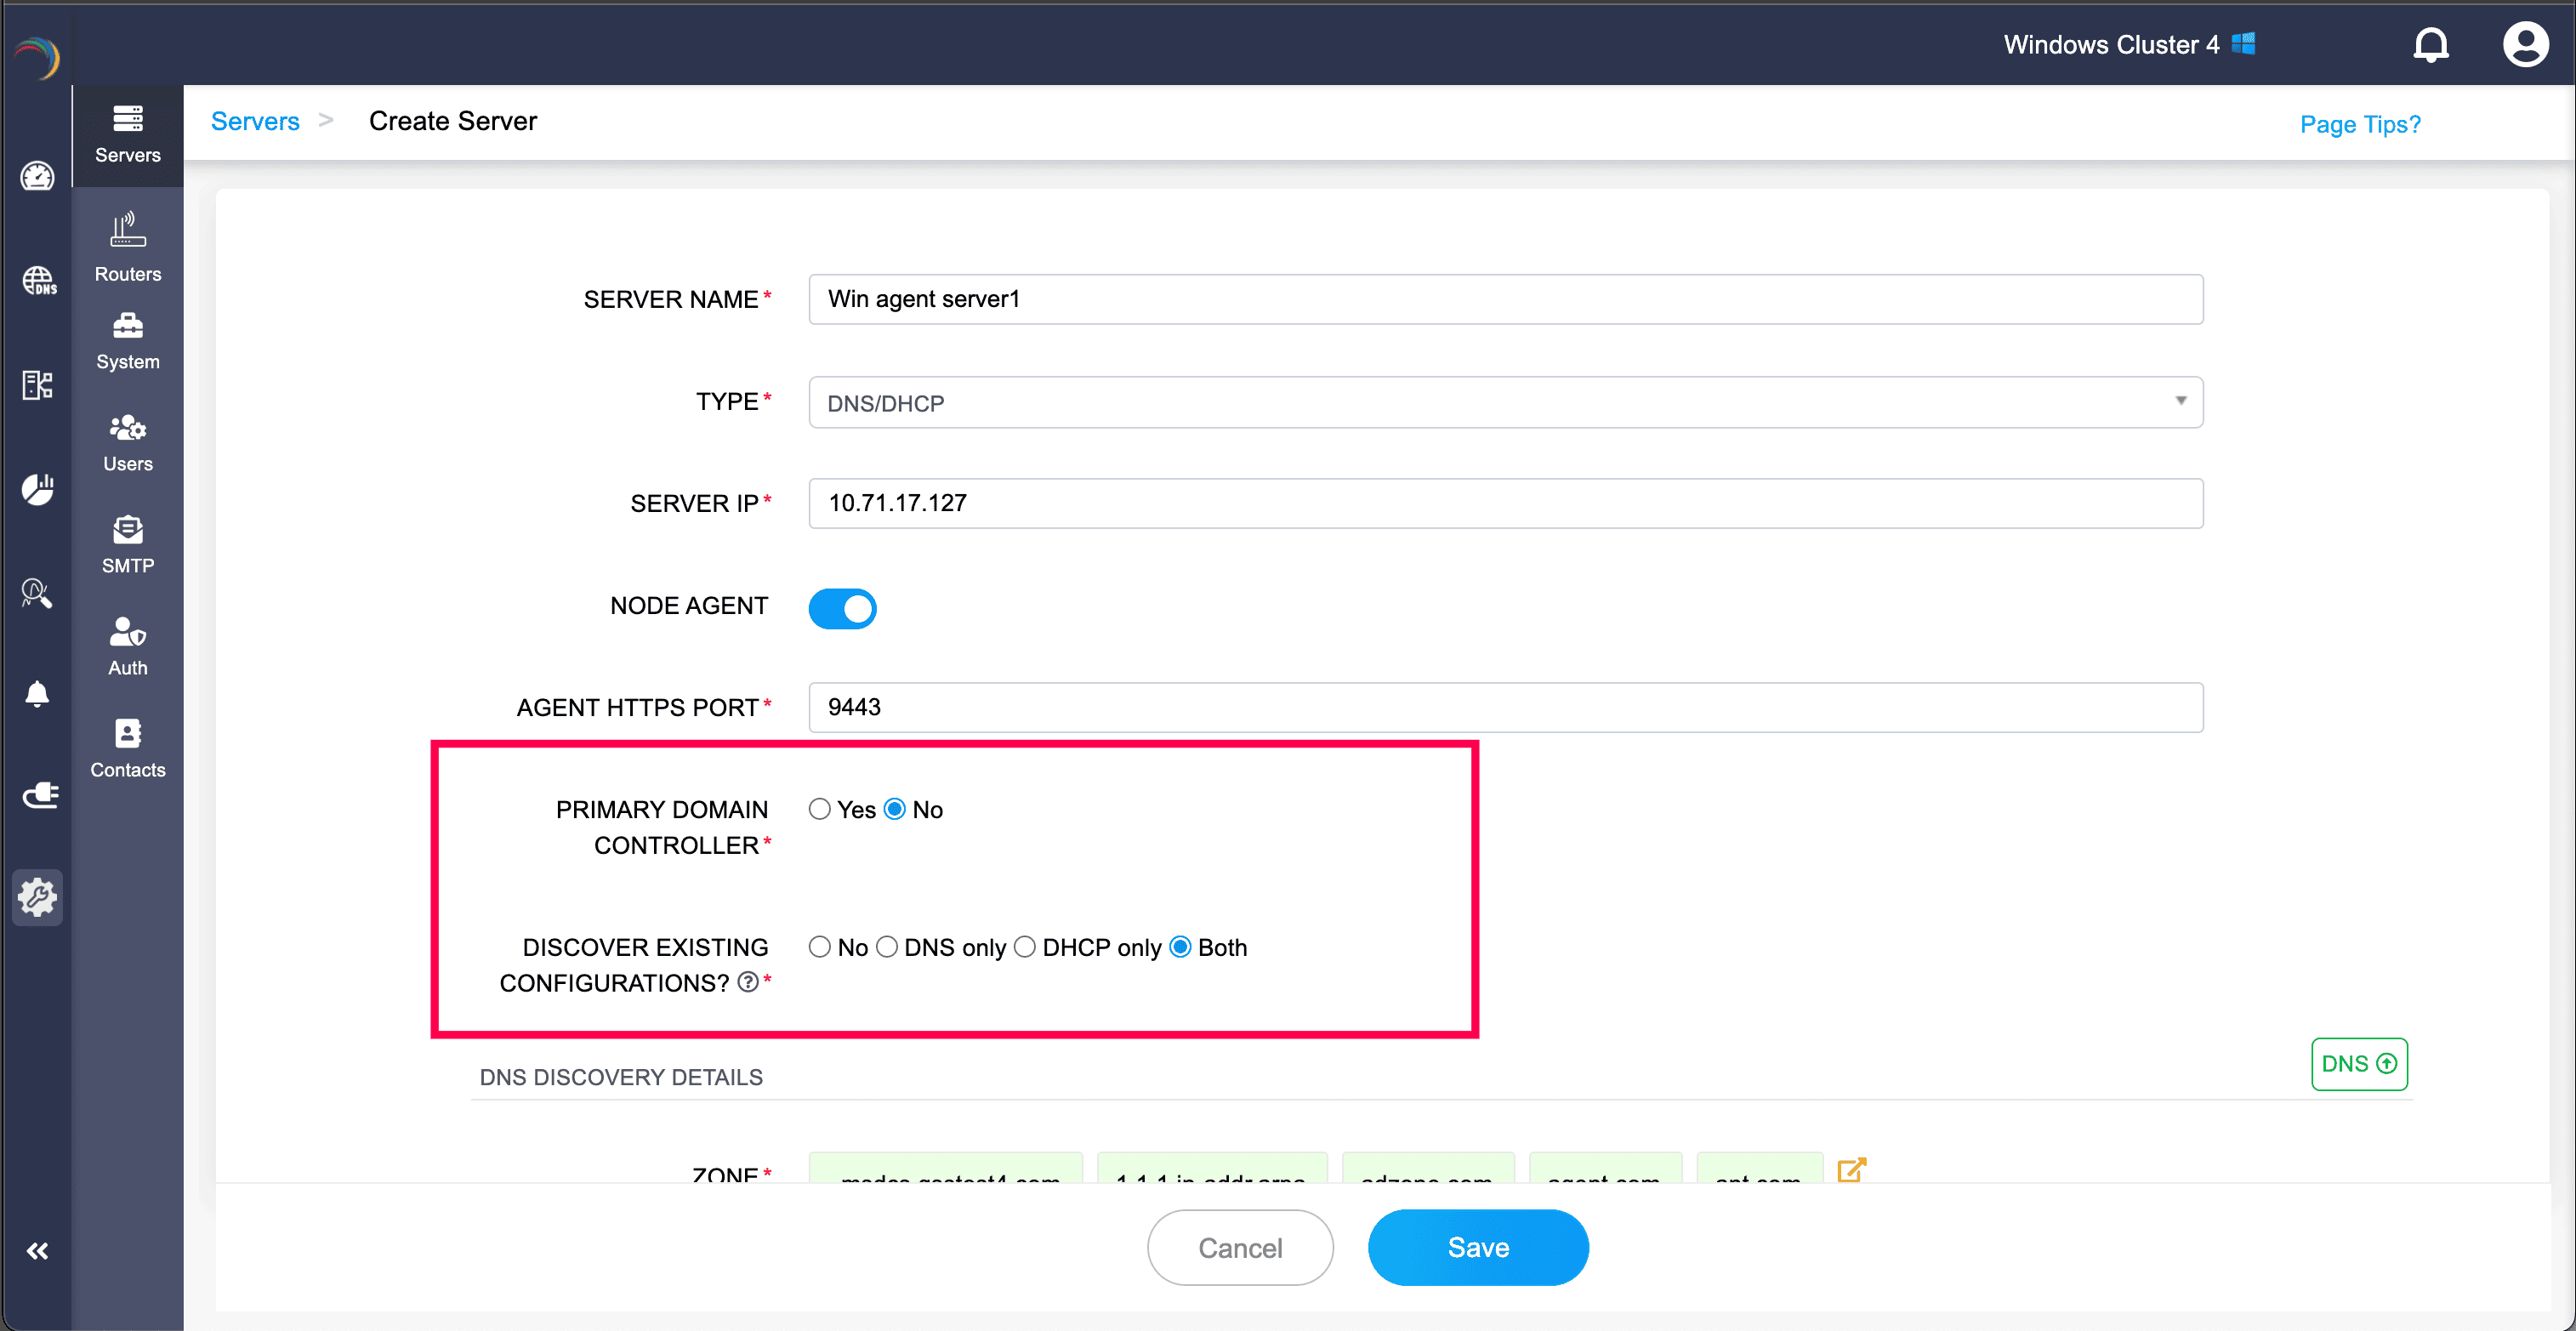
You can also configure this server to act as a Primary Domain Controller (PDC), and to Discover Existing DNS/DHCP Configurations.
Note: When the Node Agent server is marked as a PDC, it can help in discovering AD domains in the App Console server along with normal domains.- After that, provide the DDI Central App Console server details — IP address and HTTPS port value — for implementing communication between them.
Agent based and Agentless Bulk Import:
Large volumes of Windows servers that have Node Agent installed or WinRM configured can be imported in bulk through CSV or XLSX file import options.
When clicked on the Import option in the Servers section, the Select Import Type menu displays on screen. Select the import type based on your needs:
- If you have Windows Node Agent installed in your existing DNS/DHCP servers, select Agent-based.
- If you have WinRM setup configured in your existing DNS/DHCP servers, select Agentless.
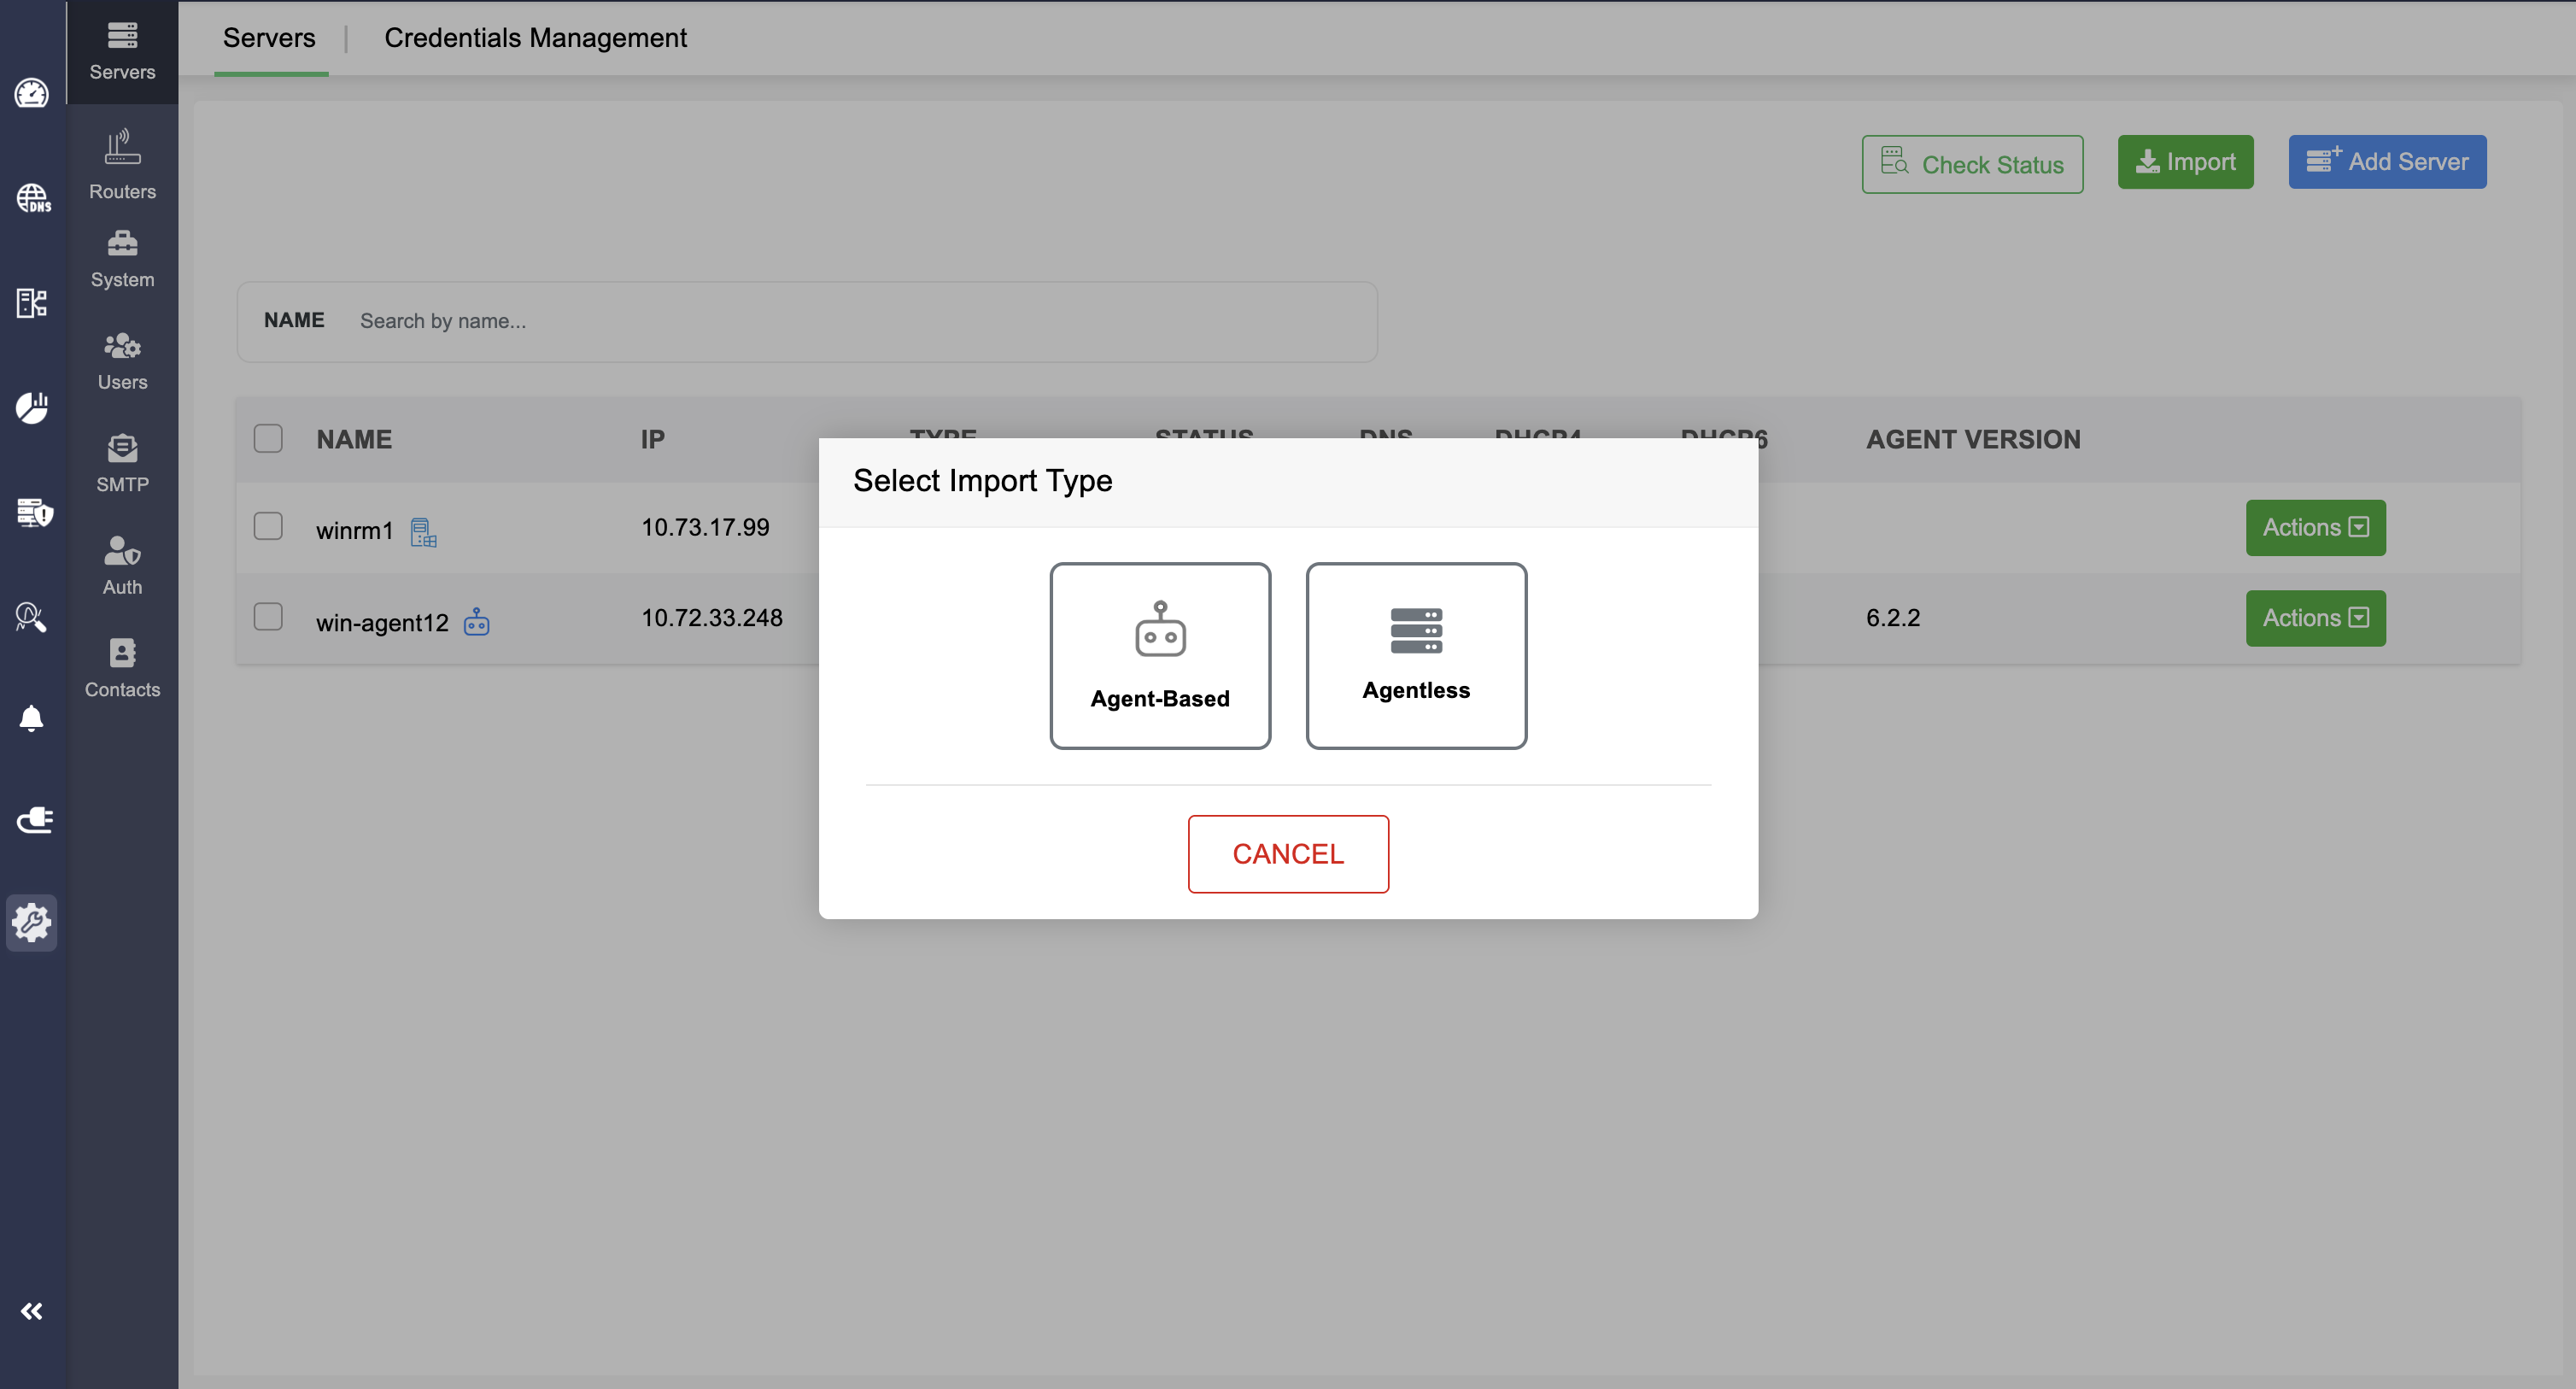
Note: Even if you are importing a large volume of normal Windows DNS/DHCP servers without Agent or WinRM setup, you have to select any one of these options.
Here are the sample files for reference:
Note: The import speed is determined based on the total number of servers in the import file.
Also, it is important to note that the servers need to be available and reachable during the import process.
Switching servers from Agentless to Agent-based configurations:
DDI Central also facilitates switching Windows servers between Agentless WinRM configurations and Agent-based Node Agent configurations.
1. WinRM to Node Agent:
- Install the Node Agent on the target Windows DNS/DHCP server that you want to migrate from Agentless to Agent-based.
- In the Servers section, select Actions > Edit for the Windows DNS/DHCP server that is configured with WinRM.
- In the Edit Server page, enable the Node Agent toggle and provide the Agent HTTPS port value and App Console server details — IP address and port value.
- Click Save. The Windows server is now switched from WinRM Agentless communication to Node Agent Agent-based communication.
2. Node Agent to WinRM:
- Configure WinRM setup on the target Windows DNS/DHCP server that you want to migrate from Agent-based to Agentless.
- In the Servers section, select Actions > Edit for the Windows DNS/DHCP server that is configured with Node Agent.
- In the Edit Server page, disable the Node Agent toggle and provide the username, password, and protocol value.
- Click Save. The Windows server is now switched from Node Agent Agent-based communication to WinRM Agentless communication.