Personalize Web Client
You can customize the Applications Manager web client as per your convenience by selecting the Personalize Web Client option from the Settings tab. You can perform the required customizations to the Applications Manager web client by navigating to the following tabs and clicking Apply to implement the changes. Following are the list of tabs shown in the Personalize Web Client window:
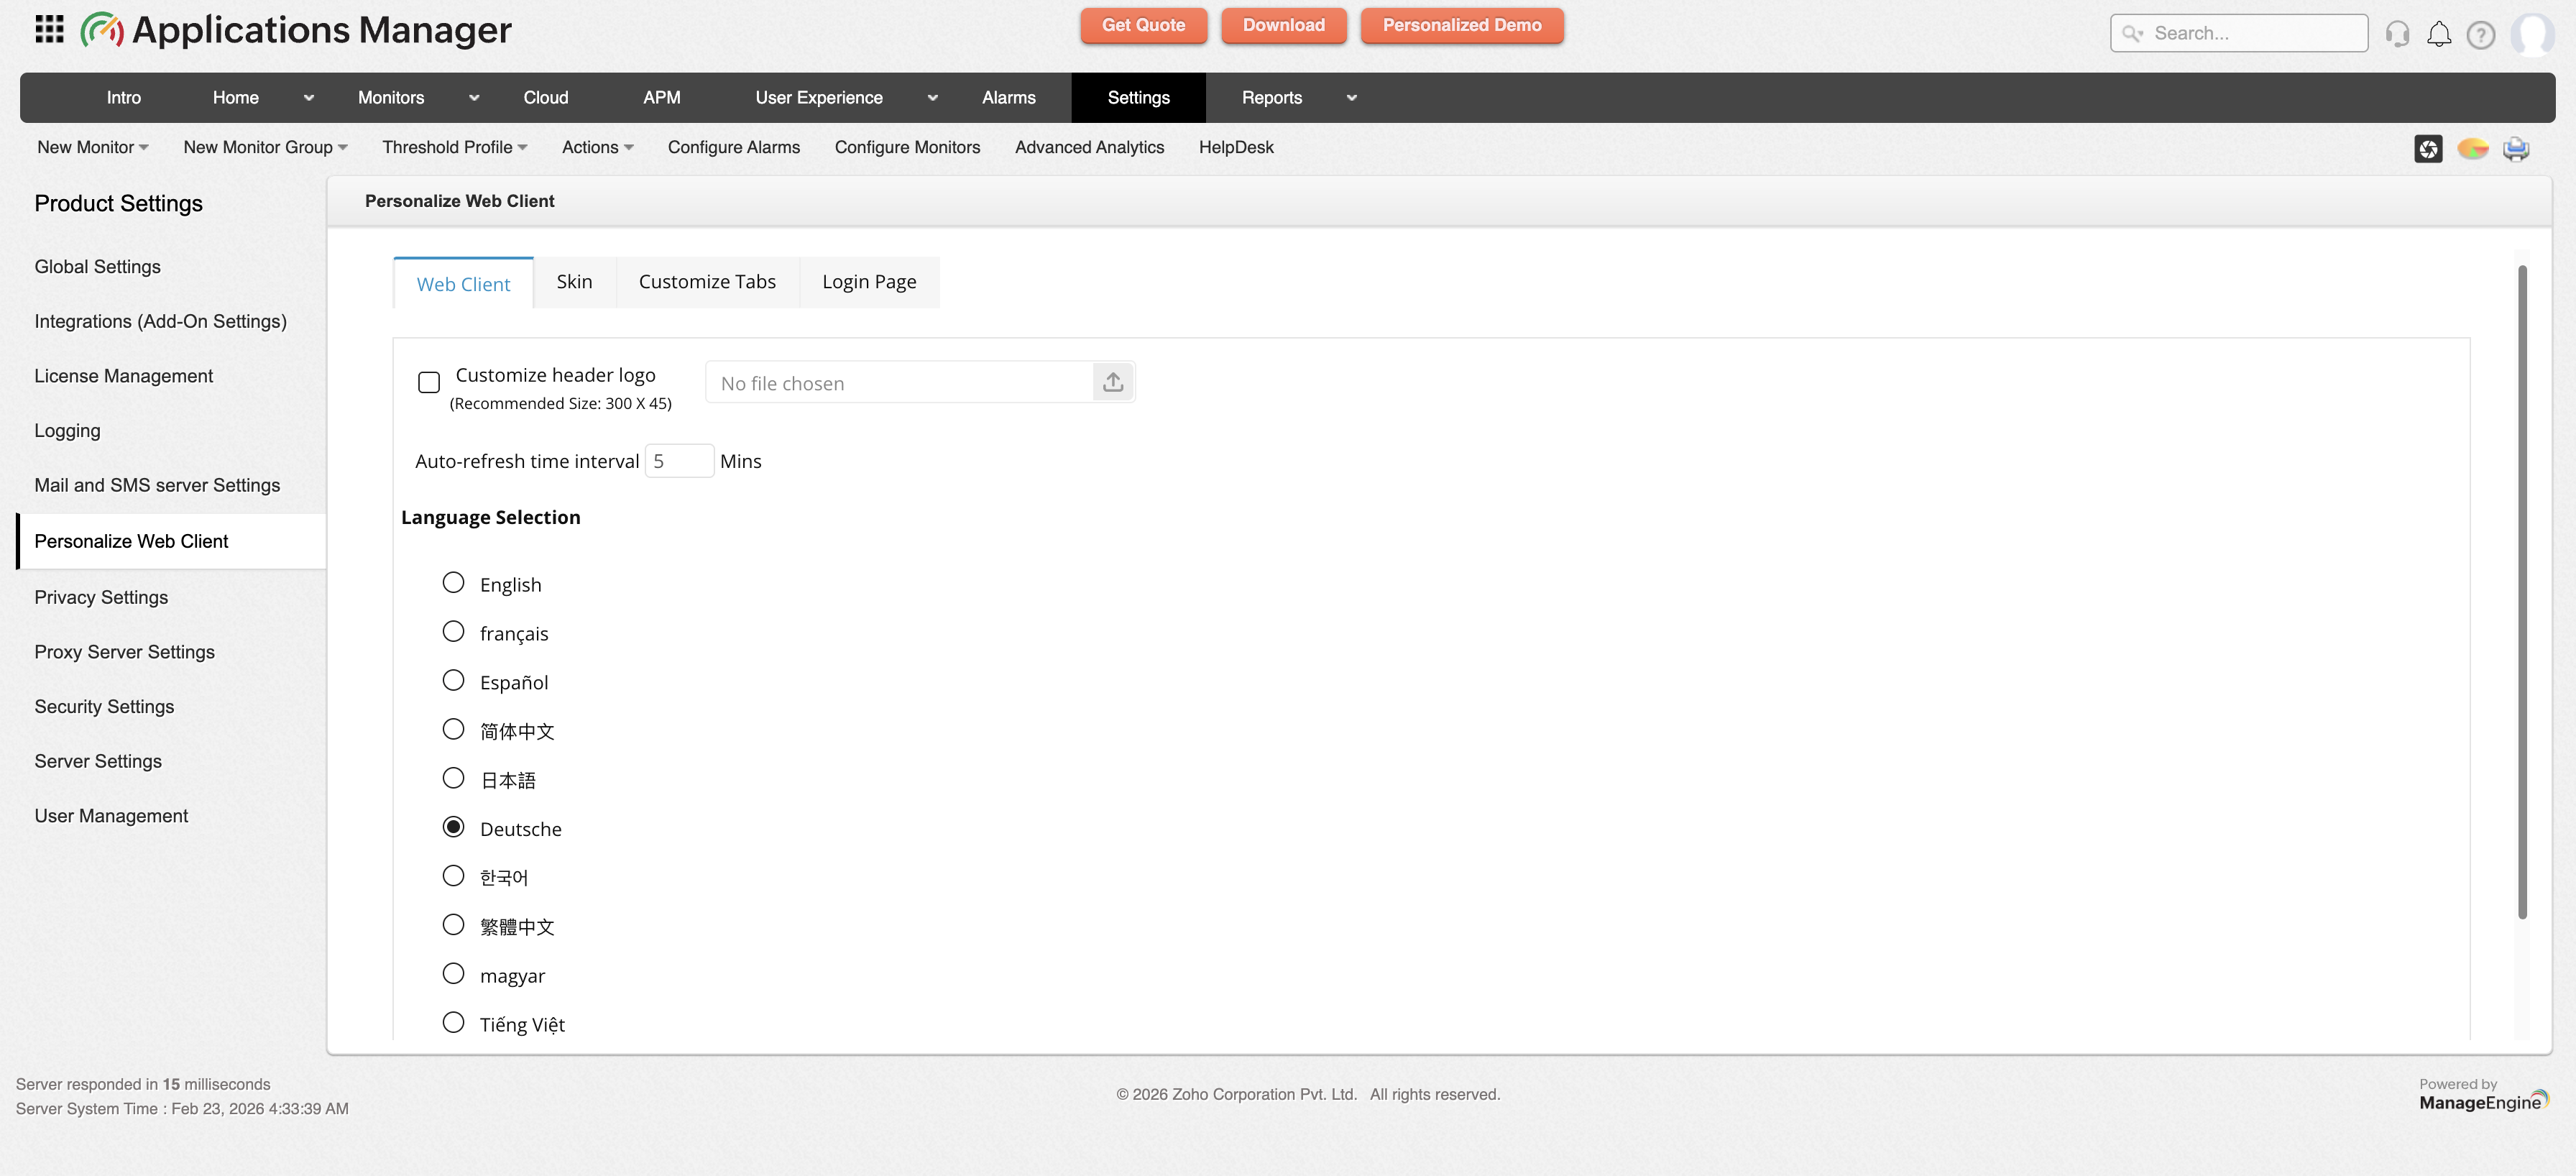
Web Client
This tab allows you to perform customizations to the web client in Applications Manager. Following are the list of options available:
- Customize header logo: Allows you to update your company logo directly to the header of Applications Manager web client. Learn more
- Auto-Refresh time interval: Allows you to set the time interval for auto refreshing the web client. Default time interval is 5 minutes and can be configured upto 120 minutes.
- Language section: Allows you to change the language of the contents shown in Applications Manager web client. The languages supported are English, German, French, Spanish, Chinese (Simplified and Traditional), Korean, Hungarian, Japanese, Russian, and Vietnamese languages. By default, English is selected as the display language.
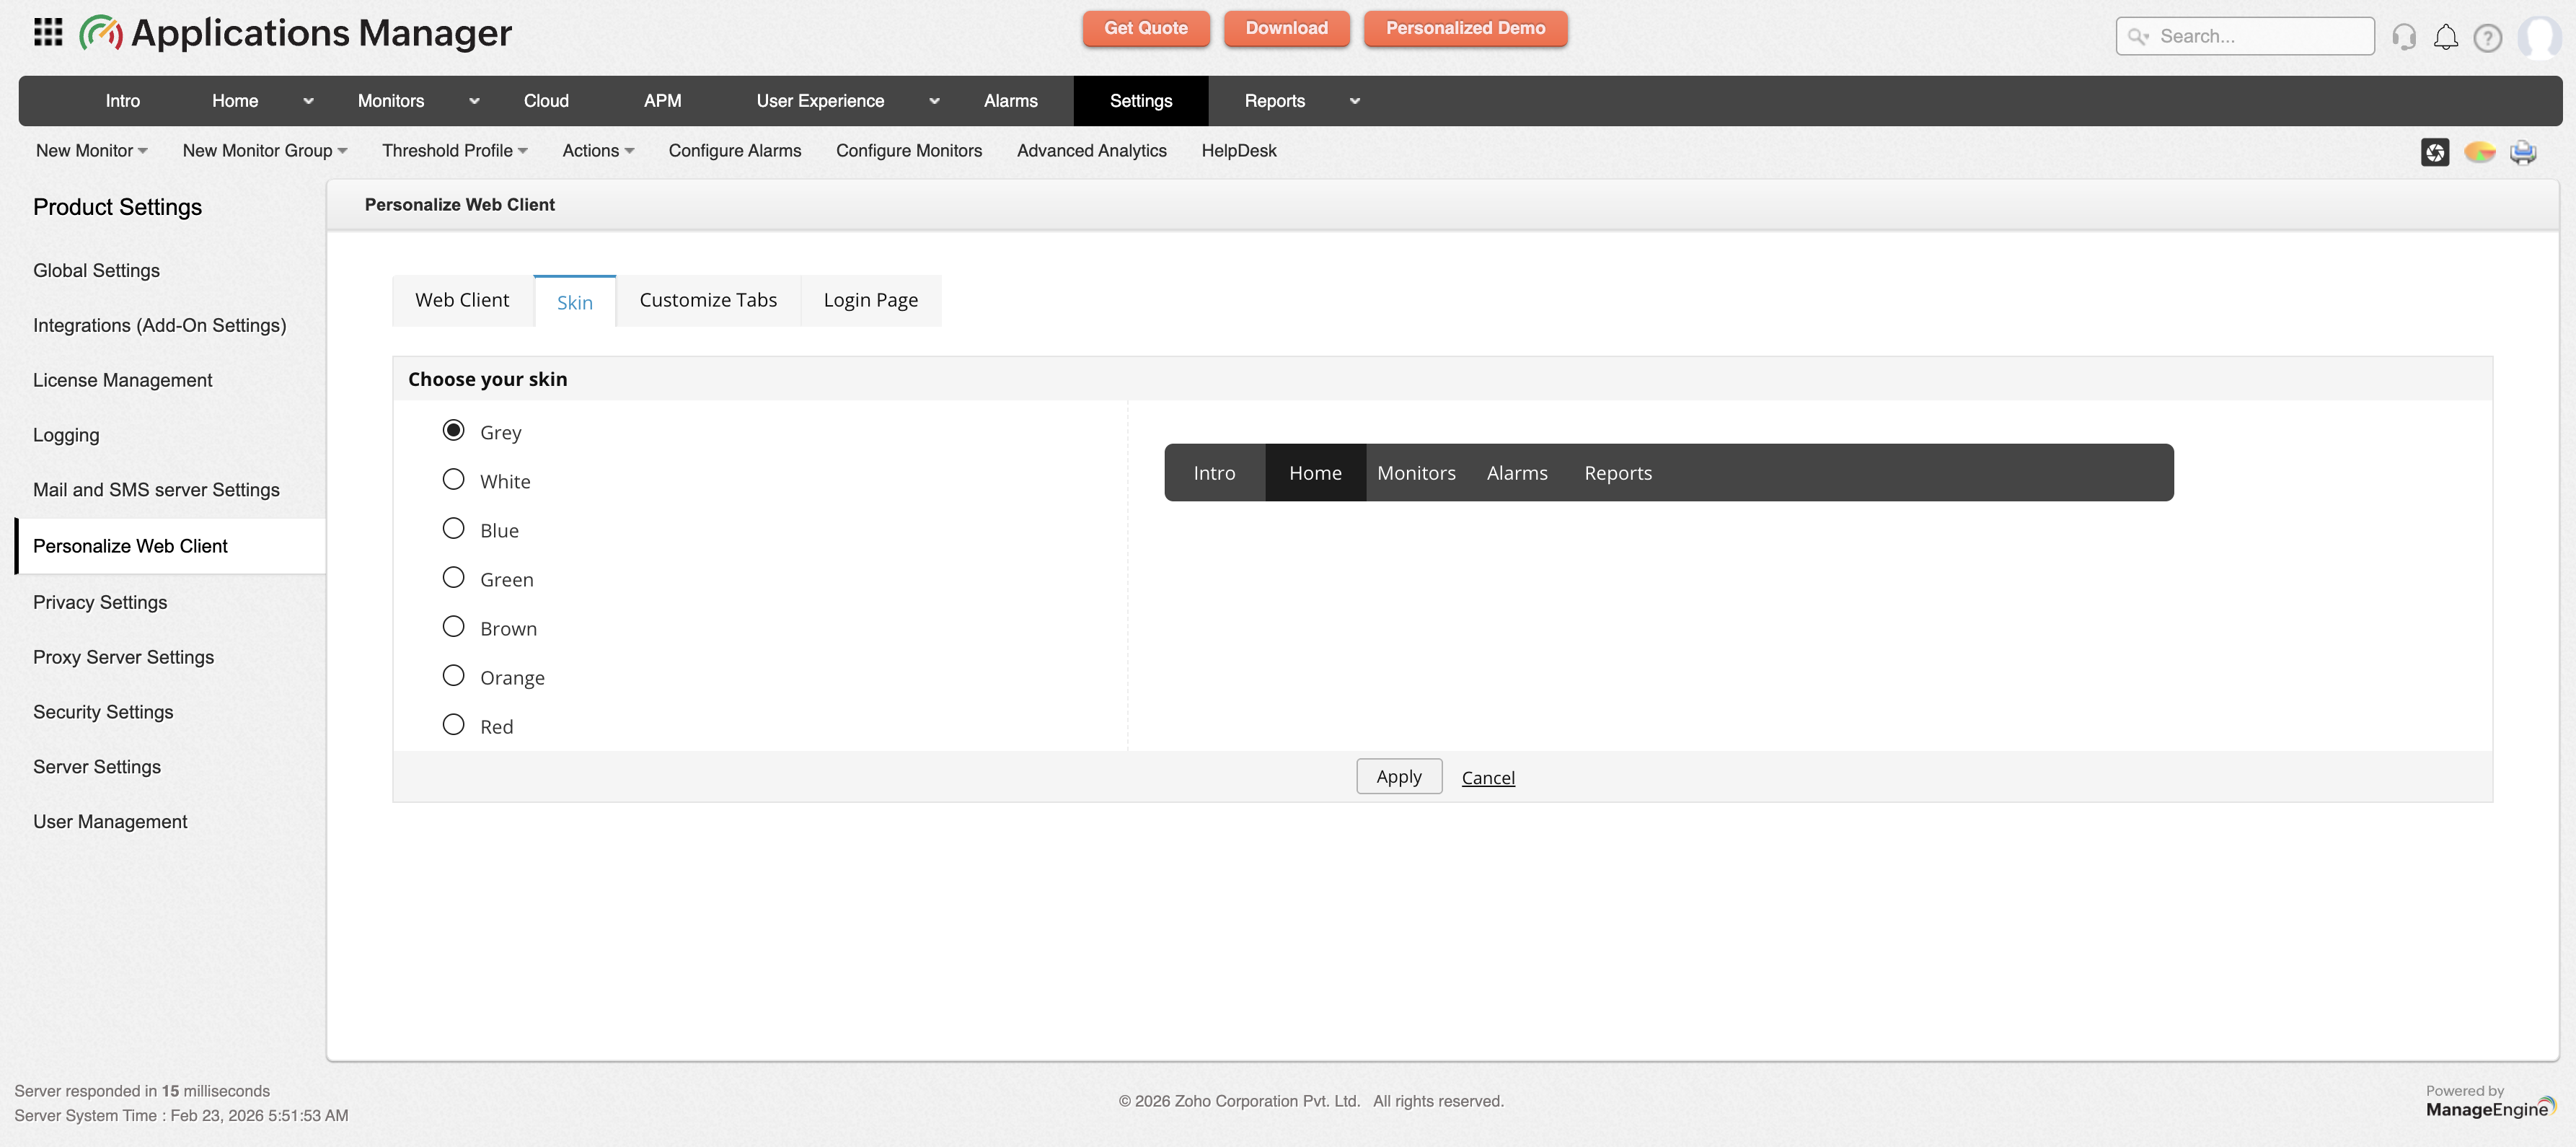
Skin
This tab enables you to change the color of the web client in Applications Manager as per your choice. The colors available are Grey, White, Blue, Green, Brown, Orange, and Red.
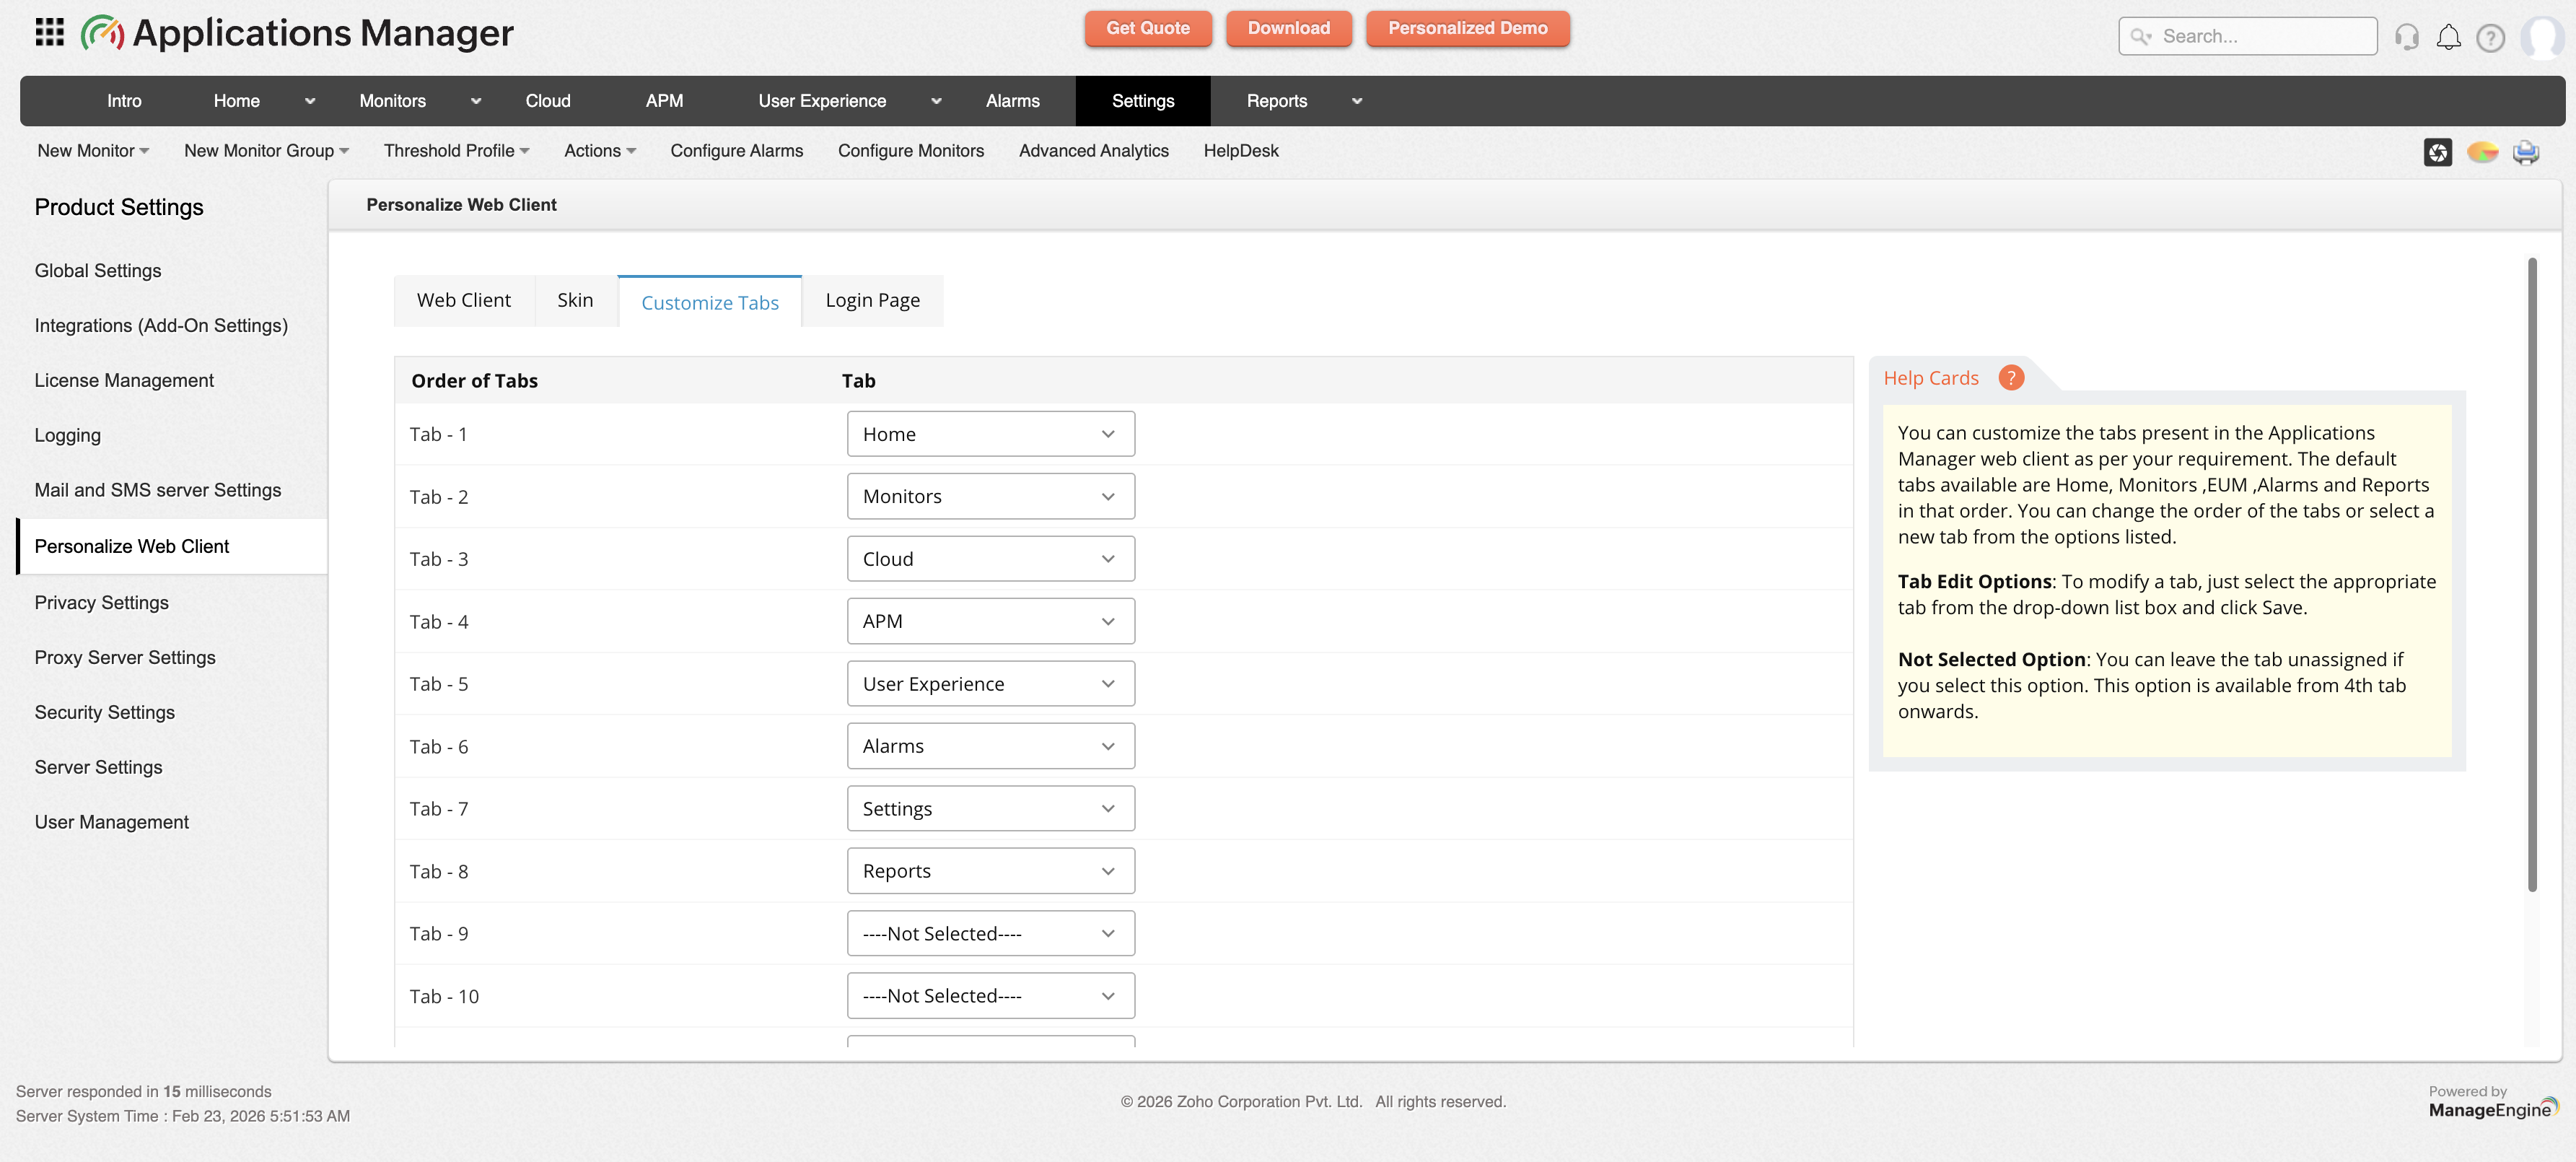
Customize Tabs
This tab allows you to customize the order of tabs with which it should be displayed in Applications Manager web client. You can rearrange the order in which the tabs are displayed as well as select new tabs for displaying. All you have to do is to select the necessary tab options from the respective drop-down boxes and click the Save button. However, if you want to remove a tab, you can choose the Not Selected option from the drop-down box against the necessary tab order. The default order of tabs shown in the Applications Manager web client are Intro, Home, Monitors, Cloud, APM, User Experience, Alarms, Settings, and Reports.
Login Page
This tab allows you to perform login page customization in Applications Manager. Following are the options available under the Login Page Customization section:
- Background Image: You can use default images with dark and light backgrounds or can upload your own background image.
- Gradients: Users can select any of the given gradient colors as the background for the login page.
- Advanced Settings: This setting allows you to show/hide links, banner images, and announcements on the login page. Also, advanced settings offers you two more options as follows:
- Set default domain directory: Helps to select Default domain (Active Directory) in APM login page.
- Set login page message: To show custom message in APM login page.