Create EPM Policy
Build a Privileged Application List, choose an elevation mode, and define the applications or rules that govern how users gain elevated access.
Overview
How EPM policy creation works
Privilege elevation is controlled through a Privileged Application List that is then associated with specific device groups.
The policy creation workflow
Implementing privilege management in Application Control Plus starts with creating an EPM policy that governs how users access and run applications with elevated rights. Administrators define a Privileged Application List — the set of applications requiring administrative access — then associate that list with specific custom groups containing the user devices that need the elevated access. Once deployed, selected users can run approved applications with elevated privileges while retaining standard user rights everywhere else.
Setup
Create Privileged Application List
Choose an elevation mode and scope it to all or specific applications. Navigate to Application Control -> Privilege Management and click Create for a new list or Modify to update an existing one.
Self-elevation: Allow users to elevate on reason
The Allow users to elevate applications on reason option lets users elevate specific applications by providing a justification. The justification is logged and accessible under Reports → Applications Elevated with Reason Report.
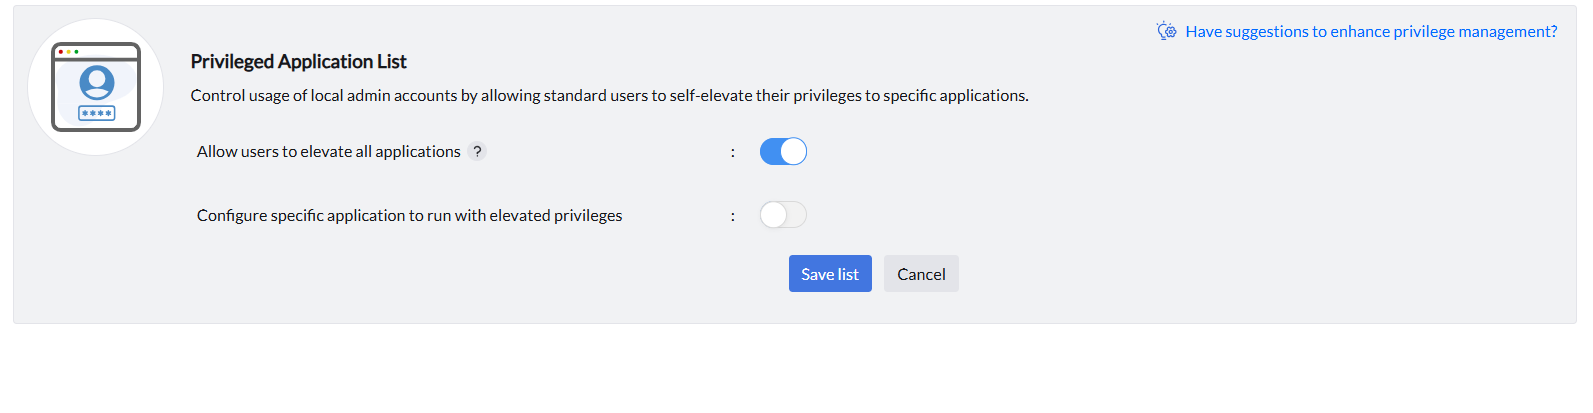
Here is the notification shown in the endpoint when the user tries to self-elevate an application:
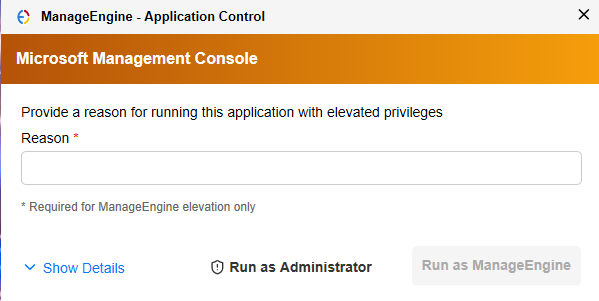
Self-elevation: Allow users to elevate on request (JIT)
The Allow users to elevate applications on request option enables users to request Just-In-Time elevation for a specific time duration, with a mandatory justification. Each request is routed to an administrator for approval before elevation is granted.
Learn more about user-initiated elevation requests
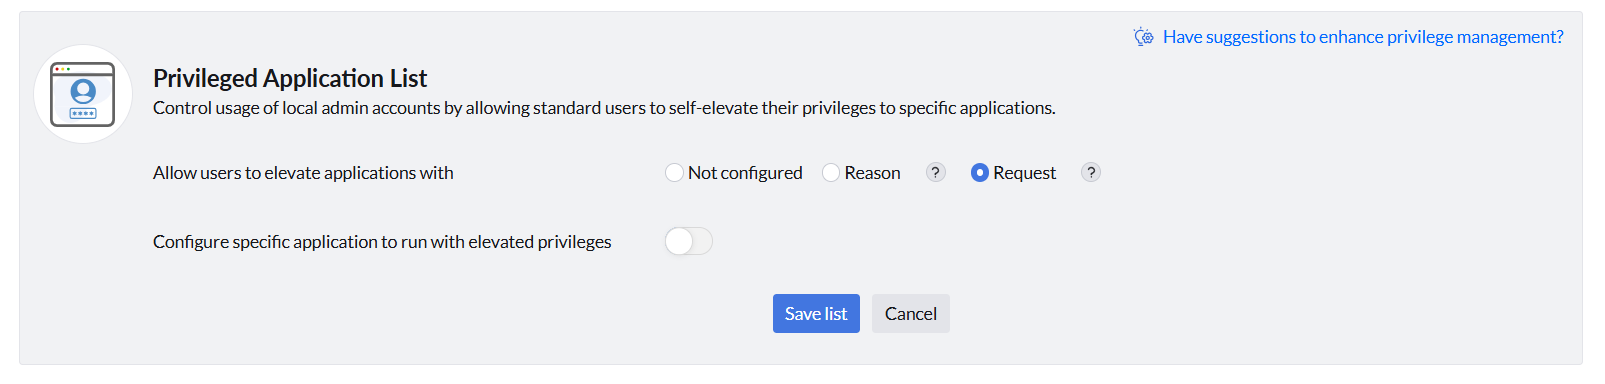
Elevation to all allowed applications
When this option is selected, the custom groups associated with the Privileged Application List during policy deployment can self-elevate privileges to all allowlisted applications — no per-application selection needed.
Excluding applications from all-allowed elevation
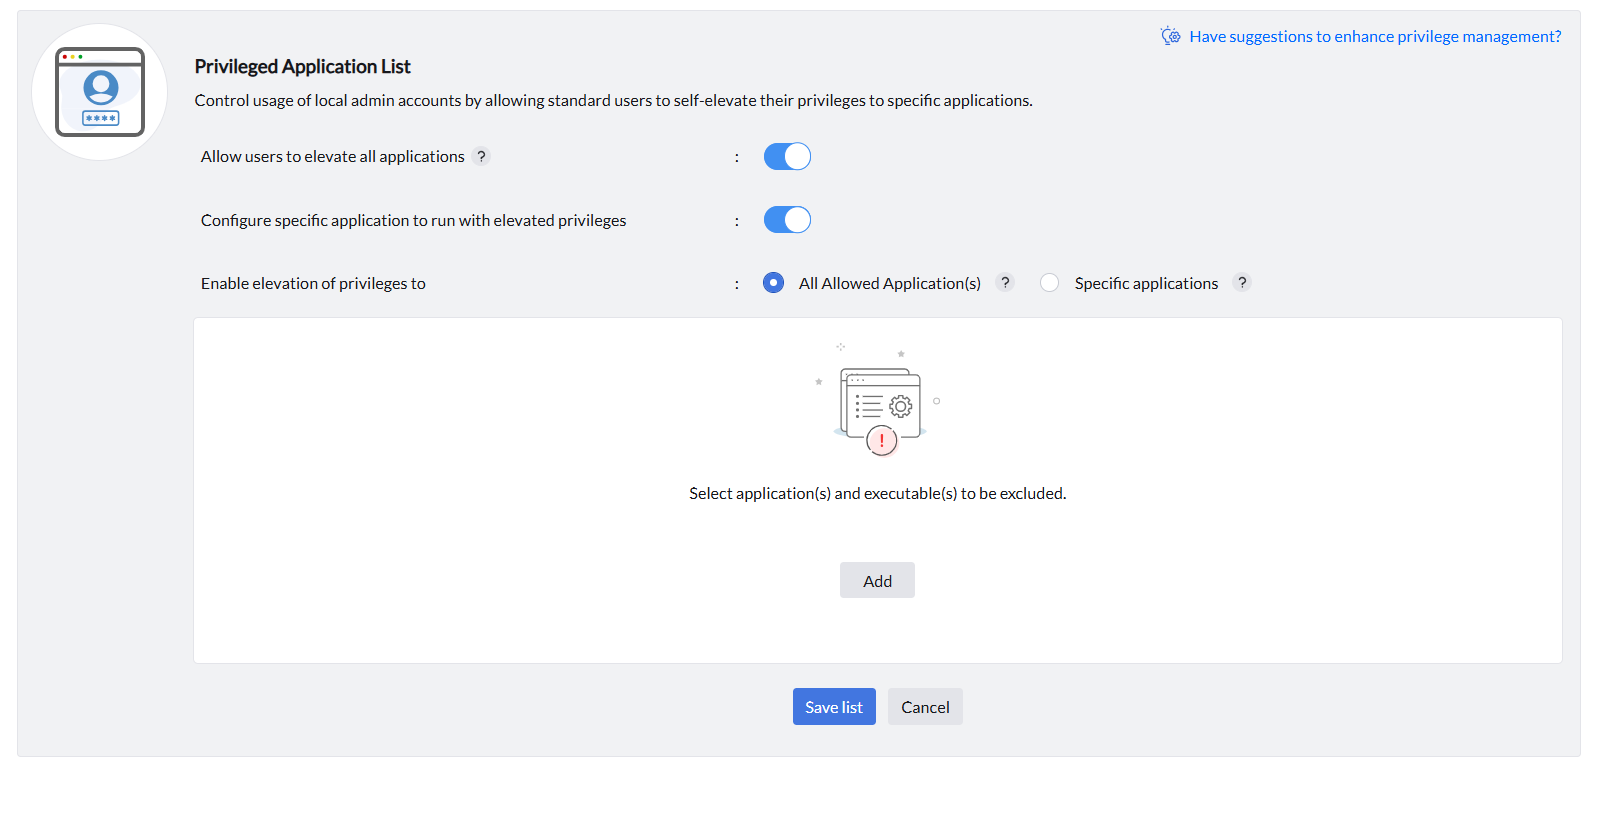
When using the All Allowed Application(s) elevation mode, you can exclude specific applications from receiving elevation using the Exclude application(s) and executable(s) panel. Click Add to select the applications and executables you want to exclude. Even though the app is in your allowlist, it will not receive elevation privileges under this policy. Users will not be able to run that application with administrative permissions through this privilege management list.
Elevation to specific applications
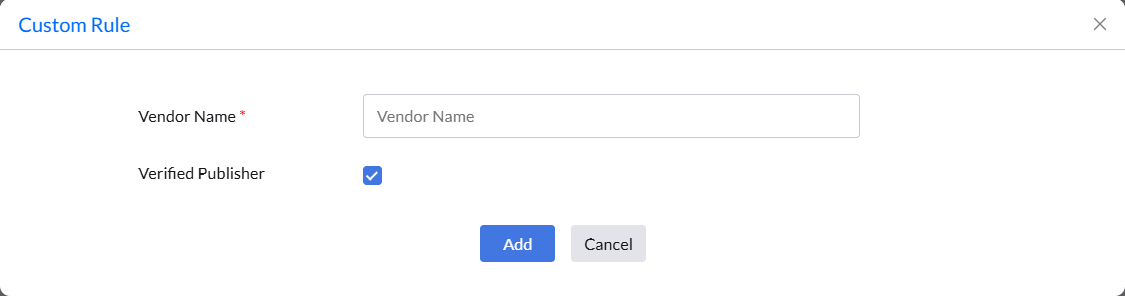
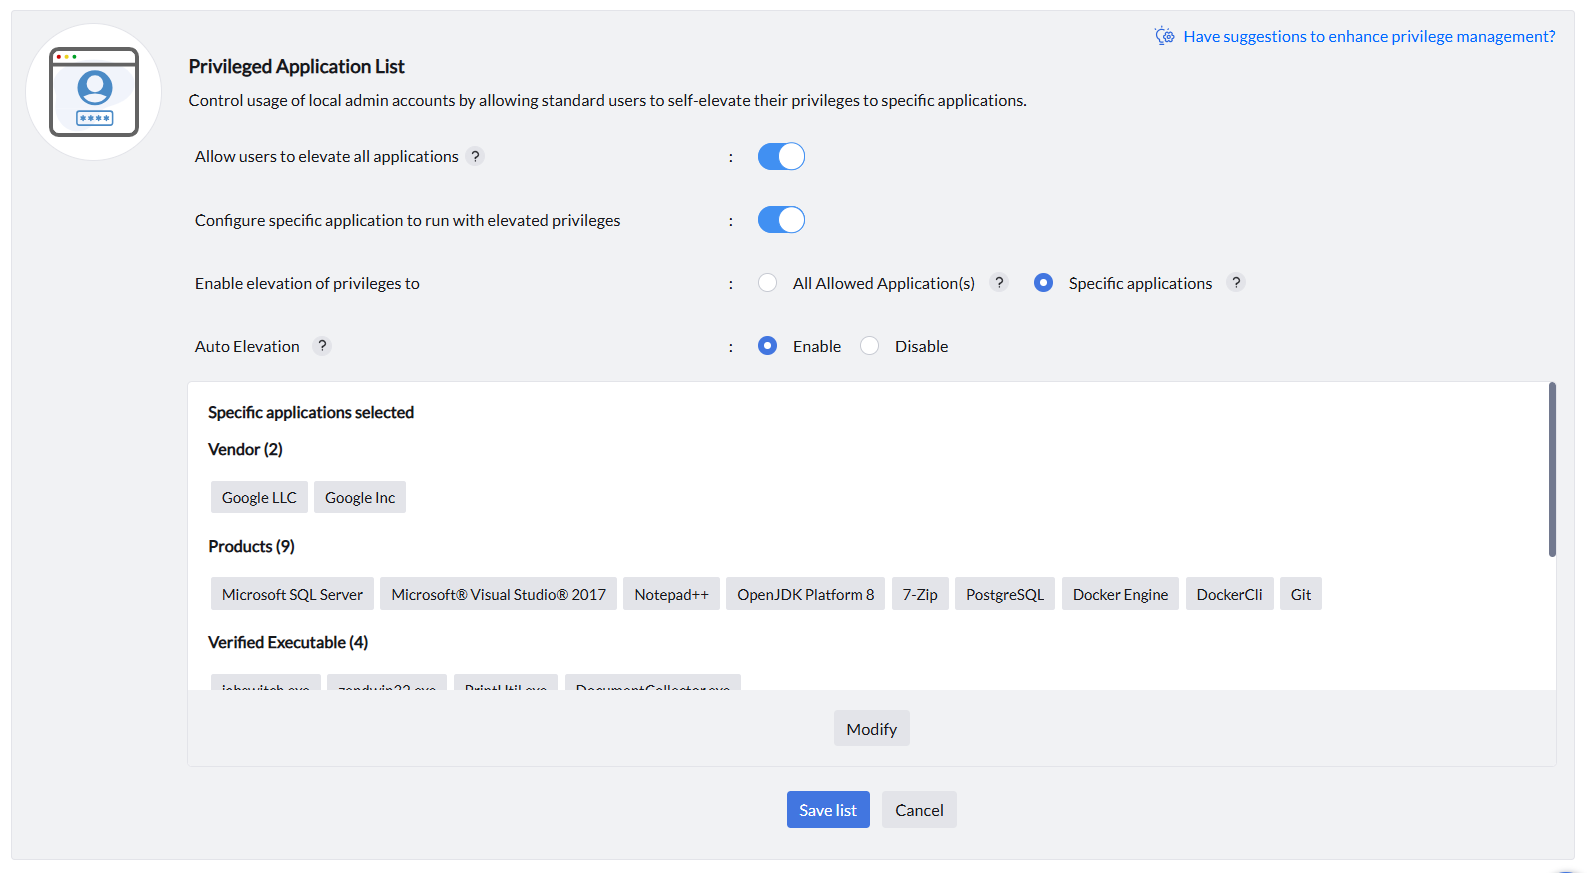
When this option is selected, privilege elevation is scoped to only the applications explicitly chosen. Specific applications can be added using rule types including Vendor, Products, Verified Executable, File Hash, CLSID, and Folder Path. Learn more about configuring specific applications for elevation below.
Auto Elevation
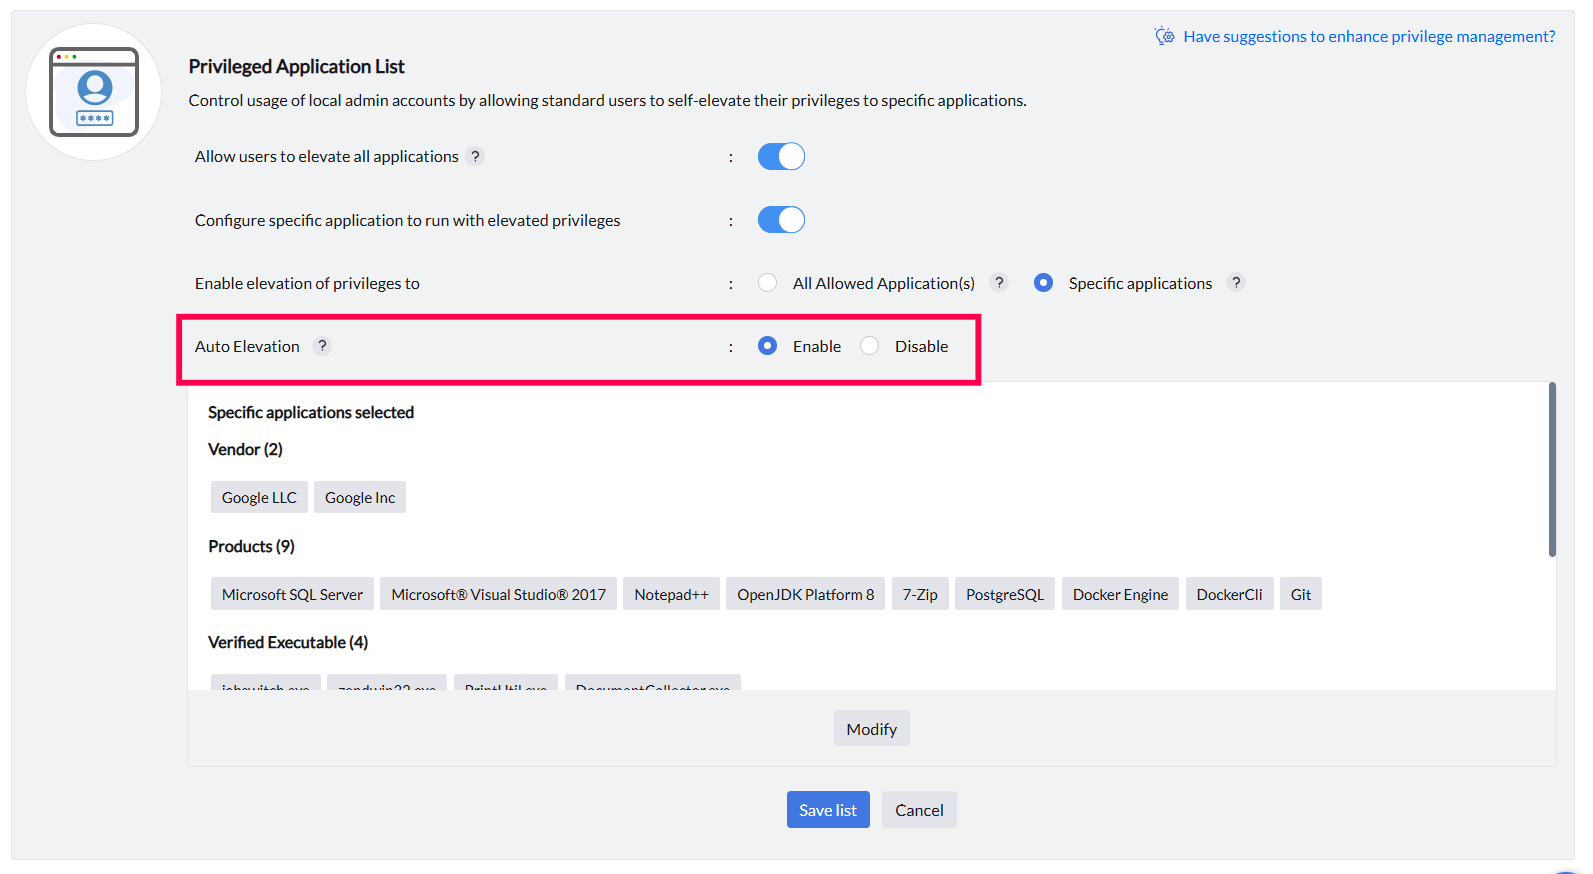
With Auto Elevation enabled, applications in the associated groups run automatically with elevated privileges — no user prompt or request required. Use this for trusted, recurring administrative tools where the overhead of manual elevation would impede productivity.
Rules
Selecting Specific Applications and Custom Rules
Fine-grained rule types let you scope elevation to precisely the right executables.
Available rule types for specific application elevation
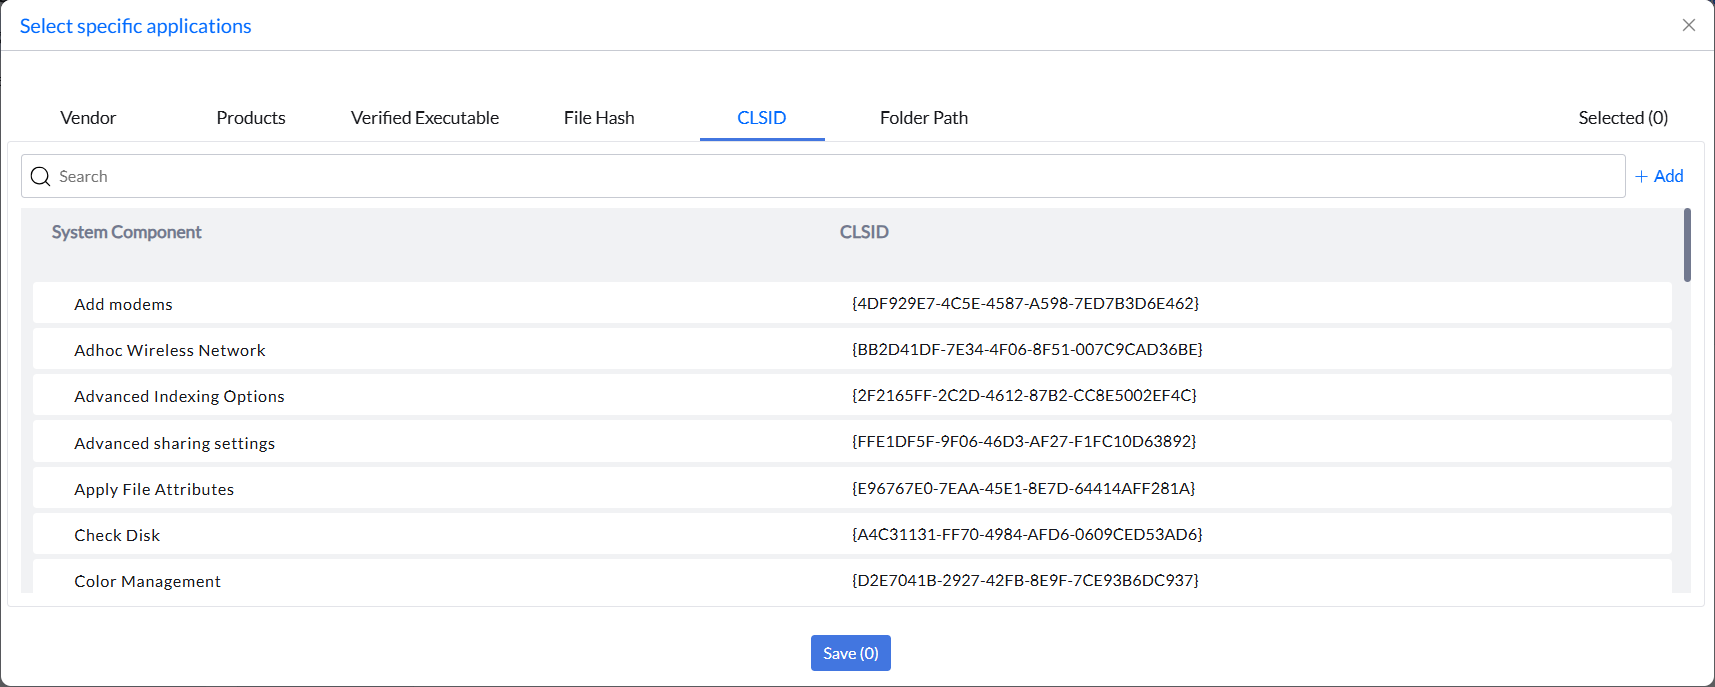
When scoping elevation to specific applications, choose from the following rule types: Vendor, Products, Verified Executable, File Hash, CLSID, and Folder Path.
The CLSID rule type controls COM object elevation by referencing the unique Class ID of each component rather than an executable or path. This applies elevation rules directly to Windows system components or registered COM objects — reducing reliance on mutable file attributes and providing granular control over built-in OS functions.
Creating custom rules
Custom rules can be defined for applications not yet detected in your network. Click Add under the relevant rule type to specify criteria such as vendor, product name, verified executable, file hash, or CLSID manually.