Last updated: August 14, 2026
Enroll Android devices through Self Enrollment
This page explains how Android device users can enroll their devices into ManageEngine MDM through Self Enrollment without requiring IT intervention. It covers the complete enrollment process, including accessing the enrollment URL or scanning an administrator-provided QR code, installing the ManageEngine MDM Self Service app from the Google Play Store, authenticating with credentials, and completing device setup. It also details automatic group assignment, admin email notifications upon successful enrollment, Knox container behavior for Knox devices, and troubleshooting tips for common self-enrollment issues.
Self Enrollment allows Android device users to easily enroll their devices into MDM without requiring IT intervention. Here’s how you can guide users for enrolling Android devices through self enrollment:
Step 1: Access the Enrollment URL or Scan QR Code
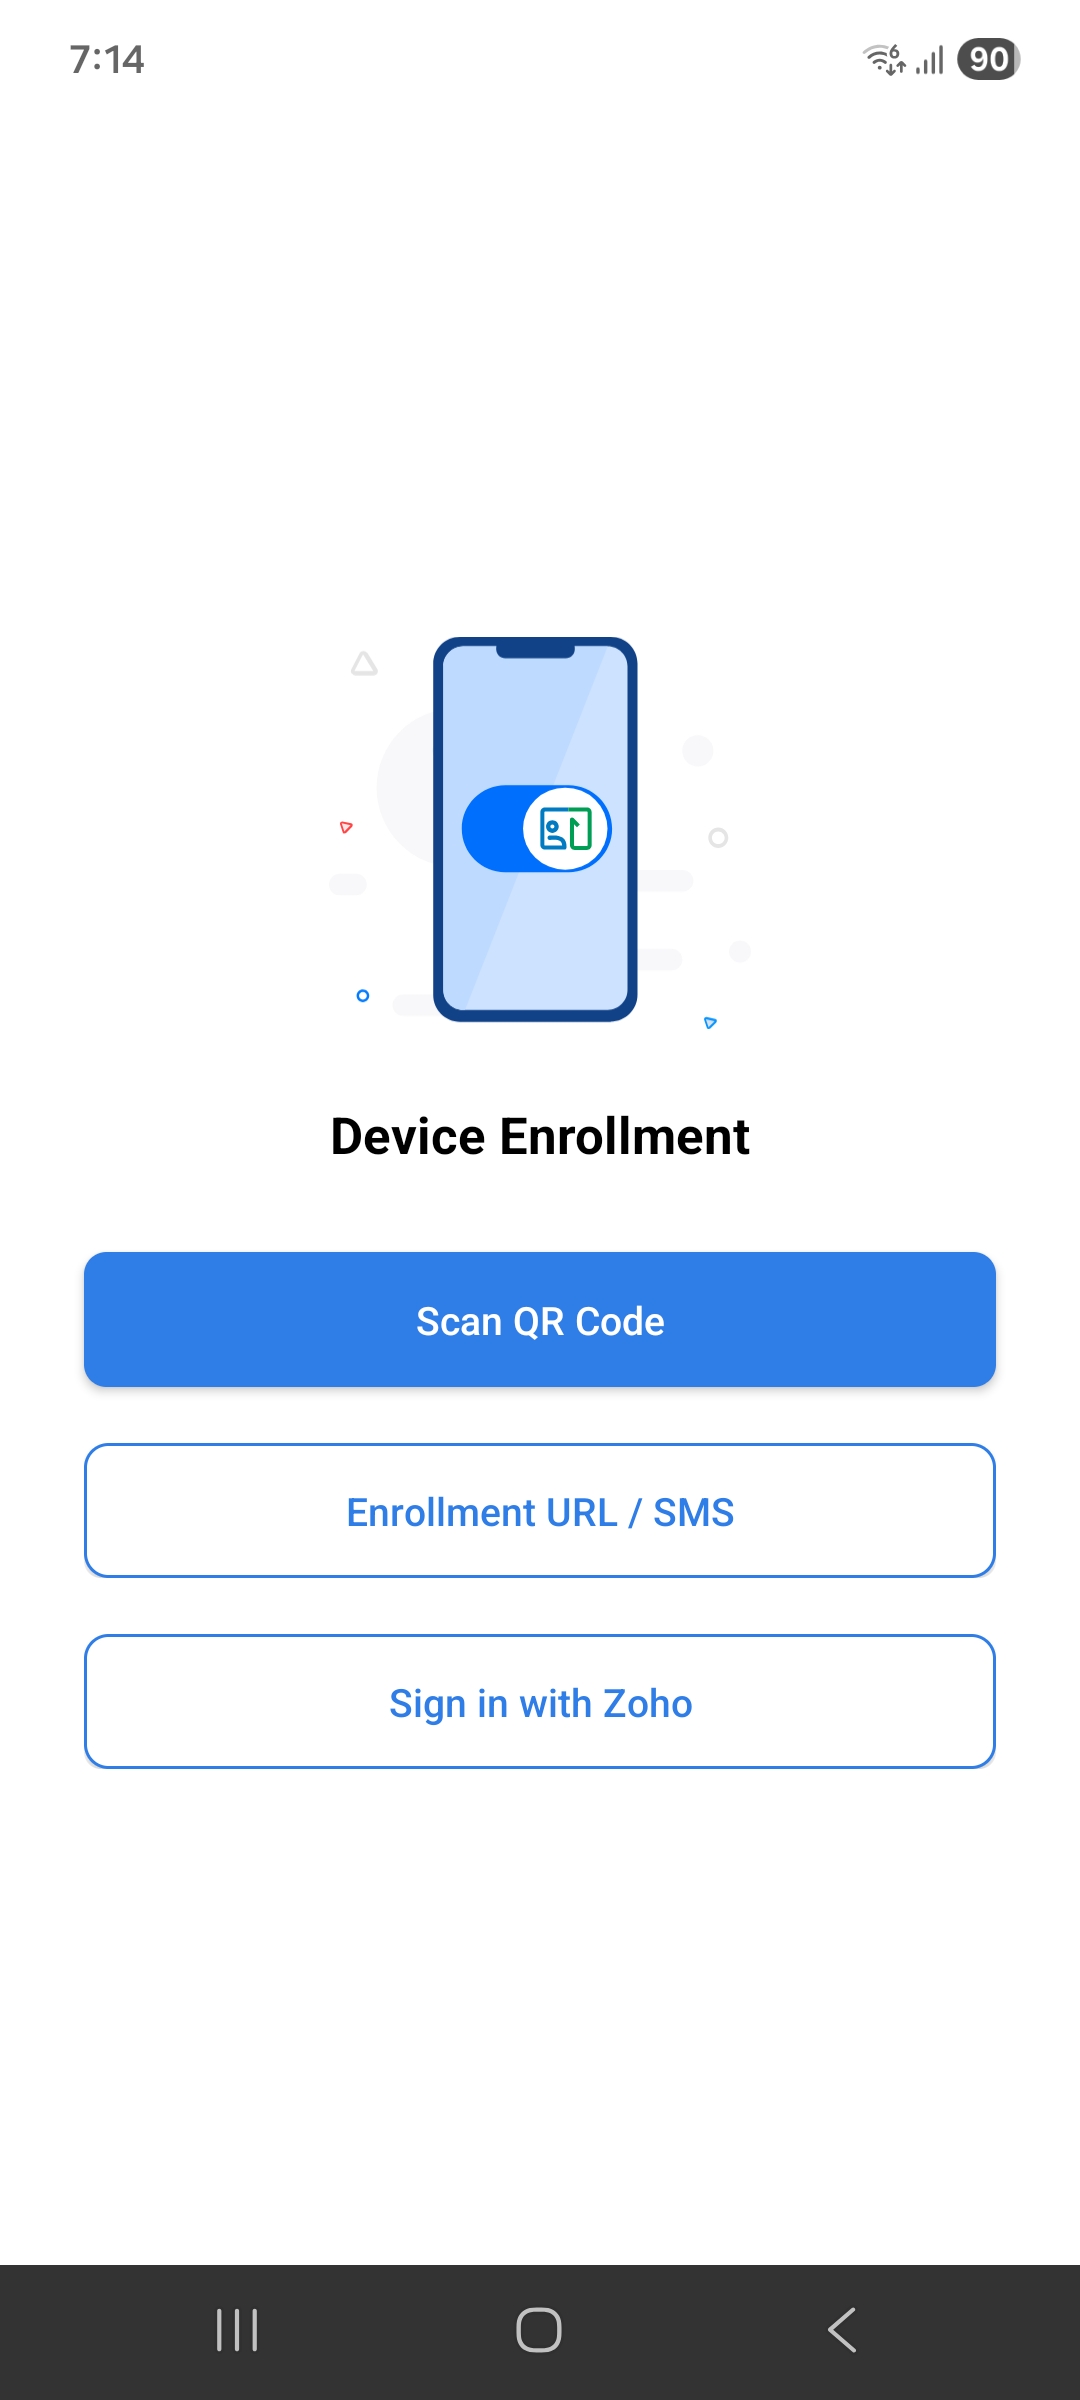
- QR Code: Alternatively, users can scan the QR code provided by the administrator. This can be done using the device’s camera or a QR code scanning app, which will navigate the user to install ManageEngine MDM Self Service application from the Play Store.
- Enrollment URL: The administrator will provide a Self Enrollment URL (e.g., https://<FQDN>:<PORT>/mdm/client/enroll for on-premises or https://mdm.manageengine.in/mdm/client/enroll for cloud deployments). Users must open this URL in their Android device’s browser to initiate the enrollment. By accessing the url it will navigate the user to install ManageEngine MDM Self Service application from the Play Store
Step 2: Install the MDM App and Enroll the Device
- Download and install the ManageEngine MDM Self Service app from the Google Play Store as prompted.
- Open the ManageEngine MDM Self Service app and scan the QR code or access the Enrollment URL to initiate the enrollment.
 |  |  |  |  |
 |  |  |  |  |
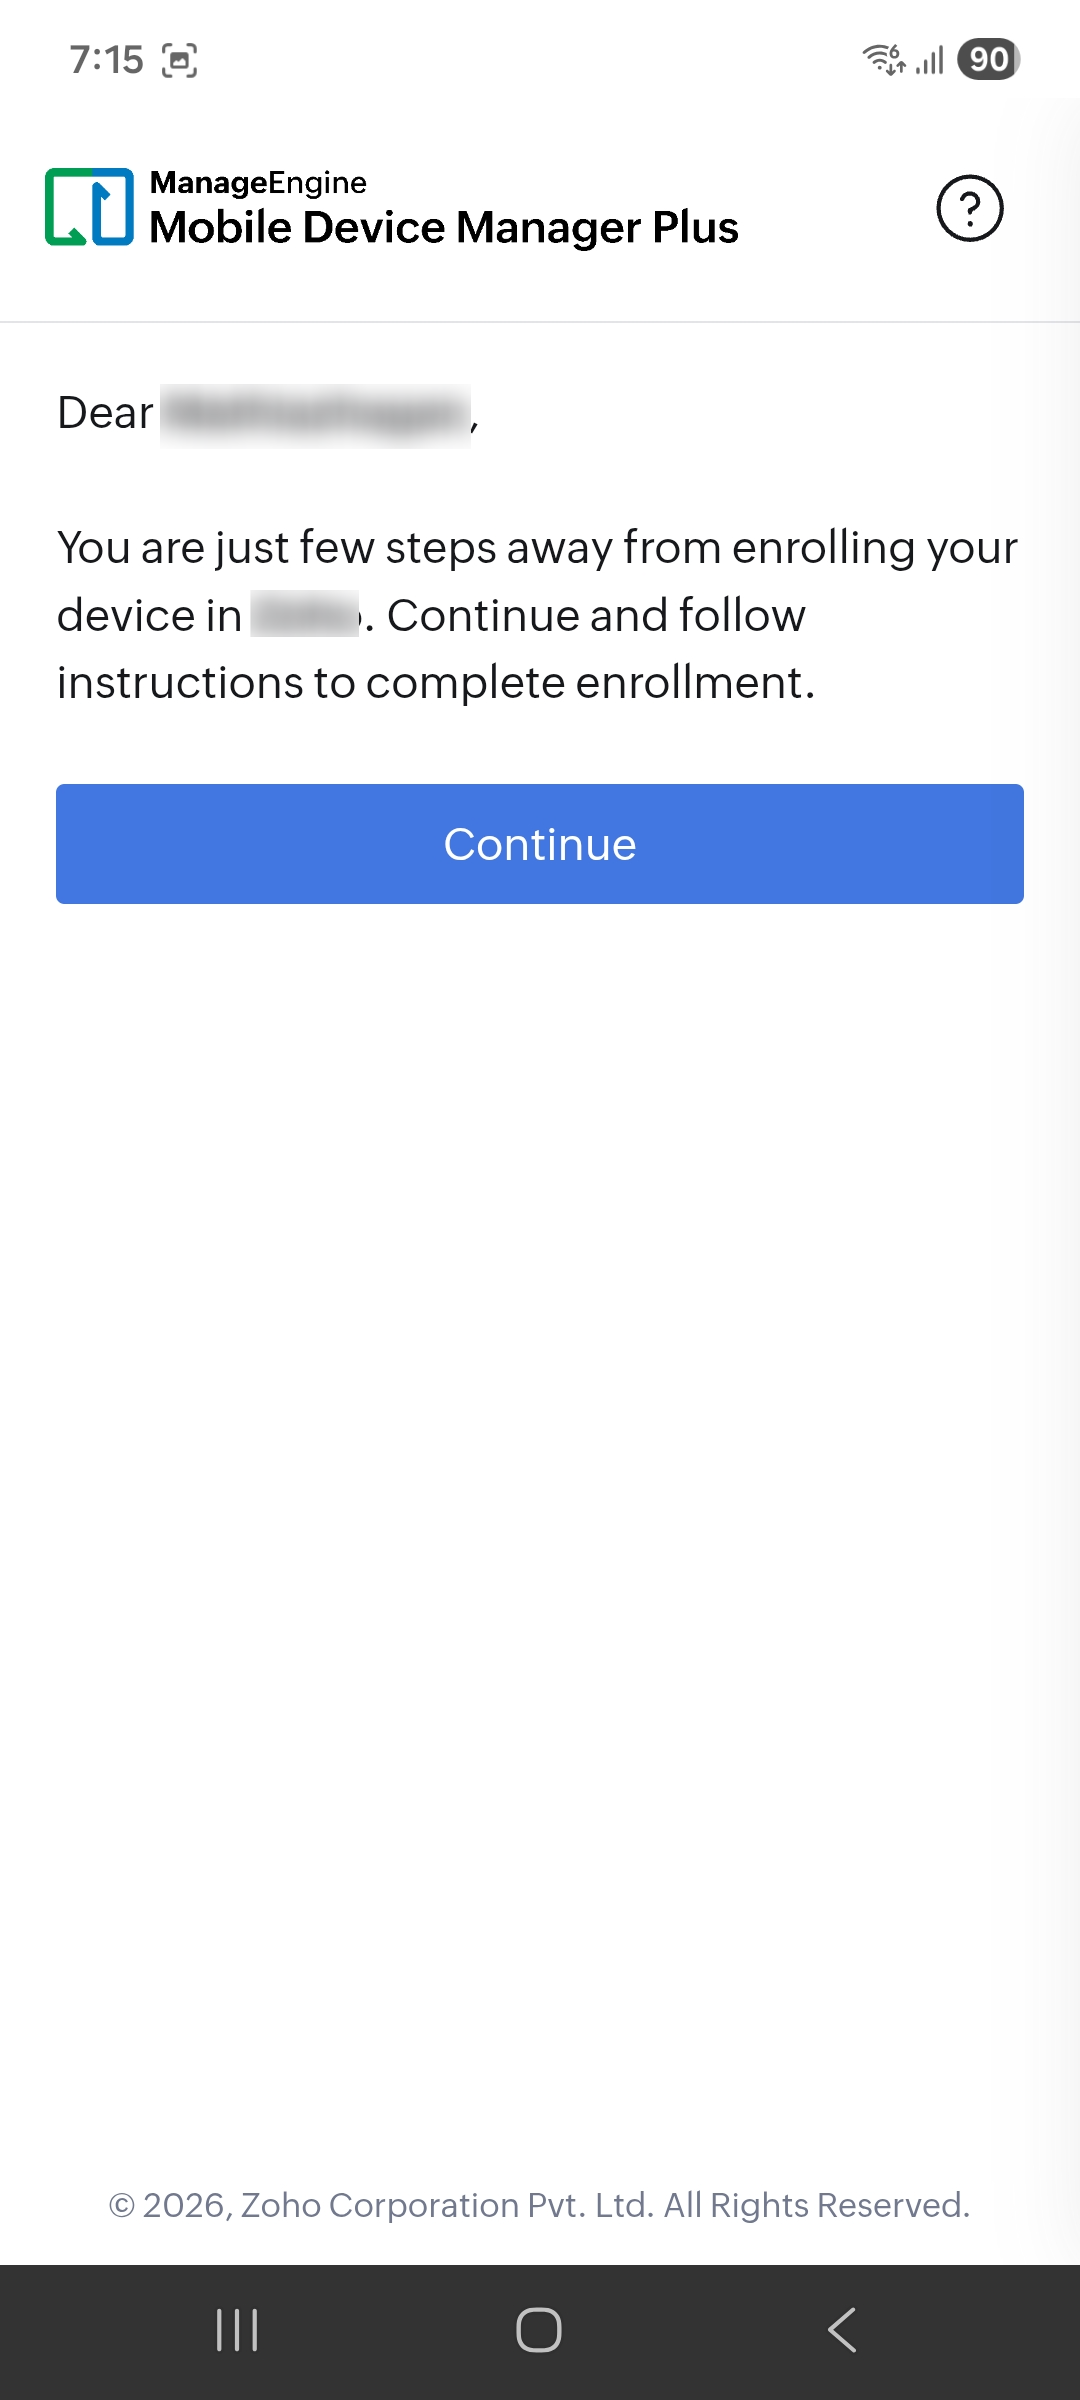
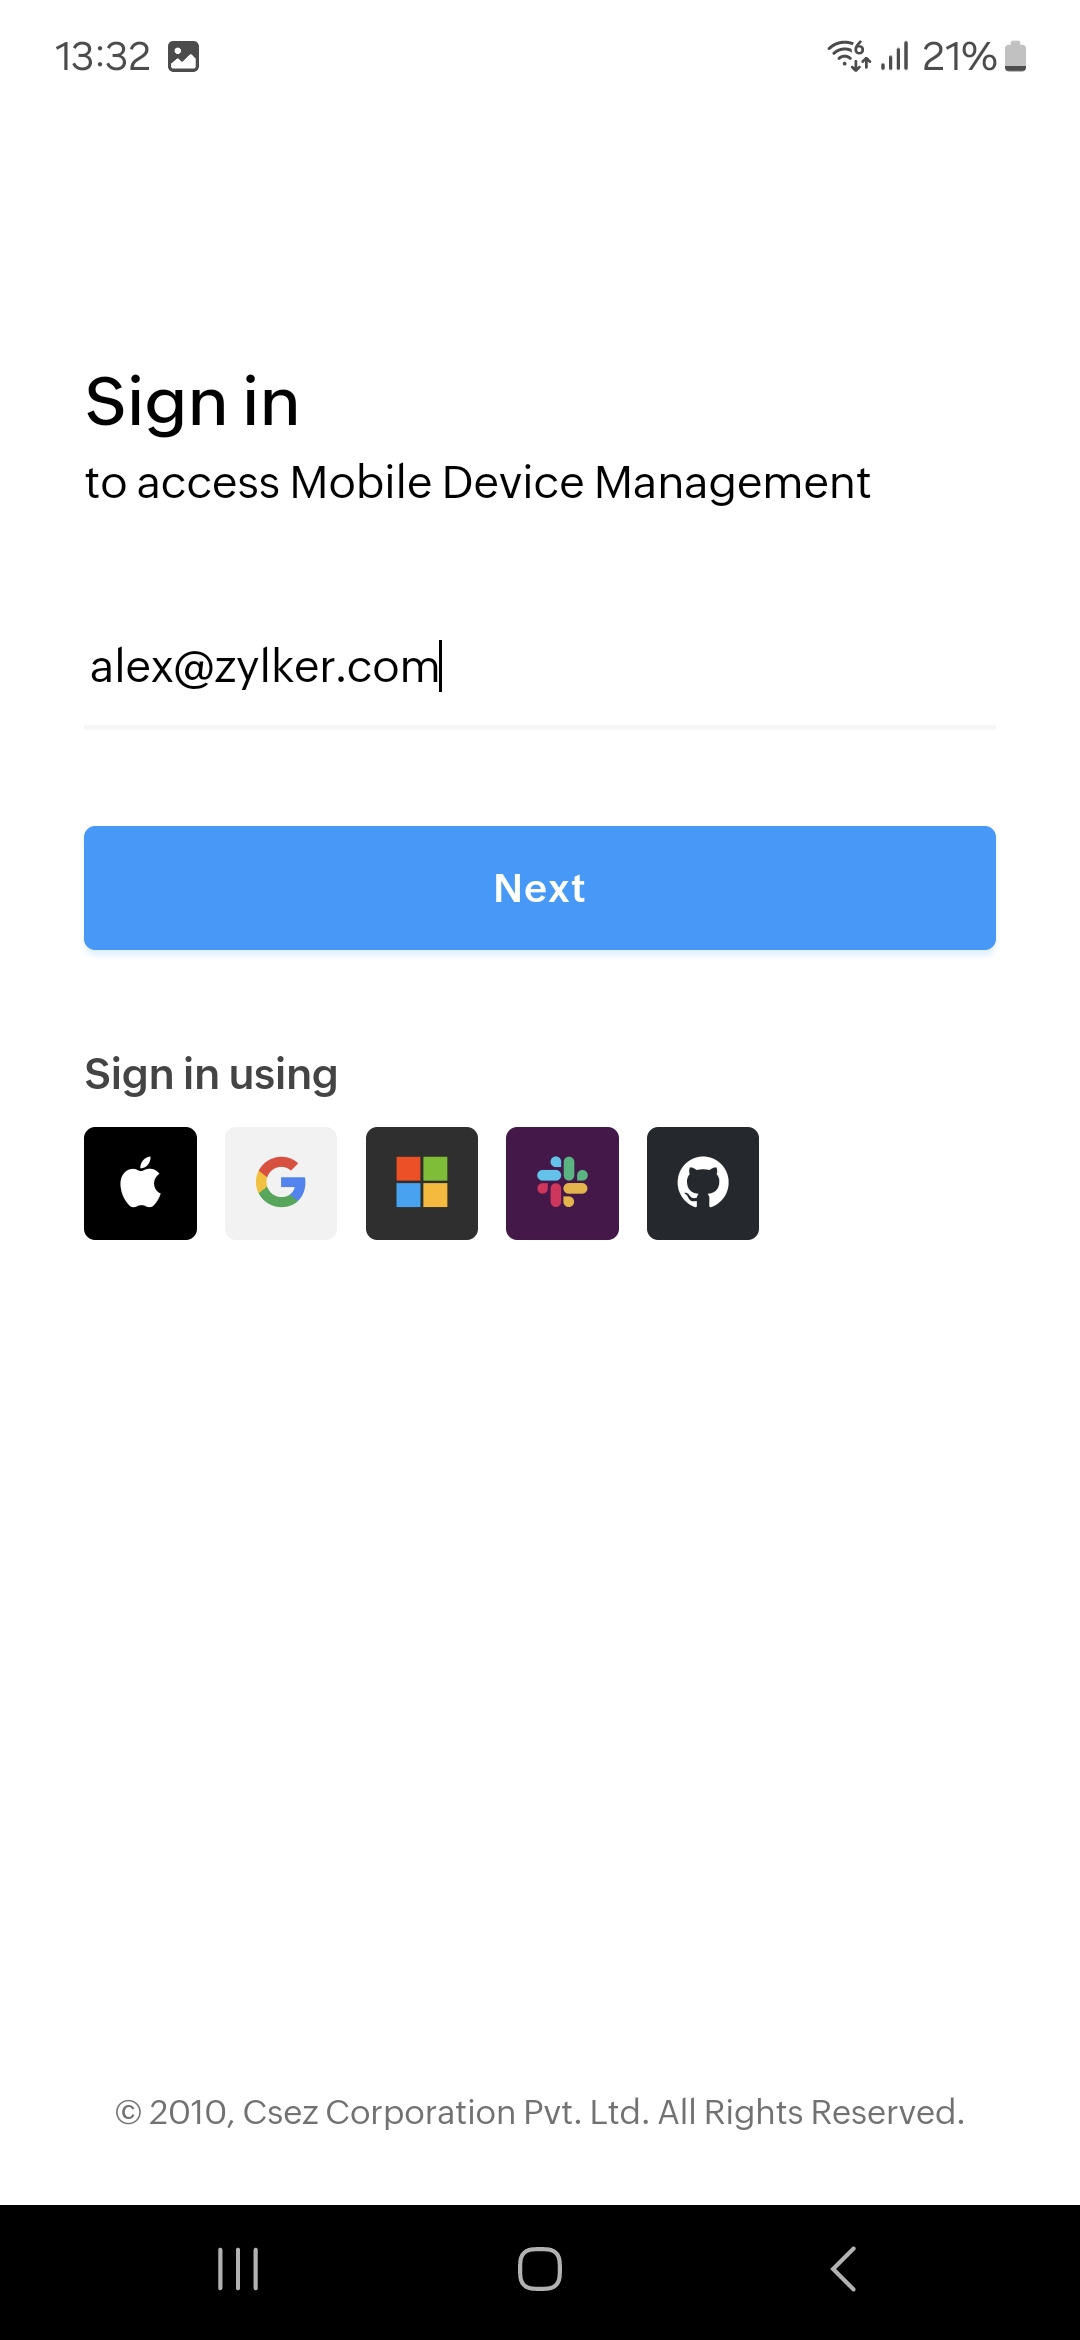
- Once the URL is accessed, the device will prompt for authentication. Enter the required credentials to authenticate through the Active Directory if configured.
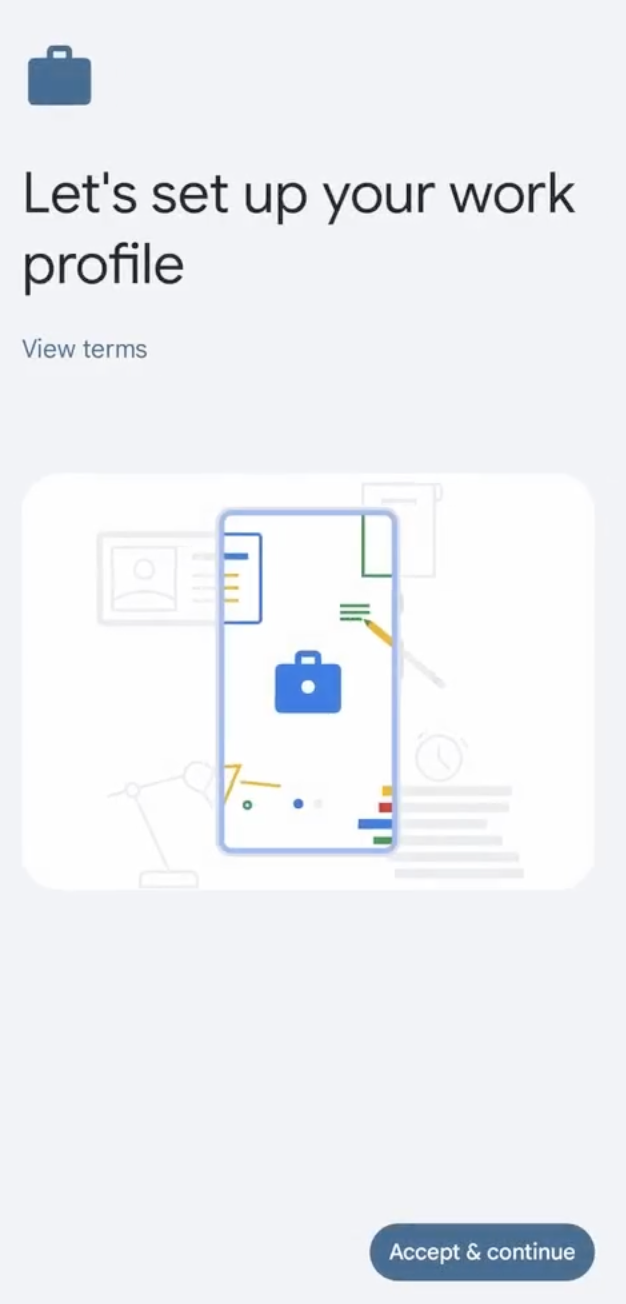
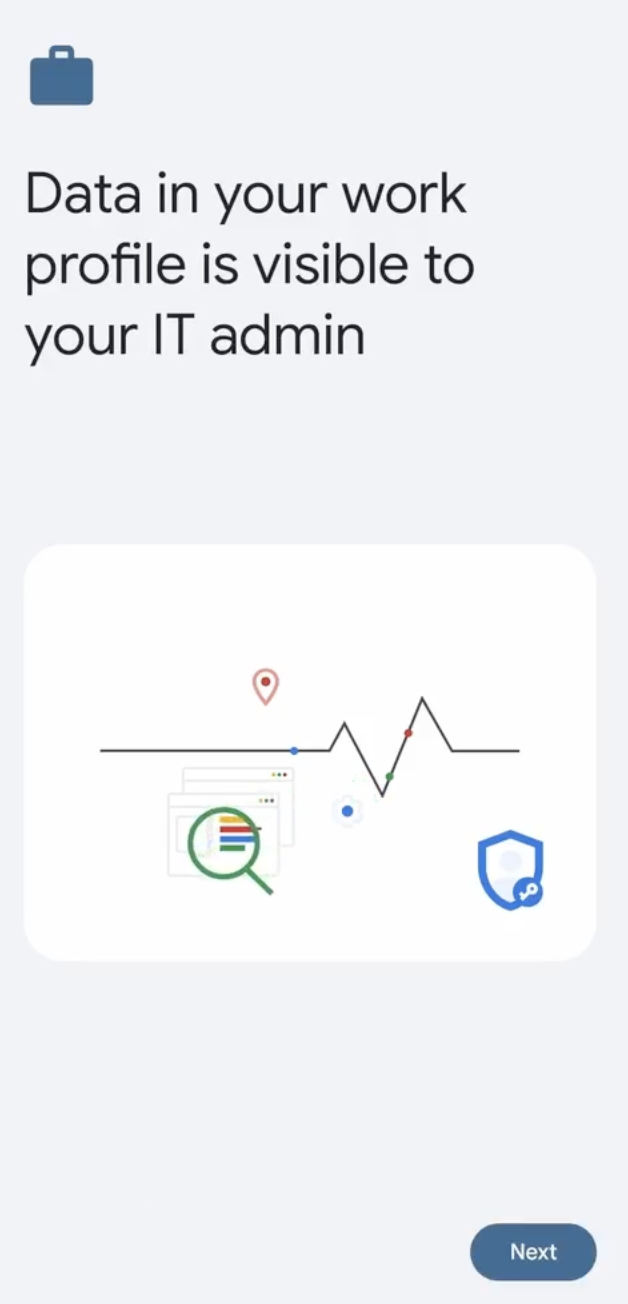
- Follow the on-screen instructions to complete the setup.
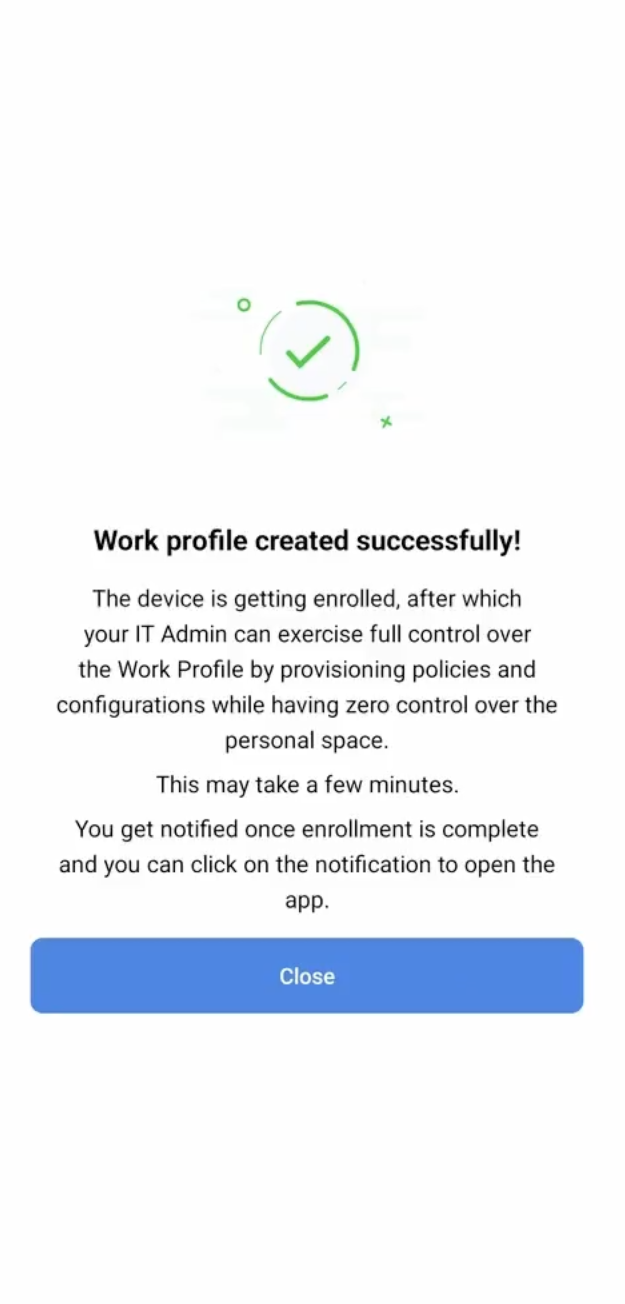
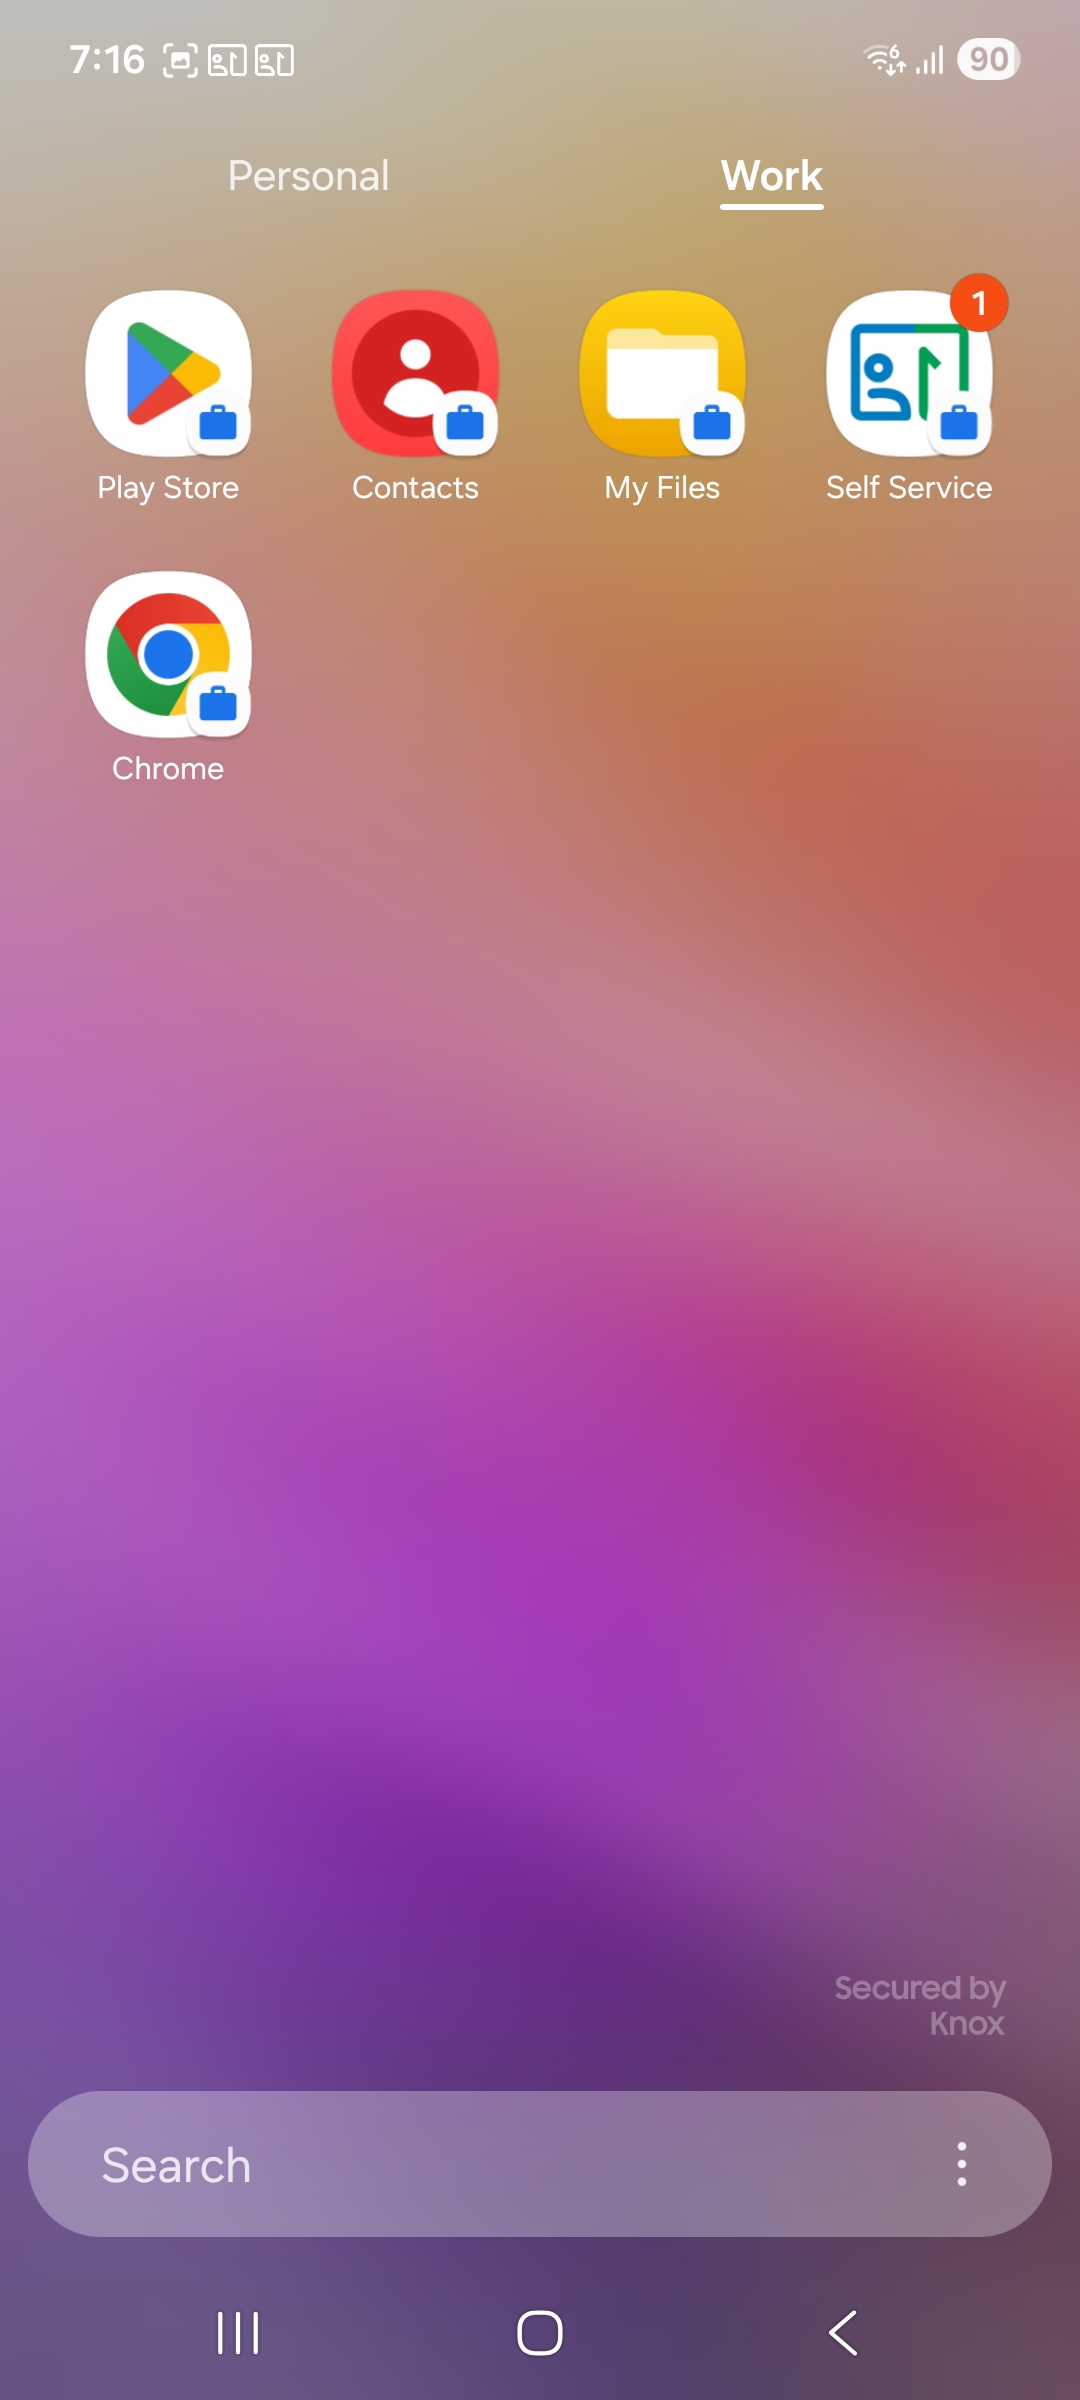
- Upon successful enrollment, the user will receive a notification for device enrollment.
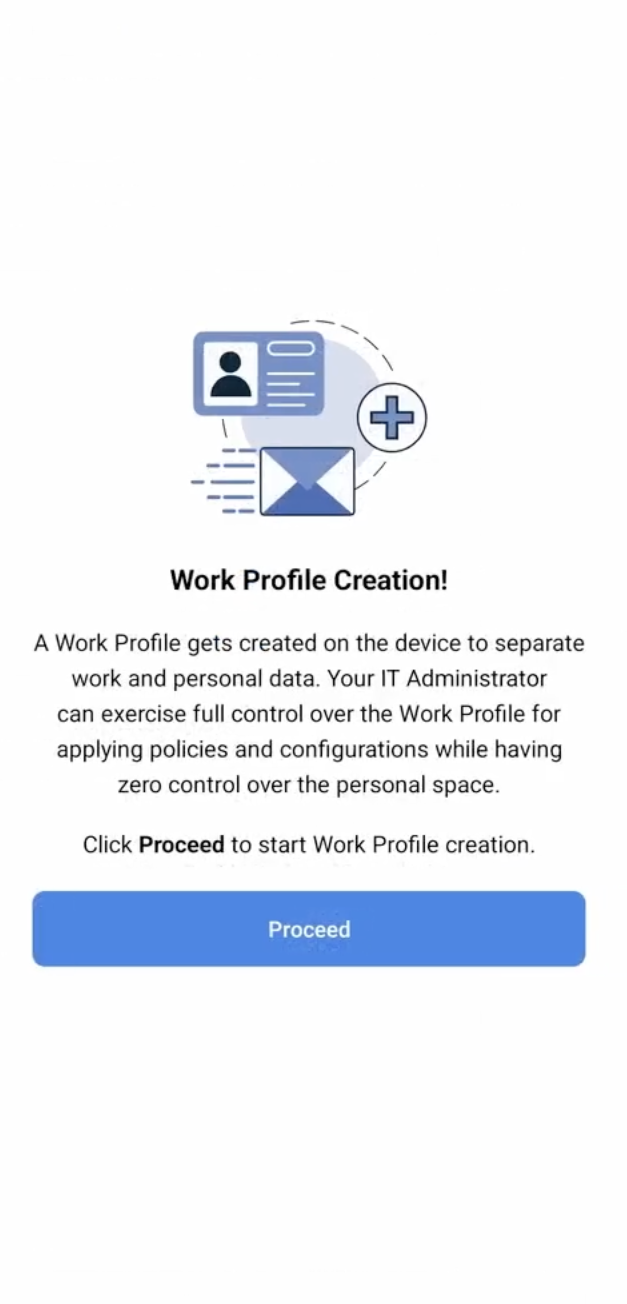
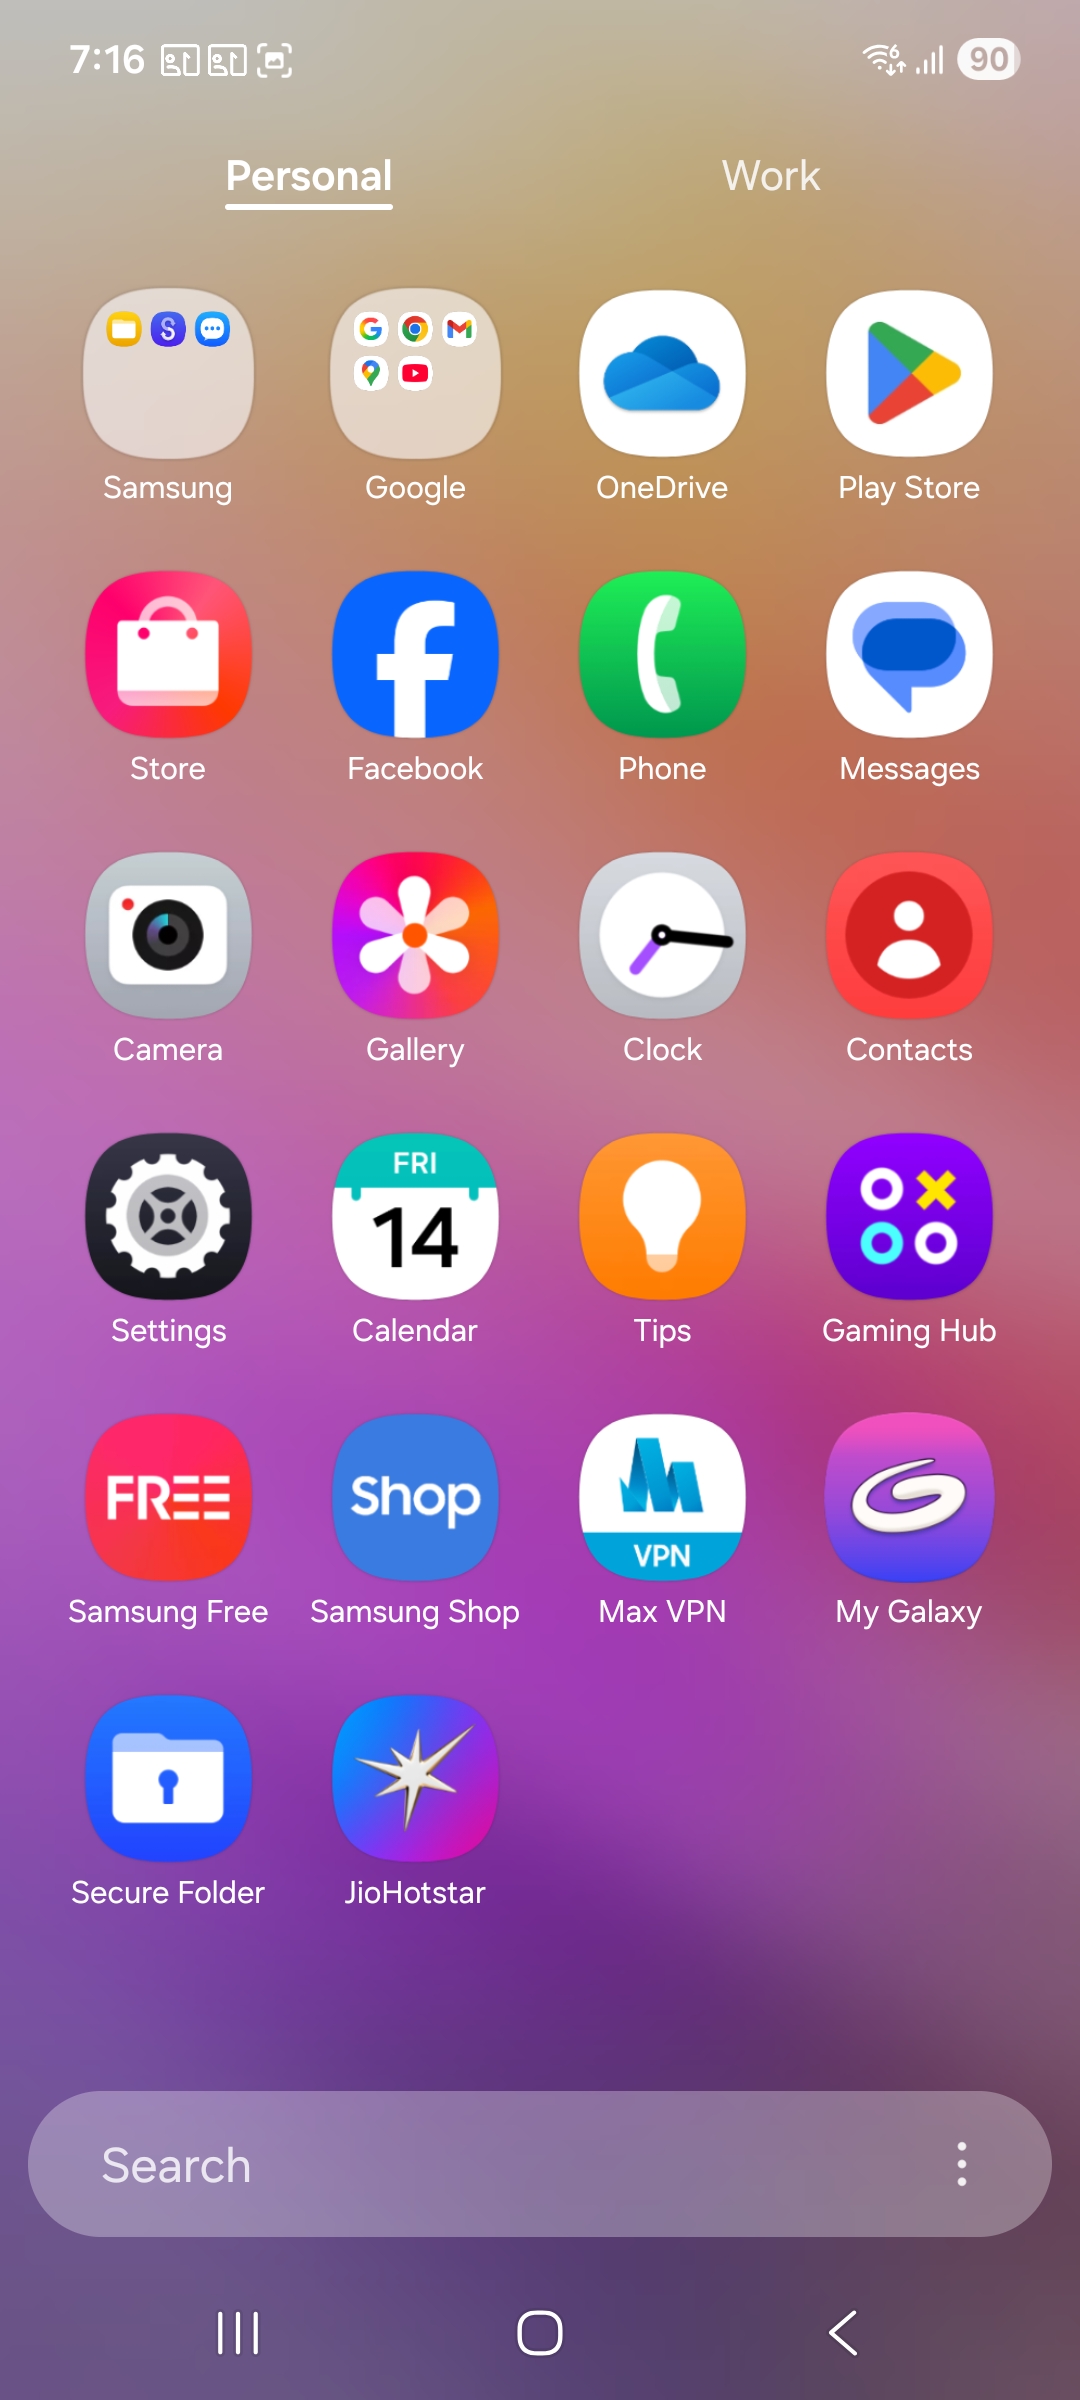
- Users will see a work profile created on their device.
- If the administrator has configured approved applications for enrolled devices, those applications will be installed automatically upon successful enrollment.
Step 3: Auto Assignment to Groups (Admin Action)
If configured by the administrator while configuring the self enrollment, Android devices will be automatically assigned to specific device groups. These groups ensure that appropriate apps, profiles, and policies are applied to the device.
Step 4: Final Confirmation and Email Notification (To Admin)
If the Notification on Enrollment is enabled in the self enrollment settings, then once the device is successfully enrolled, the administrator will receive an email notification confirming the enrollment. The device will then be listed in the MDM console, where any assigned apps, configurations, or policies will be automatically applied. This ensures that the device is compliant with organizational standards and ready for use, providing users with immediate access to the necessary resources and settings.
Note: For Knox devices, a dedicated Knox container is created on the device. Users can access corporate resources by tapping the Knox container icon. Apps distributed to the Knox container through MDM can be accessed by tapping the Apps icon within the container. To exit the Knox container and return to personal data and apps, tap the Personal Home icon.
Troubleshooting Tips
If users experience issues during self enrollment, try the following troubleshooting steps:
Android Device Self Enrollment
- Unable to authenticate: Ensure the credentials are correct, or contact the administrator to confirm the user account is permitted for self-enrollment.
- Cannot download the MDM app: Verify the device has a stable internet connection and access to the Google Play Store.
- Compliance errors: Follow the prompts in the MDM app to resolve any security issues such as enabling screen locks or device encryption.
What's Next?
Android Enrollment
To explore additional enrollment methods, including options for rugged and AOSP devices, check out our Android Enrollment Guide. This guide offers detailed instructions for a seamless integration and management experience across Android devices.
Configure Profiles and Policies
Once the MDM profile is installed, administrators can configure a variety of profiles and policies to enhance device security and functionality. For detailed instructions on these configurations, visit the Device Restrictions and Configurations section.
Distribute Work Applications
After enrollment, administrators can distribute work applications silently via the app repository. This includes apps from the Play Store, custom apps, and enterprise applications. For more details, refer to our App Management section.
Frequently Asked Questions
1. What does Android Self Enrollment provision the device as?
Android Self Enrollment provisions the device as a Personally-owned Work Profile (BYOD). A work profile is created on the device, separating personal and corporate apps. The organisation controls the work profile but has no access to the personal space.
2. Can a user enroll their Android device without scanning a QR code?
Yes. Instead of scanning the QR code, users can directly access the enrollment URL provided by the administrator in a browser, which will redirect them to install the ManageEngine MDM Self Service app from the Google Play Store and complete enrollment.
3. What happens after Self Enrollment is complete on Android?
The device receives a notification confirming the work profile setup. The user can then access the Work Profile, which contains corporate apps and data separate from personal apps. The administrator can also automatically assign the device to a group based on the user's details.