Site Collection Administration
Add Site Collection Administrator
Follow the below steps to grant site collection administrator privilege to one or more users.
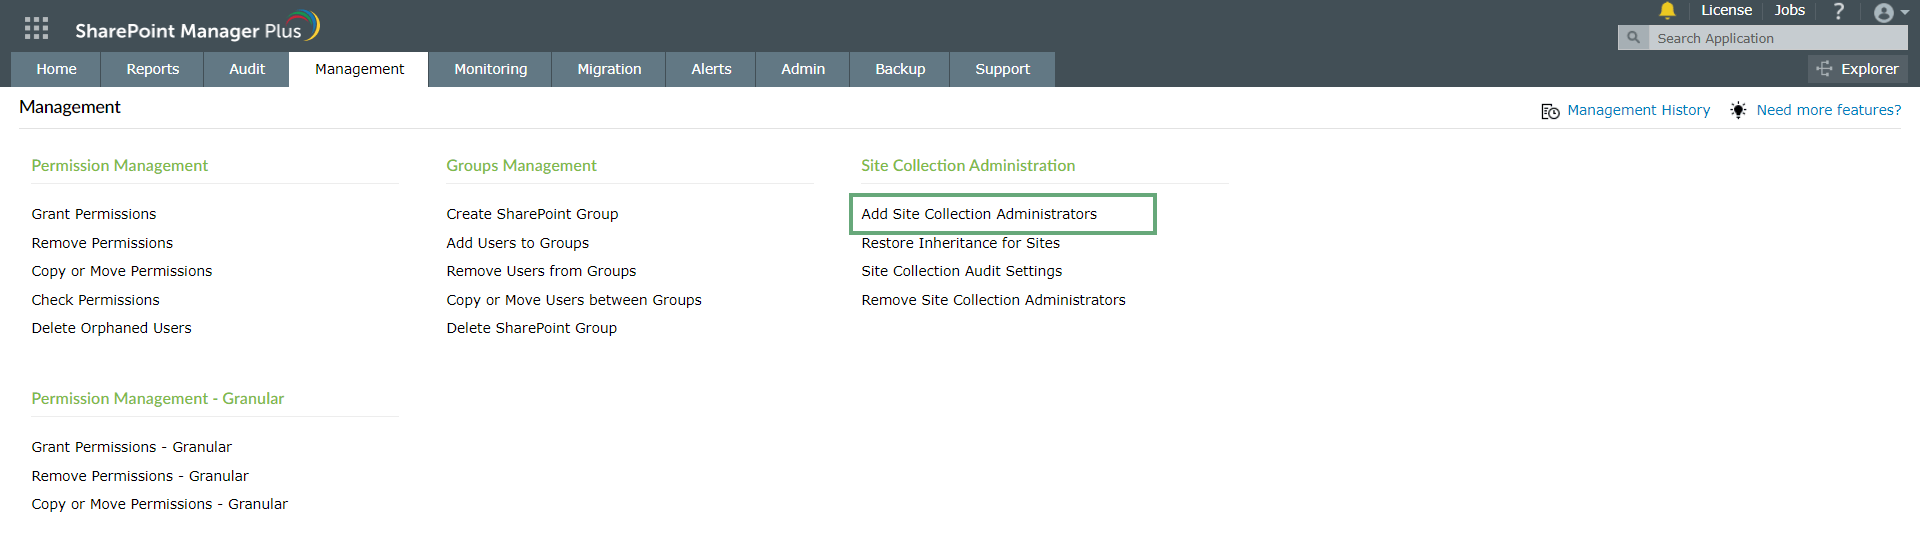
- Click the Management tab. Navigate to Add Site Collection Administrator under Site Collection Management.
- Click the Select Farm/Tenant dropdown to select the SharePoint farm or tenant you want to perform the action in. Select the required sites by clicking
 the Select Site Collections field.
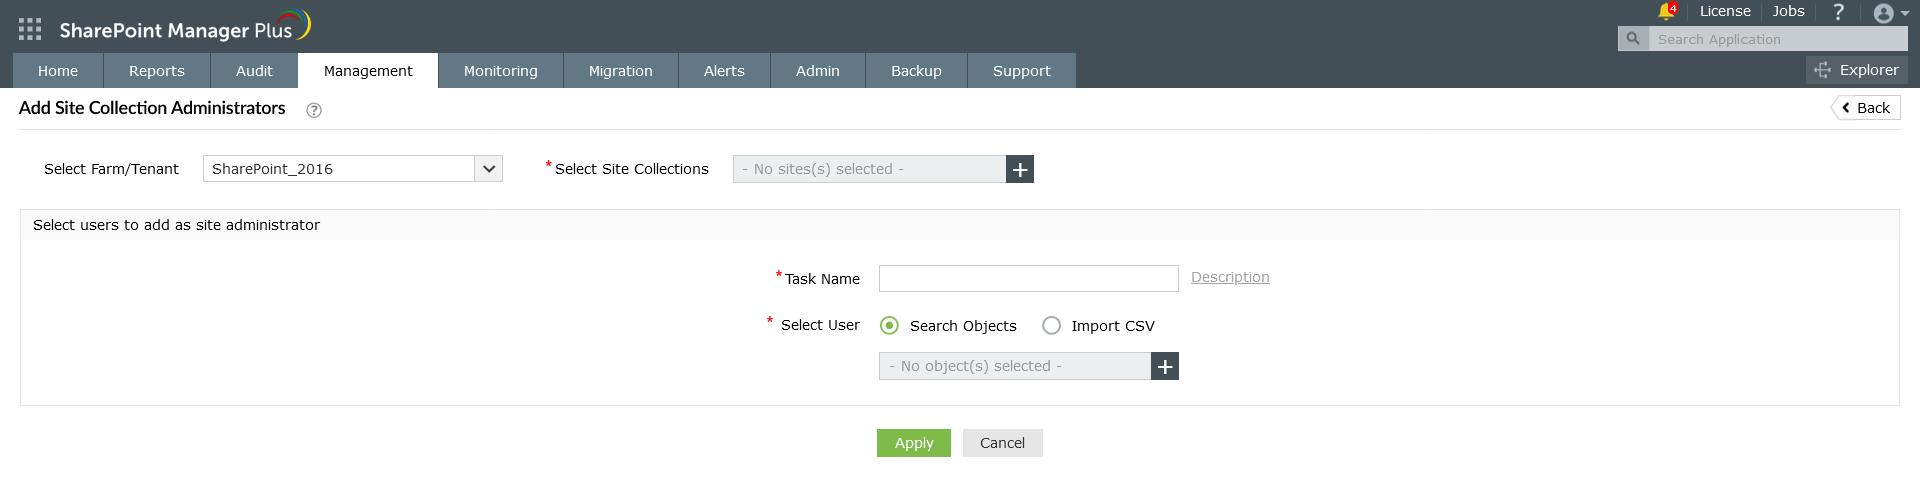
- Provide a suitable name and description for the SharePoint group in the fields against Task Name and Description respectively.
- In the Select User field, click to list the users pertaining to the selected Site Collections. From that list, tick the boxes against the desired users and click Select at the bottom of the window.
- Click Apply at the bottom of the page. It will direct you to a Result Summary page which gives the summary of the operations performed.
Restore inheritance for Sites
Follow the below steps to restore permission inheritance for any number of sites.
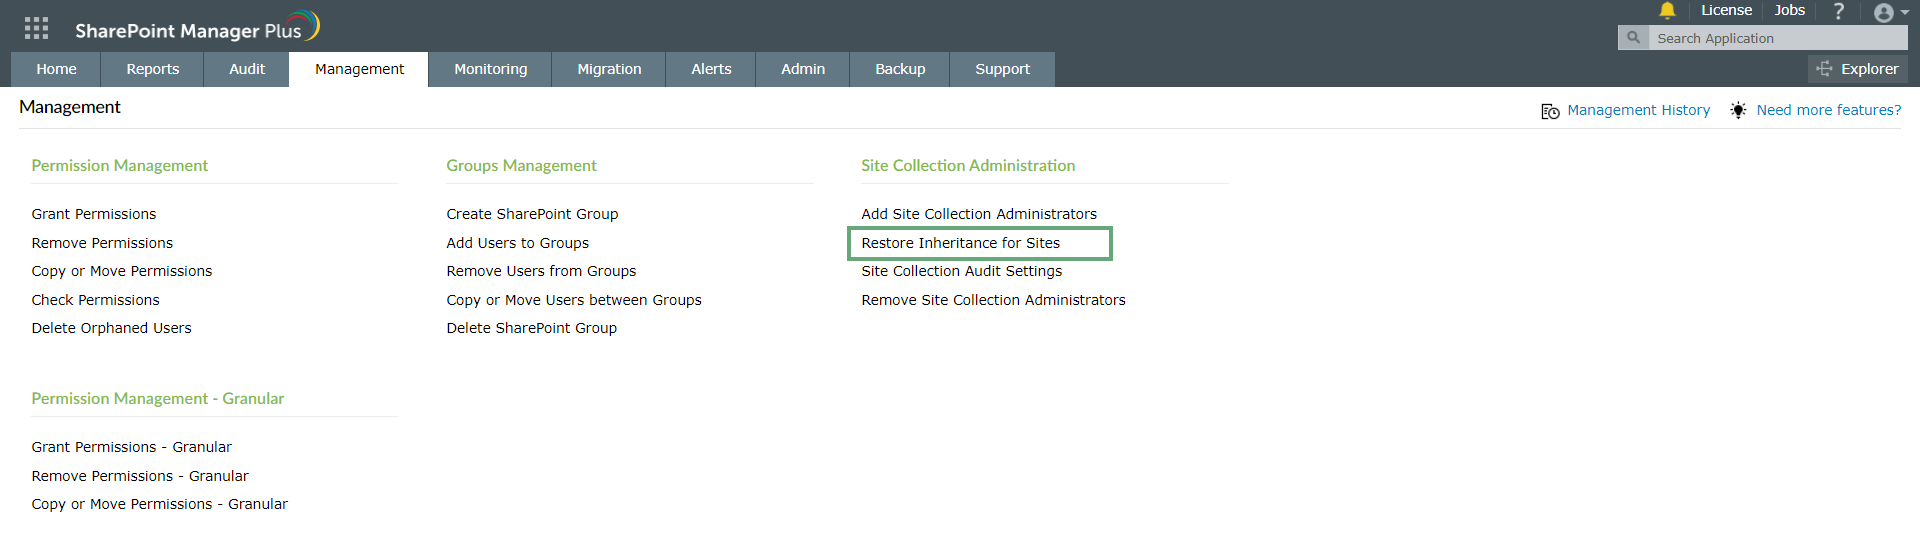
- Click the Management tab. Navigate to Restore inheritance for Sites under Site Collection Management.
- Click the Select Farm/Tenant dropdown to select the SharePoint farm or tenant you want to perform the action in. Select the required sites by clicking the Select Site Collections field.
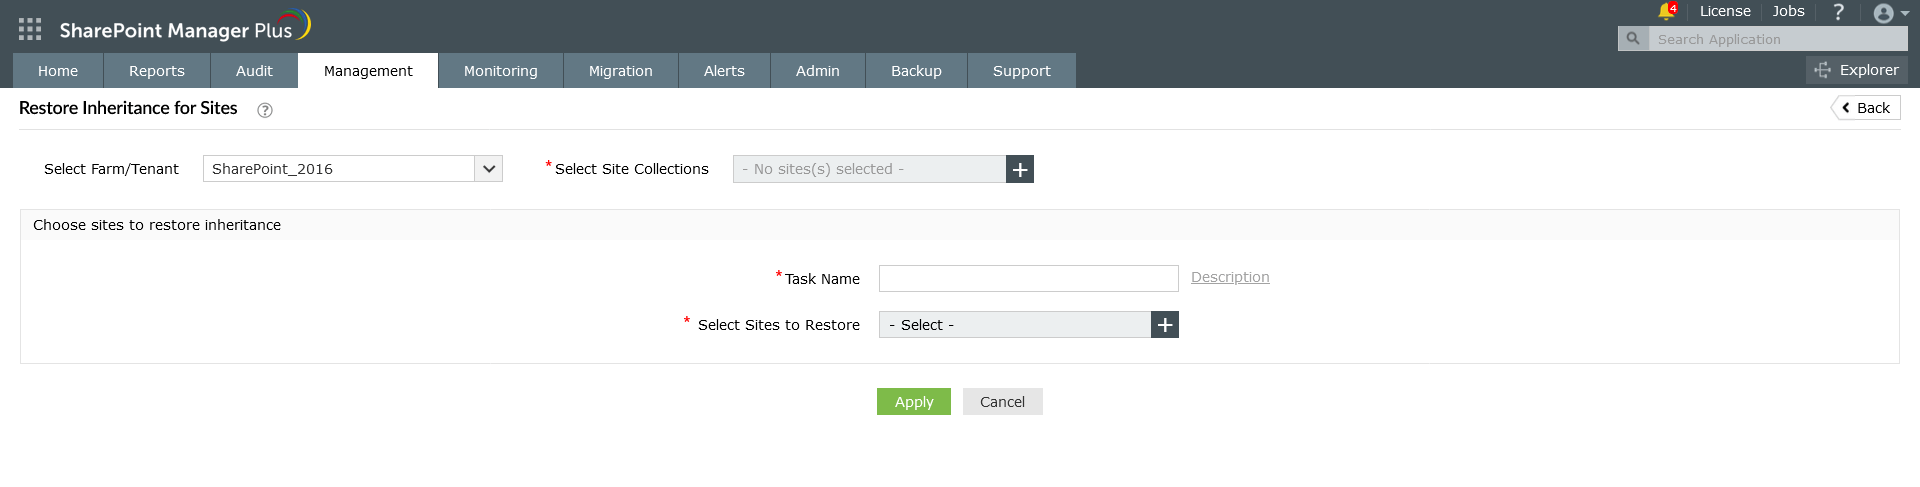
- Provide a suitable name and description in the fields against Task Name and Description respectively.
- In the Select Sites to Restore field, click to list the sites pertaining to the selected site collections. Select the desired sites by ticking the boxes against their names and click Select at the bottom of the window.
- Click Apply to execute the operation. It will direct to a Result Summary page which gives the summary of the result of the operations performed.
Site collection audit settings
Follow the below steps to Enable audit settings for multiple site collections.
- Click the Management tab. Navigate to Site Collection Audit Settings under Site Collection Management.

- Click the Select Farm dropdown to select the SharePoint farm or tenant you want to perform the action in. Select the required sites by clicking the Select Site Collections field.
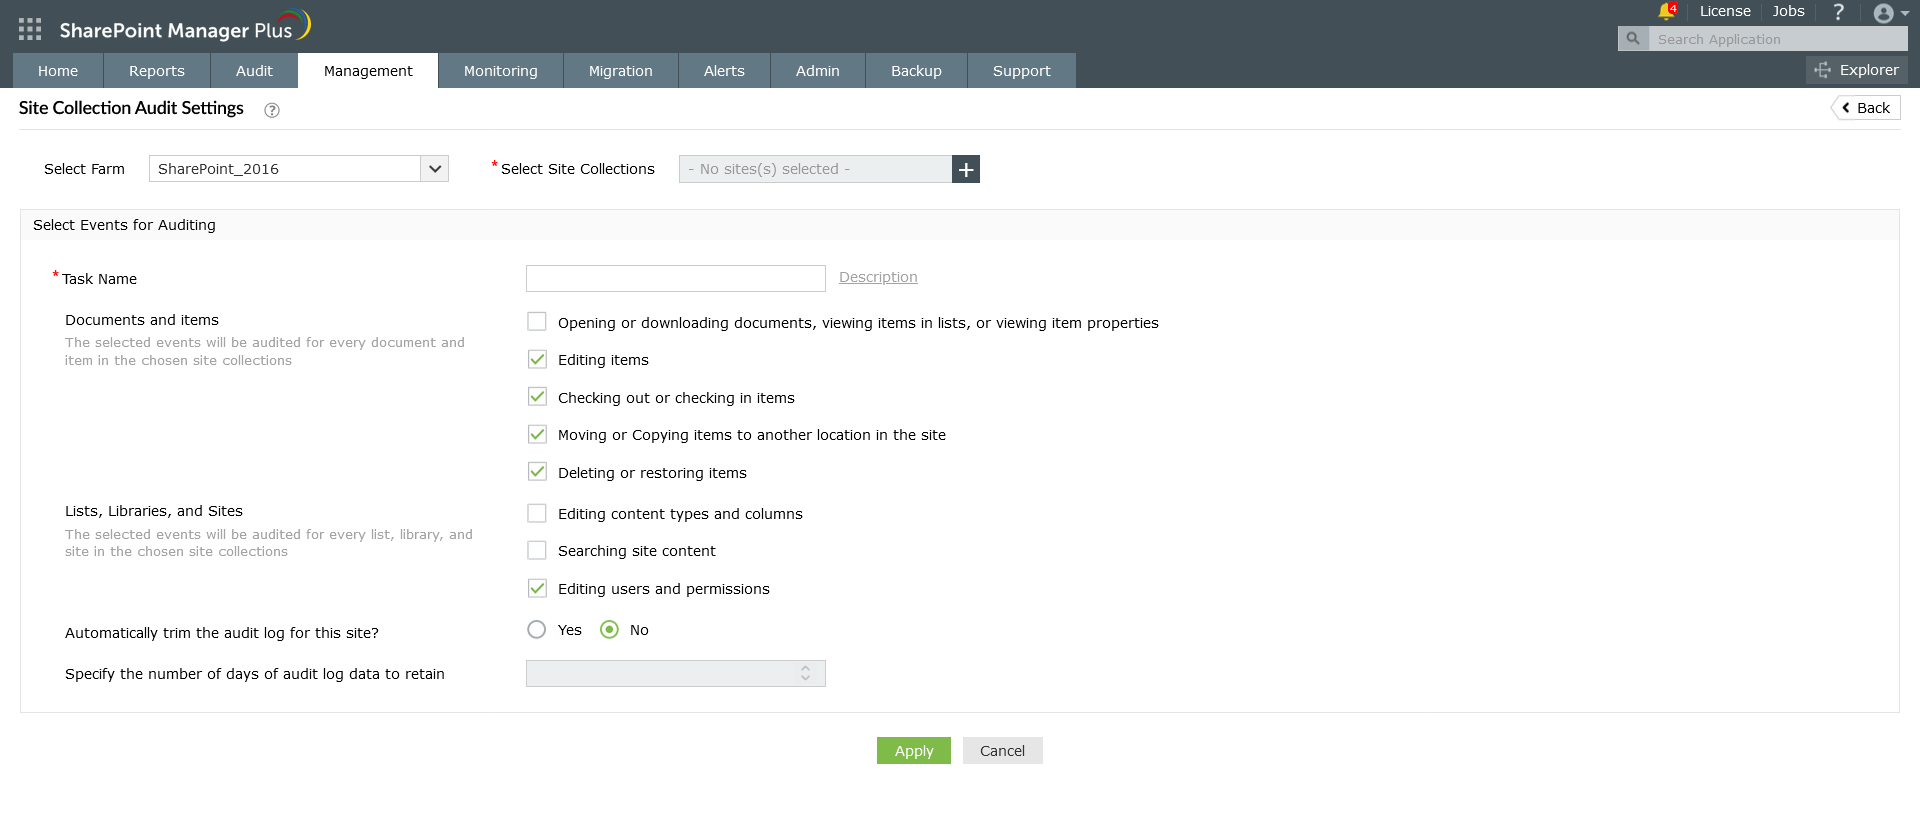
- Provide a suitable name and description in the fields against Task Name and Description respectively.
- You can find the following options in the Documents and Items field.
- Opening or downloading documents, viewing items in lists, or viewing item properties
- Editing items
- Checking out or checking in items
- Moving or Copying items to another location in the site
- Deleting or restoring items
The selected events will be audited for every document and item in the chosen site collections
- You can find the following options in the Lists, Libraries and Sites field.
- Editing content types and columns
- Searching site content
- Editing users and permissions
The selected events will be audited for every list, library, and site in the chosen site collections
- A set of audit events are mentioned for each section. Select the events that you desire to audit for each section by ticking the box against the event's name.
- Under Automatically trim the audit log for this site?, select the radio button of your choice.
- Specify the number of days to retain the audit log in the field provided.
- Click Apply at the bottom of the page that directs to a Result Summary page which gives the summary of the operations performed.
Enabling Microsoft 365 audit log search
There are two different methods to turn on audit log search in Microsoft 365. You can either use the Security & Compliance Center or PowerShell. It may take several hours after you turn on audit log search before you can use the feature. You have to be assigned the Exchange Admin role in Exchange Online to turn on audit log search.
Turn on audit log search using the Security & Compliance Center
- In the Security & Compliance Center, navigate to Search → Audit log search. A message will be displayed on the top saying auditing has to be turned on to record user and admin activity.
- Click the Turn on auditing button in the top right corner of the window.
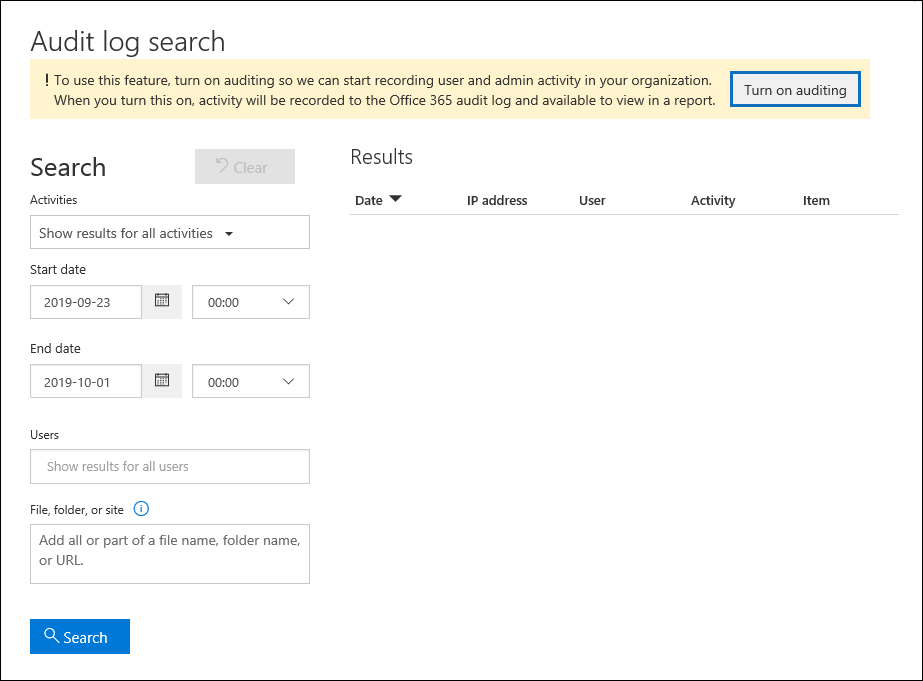
- A message is updated saying the audit log is being prepared and you can search for user and admin activity in a few hours.
Turn on audit log search using PowerShell
- Connect to Exchange Online PowerShell.
- Run the following PowerShell command to turn on audit log search in Microsoft 365.
Set-AdminAuditLogConfig -UnifiedAuditLogIngestionEnabled $true
- A message is displayed saying it may take up to 60 minutes for the change to take effect.
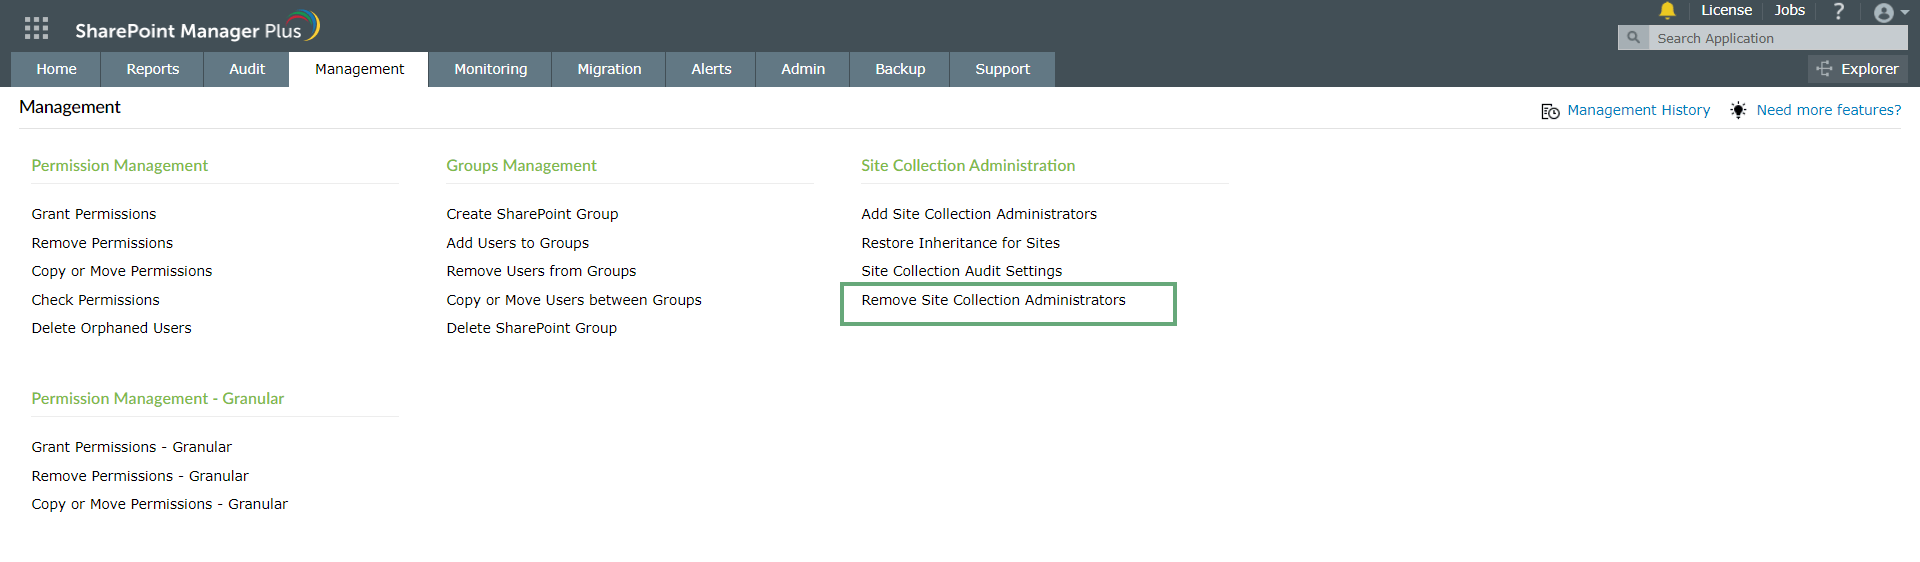
Remove Site Collection Administrators
Follow the steps below to remove site collection administrator privileges of one or more users.
- Click the Management tab. Navigate to Remove Site Collection Administrators under Site Collection Management.
- Click the Select Farm/Tenant dropdown to select the SharePoint farm or tenant you want to perform the action in. Select the required sites by clicking the Select Site Collections field.
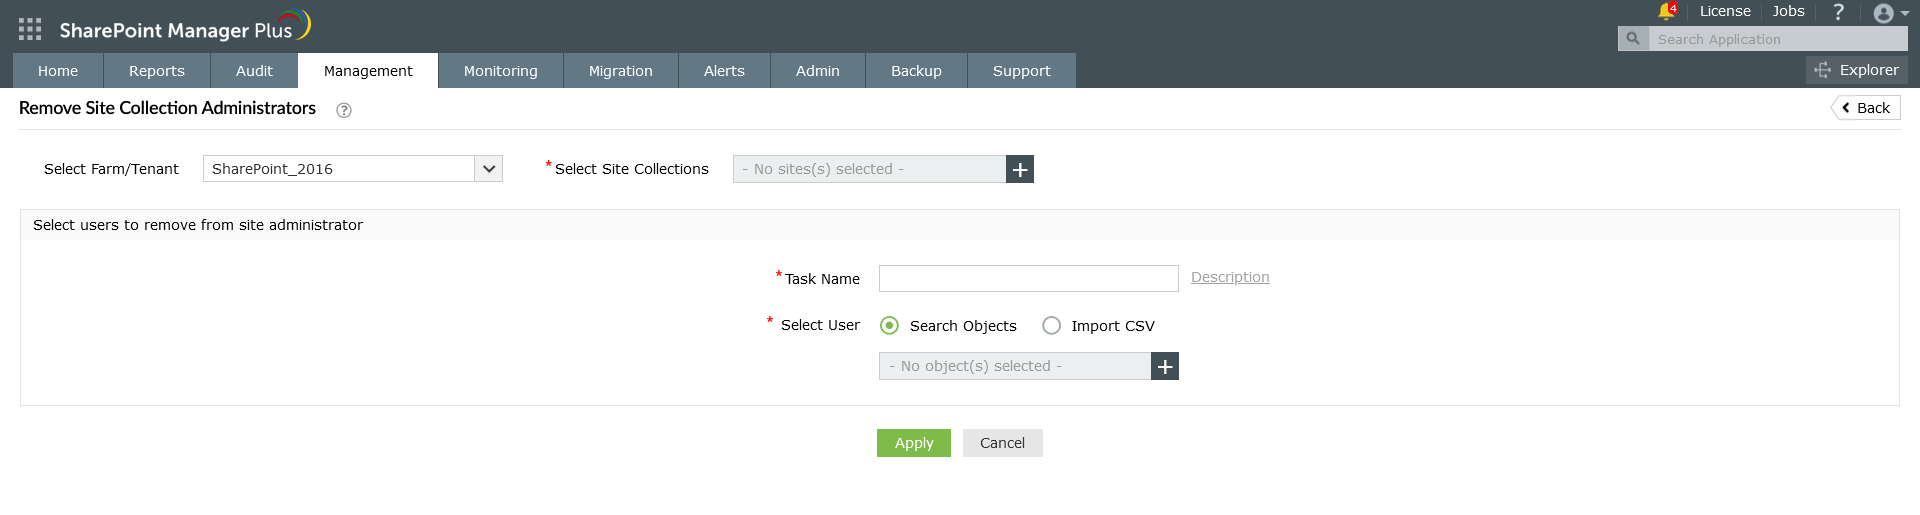
- Provide a suitable name and description in the fields against Task Name and Description respectively.
- In the Select User field, click icon to select the users. In the window that opens, select the users whose site collection administrator privilege you wish to remove. After making the selection, click Select at the bottom of the window.
- Click Apply to execute the operation.
 ADManager Plus
 ADAudit Plus
 ADSelfService Plus
 SharePoint Manager Plus