
Manage Agents
Last updated on:
In this page
1. Adding an agent
1.1 Download agent
- Open Log360 Cloud and select the Settings tab.
- Navigate to Admin > Management > Manage Agents.
- Click the Download Agent button to download the agent.

- Run the downloaded Log360CloudAgent.exe file and complete the installation process.
- Once the agent installation is completed, it will be automatically identified. However, the agent will not communicate with Log360 Cloud until it is approved.
1.2 Approving the agent
- Once the agent is downloaded and installed, go to Settings > Admin > Manage Agents > Pending Agent Registrations to approve the installed agents.

- Select agents in bulk or filter them to complete approval.

- If approved agents fail to communicate with Log360Cloud, the status will change to Sync failed. To resolve this issue, follow the troubleshooting steps to re-establish communication.
- Agents will be automatically uninstalled from machines that are rejected
- Once your agent is synced and configured, you can start collecting logs and monitoring your systems.
Note
- If you regenerate the access key, make sure to update it in the agent. To do this, go to C:/Program Files(x86)/ManageEngine/Log360Cloud_Agent/bin and run UpdateAccessKey.exe as an Administrator. In the installation wizard that appears, enter the new access key and click OK. The agent will now be updated with the new access key.
- When the access key is regenerated, the old Log360CloudAgent.exe will still contain the outdated key, leading to communication failures during installation. To prevent this, download the latest Log360CloudAgent.exe, which will include the updated access key.
- Log sync data will be compressed up to 18 times and stored in the specified temporary location.
- When the cloud storage limit is exceeded, log sync will be stopped. Log data collected after that point will be stored in the temporary location specified. Once space is made available, logs will be indexed from that location and moved to the cloud storage space.
- The following outbound ports should be open in the firewall of the server where the Log360 Cloud Agent is installed.
- For operating systems without a graphical interface, like Windows Server Core, you can perform a silent installation of the agent following these steps.
HTTPS - 443 and HTTP - 80
Updating an agent
To update an existing agent, follow the steps given below.
- Open Log360 Cloud and select the Settings tab. Then navigate to
- Then navigate to Admin > Management > Manage Agents.
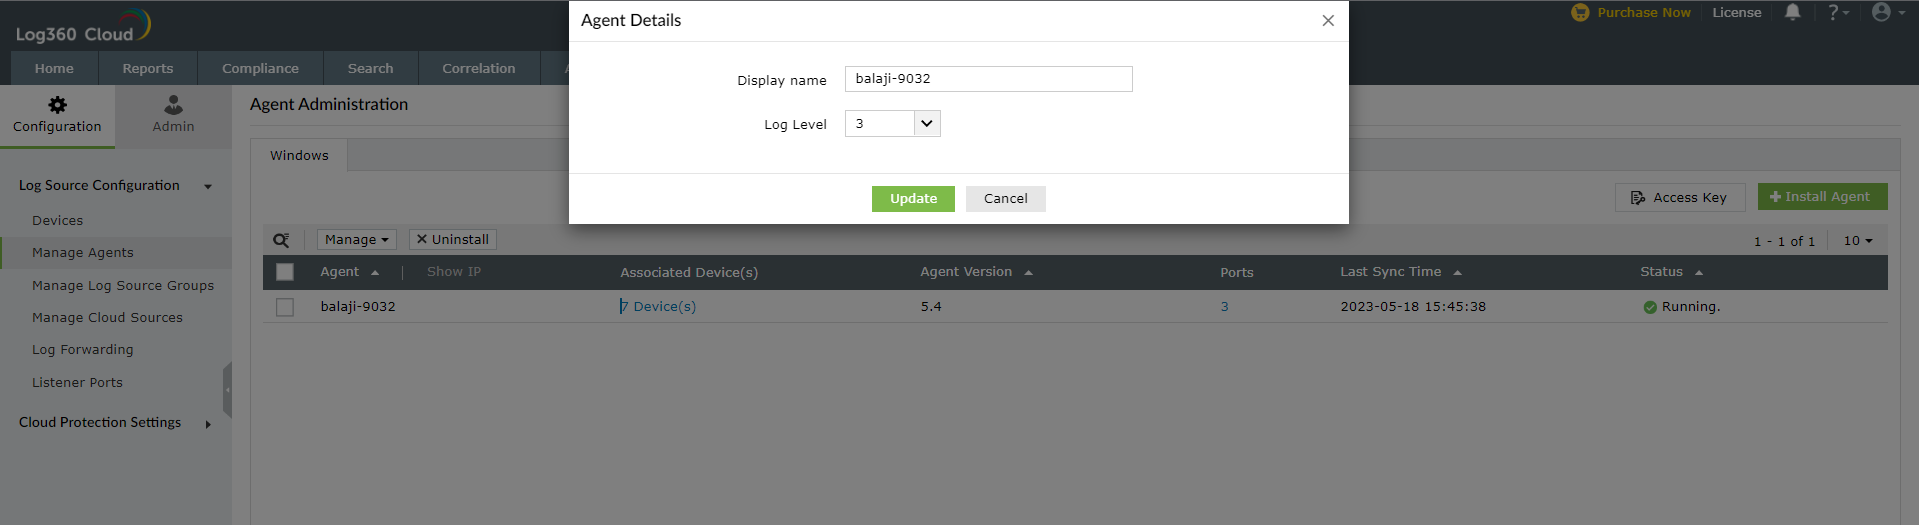
- Click the
 icon corresponding to the desired agent to be updated. The icon will appear when you hover over the name of the agent.

- In the window that pops-up, make the necessary changes.
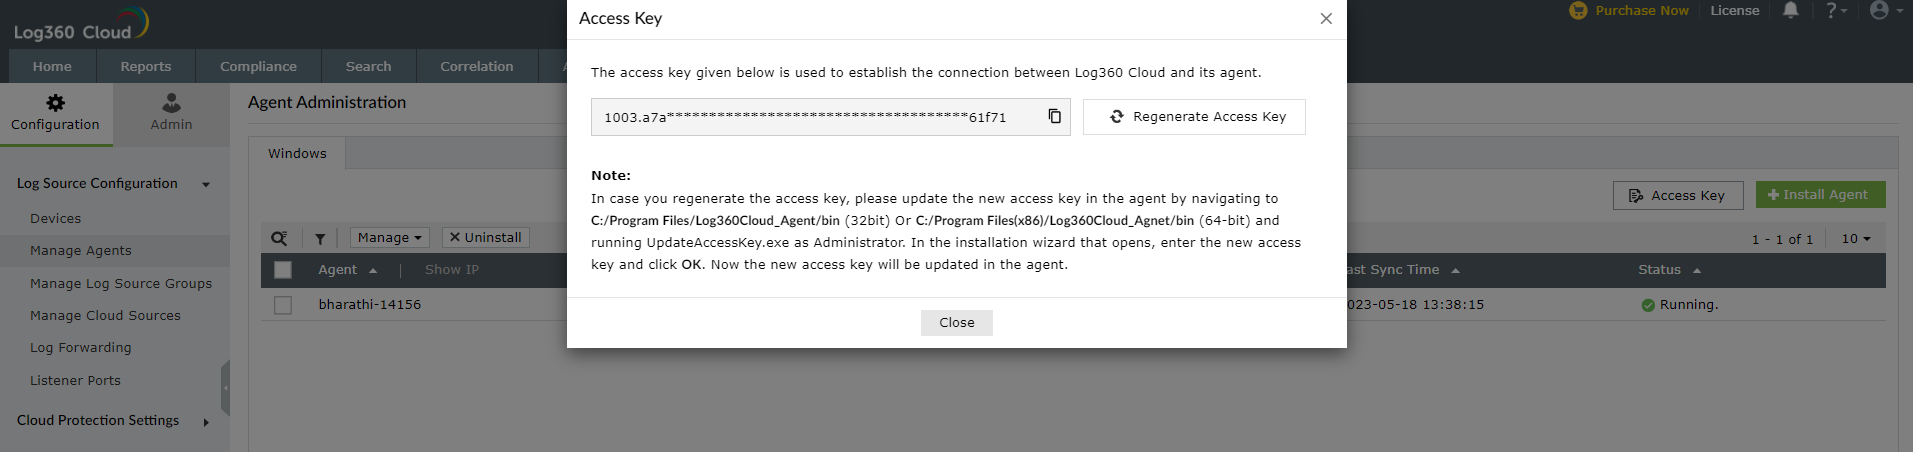
- After making the desired changes, click Update.
Uninstalling an agent
To uninstall an existing agent, follow the steps given below.
- Open Log360 Cloud and select the Settings tab.
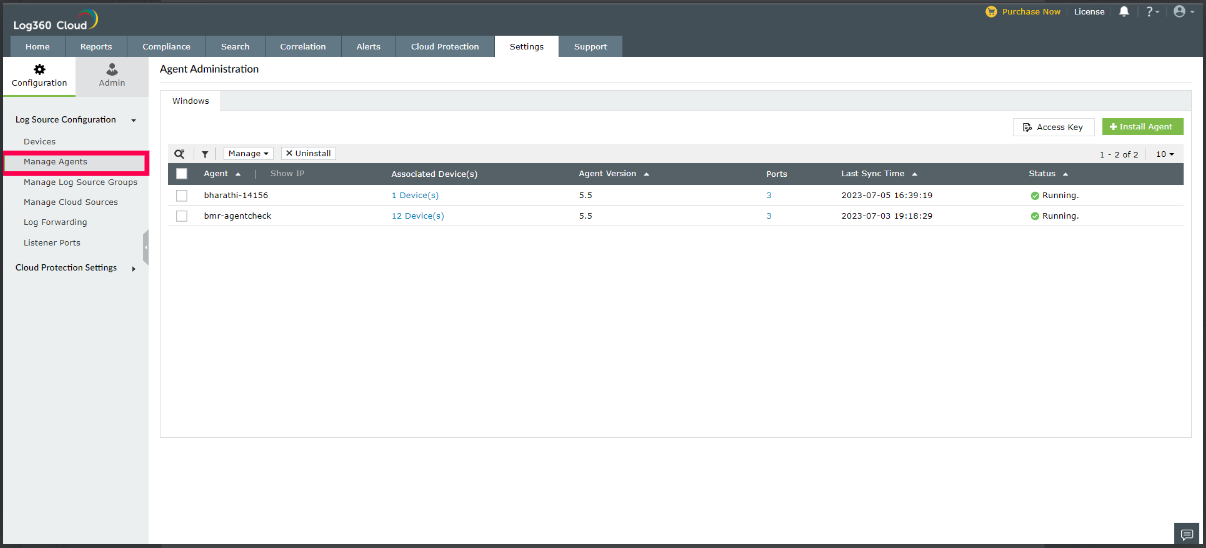
- Navigate to Admin > Management > Manage Agents.
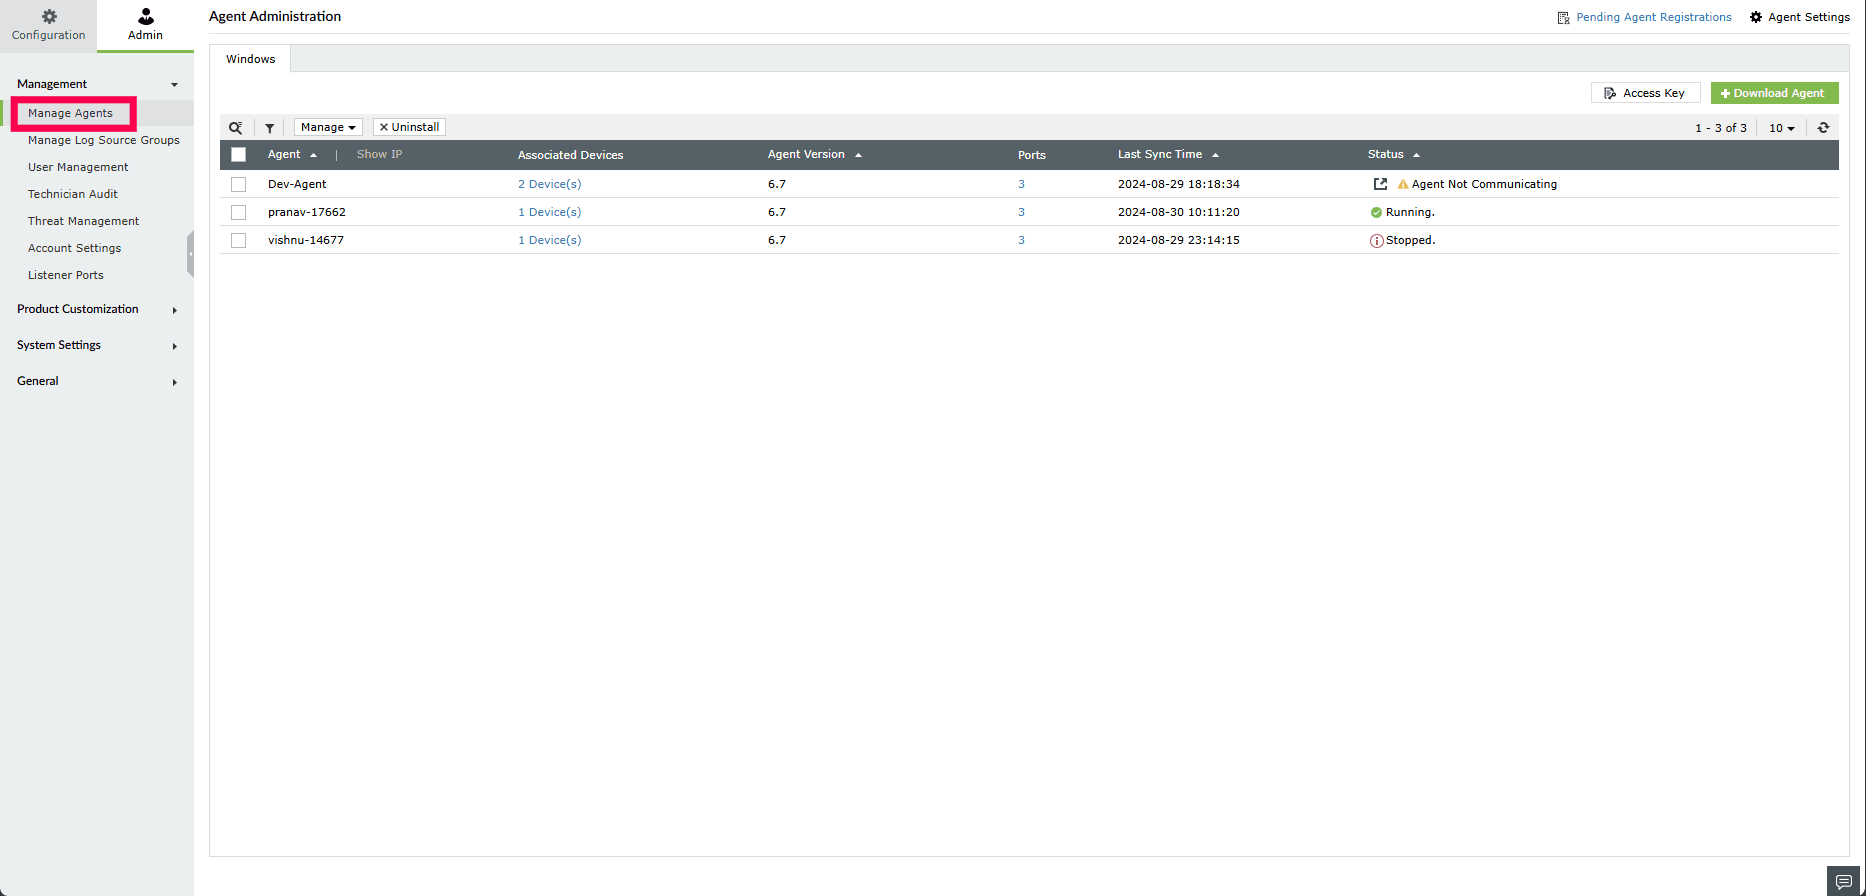
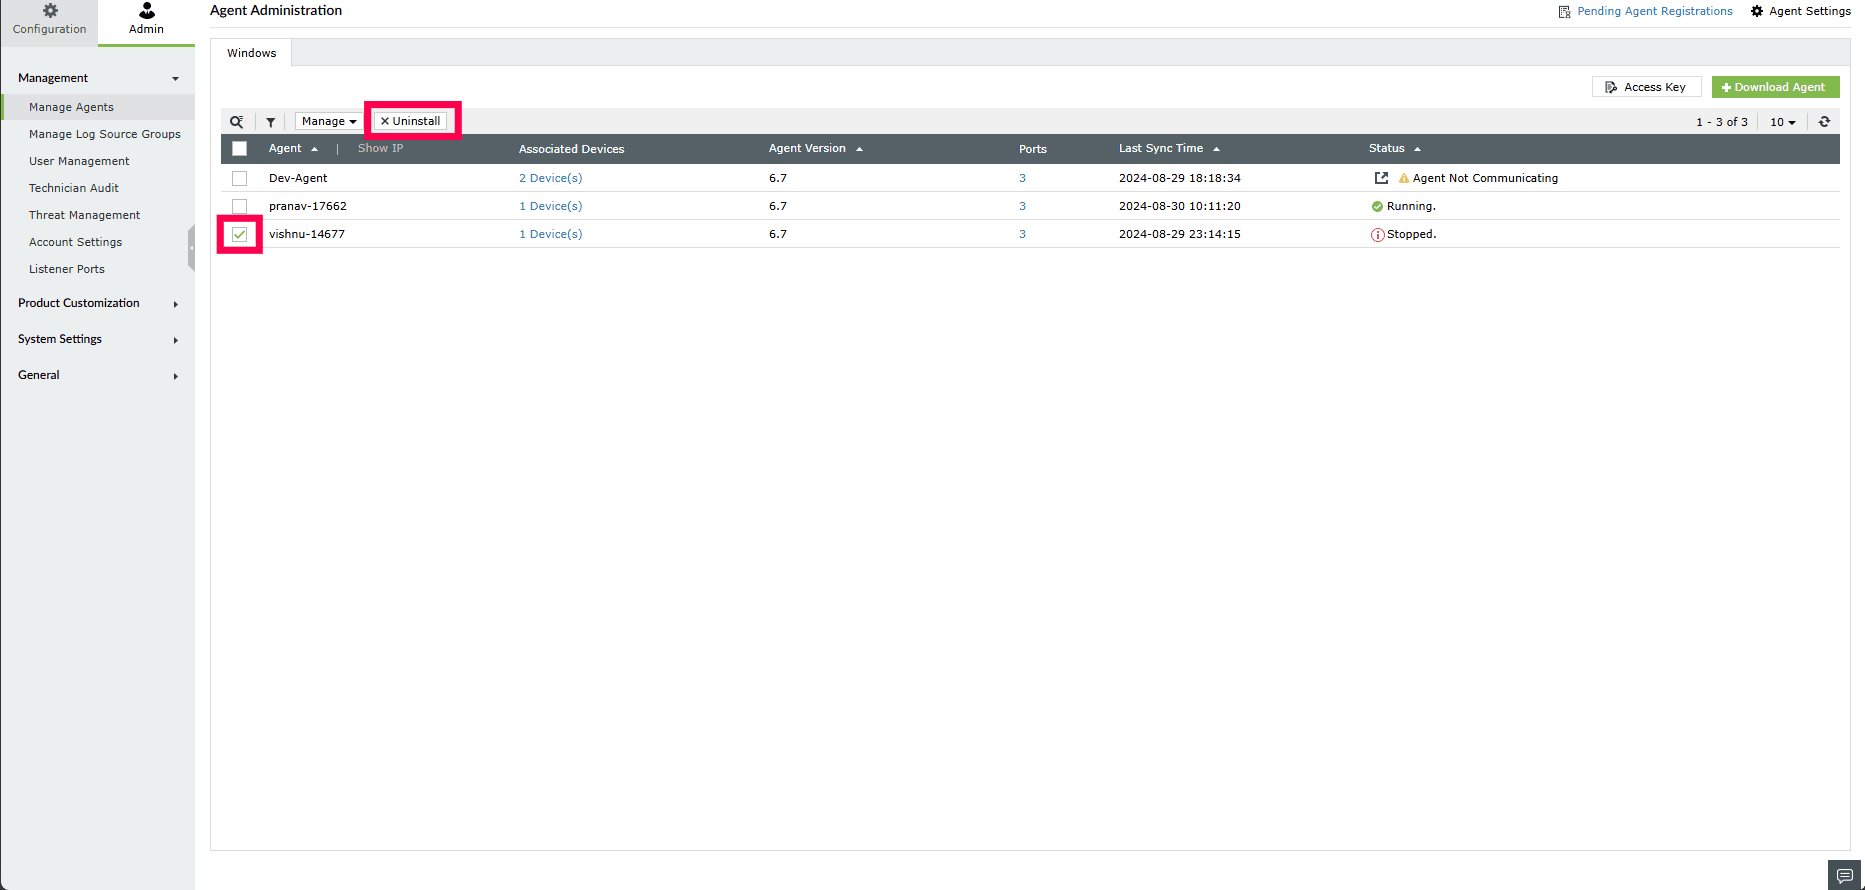
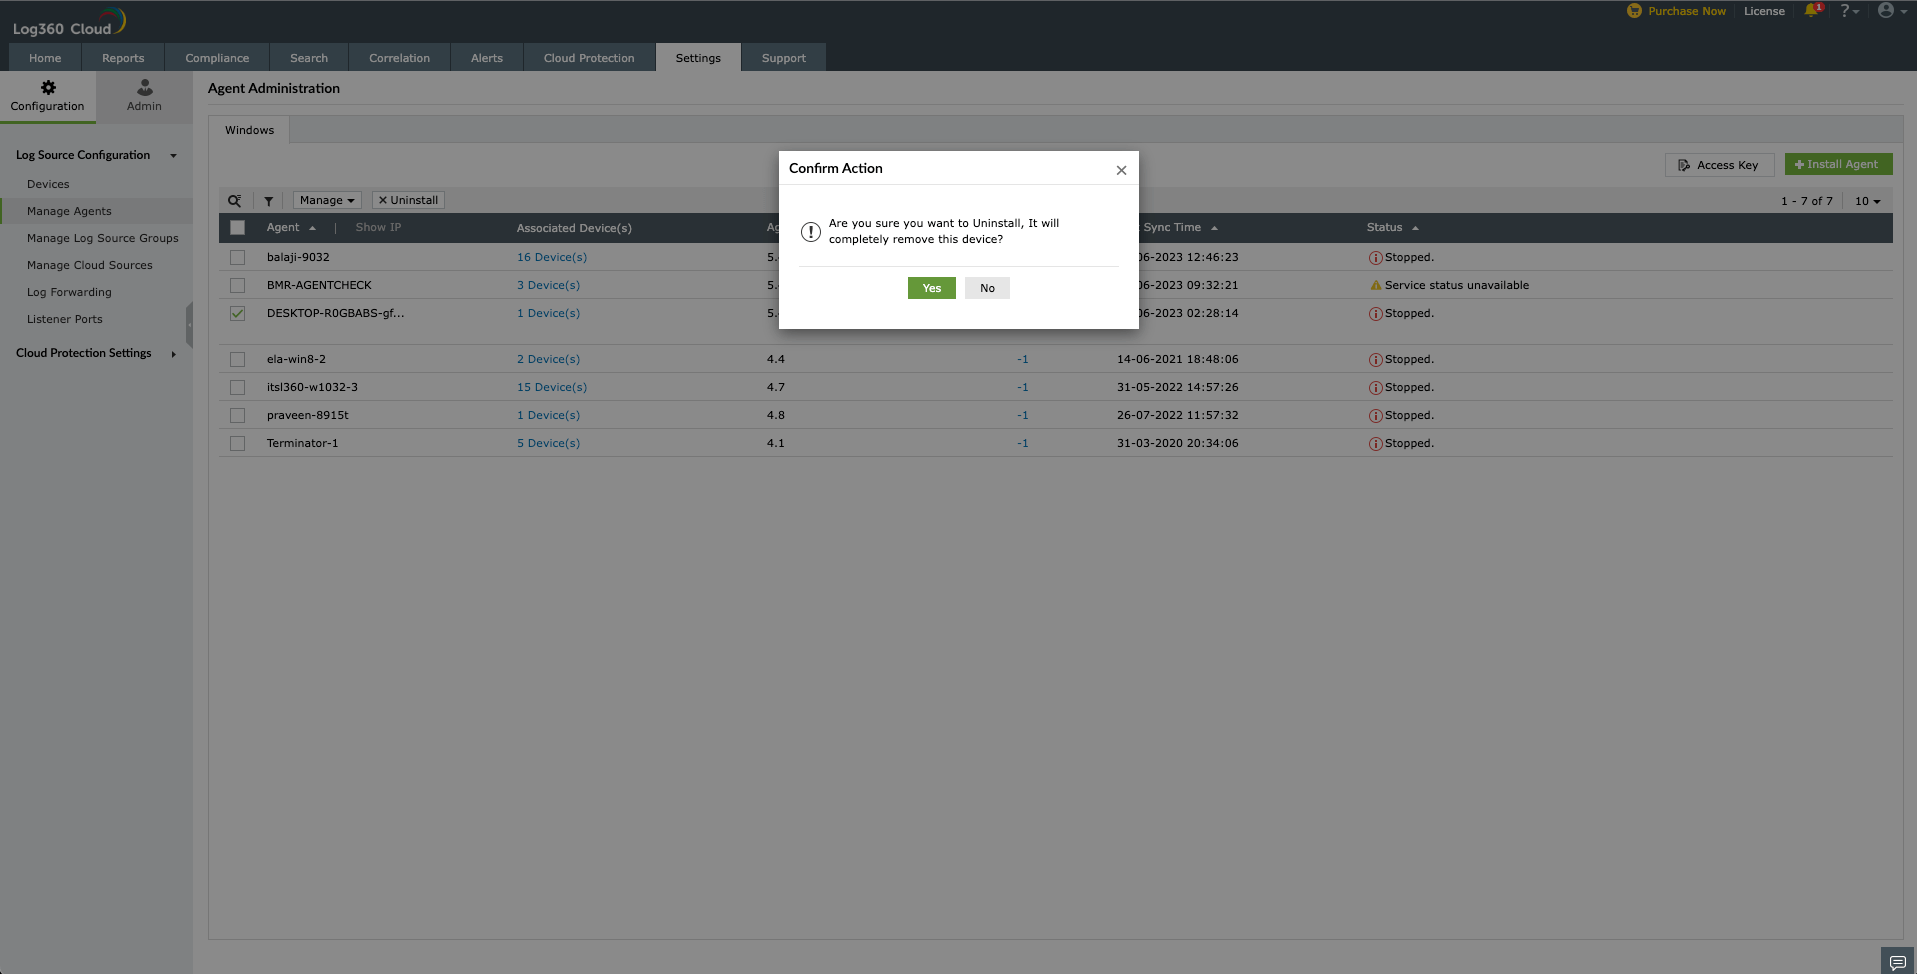
- Tick the box corresponding to the desired agent and click the x Uninstall button.
- Click Yes to confirm the action.
- Now, the agent is uninstalled successfully.
Force restart an agent
To force restart an existing agent, follow the steps given below.
- Open Log360 Cloud and select the Settings tab.
- Navigate to Admin > Management > Manage Agents.
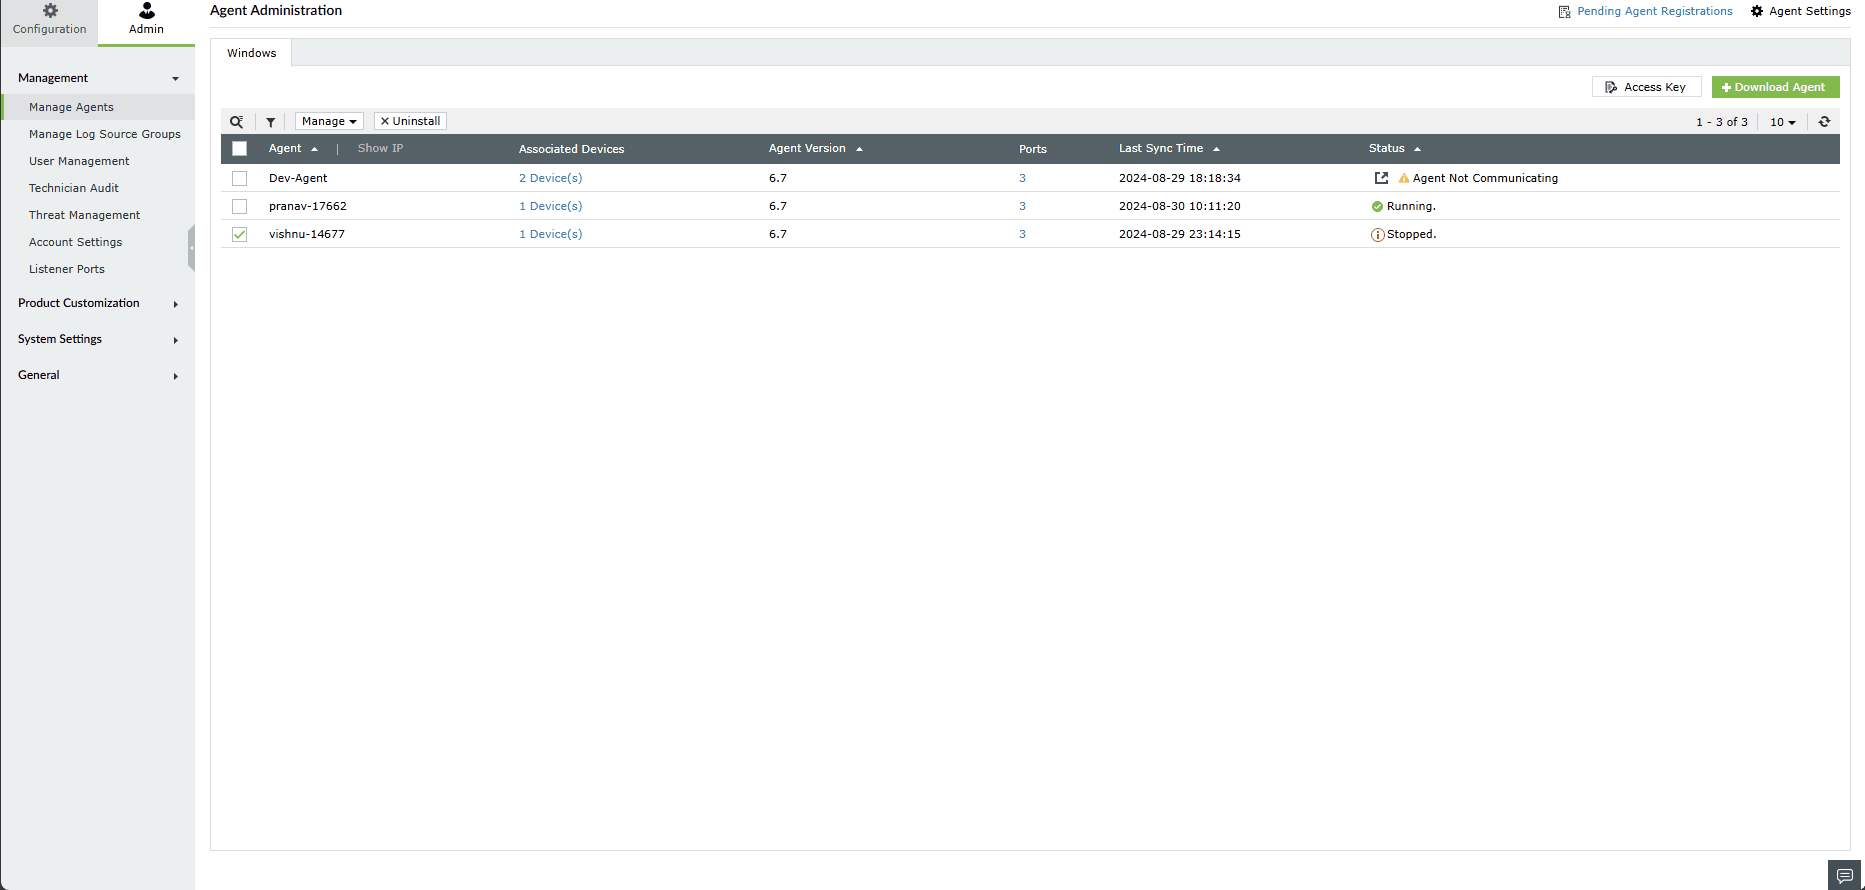
- Select the required agents by ticking the box corresponding to the agent name.
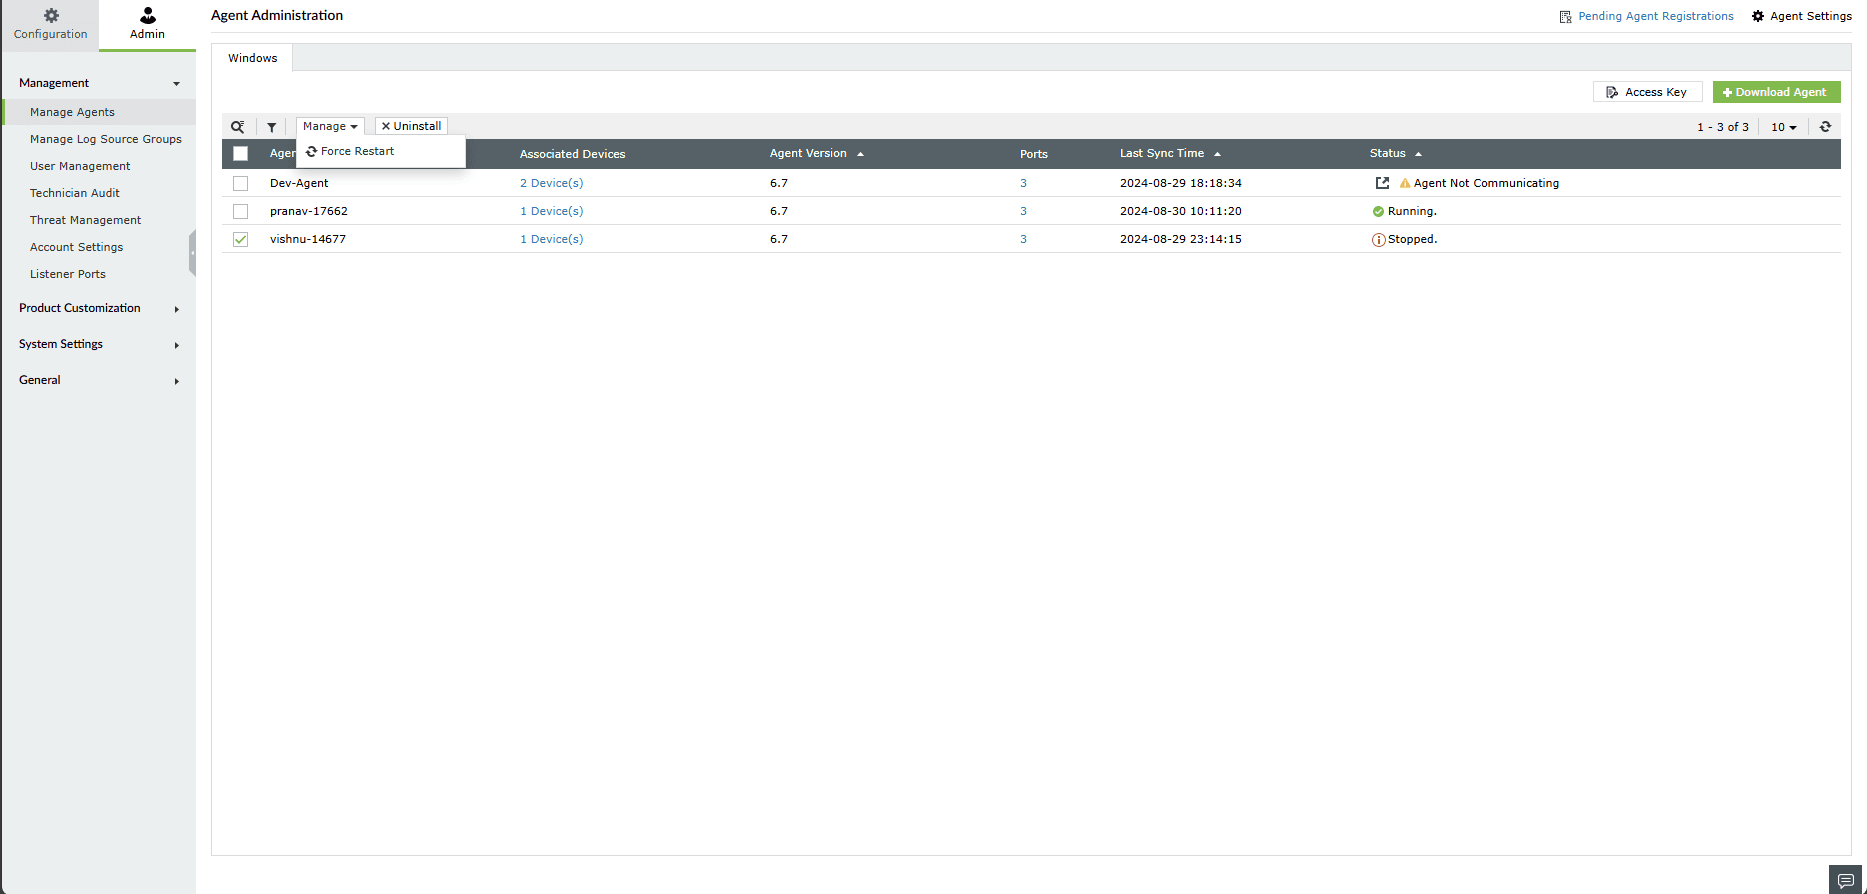
- Click the Manage button and select Force Restart from the drop down list.
- Click Yes to confirm the action.
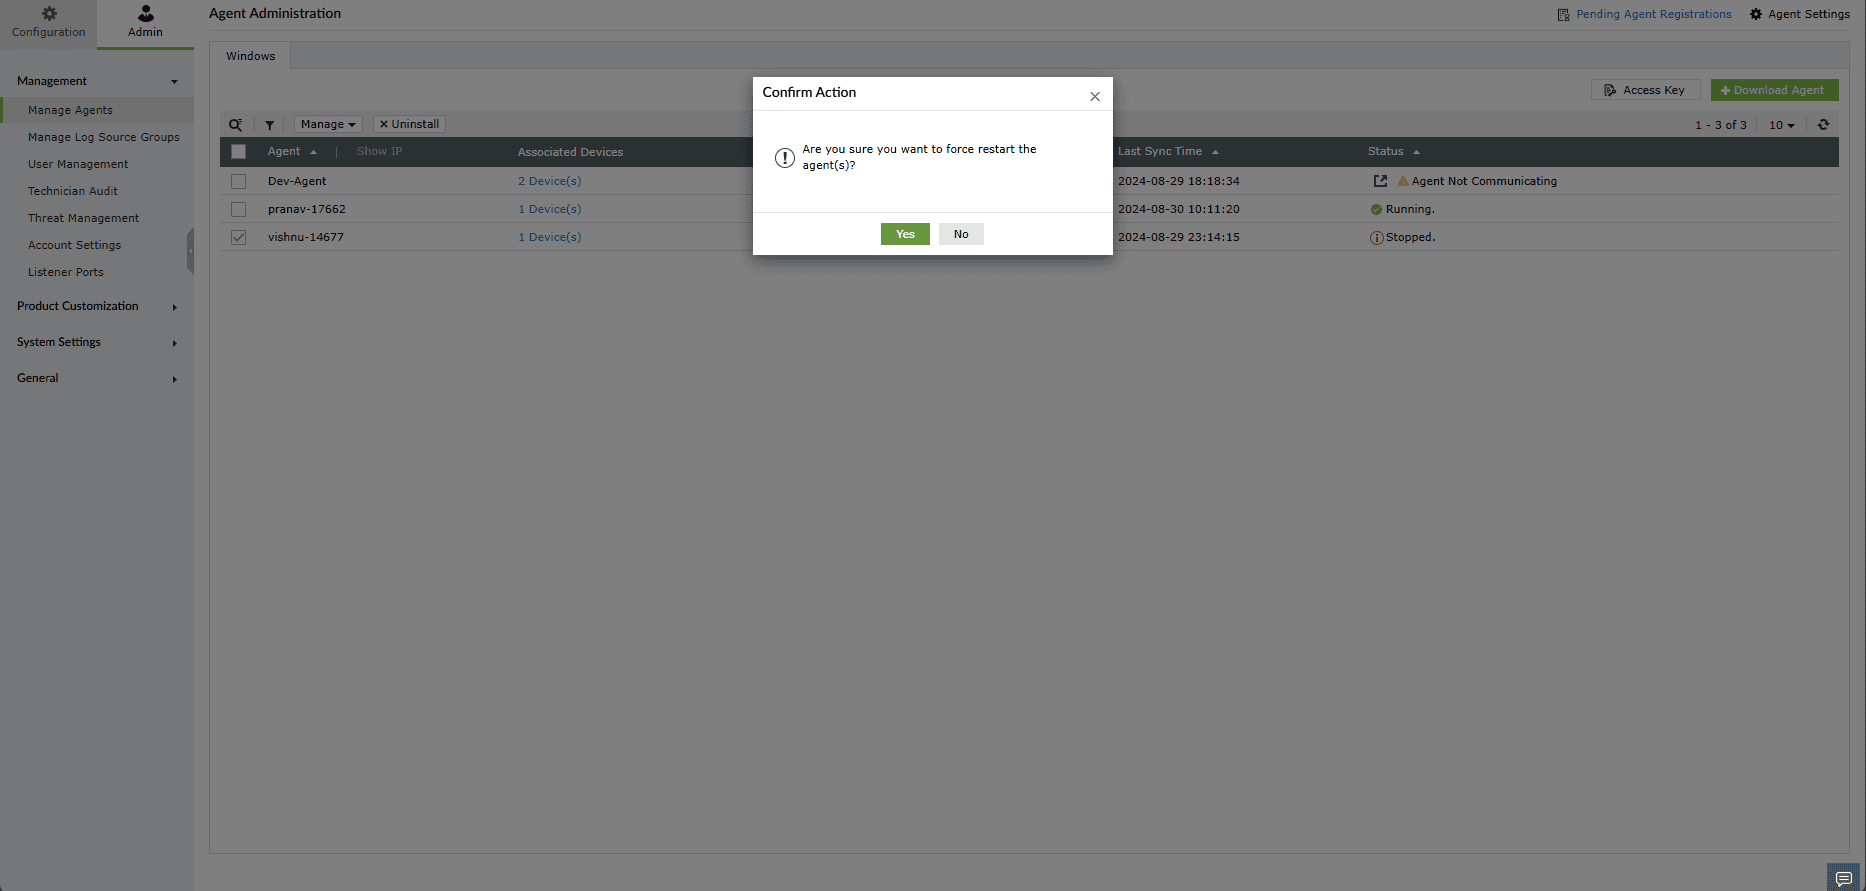
Now the selected agents will be force restarted.
Associate devices to an agent
To associate devices to an agent, follow the steps given below.
- Open Log360 Cloud and select the Settings tab.
- Navigate to Admin > Management > Manage Agents.
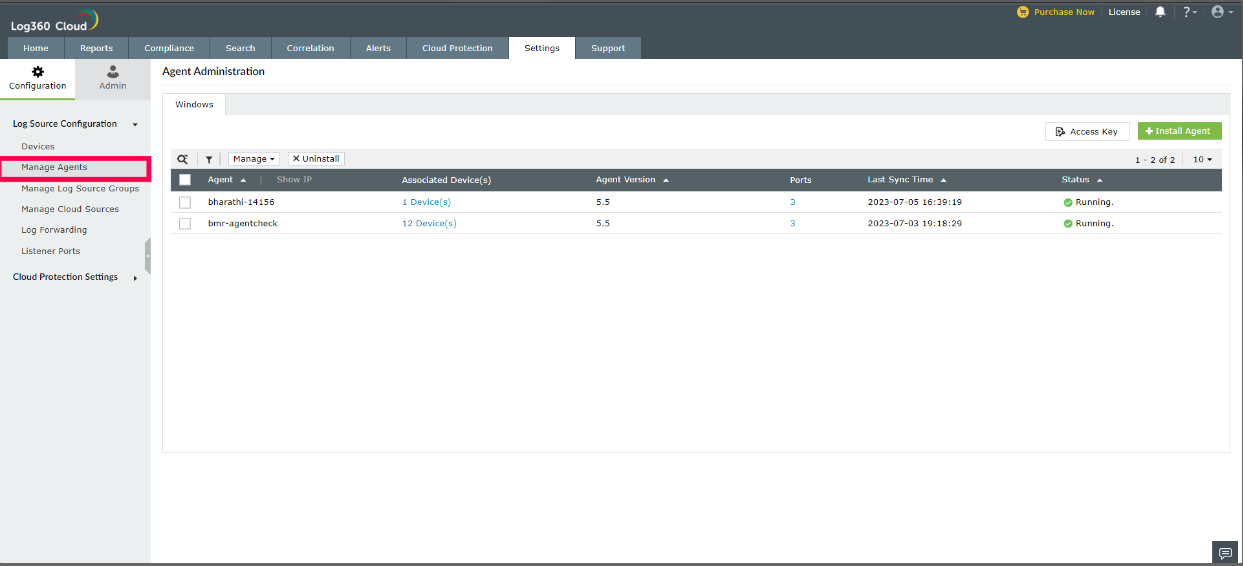
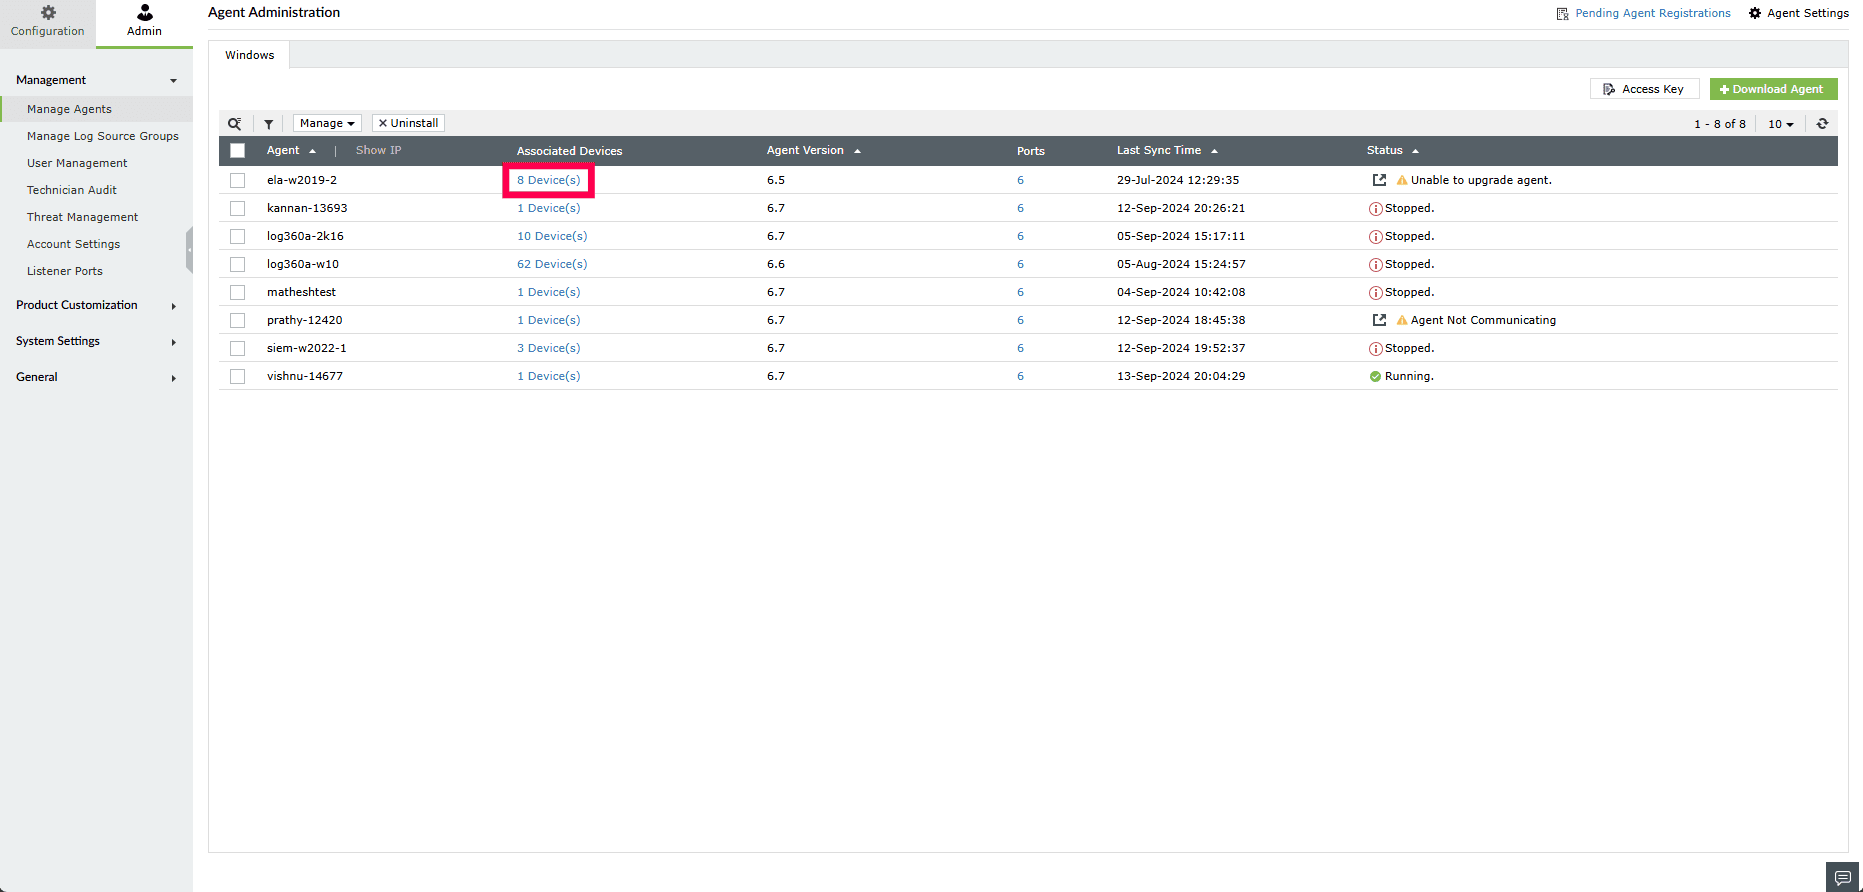
- Click on the Associated Device(s) column of the desired agent.
- Now a window pops-up displaying all the devices associated to the agent.
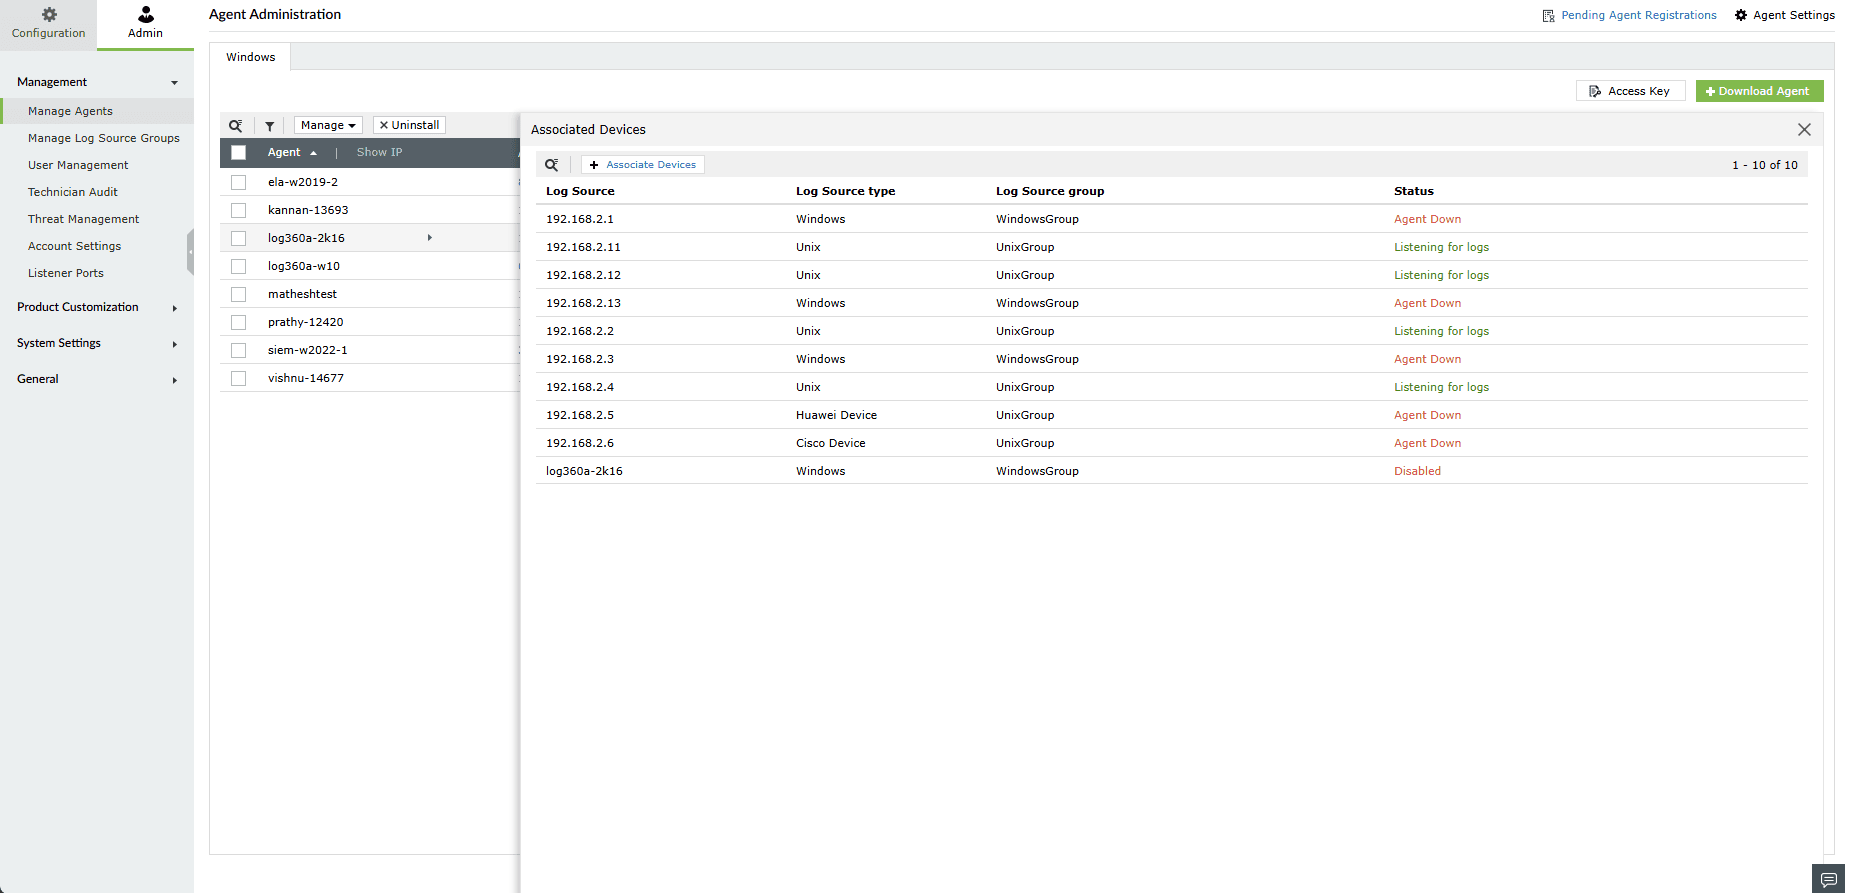
- To delete a device, click on the
 icon that will be displayed when you hover over a device. Then, click Yes to confirm the action.
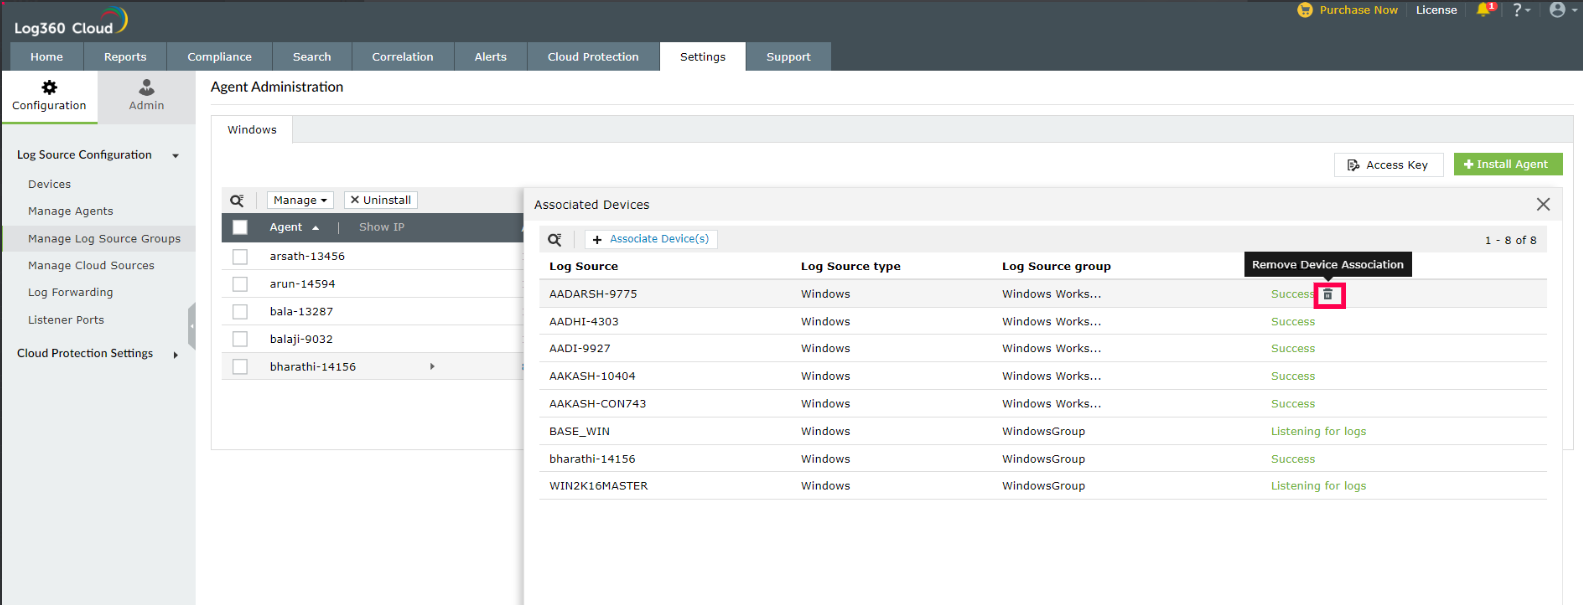
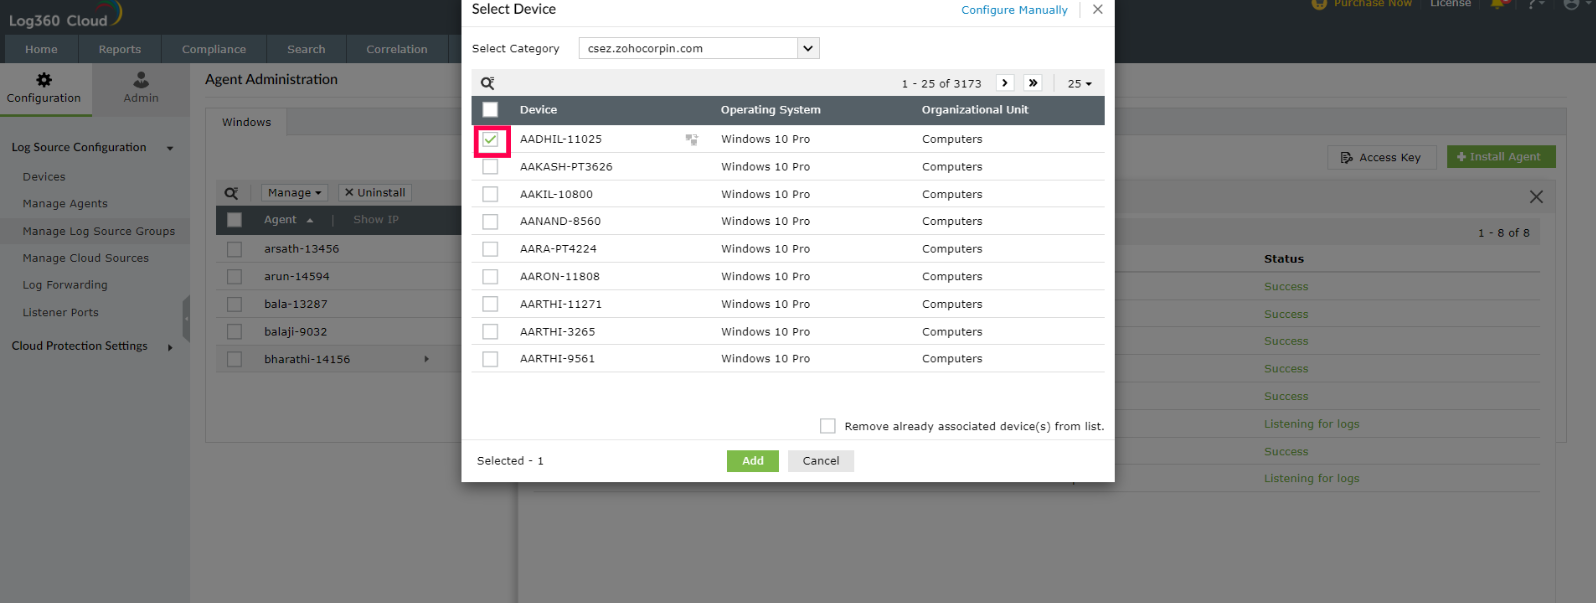
- To add a device, click on the + Associate Device(s) button on the top of the pop-up window. In the window that appears, select the desired devices by ticking the corresponding boxes. Then click Add.
Stop an agent
To stop an agent from running, follow the steps given below.
- Open Log360 Cloud and select the Settings tab.
- Navigate to Admin > Management > Manage Agents.
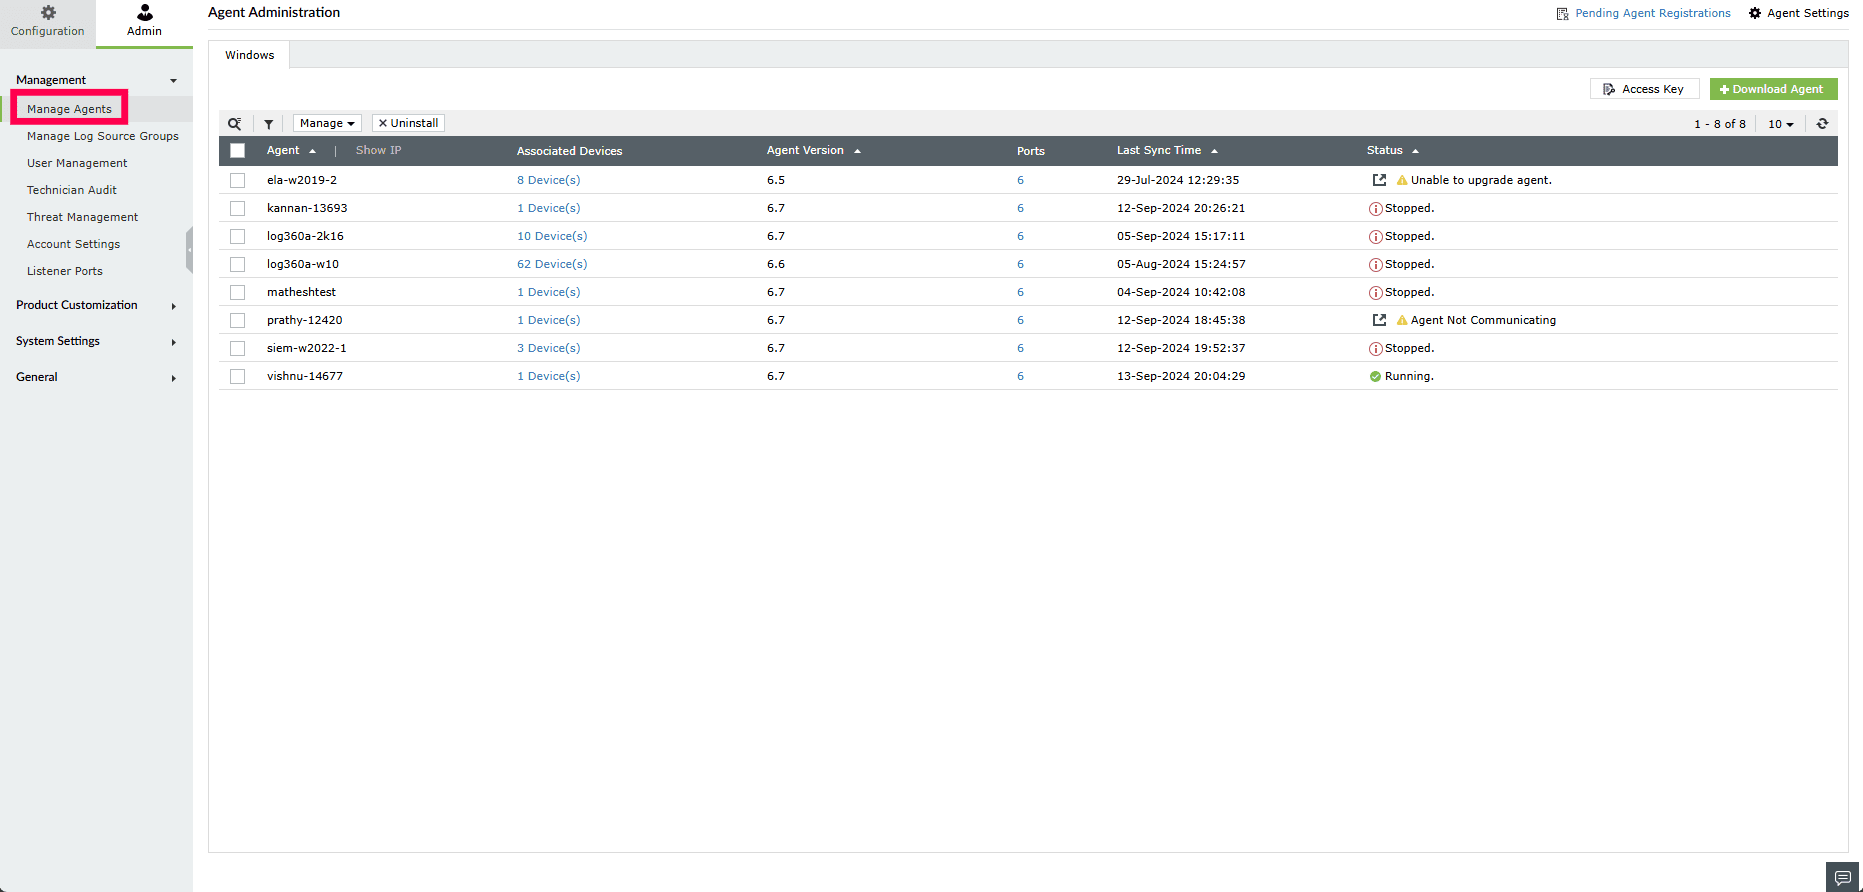
- To stop an agent, click on the Stop button that will be displayed when you hover over an agent's status column.
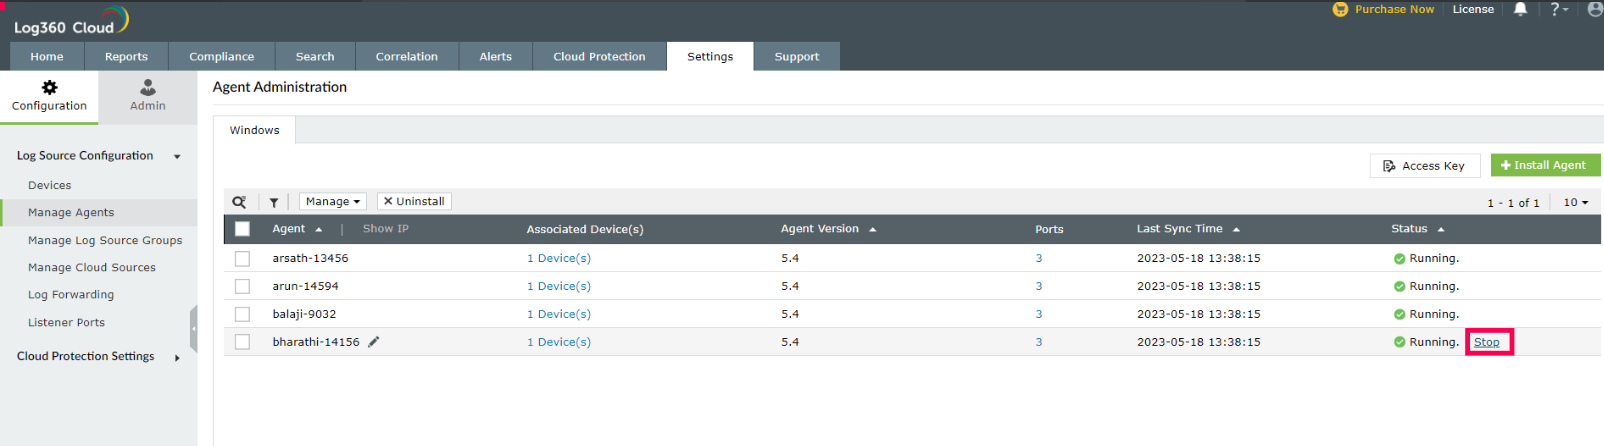
Now, the agent has stopped successfully.