Smartcard authentication
Last updated on:
In this page
Overview
Smart card authentication adds an extra layer of login security by requiring both the card and its PIN. Certificates are mapped to LDAP attributes for seamless user verification across domains. This section covers prerequisites, configuration, and management actions.
Smartcard Authentication
If you have a smart card authentication system enabled in your environment, you can configure the product to authenticate users through it, bypassing other first factor authentication methods.
What is smartcard authentication?
- This feature provides an additional authentication option by enabling the use of smart cards/PKI/certificates to grant access to the tool.
- It strengthens the security further because getting access to the product shall then require the user to possess the smart card and know the personal identification number (PIN) as well.
How does this authentication work?
- When a user attempts to access the product's web-interface, they would be allowed to proceed further only after completing smart card authentication in the machine, i.e., by presenting the smart card and subsequently entering the PIN.
- The web-interface supplements smart card technology with SSL communication. So, the user is prompted to specify the X.509 certificate for getting access.
- Users can choose to provide the certificate from the smart card or the local certificate store, in which case the product performs the steps to authenticate the user with the certificate.
- The users can also choose to decline providing the certificate, and the tool takes them to the usual login page for authentication.
Steps to configure smartcard authentication settings:
In the product, navigate to the Smart Card Authentication sub-tab as shown in the below image.
Configuring smartcard authentication
Phase 1: Enable SSL Port
SSL (Secure Sockets Layer) port must be enabled for configuring smart card authentication settings. To configure the SSL connection settings read Connection Settings.
Phase 2: Access smartcard authentication settings
- Navigate to the Smart Card Authentication module in the product console.
- Click on the + Add a New Smartcard button located at the top-right corner of the screen.

NOTE The option to add/manage Smartcard(s) will be available only when it is successfully configured first.
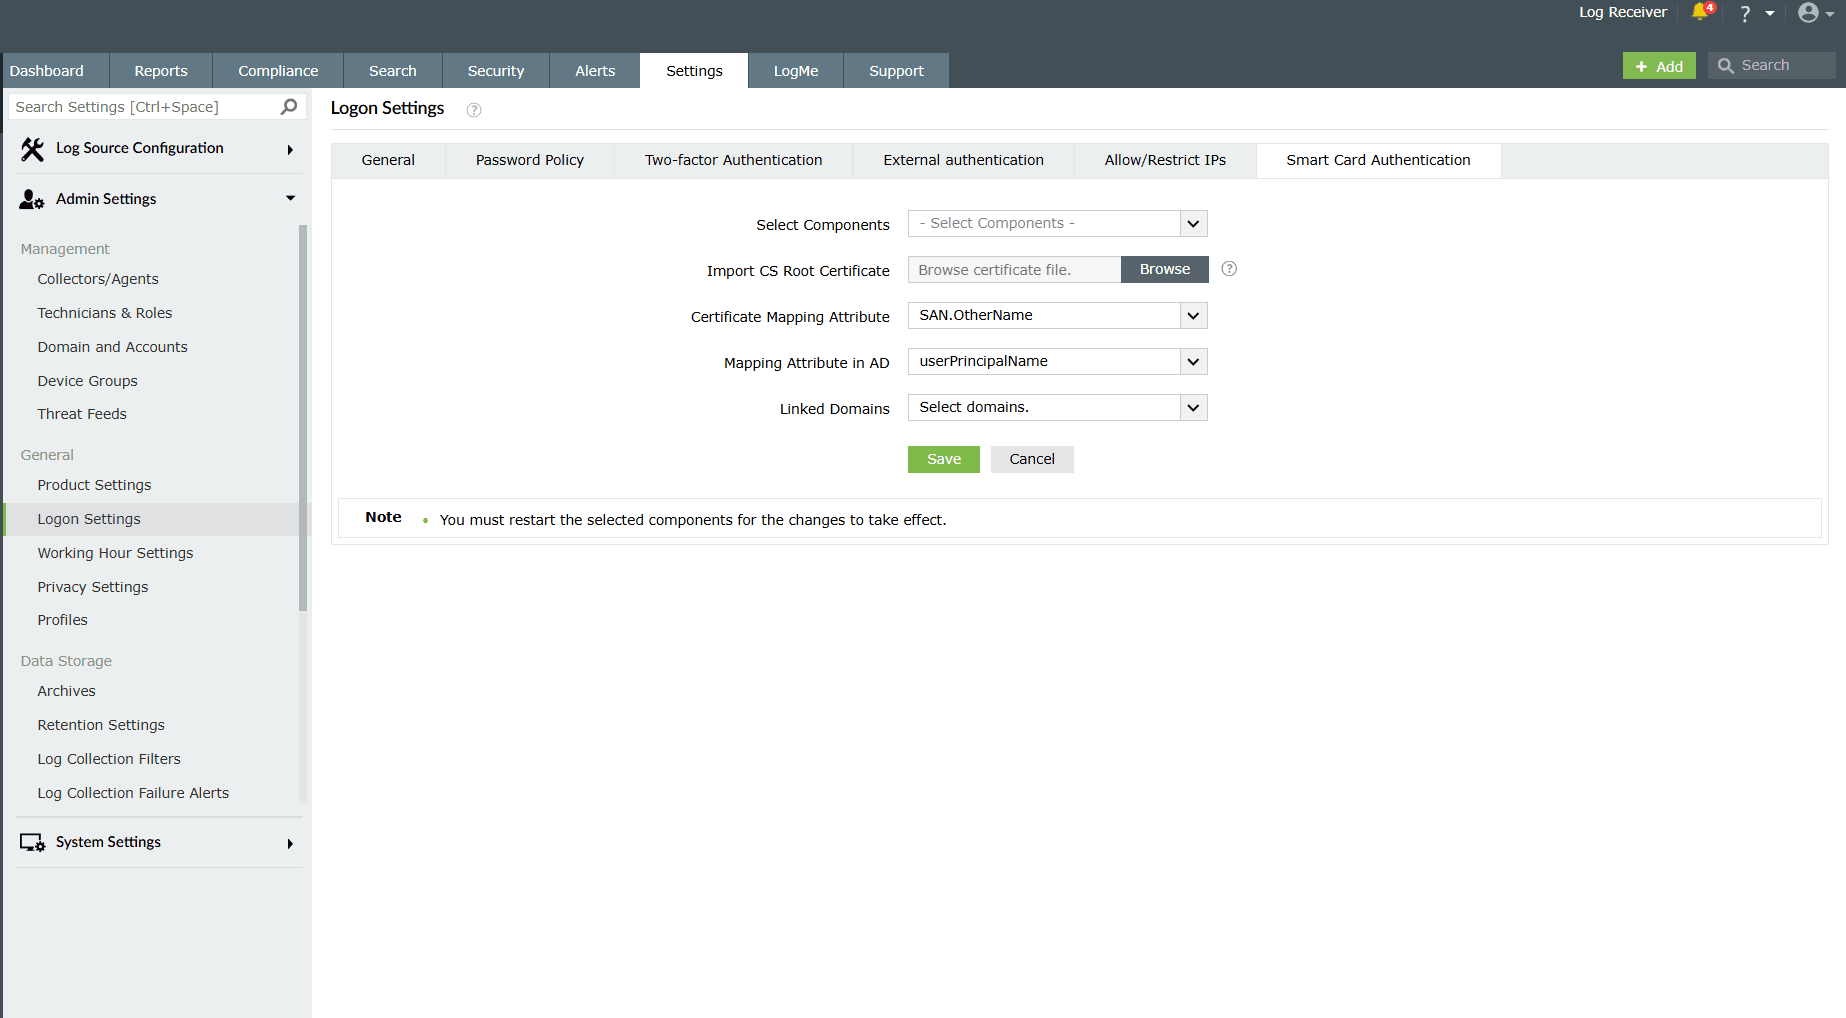
Phase 3: Import the CA Root Certificate
- To verify smart card certificates, the product must trust the issuing Certificate Authority (CA).
- In the Import CA Root Certification field, click on Browse and select the CA root certificate file from your computer.
- You can download the CA root certificate from your CA server from:http://CertificateAuthorityServerName/certsrv/
Phase 4: Configure mapping attributes
Mapping attribute in certificate
- In the Certificate Mapping Attribute field, specify the certificate attribute for mapping.
- The user details need to be mapped between the smart card certificate and the product's database. This denotes that the attribute in the smart card certificate that uniquely identifies the user should match with the corresponding value in the product's user database.
- This mapping involves specifying which attribute in the certificate should be taken up for comparison with which attribute in the product's user store. There is a provision for the flexibility to specify any attribute of the smart card certificate that you feel uniquely identifies the user in your environment.
- You may choose any attribute among SAN.OtherName, SAN.RFC822Name, SAN.DirName, SAN.DNSName, SAN.URI, email, distinguishedName and CommonName.
- In case any other attribute is used to identify the user in your environment uniquely, contact support to add that attribute.
Mapping attribute in AD
- In the Mapping Attribute in AD field, specify the LDAP (Lightweight Directory Access Protocol) attribute that should be matched with the specified certificate attribute. Here you need to specify the particular LDAP attribute that uniquely identifies the user in the product's user store, example: sAMAccountName.
- The available attributes are cn, displayName, distinguishedName, employeeID, employeeNumber, givenName, mail, mobile, name, objectGUID, objectSID, sAMAccountName and userPrincipalName.
- During authentication, the product reads the value corresponding to the certificate attribute that you specified in Certificate Mapping Attribute and compares it with the specified LDAP attribute in Mapping Attribute in AD.
Phase 5: Link domains
- In the Linked Domains field, select the appropriate domains from the drop-down menu.
Phase 6: Save settings
- After all configurations are made, click on Save.
- Once saved, smart card authentication will be enabled for the selected domains and user mappings.
- After you have added a smartcard for authentication, you can perform any of the following functions:
- Add a new smartcard
- Edit a configured smartcard
- Enable/Disable a smartcard
- Delete a configured smartcard
Add a new smartcard
- In the product console, navigate to the Settings tab and click on Logon Settings listed under Admin Settings.
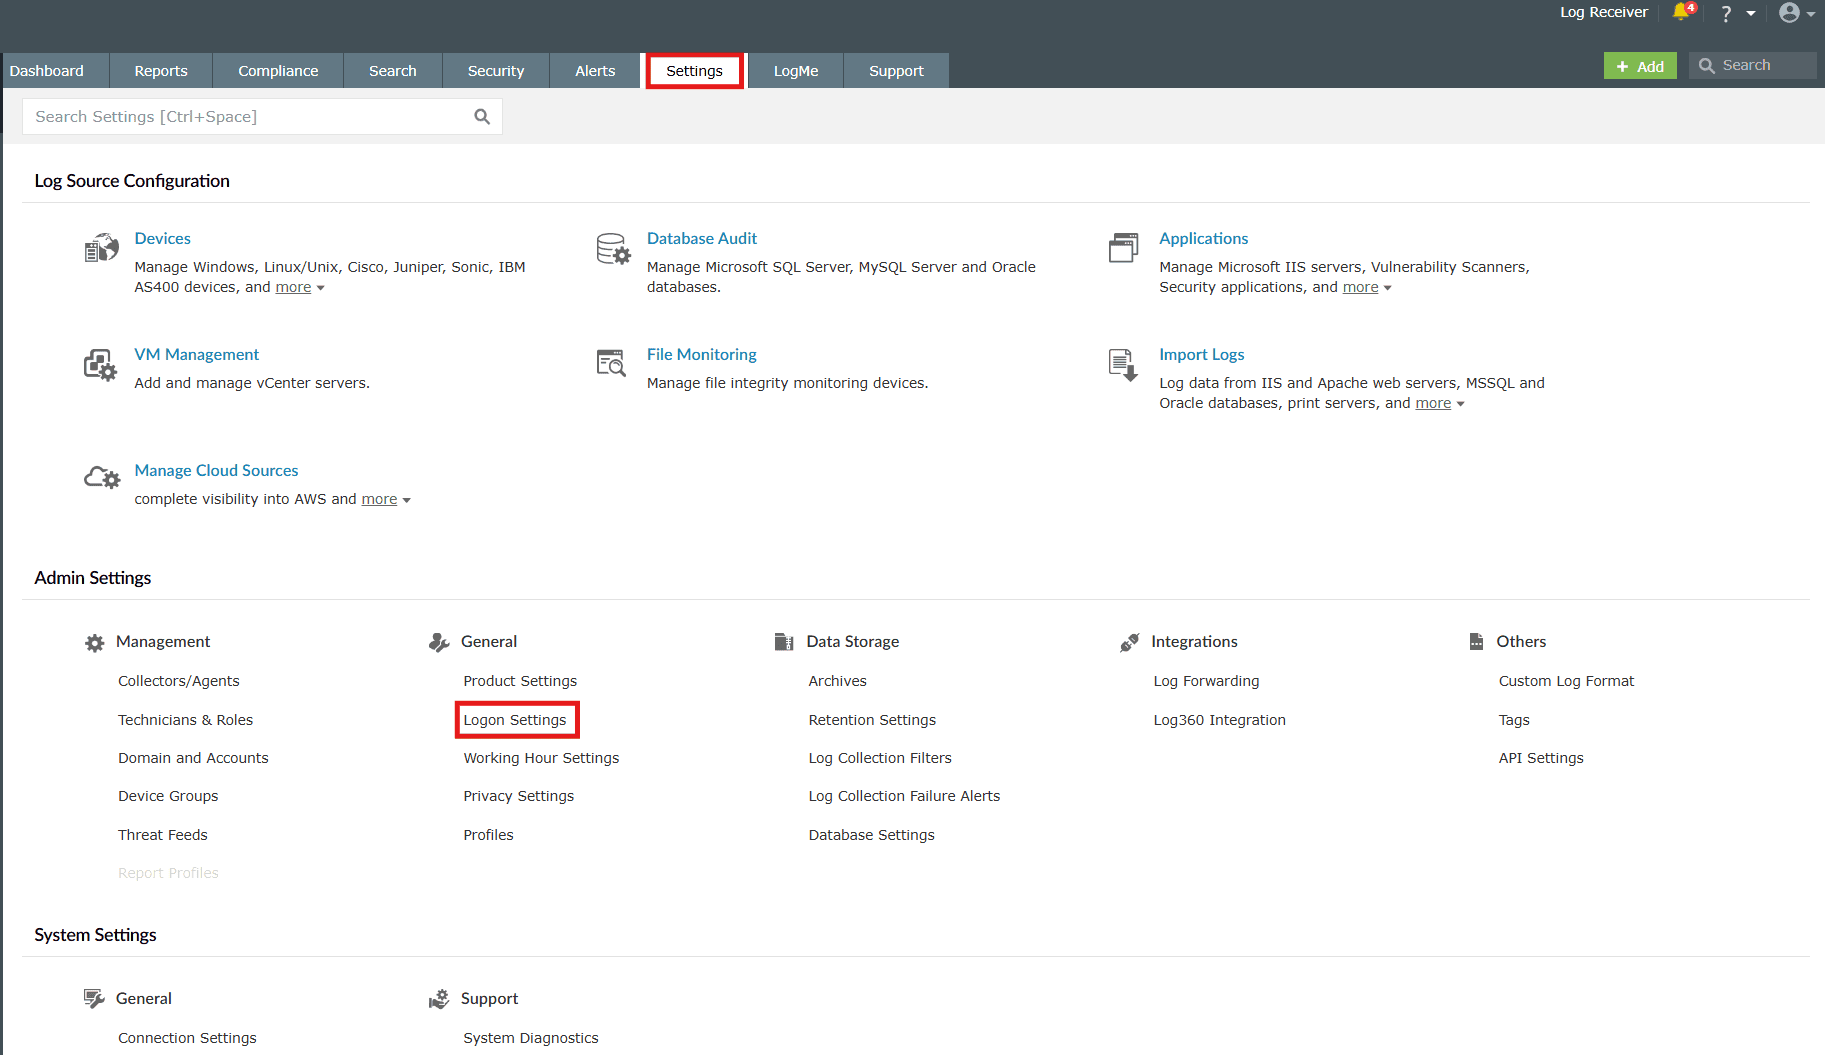
Image 3: Logon settings via settings tab - Select the Smart Card Authentication sub-tab.
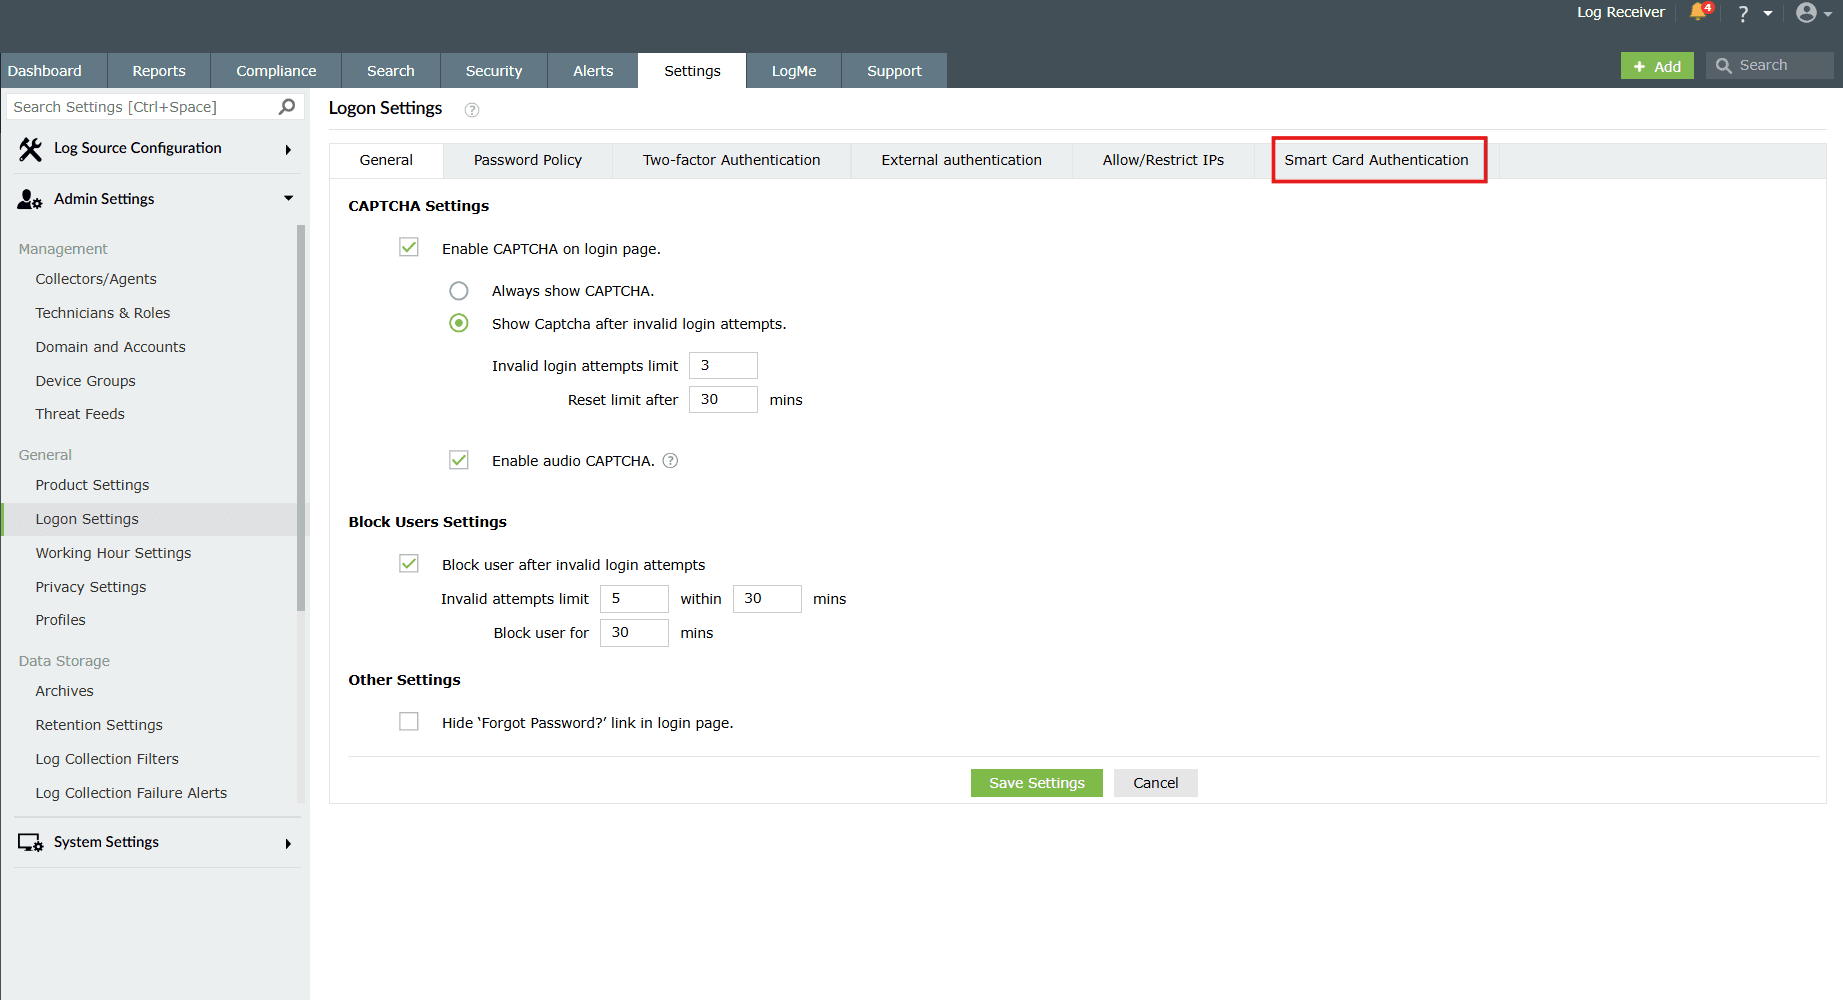
Image 4: Smart card authentication logon settings - Click on the Add a New Smart Card button at the top-right corner of the page.
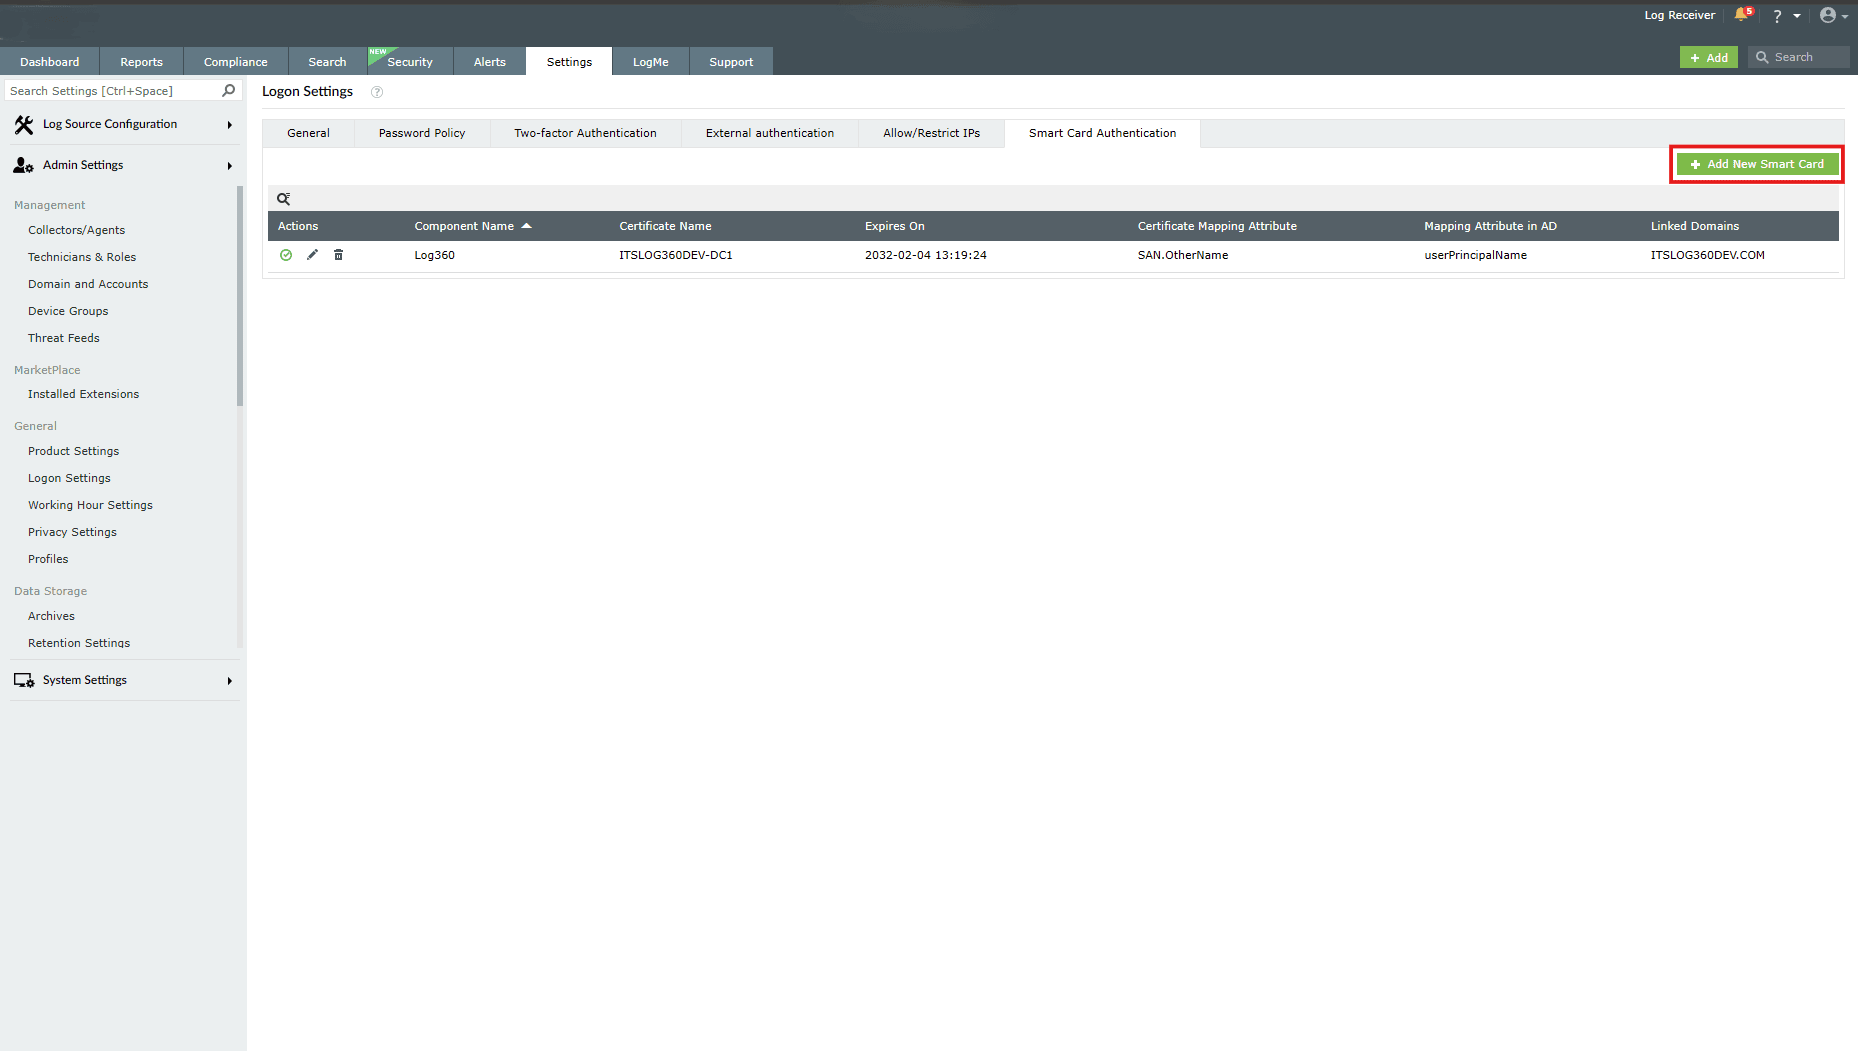
Image 5: Adding new smart card in logon settings - Enter the required details and click Save.
Edit a configured smartcard
- In the Smart Card Authentication sub-tab, locate the smart card you want to edit.
- Click the edit icon
 in the corresponding row.

Image 6: Editing smart card in logon settings - Modify the required settings.
- Click Save.
Enable/Disable a smartcard

Disabling a smartcard
- Click on the currently enabled icon
 under the Actions column to disable the smartcard.
 - As soon as you perform this action, the icon indicates that the smartcard is now disabled
 , and the below pop-up message appears briefly.
Enabling a smartcard
- Click on the currently disabled icon under the Actions column to enable the smartcard.
- As soon as you perform this action, the icon indicates that the smartcard is now enabled , and the below pop-up message appears briefly.
Delete a configured smartcard

- In the Smart Card Authentication sub-tab, locate the smartcard you want to delete.
- Click the delete icon in the corresponding row.
- Click Yes to confirm the deletion.
Read also
This document explained how to configure and manage smartcard authentication, including adding, editing, enabling, disabling, and deleting smartcards. For more information on related authentication and access control settings, refer to the following help documents: