Managing compliance schedulers
Last updated on:
In this page
Overview
This page describes how to manage existing compliance report schedules in the product console. You can search for specific schedules, update their configurations, enable or disable them, or delete schedules as needed. These actions ensure that your compliance reporting workflows remain accurate and relevant to your operational needs.
Searching compliance schedulers
- In the Schedule Compliance page, click the
 icon in the top-left corner to find a schedule by its name.
Editing compliance schedulers
- Click the
 icon next to the schedule you want to update.
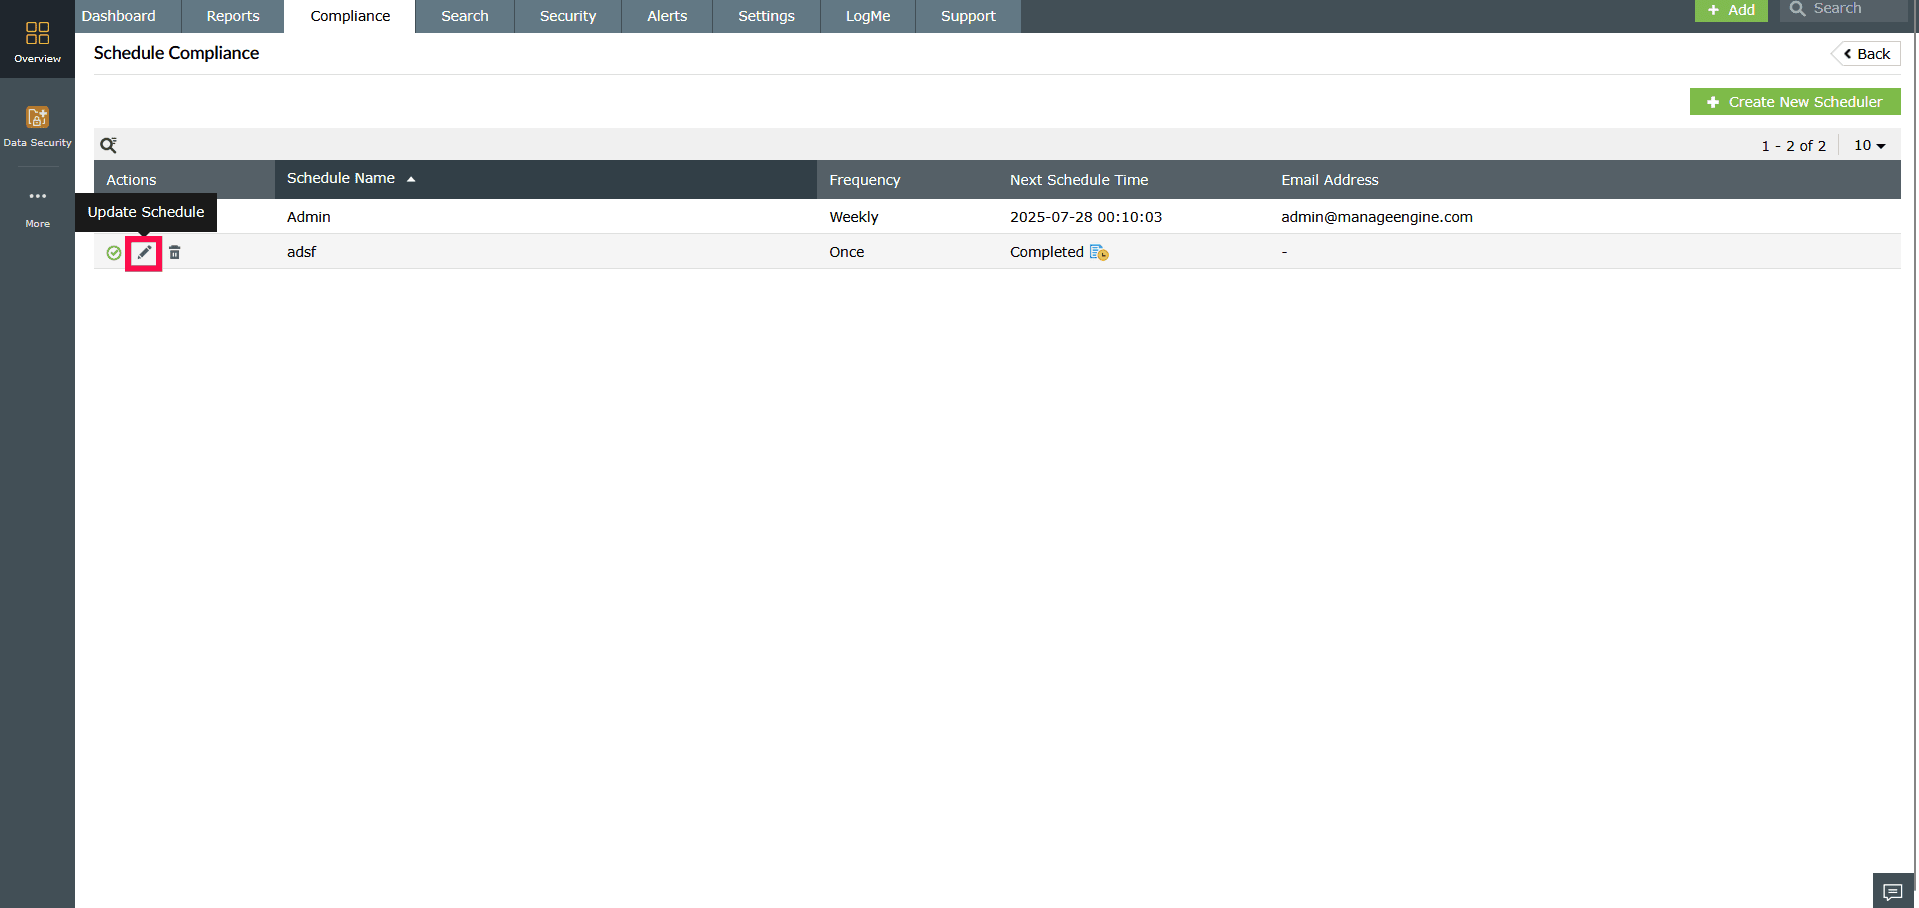
Figure 1: Editing a compliance scheduler - In the Edit Compliance Schedule window, make the required changes to the scheduler’s configuration.
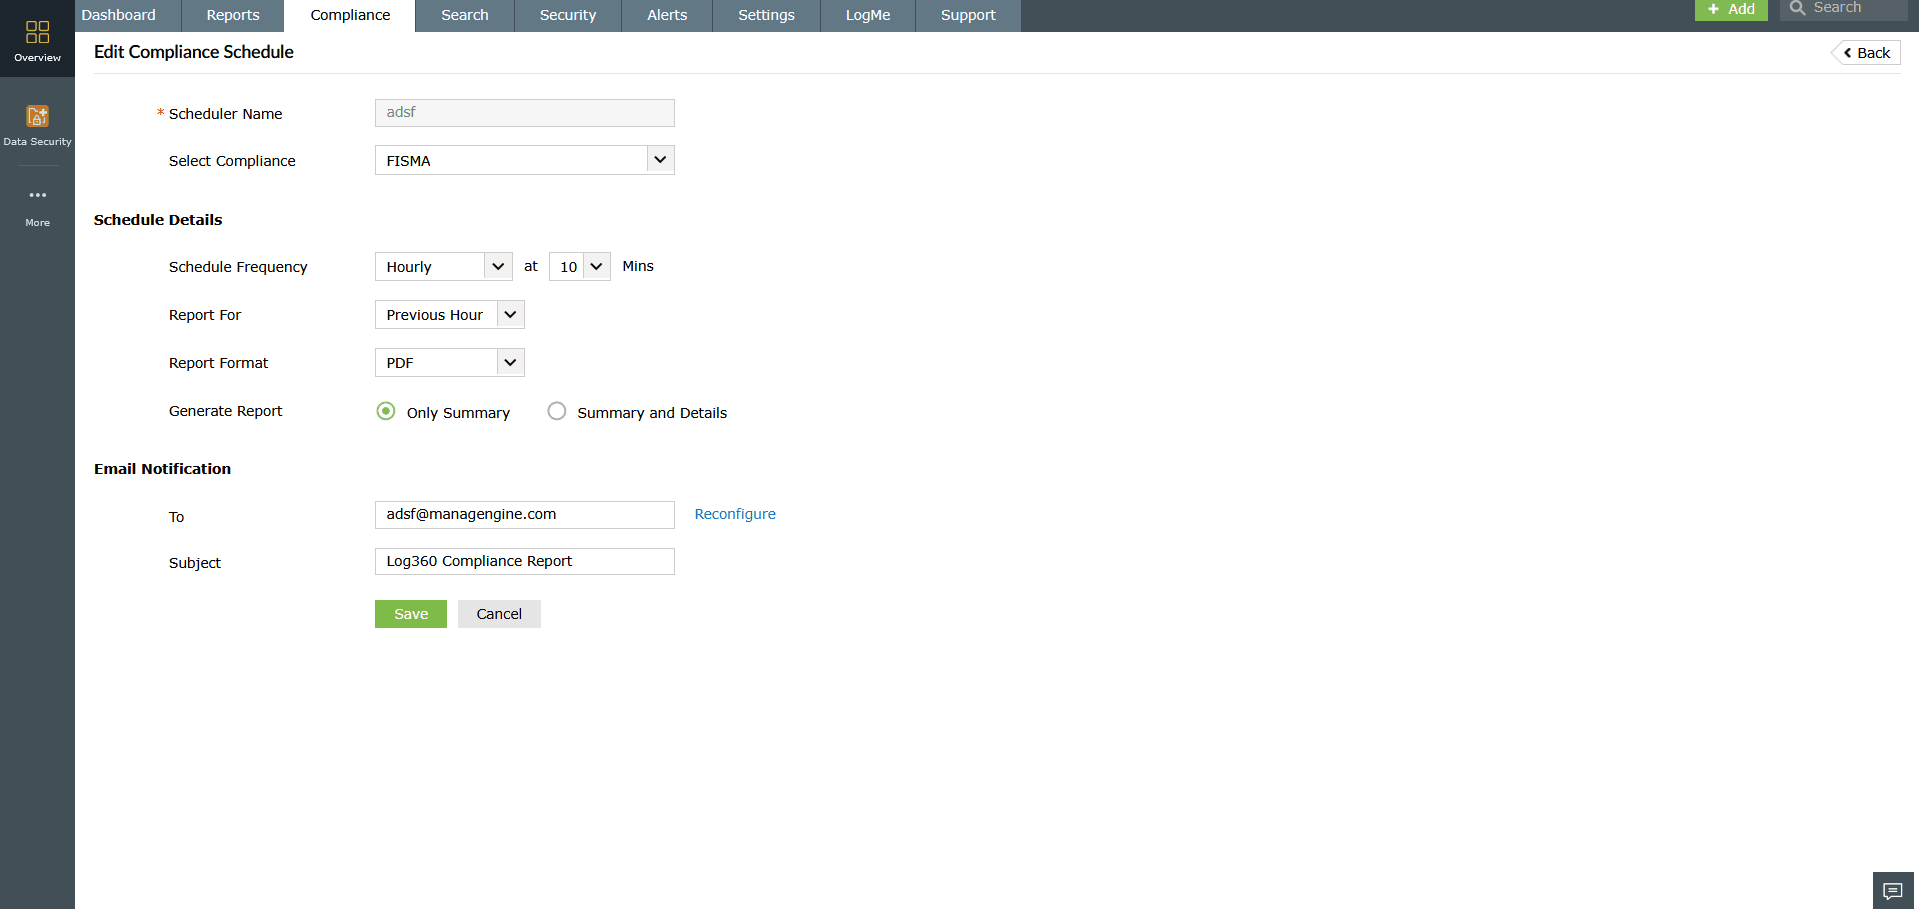
Figure 2: Editing a compliance scheduler - Click Save to apply the updates.

Figure 3: Editing a compliance scheduler - Hover over the Next Schedule Time timestamp to view the
 icon.
icon.
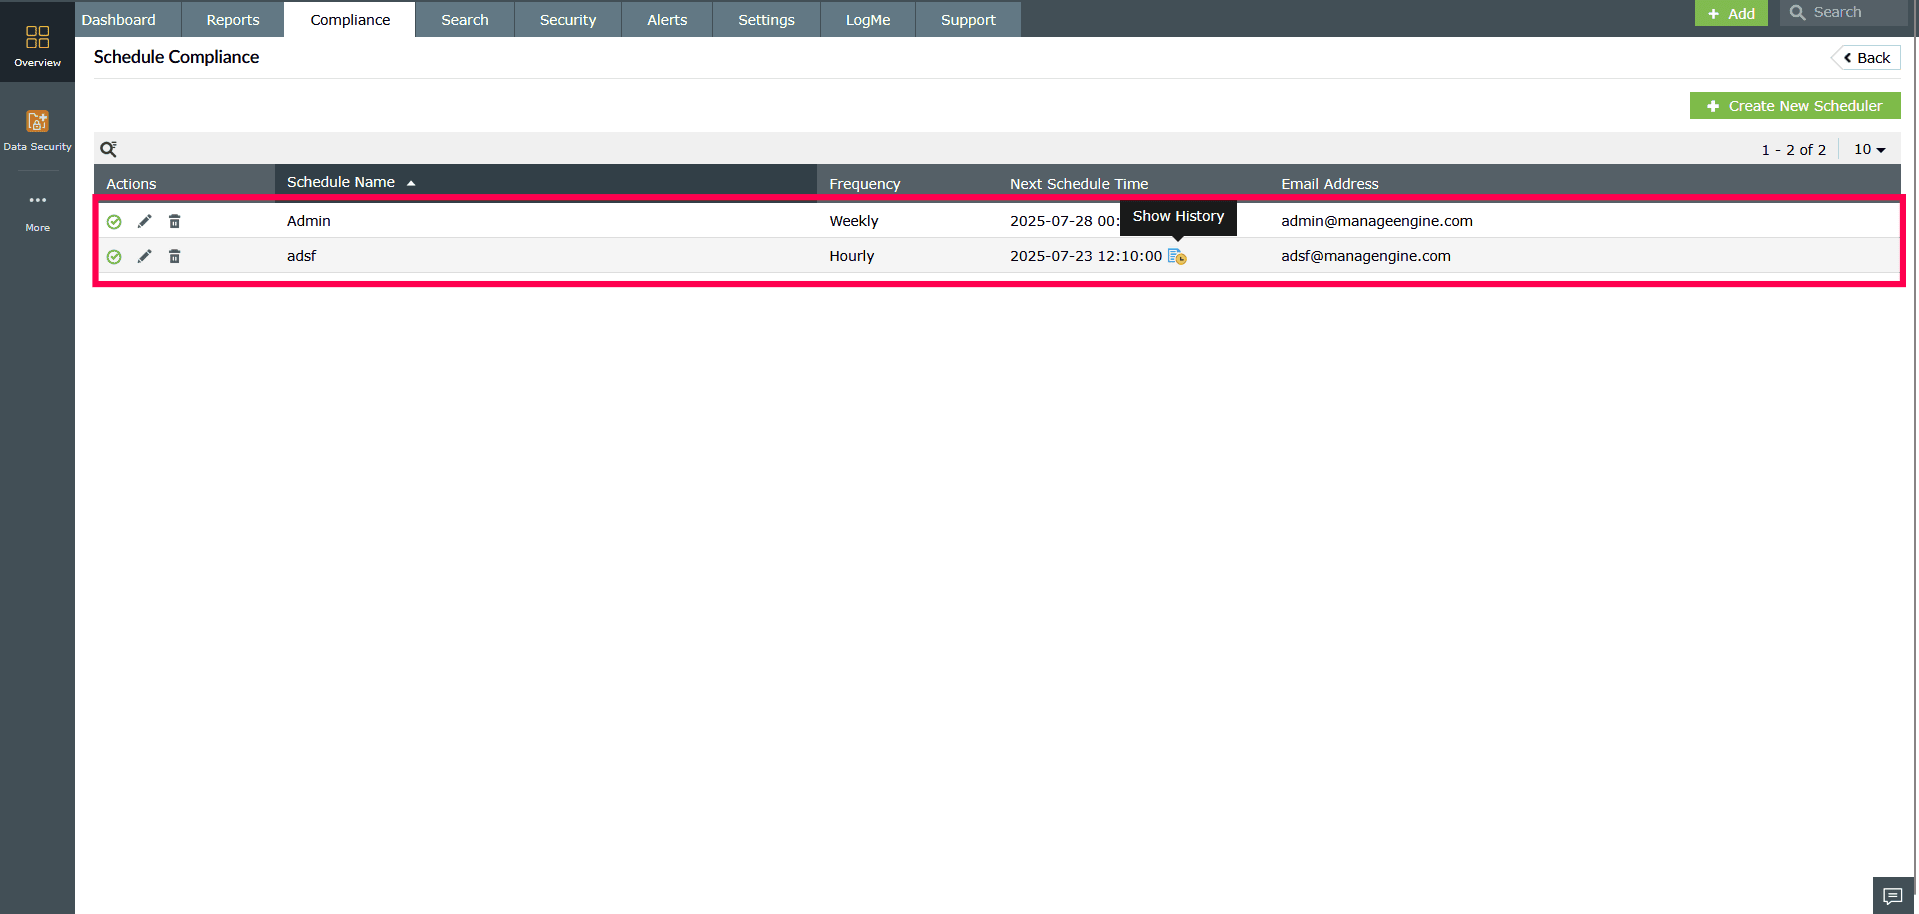
Figure 4: Accessing Show History - Clicking this icon displays a list of previously generated compliance reports along with their download links.
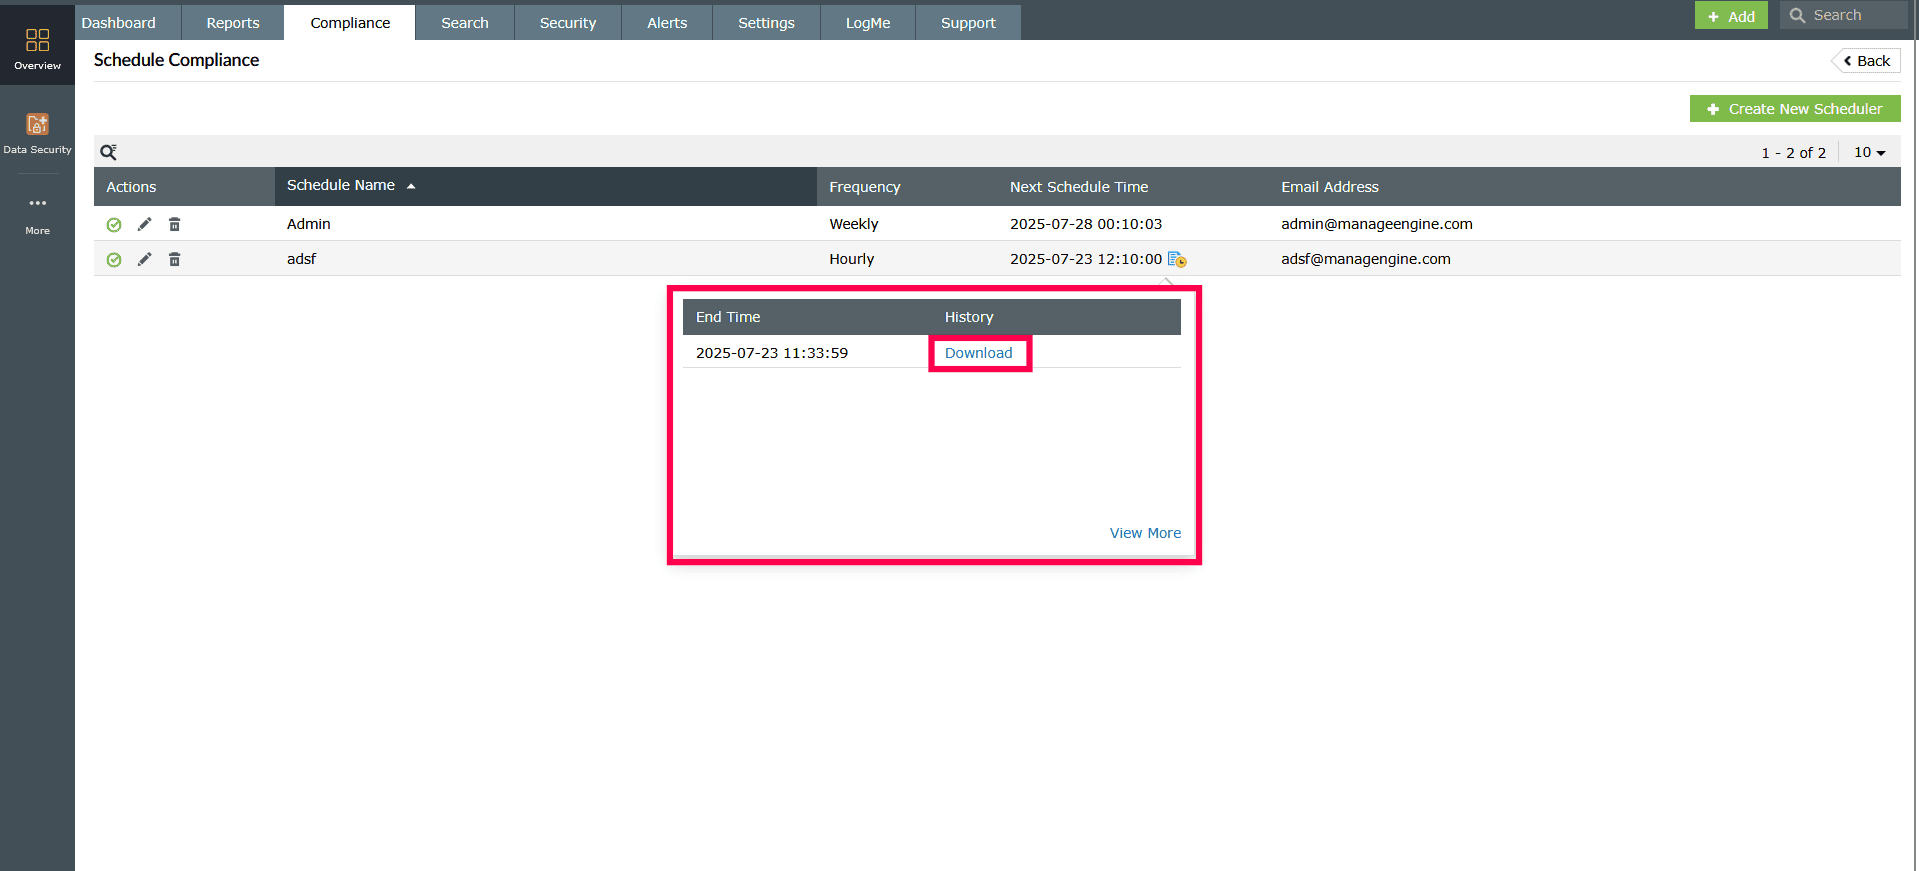
Figure 5: Downloading compliance reports - You can also click View More to see the complete history.
Enabling or disabling compliance schedulers
- In the Schedule Compliance page, locate the relevant scheduler.
- Click the
 icon to disable the schedule.
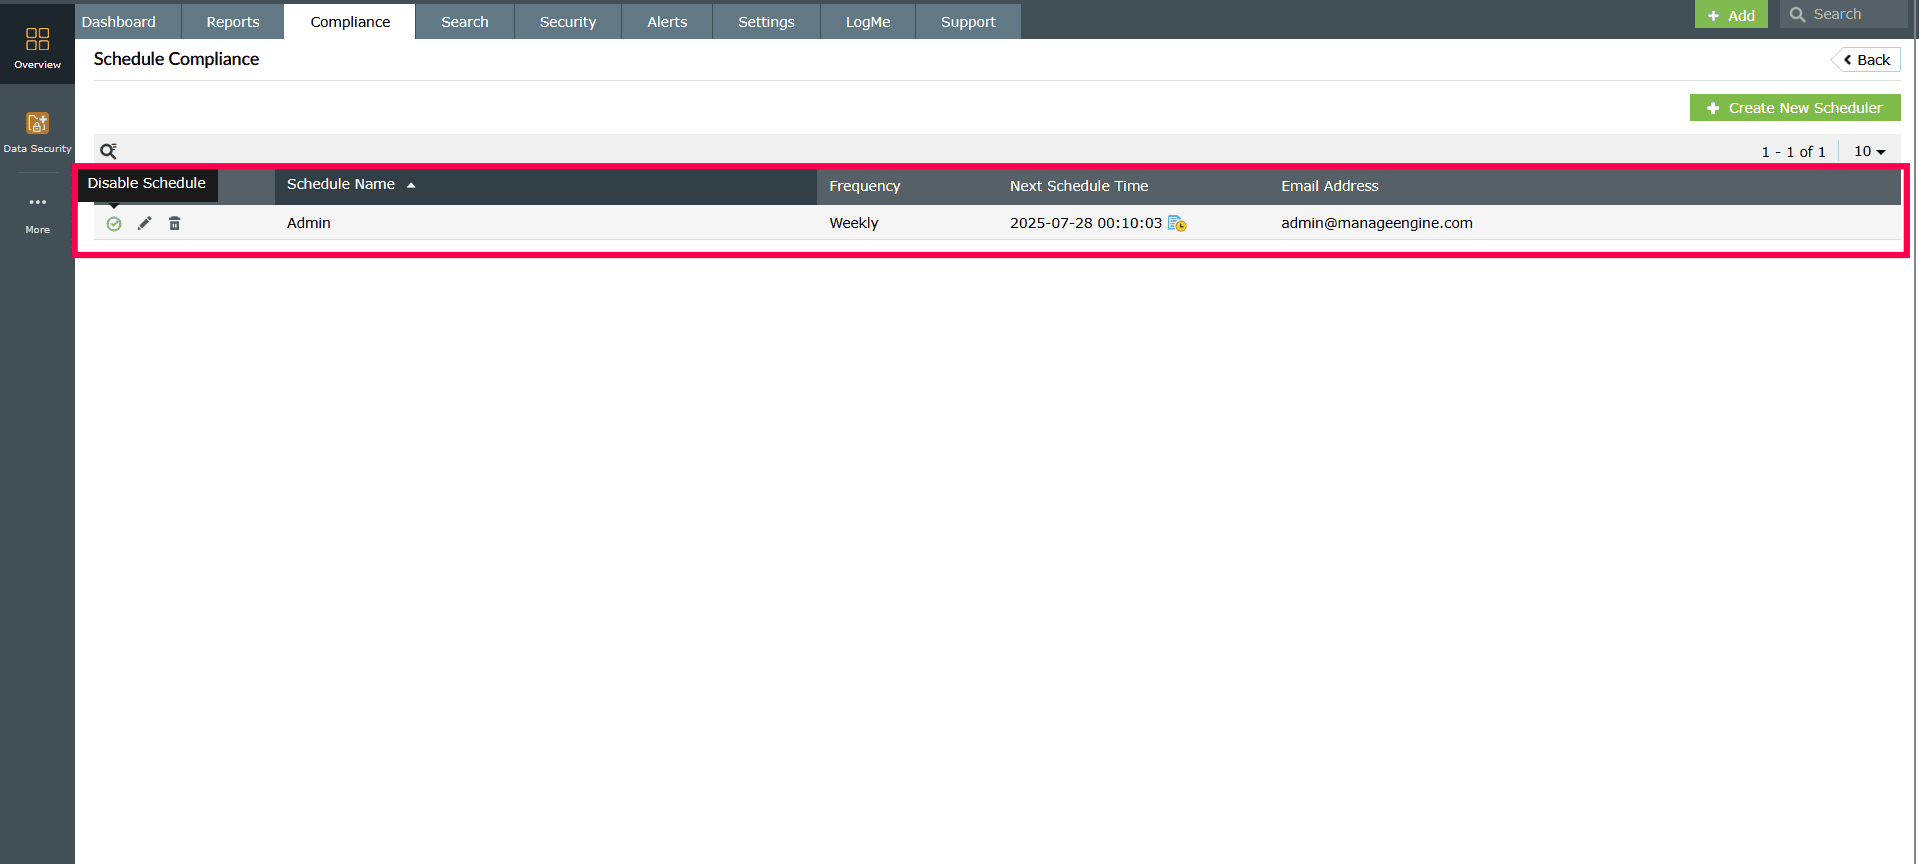
Figure 6: Disabling a compliance scheduler - Click the
 icon to re-enable the scheduler.
Deleting compliance schedulers
- Click the
 icon next to the schedule you want to remove.
 - In the confirmation dialog, click Yes to confirm and permanently delete the schedule.
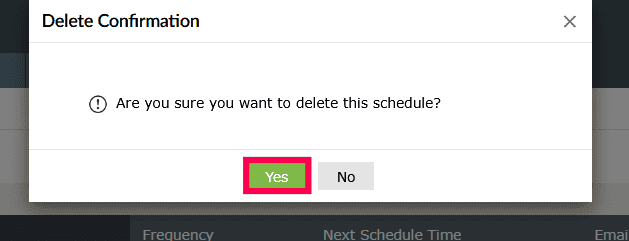
Figure 5: Deleting a compliance scheduler
Read also
This page detailed how to manage compliance schedulers, including searching, editing, enabling/disabling, and deleting schedules. To learn how to configure and schedule compliance reports, refer to the following articles:
- Configuring custom compliance reports
- Scheduling compliance reports