We will send the download link to the registered email ID shortly.
Risky sign-ins are usually performed by someone who is not the owner of a particular account. More often than not, it is an indication of a compromised user account and could pose a serious threat to the security and confidentiality of your organization. If the user accounts from which risky sign-ins occur are not monitored, your organization could end up losing business-critical data to intruders.
Azure Active Directory displays details about risky sign-ins to your Microsoft 365 tenant under Security > Risky Sign-ins, but there are no options or filters to scrutinize the data further to narrow down the malicious sign-ins.
M365 Security Plus offers geolocation and client IP filtering options for audit reports and alert triggers. For actions such as login, password change, and user account creation, these filters allow you to find the country from which the operation was performed based on the IP address of the device. By combining these filters with the Business Hours settings, you can scrutinize the logon activity further by checking if the sign-in happened during the designated time or not.
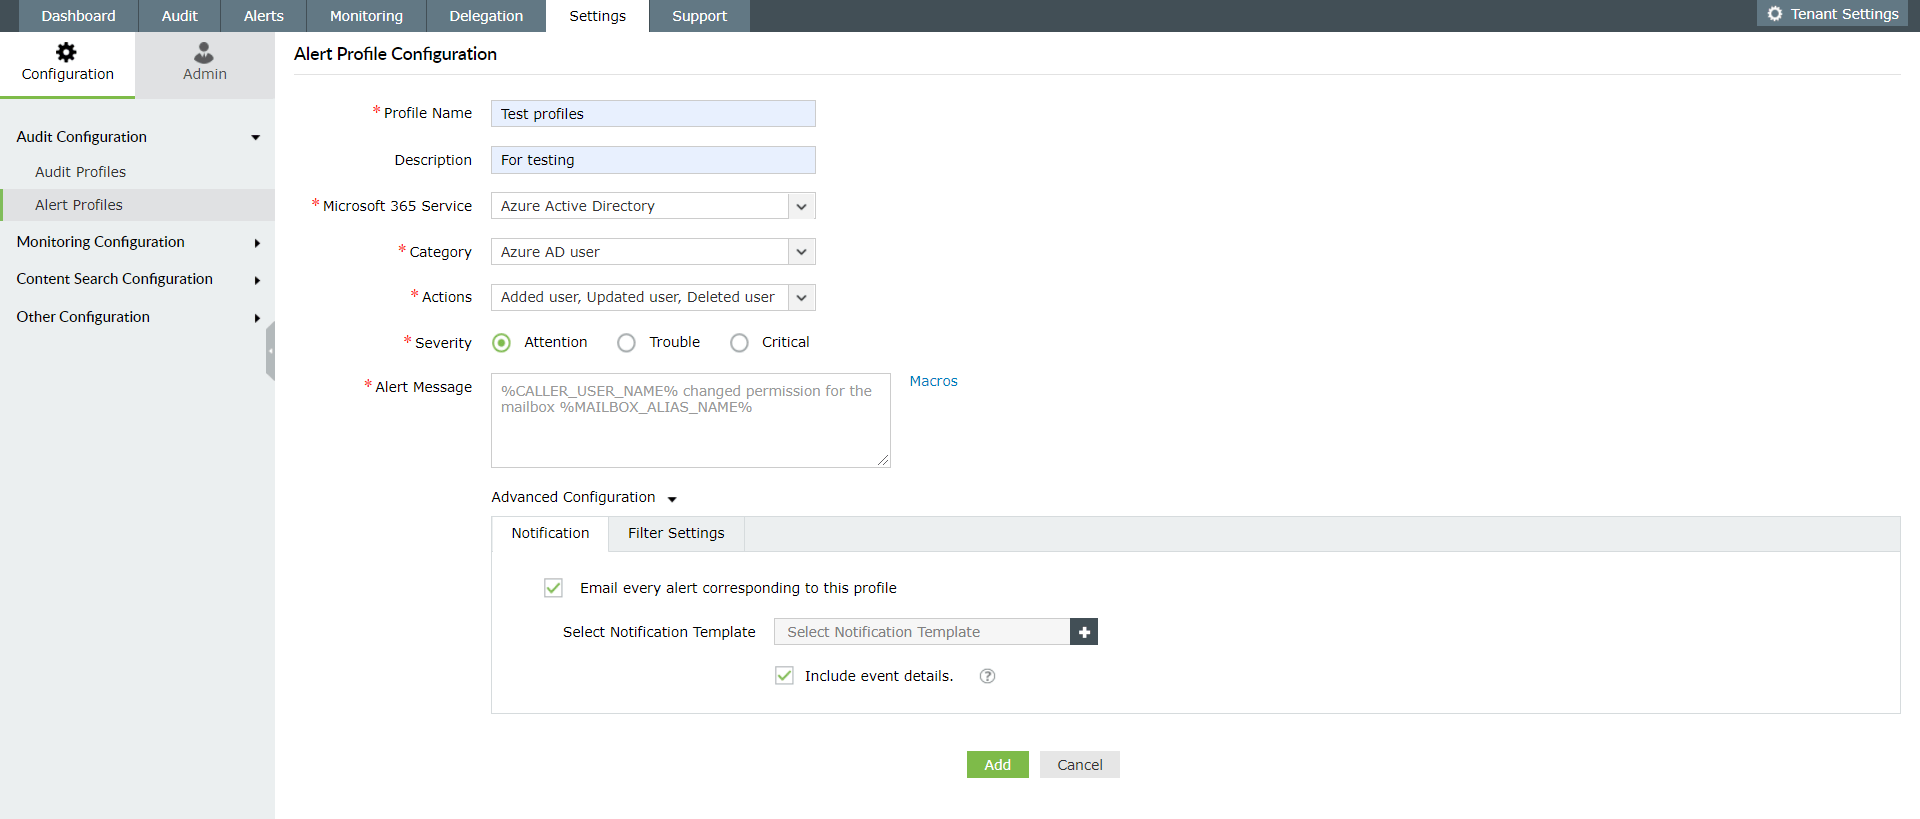
Follow the steps below to create an alert profile that will raise an alarm if the chosen actions are performed outside the set business hours and countries.
While manually generating audit or alert reports (under Auditing & Monitoring > Audit or Alerts tabs), you can use the Client IP filter to generate alerts as you desire. By filtering client IPs, you can find out about activities done outside your organization’s network or your trusted IP ranges. You may also choose to block or trust IPs based on the data you get. Or, to get a custom view of country-wise traffic, you can use the Create New View option available in the top-right corner of the audit reports. Enter a suitable name for the custom report, and in Summary Based On section, select Country.
To find out more about how M365 Security Plus is a great tool for monitoring and securing your Microsoft 365 tenant, click here.