Integrating OpManager with Jira Service Management(Cloud)
OpManager now integrates with Jira Service Management Cloud, streamlining IT service management alongside network monitoring. With this integration, alerts raised in OpManager are automatically converted into issues in Jira. In the cloud, users can create projects and manage issues within them easily, making service management more efficient. To configure and integrate Jira, follow the steps below.
- Configuring in Jira service management(cloud)
- Configuring Jira Service Management(cloud) in OpManager
- Configuring Notification Profiles
- Configuring Notification Templates
Configuring in Jira service management(cloud)
To integrate OpManager with Jira service management(cloud), an API token must be generated and configured in Jira settings.
- Login to your Jira account, go to Jira Service Management.
- Under Projects, either you can create a project or use an existing one.
OpManager communicates with Jira service management(cloud) using API token, hence you have to generate an API token.
Follow the steps below to generate an API token.
- In the Jira UI, Click on your account icon on the top-right of the page.
- Go to Account Settings -> Security ->API tokens -> Create and Manage API tokens.
- Verify your account with the verification code.
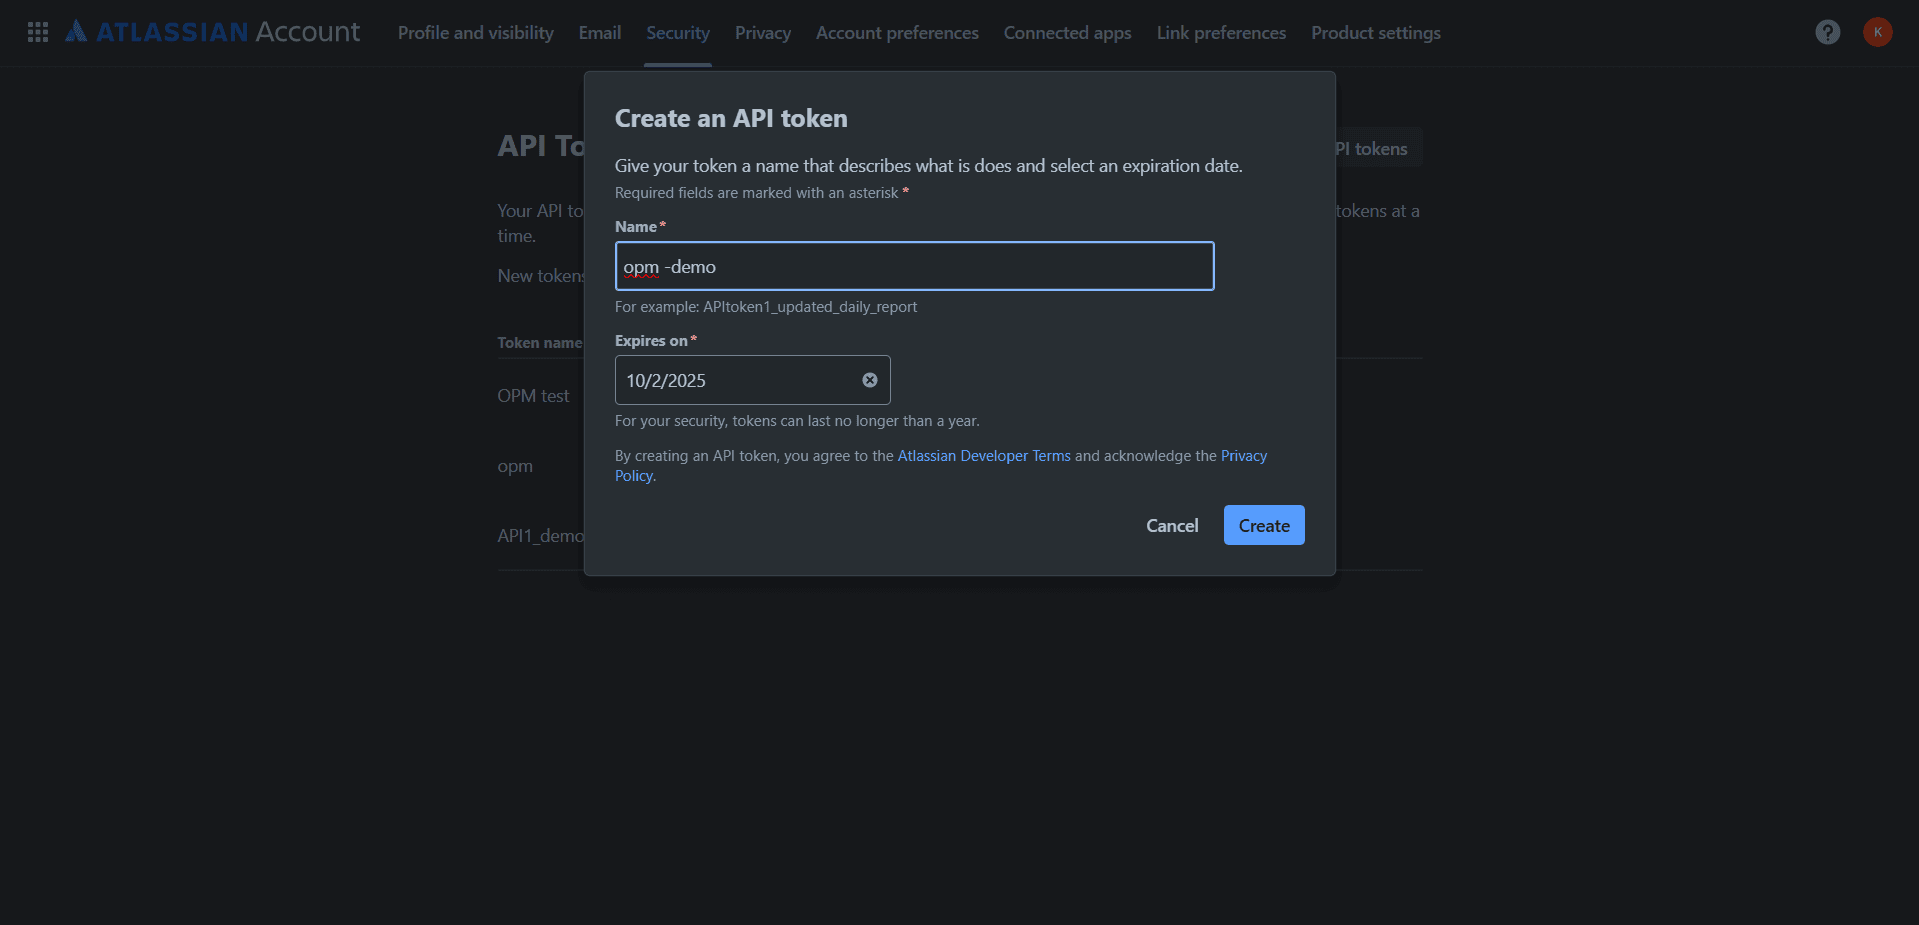
- Go to Create API token, provide a name and expiry date and click create.
- Copy the provided API token.
Configuring Jira Service Management(Cloud) in OpManager
After generating the API token, follow the steps provided below to complete the integration in OpManager.
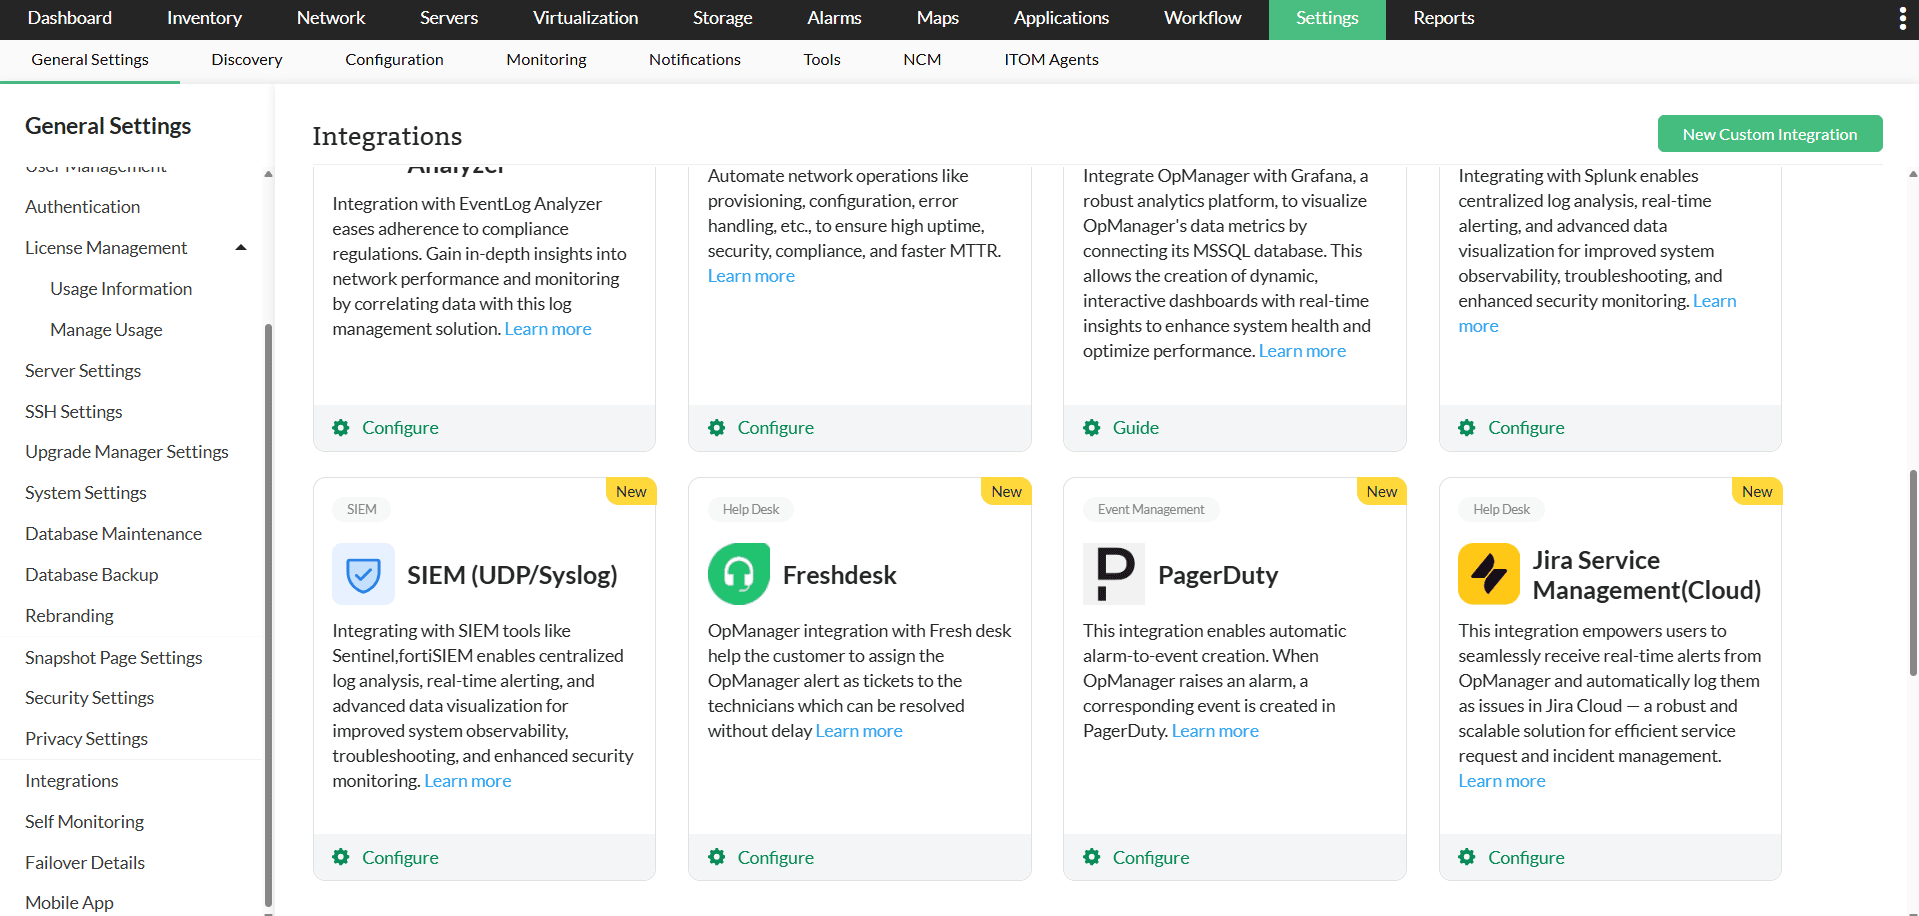
- In OpManager, Go to Settings -> General Settings -> Integrations -> Jira Service Management(Cloud) -> Configure.
- Enter the Jira Instance URL and your login mail id as the Username.
- Paste the API token, copied from Jira UI and click on Validate.
- Under Issue Settings:
- Create new issue: Creates a new issue when an alert re-occurs.
- Re-open closed issue: Re-opens the closed issue when an alert re-occurs within a set number of days.
- Please check the privacy agreement box and click "Save" to integrate OpManager with Jira service management(cloud)

Configuring Notification Profiles
After configuring the Jira Service Management Cloud details in OpManager, proceed with configuring notification profiles to log tickets from OpManager to Jira. Configuring Notification Profiles in OpManager enables users to automate issue creation in Jira Service Management Cloud.
- Go to Settings → Notifications → Notification Profiles → Add.
- Click on the Log a Ticket option.
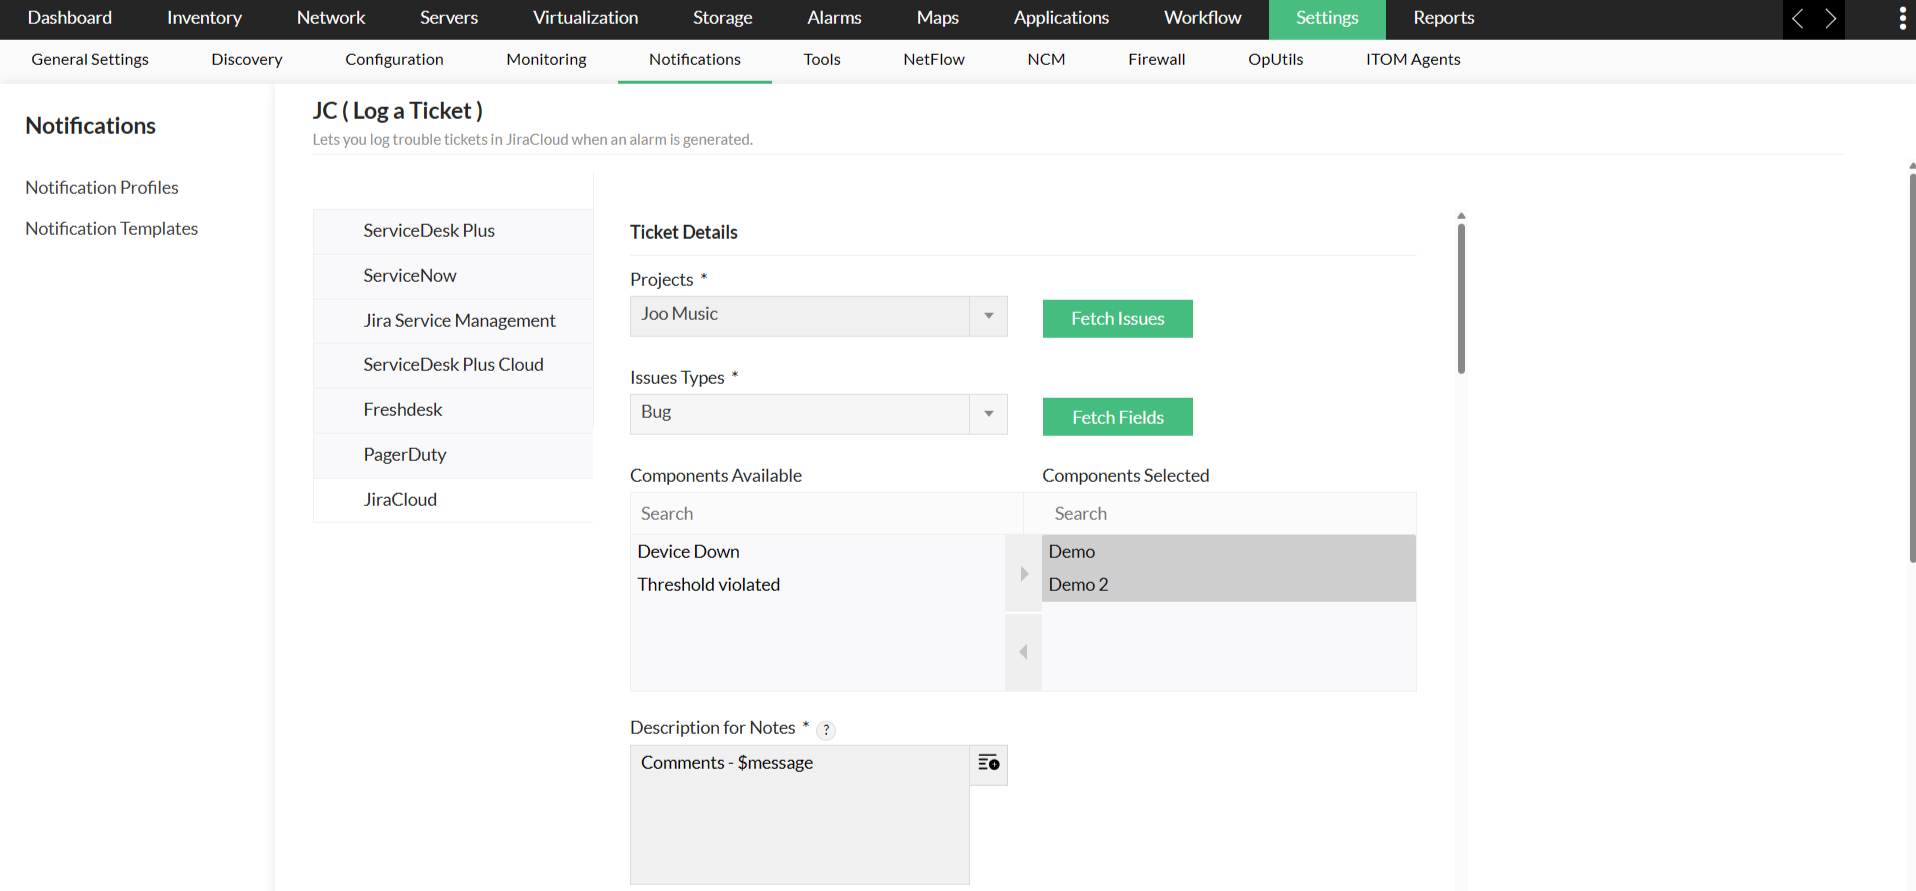
- Click on Log a Ticket and select JiraCloud from the left panel.
- From the dropdown, select a Project to associate with the notification profile.
- Click on Fetch Issues.
- Select an Issue Type and Click on Fetch Fields.
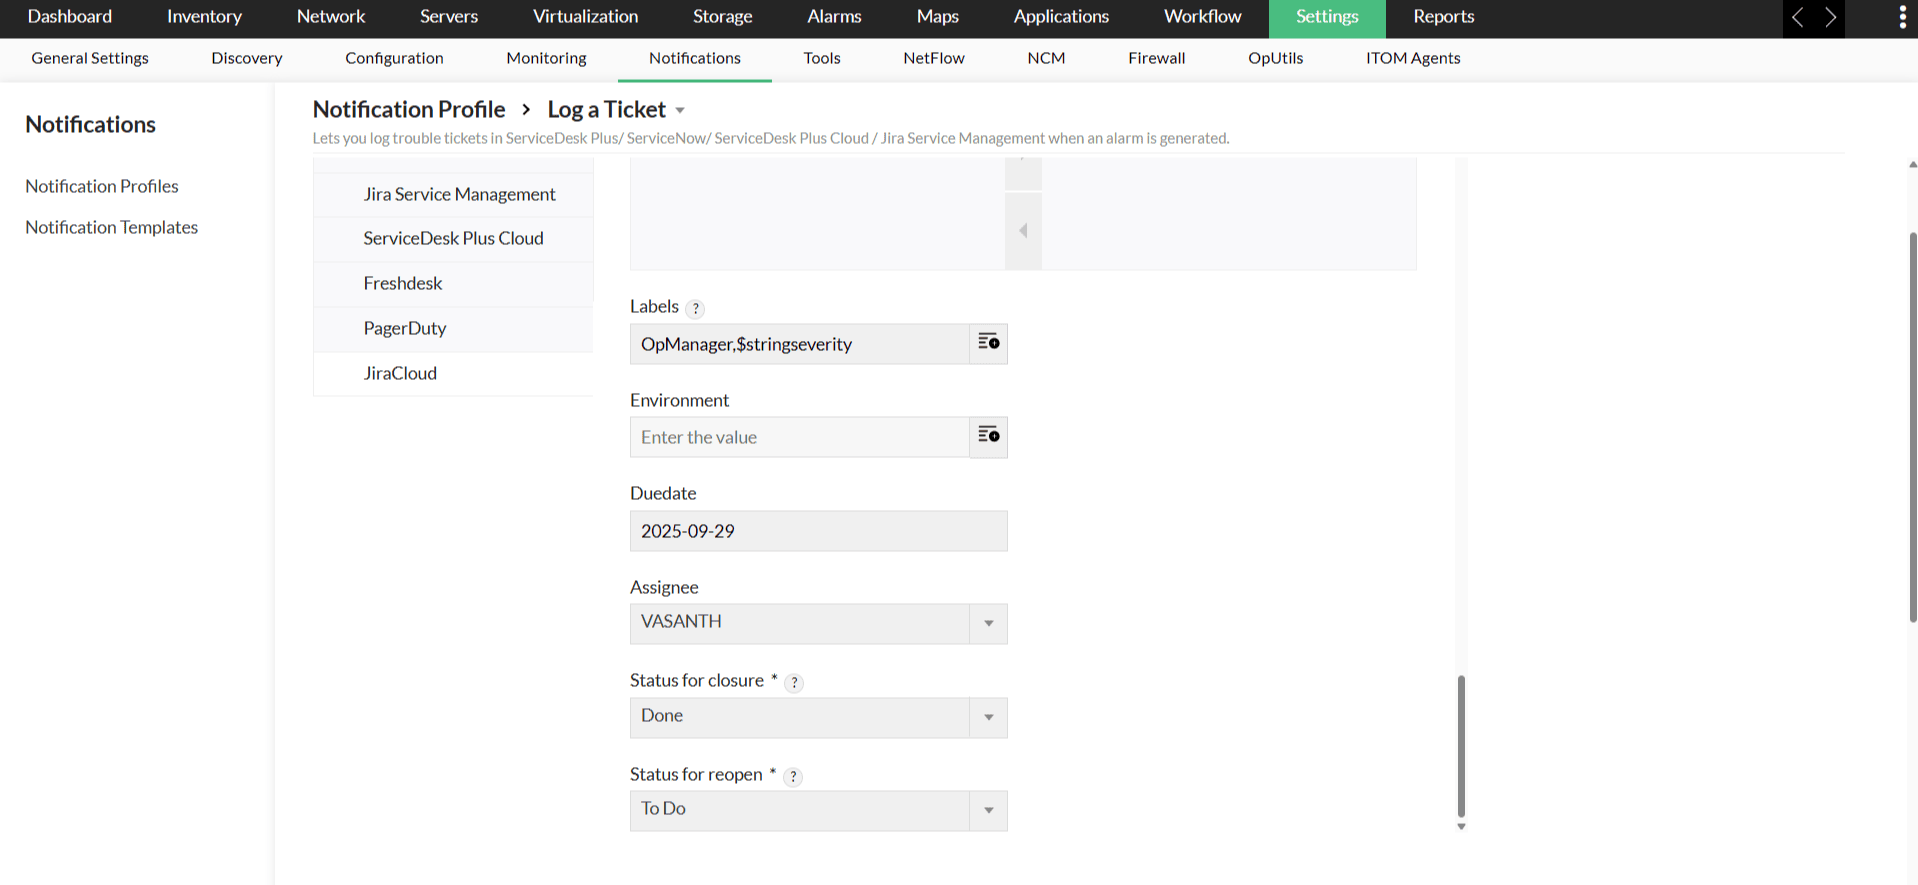
- Fill in the required fields such as Summary, Description, Labels, Due date, Assignee, etc.
- Click Test Action to verify the configuration.
- Once verified, click Next to choose a criteria to log the tickets.
- Click here to learn more about choosing criteria, associating devices, applying a time window etc.
- Enter a name for the notification profile, then click on Save.
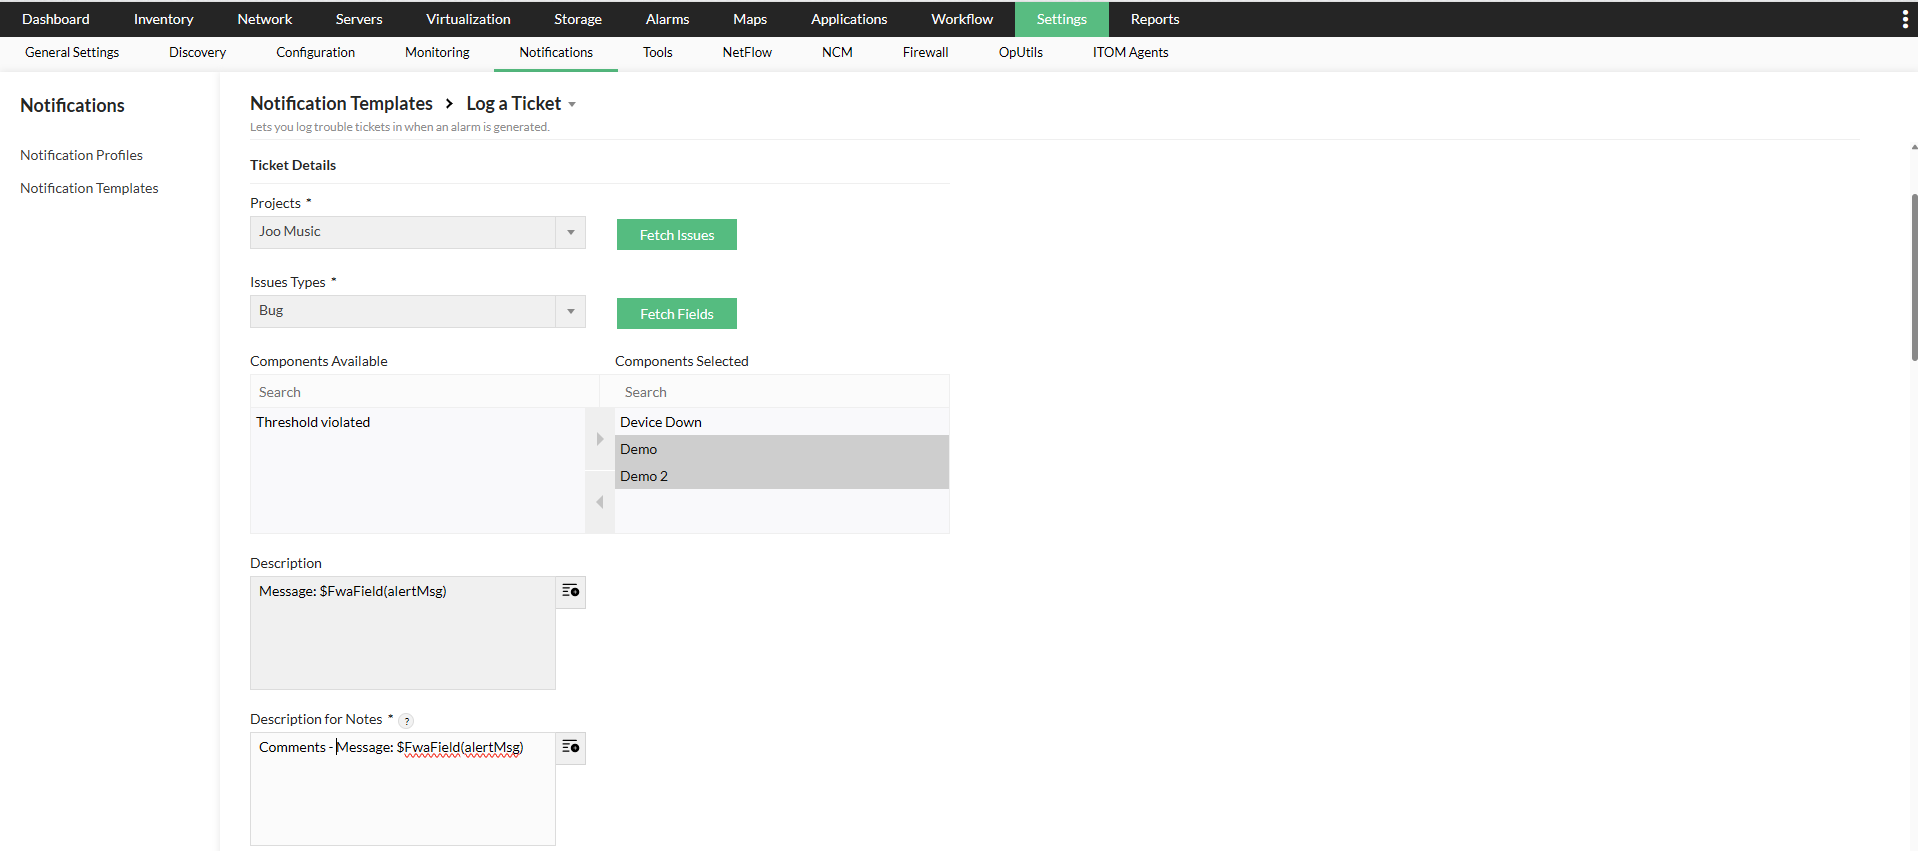
Configuring Notification Templates
To create a notification template for Jira service management(cloud), follow the steps below.
- Go to Settings → Notifications → Notification Templates.
- Click on Log a Ticket from the dropdown and select JiraCloud.
- From the dropdown, select a Project and click on Fetch Issues.
- Select an Issue Type and click on Fetch Fields.
- Fill in the required fields such as Summary, Description, Labels, Due date, Assignee, etc.
- Click on Test Action to verify the configuration.
- Enter a name for the notification template and click Save.
OpManager Alerts in Jira service management(cloud) as Issues
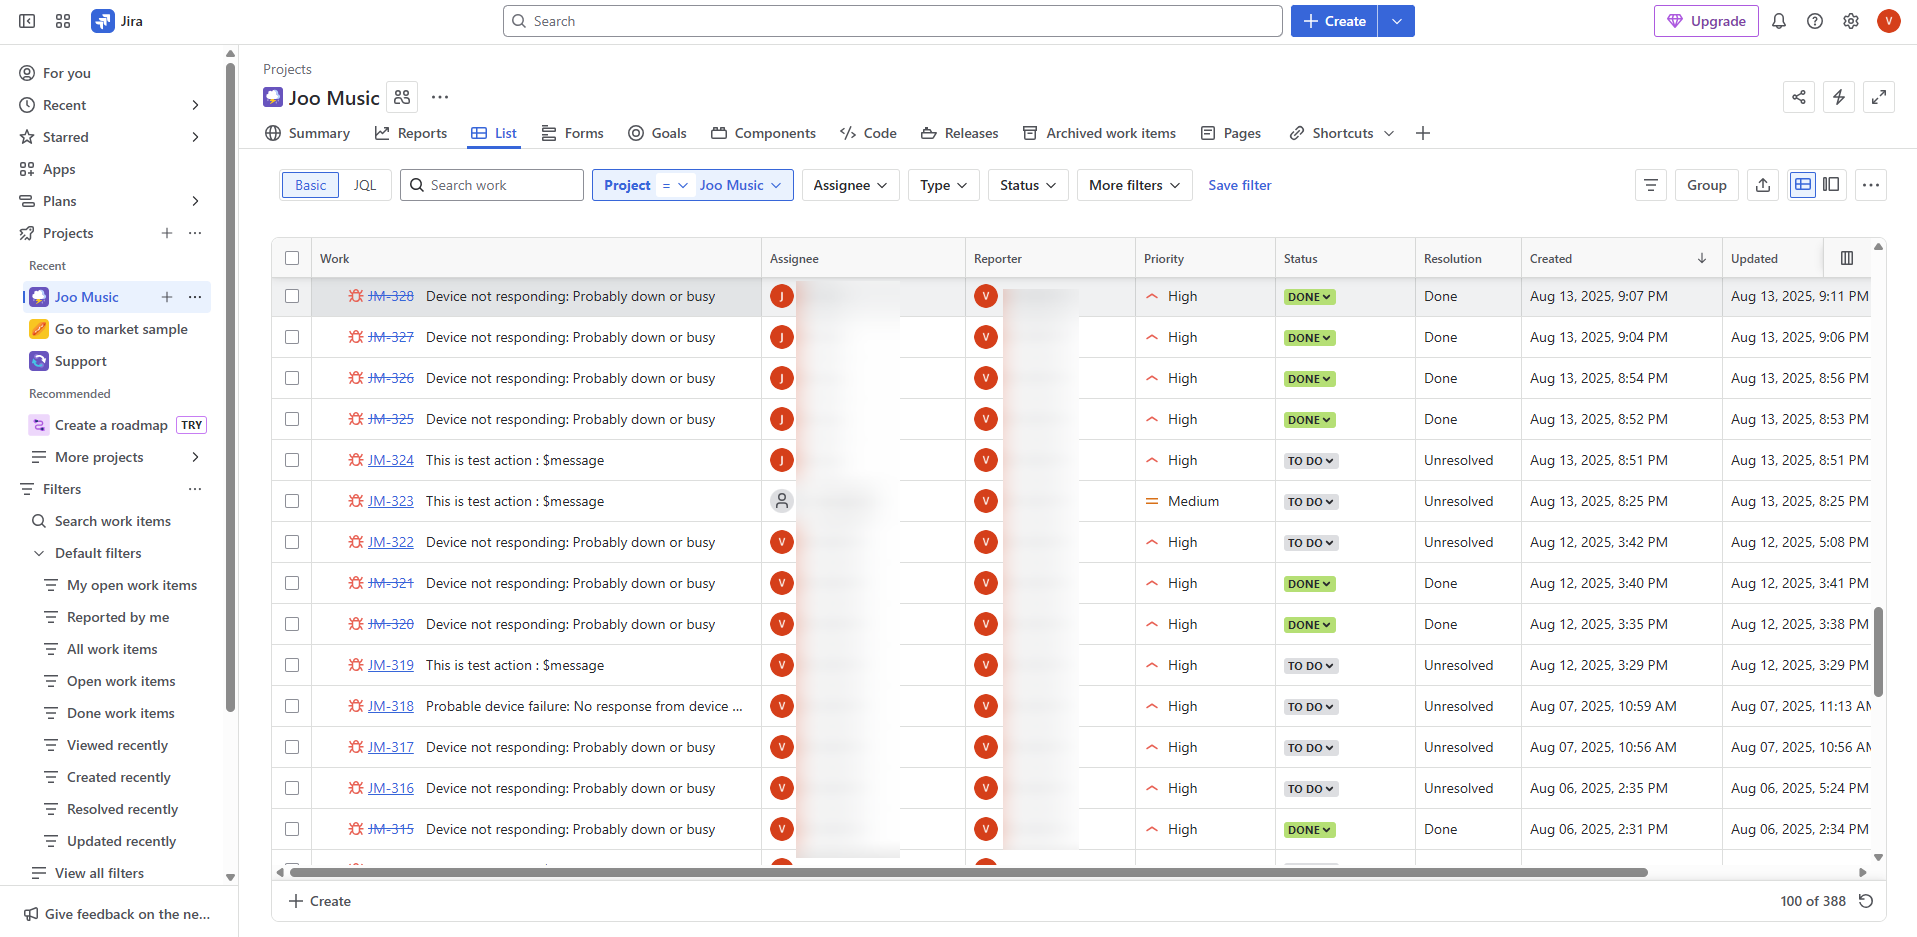
The Jira custom field types supported in OpManager are as follows:
- Short text (plain text only)
- Paragraph (supports rich text)
- Date Time Picker
- Date Picker
- Select List (multiple choices)
- Select List (single choice)
- User Picker (multiple users)
Know about the integrations offered by OpManager.