User Groups
User groups allow you to organize individual users into groups. Users in Access Manager Plus can be grouped based on the connection type, or based on the OUs or groups during import from the Active Directory. User groups are helpful as they allow you to set preferences or assign functions in bulk instead of each user individually. Use the group functionality to share sessions and connections with users in bulk.
Summary of Steps
1. Adding User Groups
To create a new user group and add users to it, follow the below steps:
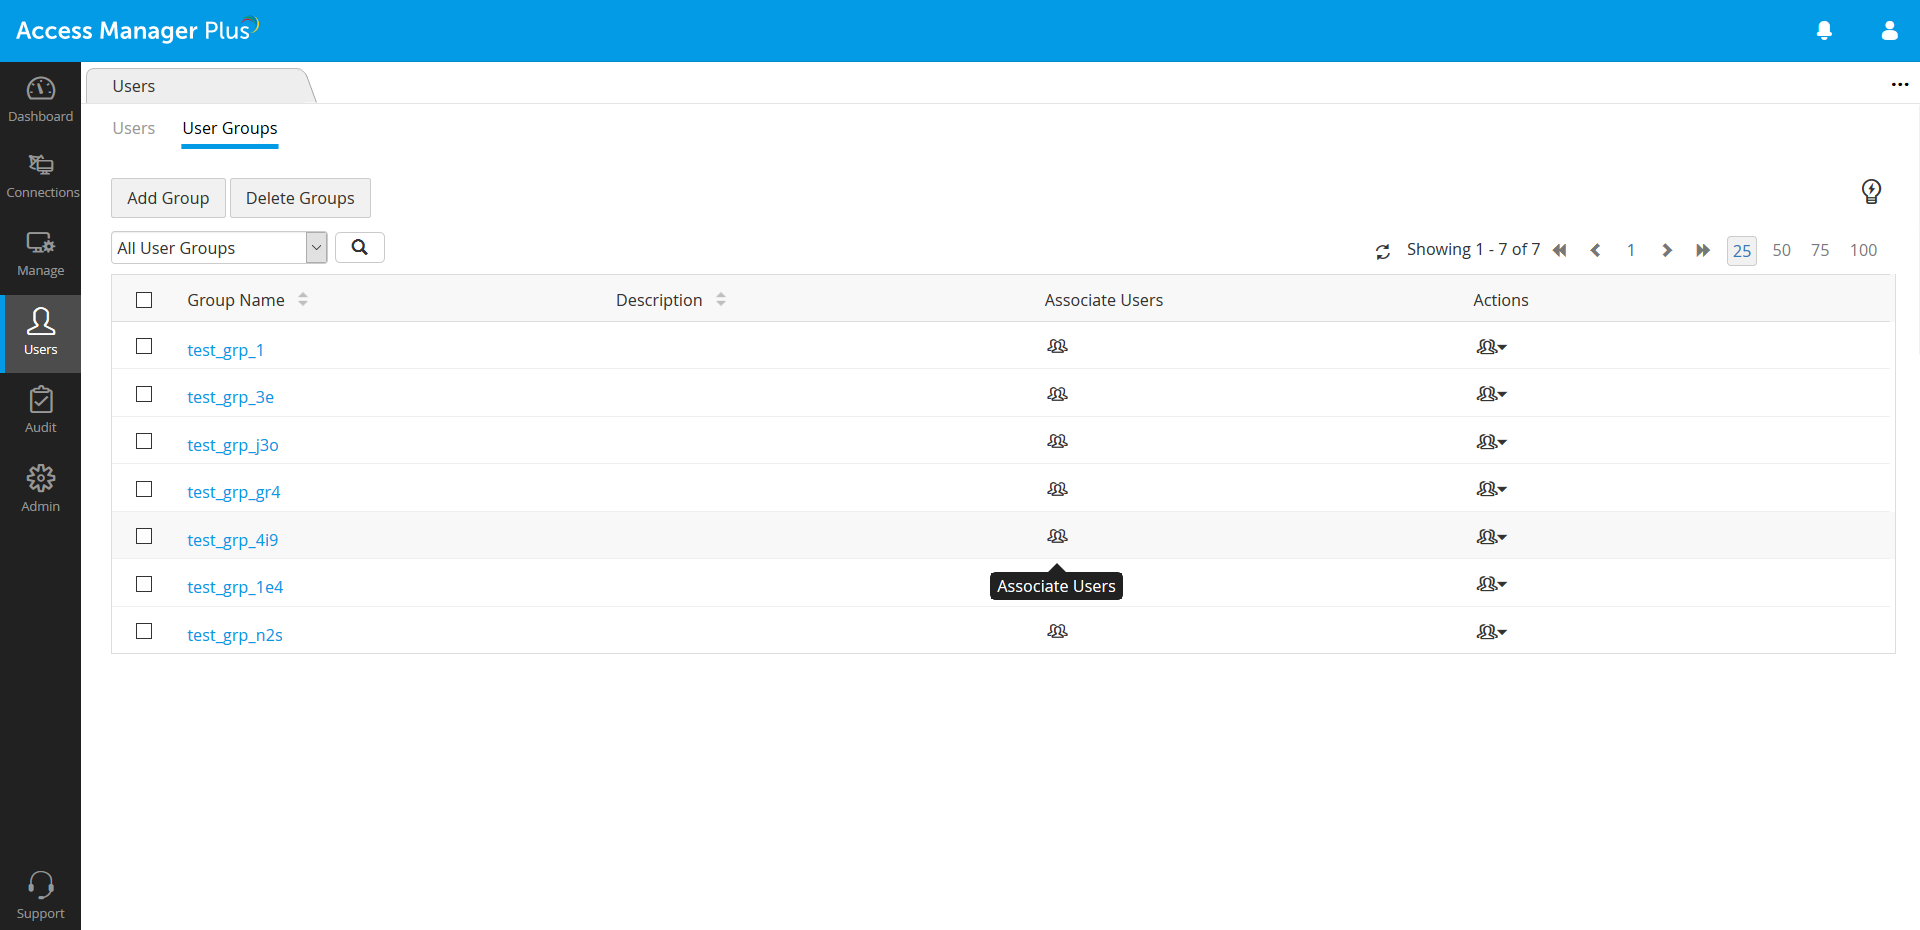
- Navigate to Users >> User groups tab.
- Click Add Group.
- In the pop-up form that appears,
- Enter Name and Description for the user group.
- Click Save & Proceed.
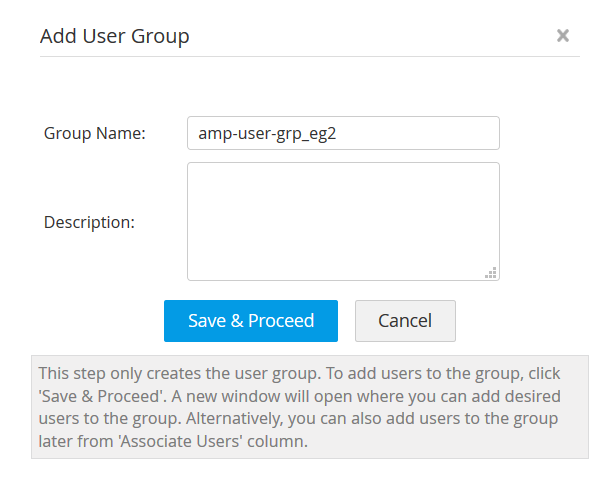
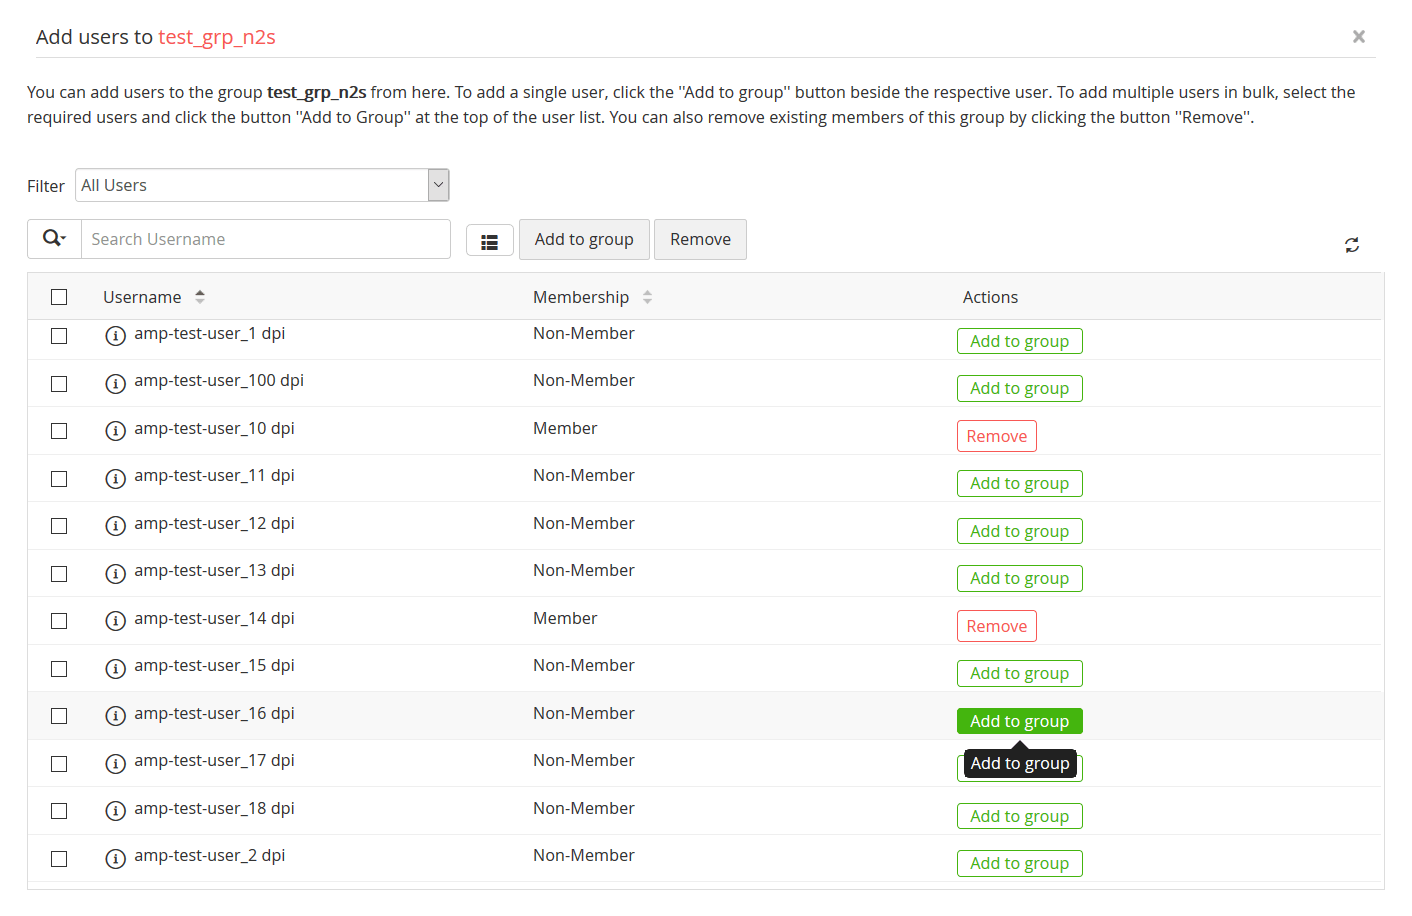
- Once the user group is added, Add Users window will open up. Here, click Add to Group beside the required users. The changes will take effect as and when you add users.
1.1 Importing User Groups from Active Directory (AD)
- You can import specific user groups and organizational units (OUs) from AD and retain the same user group structure in Access Manager Plus. Click here for more about importing users from AD.
- You can choose to synchronize the user group structure in Access Manager Plus with that of AD's at periodic intervals.
2. Managing User Groups
2.1 Editing a User Group
Follow the below steps to edit an existing user group to add more users or to remove existing users.
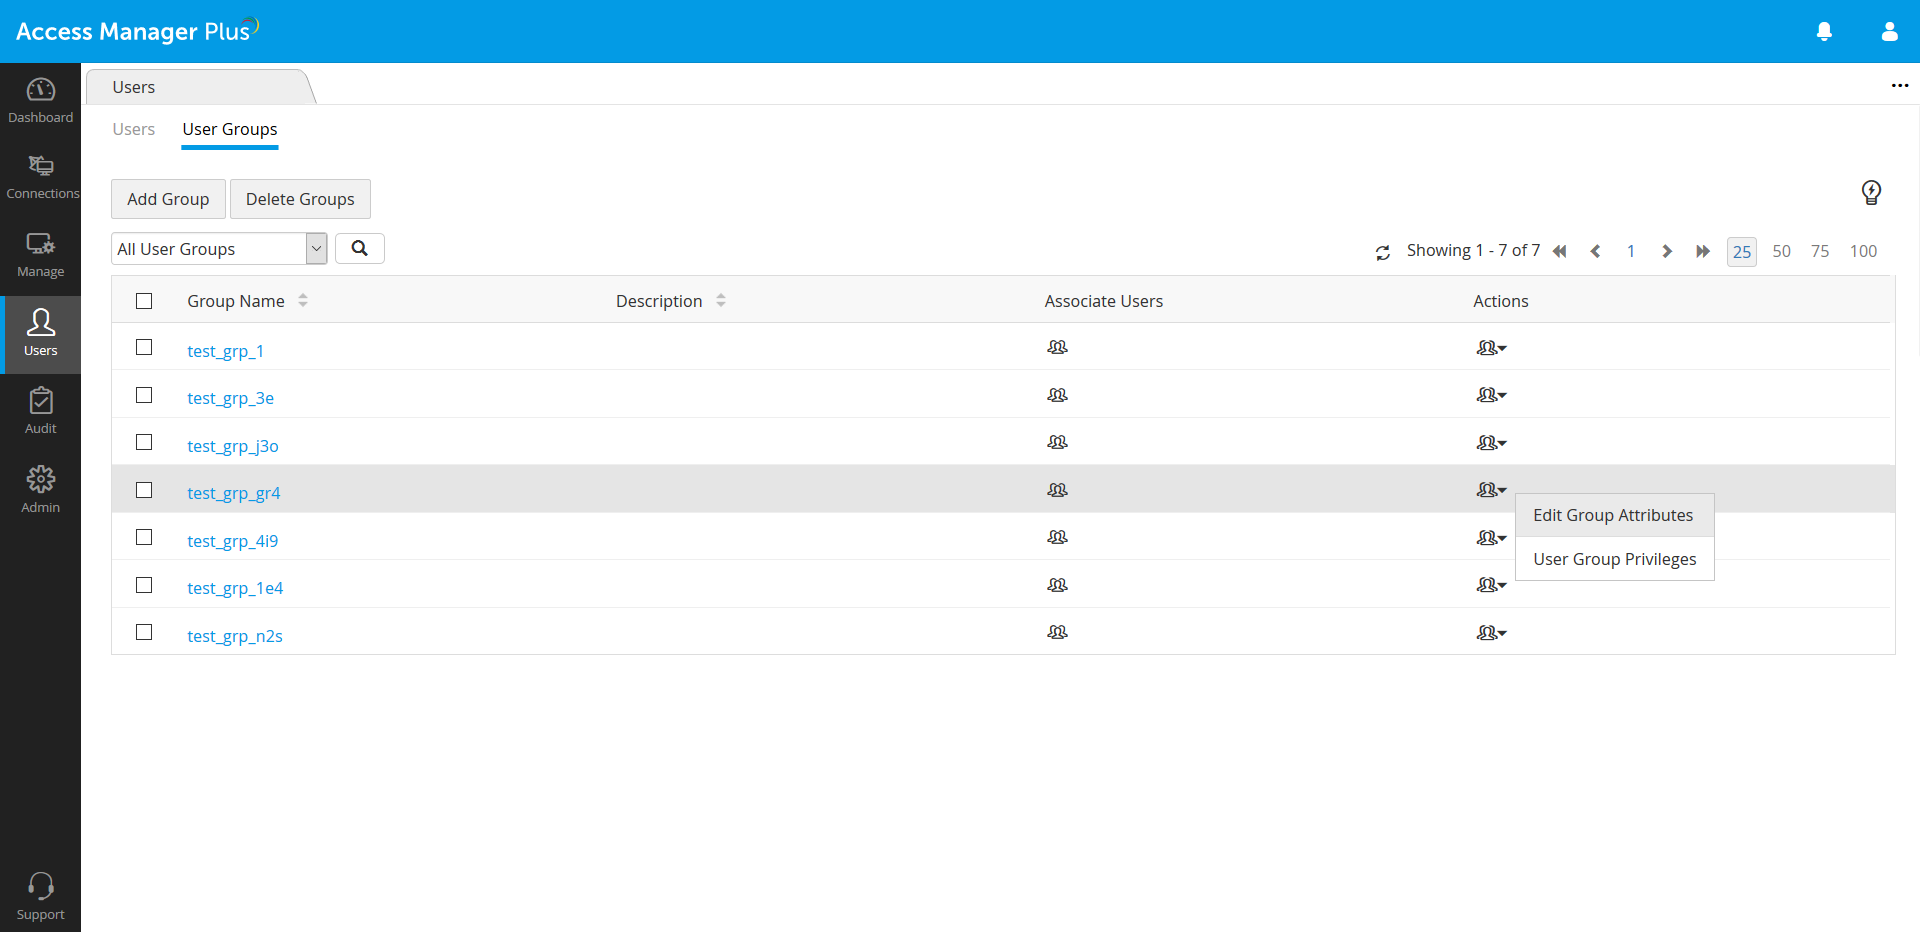
- Navigate to Users >> User Groups tab.
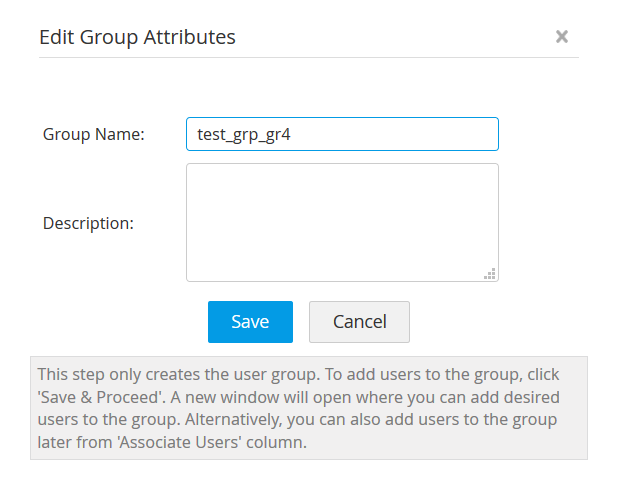
- Click the Actions icon beside the required group and click the Edit GroupAttributes.
- In the pop-up form that opens, you can change the Group Name and Description.
2.2 Adding Users to an Existing User Group
- To add new users to the group or remove previously added users from the group, click Associate Users icon beside the required group.
- Click Add to Group to add a non-member to the group.
- Click Remove to remove previously added users from the group.
- The changes will take effect as and when you make them.
2.3 Deleting a User Group
When a user group is deleted, the group level settings done for that group will no longer apply for the users who were members of that group. Deleting a user group will not affect the connections stored in Access Manager Plus. However, the connections shared to the group will no longer apply. Follow the below steps to delete an existing user group in Access Manager Plus:
- Navigate to Users >> User Groups tab and select the required user group(s).
- Click the Delete Groups button at the top.
- Click Ok in the pop-up form to confirm.