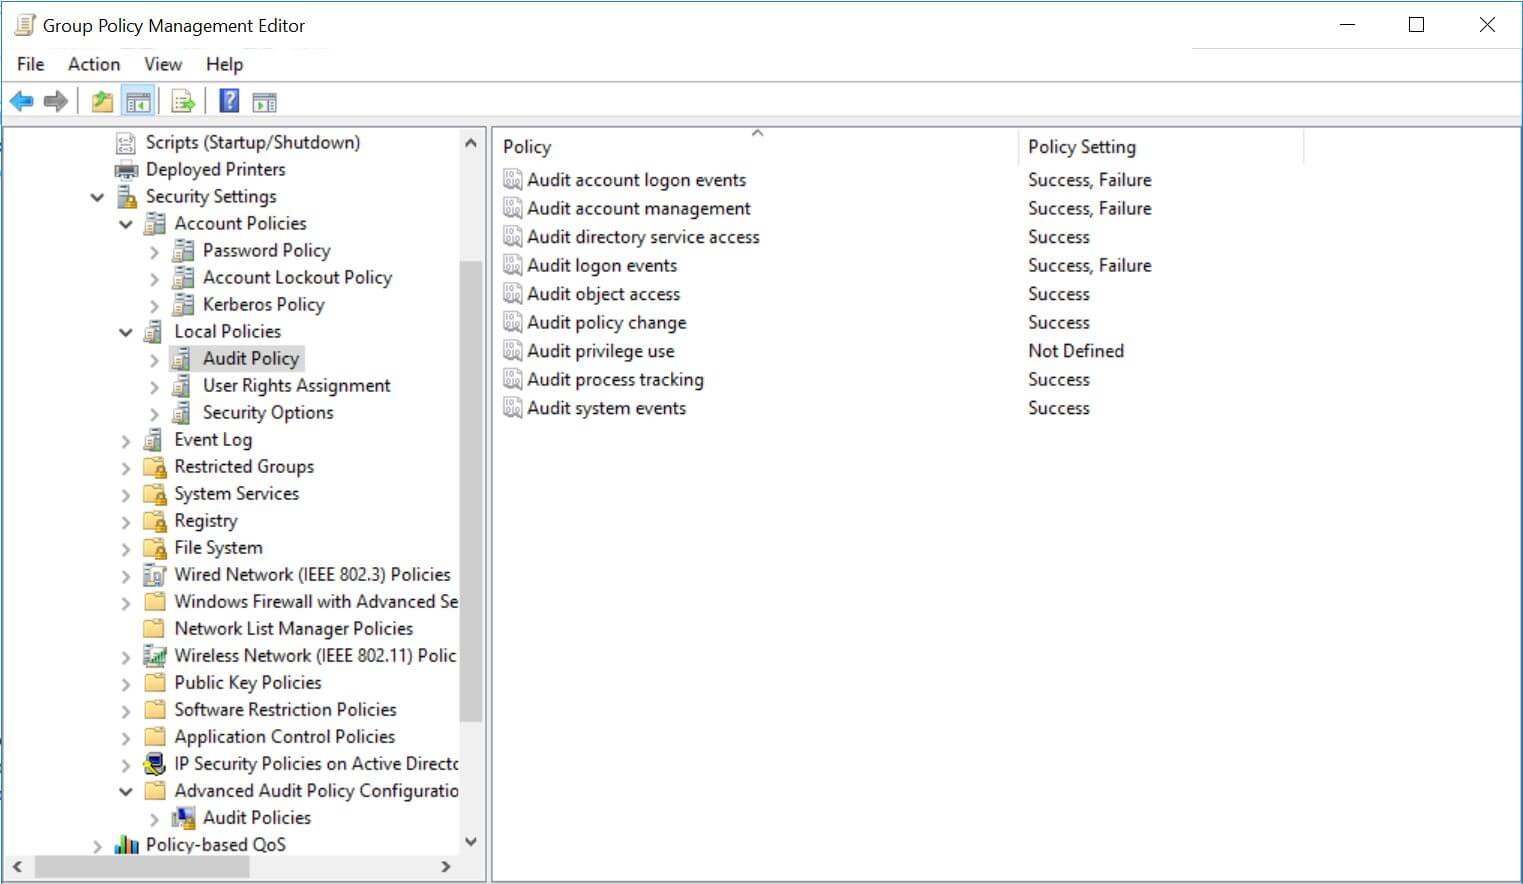
Configuring the audit policies
Manual process
Configure the audit policies manually using the steps below:
- Using domain admin credentials, log in to any computer that has the Group Policy Management Console (GPMC) on it.
Note The GPMC will not be installed in workstations and/or enabled in member servers by default. Hence, we recommend configuring audit policies in Windows domain controllers.
- Go to Start > Windows Administrative Tools > Group Policy Management.
- In the GPMC, select Domains and choose the domain you want to configure Group Policy for. Select Domain Controller, right-click the Default Domain Controllers Policy, and select Edit.
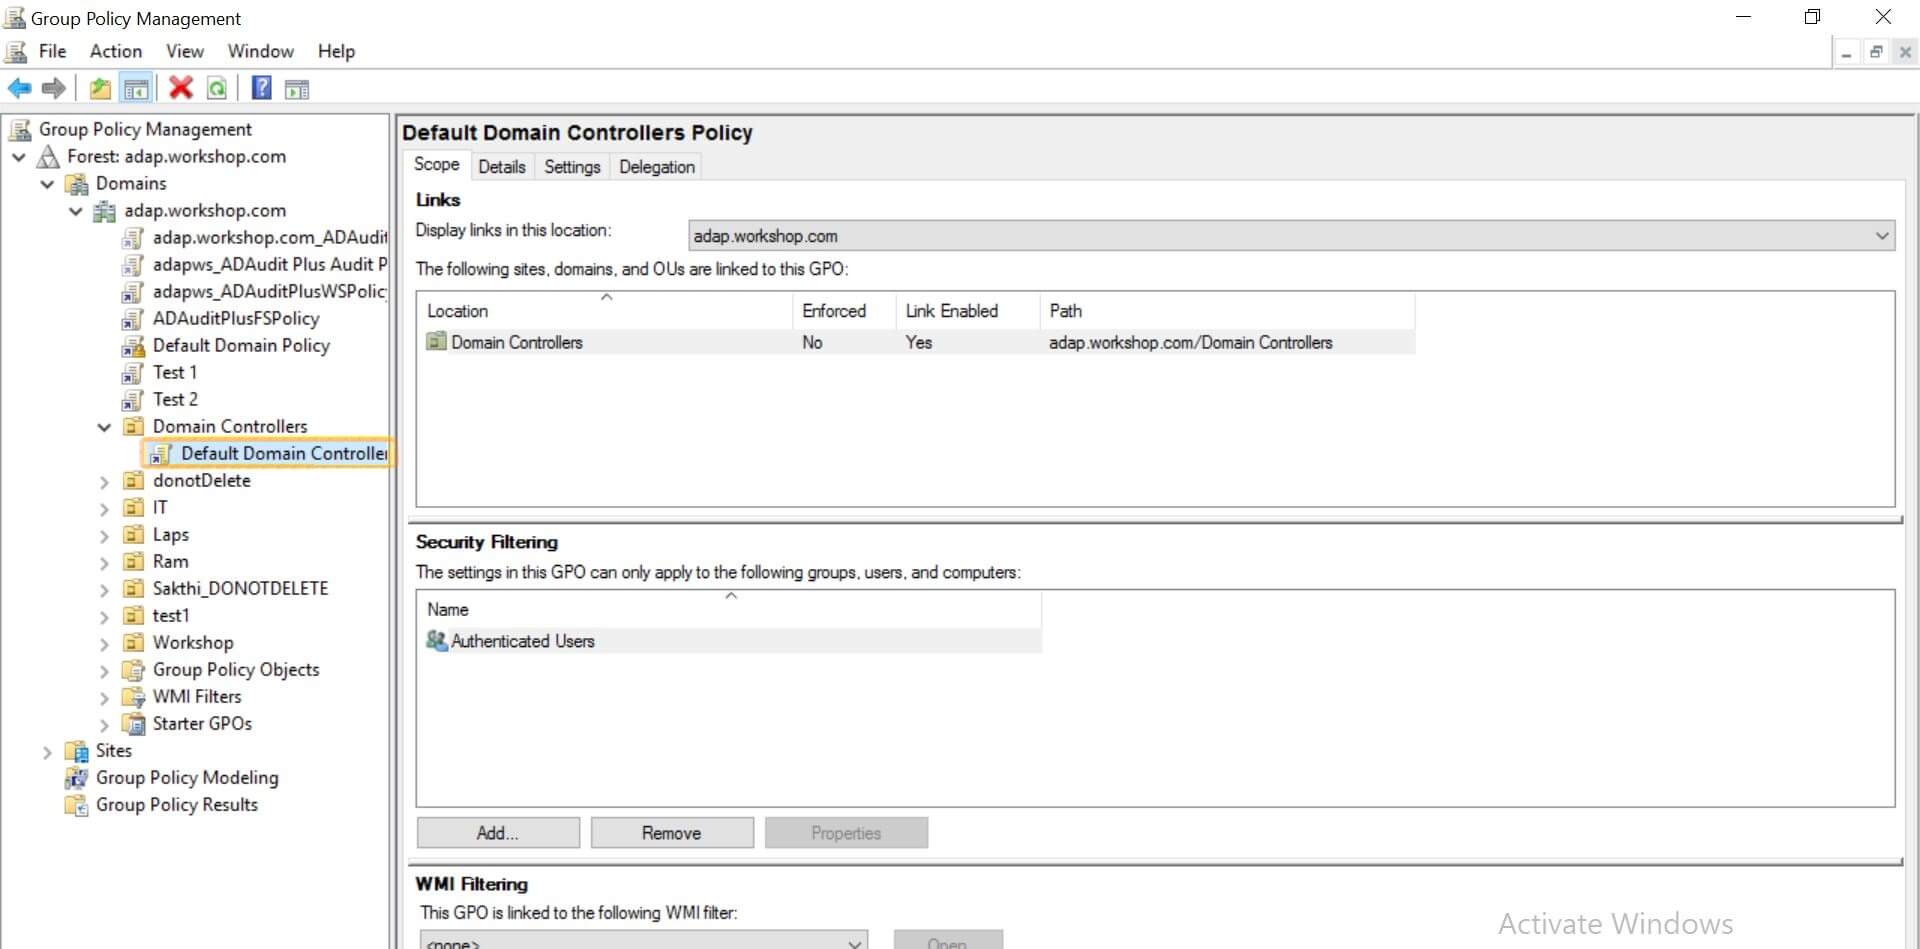
- In the Group Policy Management Editor, follow the steps below:
Note Advanced audit policy configuration will only be available in Windows Server 2008 or later. If you have an older version of Windows, configure legacy audit policies.
Advanced audit policies
- Choose Computer configuration > Policies > Windows Settings > Security settings > Advanced Audit Policy Configuration > Audit Policies.
- Click, enable, and save the audit policies as shown below:
Advanced audit policy Audit events Category Subcategory DS Access Audit Directory Service AccessAudit Directory Service ChangesSuccess 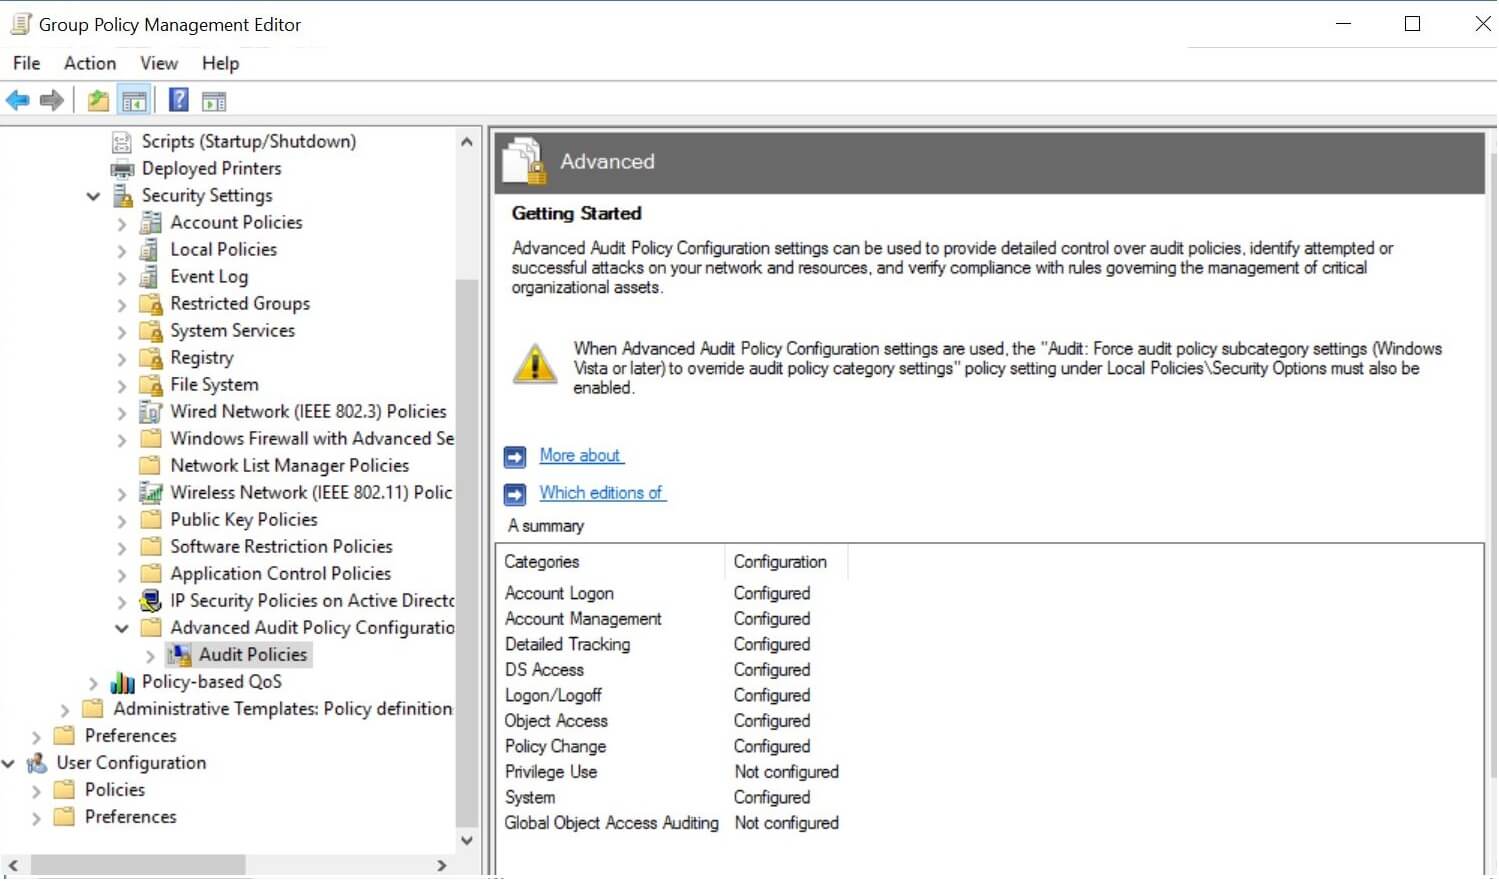
Local audit policies
- Choose Computer configuration > Policies > Windows Settings > Security Settings > Local Policies > Audit Policies.
- Click, enable, and save the audit policies as shown below:
| Local audit policy | Audit events |
|---|---|
| Category | |
| Audit directory service access | Success |