- Related Products
- AD360
- Log360
- ADAudit Plus
- ADSelfService Plus
- EventLog Analyzer
- Exchange Reporter Plus

Help Document
Notification Profile
You can send customized notifications, via email or SMS, to update the relevant users about the completion of Active Directory management tasks. Based on your need, you can create custom notification profiles, based on the:
- Action performed in AD.
- Domain in which the action is carried out.
- Help desk technician who performs the specified action.
Steps to create a notification profile in ADManager Plus:
- Select the Admin tab.
- Click the Notification Profile link located under Custom Settings.
- Click the Create New Profile button to create a new notification profile.
- Enter the desired name and a short description for the profile being created in the Profile Name and Description fields.
- In Profile Criteria,
- In the first drop-down field, select the criteria based on which the notification has to be triggered. You can trigger notifications for a specific Active Directory management action, help desk technician who will be performing the action, the domain in which the action will be performed, or the user or group object that will be managed.
- In the second drop-down field, select the condition that has to be satisfied.
- In the third drop-down field, select the appropriate value that the criterion selected in the first drop-down must hold.
- Click the + icon to add another profile criterion, if needed. If you have more than one criterion, please ensure that you select the desired option Or/And to specify whether all or only specific criteria must be satisfied to trigger this notification profile.
- Click the edit icon next to the Notification Template field and select the desired notification templates based on whether you'd like to send notifications via email, SMS or both. If you wish to create a new notification template, click the Create New Template button located at the top right, and follow the steps listed here.
- If you want to update or modify the email and SMS attributes, click on the Email/Mobile Attributes button on the top-right corner of the window. In the pop up that opens, select the domain and the type of attribute (email or mobile) that you would like to modify as seen in figure 1. Then you need to add the required attributes (alternate email ID or phone, proxy mail ID, etc). This can be seen in figure 2 below.
- Click Save.
Note: By default, the first attribute listed in the pop-up will be used. In case the first listed attribute does not contain any value, the subsequent attributes containing a value will be considered for use.
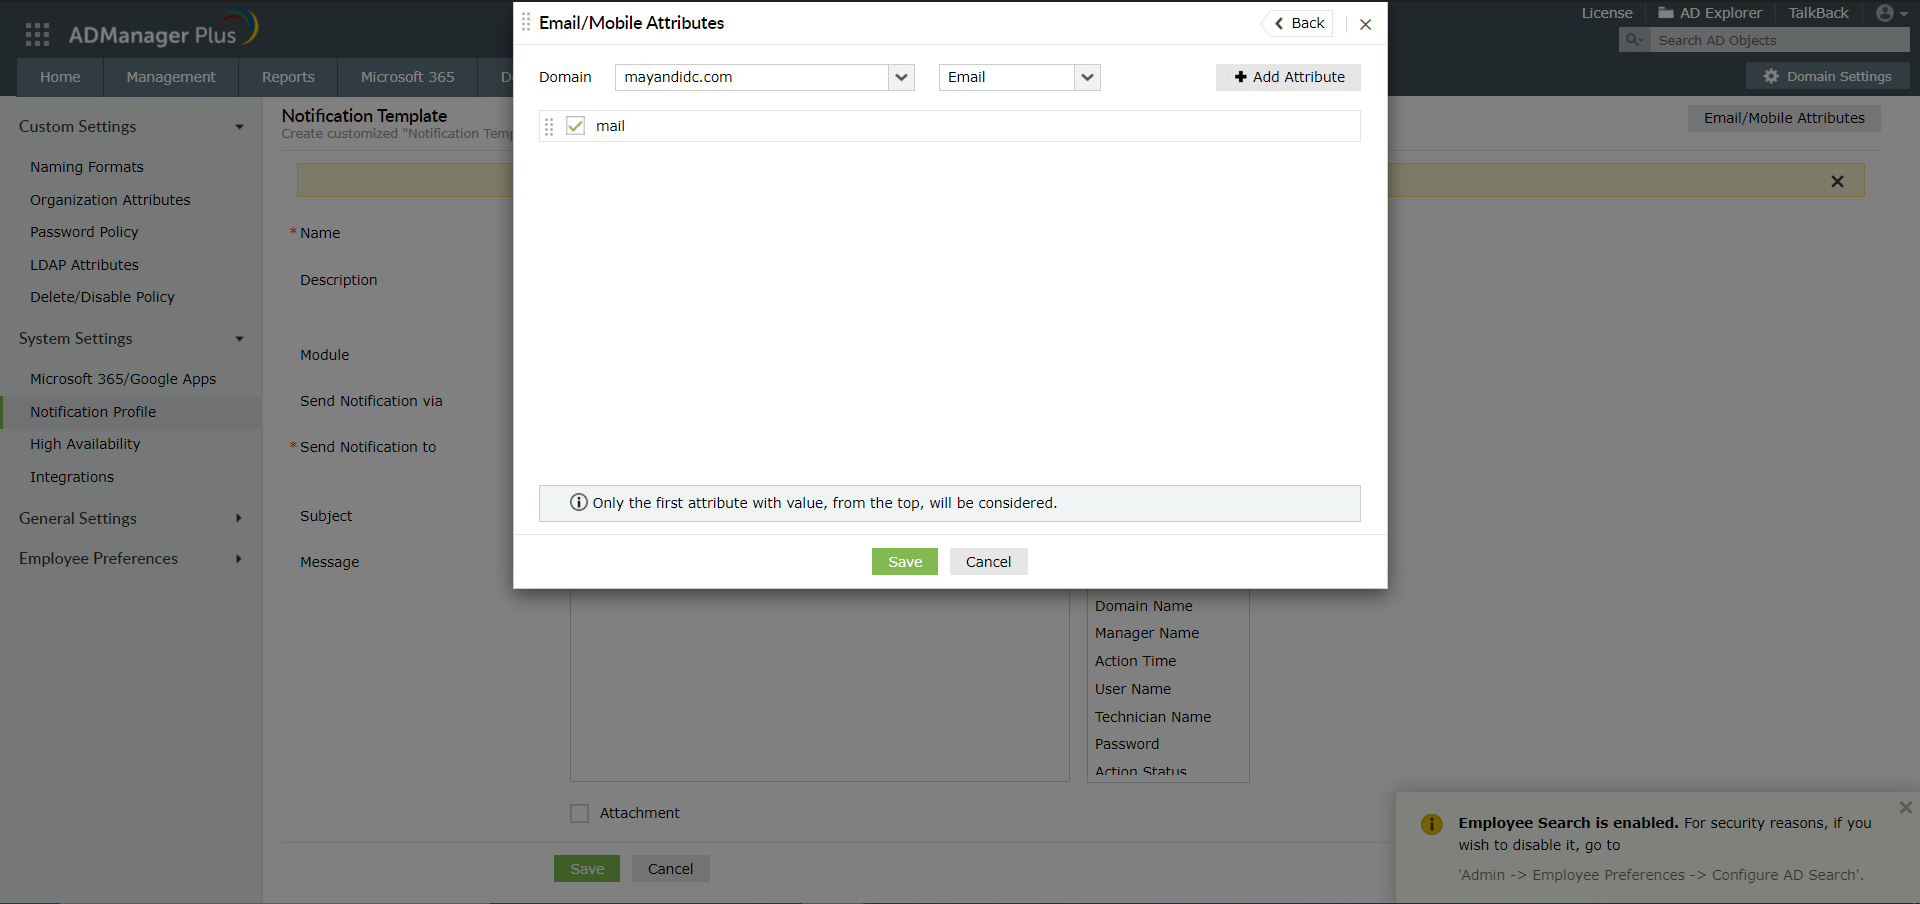 Figure 1
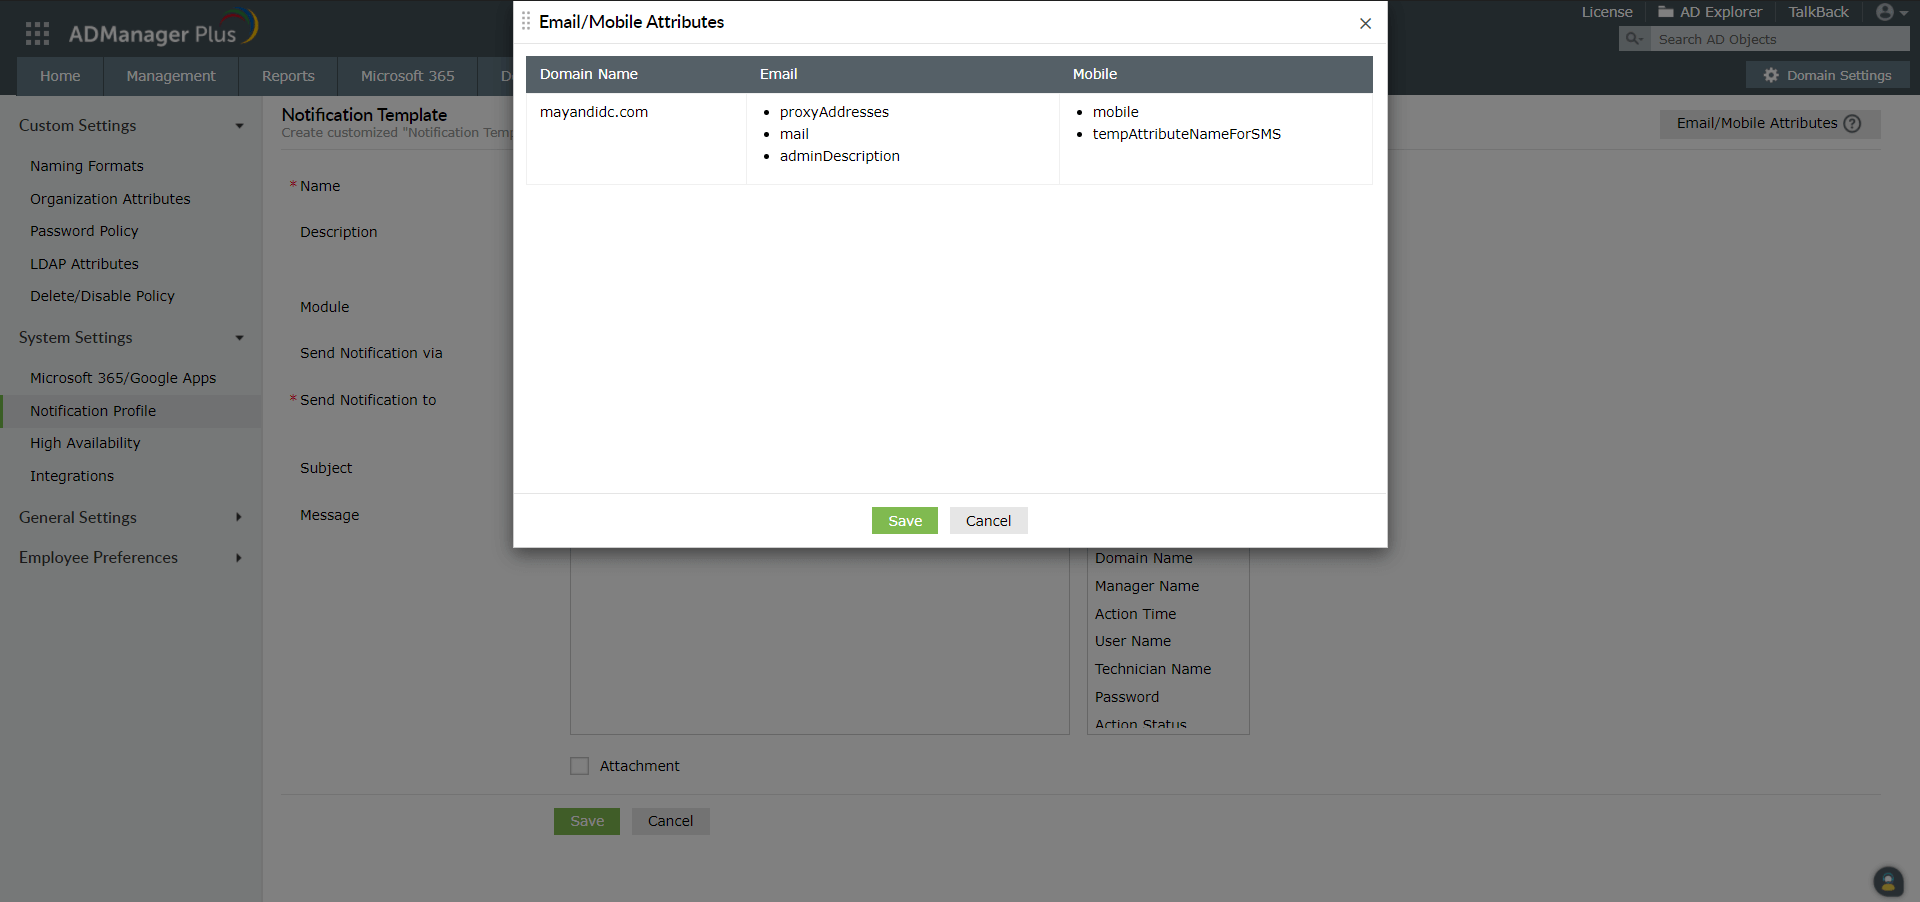 Figure 2