- Related Products
- AD360
- Log360
- ADAudit Plus
- ADSelfService Plus
- EventLog Analyzer
- Exchange Reporter Plus

Help Document
Freshservice Integration
Freshservice is a cloud-based help desk software which when integrated with the ADManager Plus plugin, empowers help desk technicians to perform critical Active Directory management tasks like creating, deleting, enabling, disabling or unlocking a user account, resetting passwords, and more, all from their Freshservice console.
Actions supported
- Provision and deprovision users
- Enable or disable user accounts
- Reset passwords
- Unlock user accounts
- Add and remove users from groups
- Modify department and manager attributes
Before you begin
- Download and install ManageEngine ADManager Plus if you haven't deployed ADManager Plus yet.
- If you're an existing user, ensure that you have updated ADManager Plus to its latest version. The integration with Freshservice is supported from versions 7064 and above.
- For establishing a secure communication between ADManager Plus and Freshservice, ensure that the host name of ADManager Plus server holds a valid SSL certificate signed by a trusted Certificate Authority (CA).
In this document, you will learn the following:
- How to integrate ADManager Plus with Freshservice
- How to configure the ADManager Plus plug-in in Freshservice
- How to edit the ADManager Plus URL in Freshservice
- How to customize user creation forms in Freshservice
Steps to integrate ADManager Plus with Freshservice
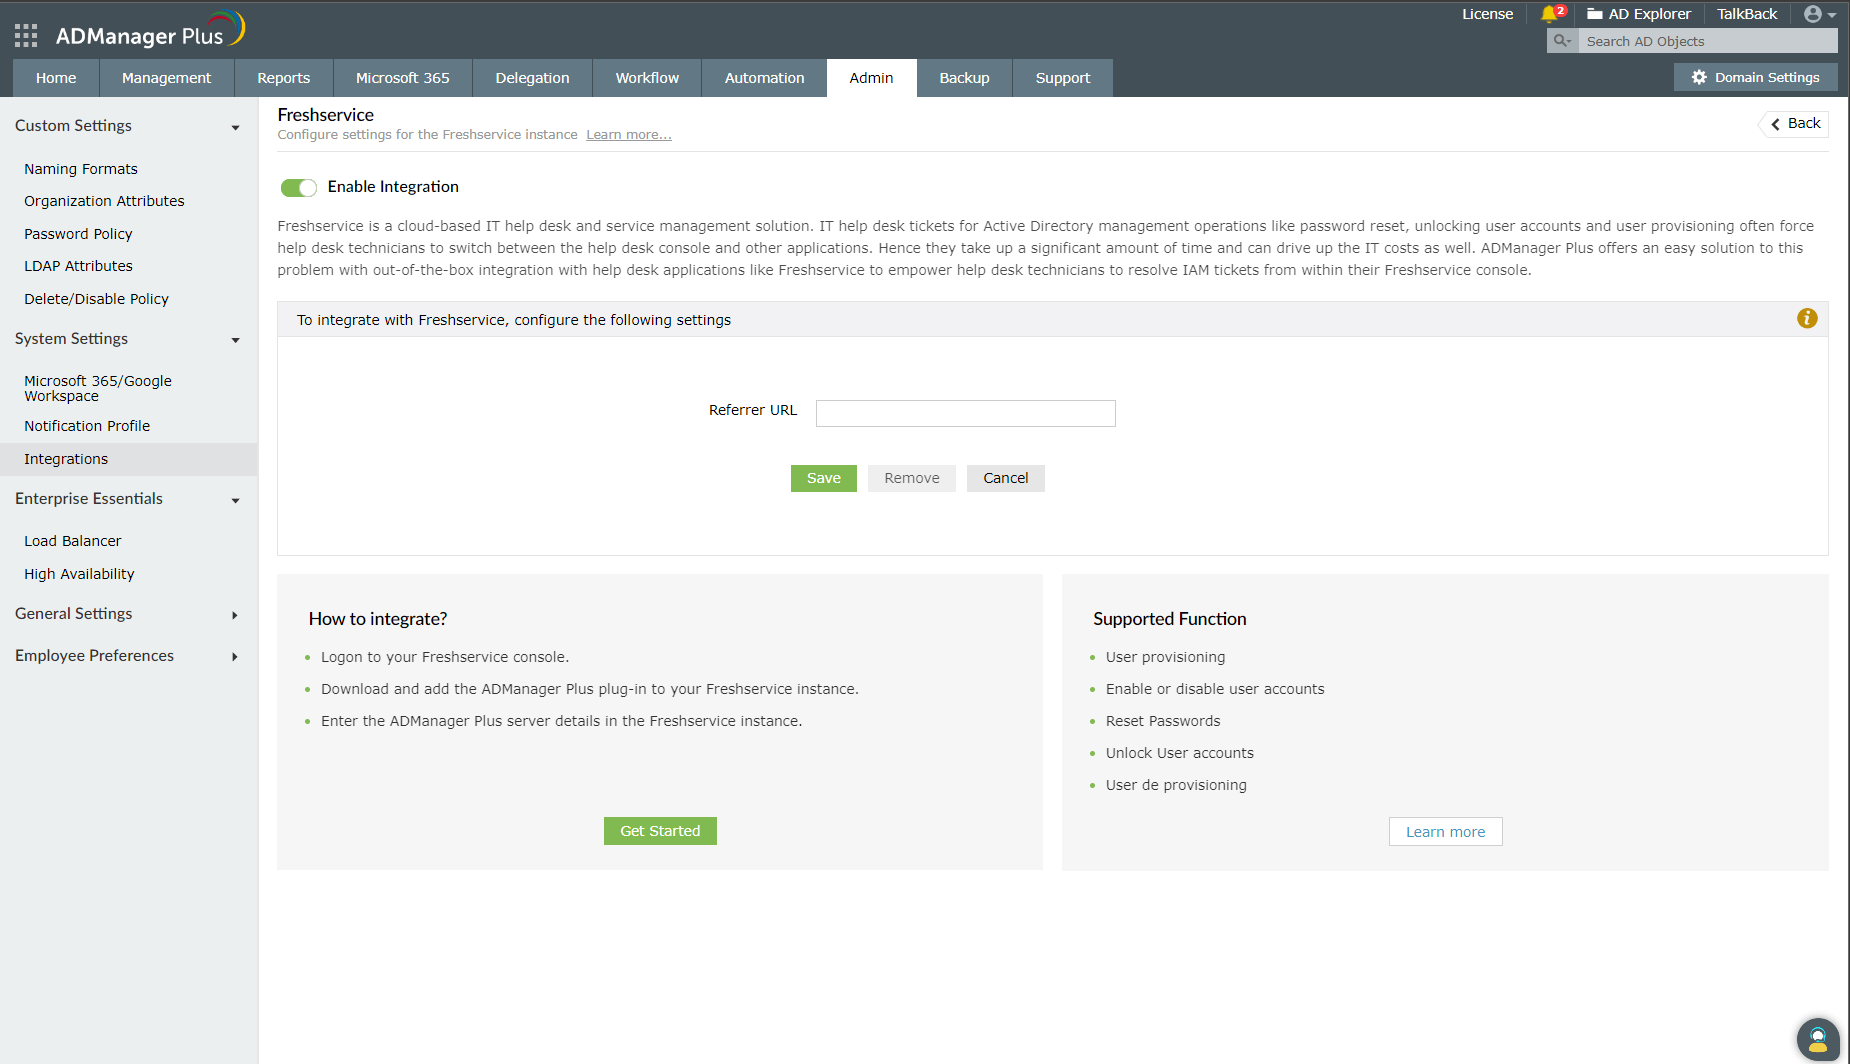
- Log in to ADmanager Plus, and click the Admin tab.
- Under System Settings, click Integrations.
- Under ITSM/Help Desk Tools, click Freshservice.
Note: The Enable Integration button is turned on by default. Toggle it off to disable FreshService integration.
Steps to configure the ADManager Plus plug-in in Freshservice
- Log in to your Freshservice instance as the admin.
- Search and install the ADManager Plus plugin from their marketplace.
- In the page that opens, click the Integrate Now! button.
- Enter the ADManager Plus URL and click Save.
- Click Install.
- In the left pane, click the ADManager Plus icon.
- Copy the Referrer URL displayed on the page, and open ADManager Plus.
- In ADManager Plus, paste the copied Referrer URL in the Referrer URL field.
- Navigate back to your Freshservice instance, and click Next.
- Verify the ADManager Plus URL displayed and click Next.
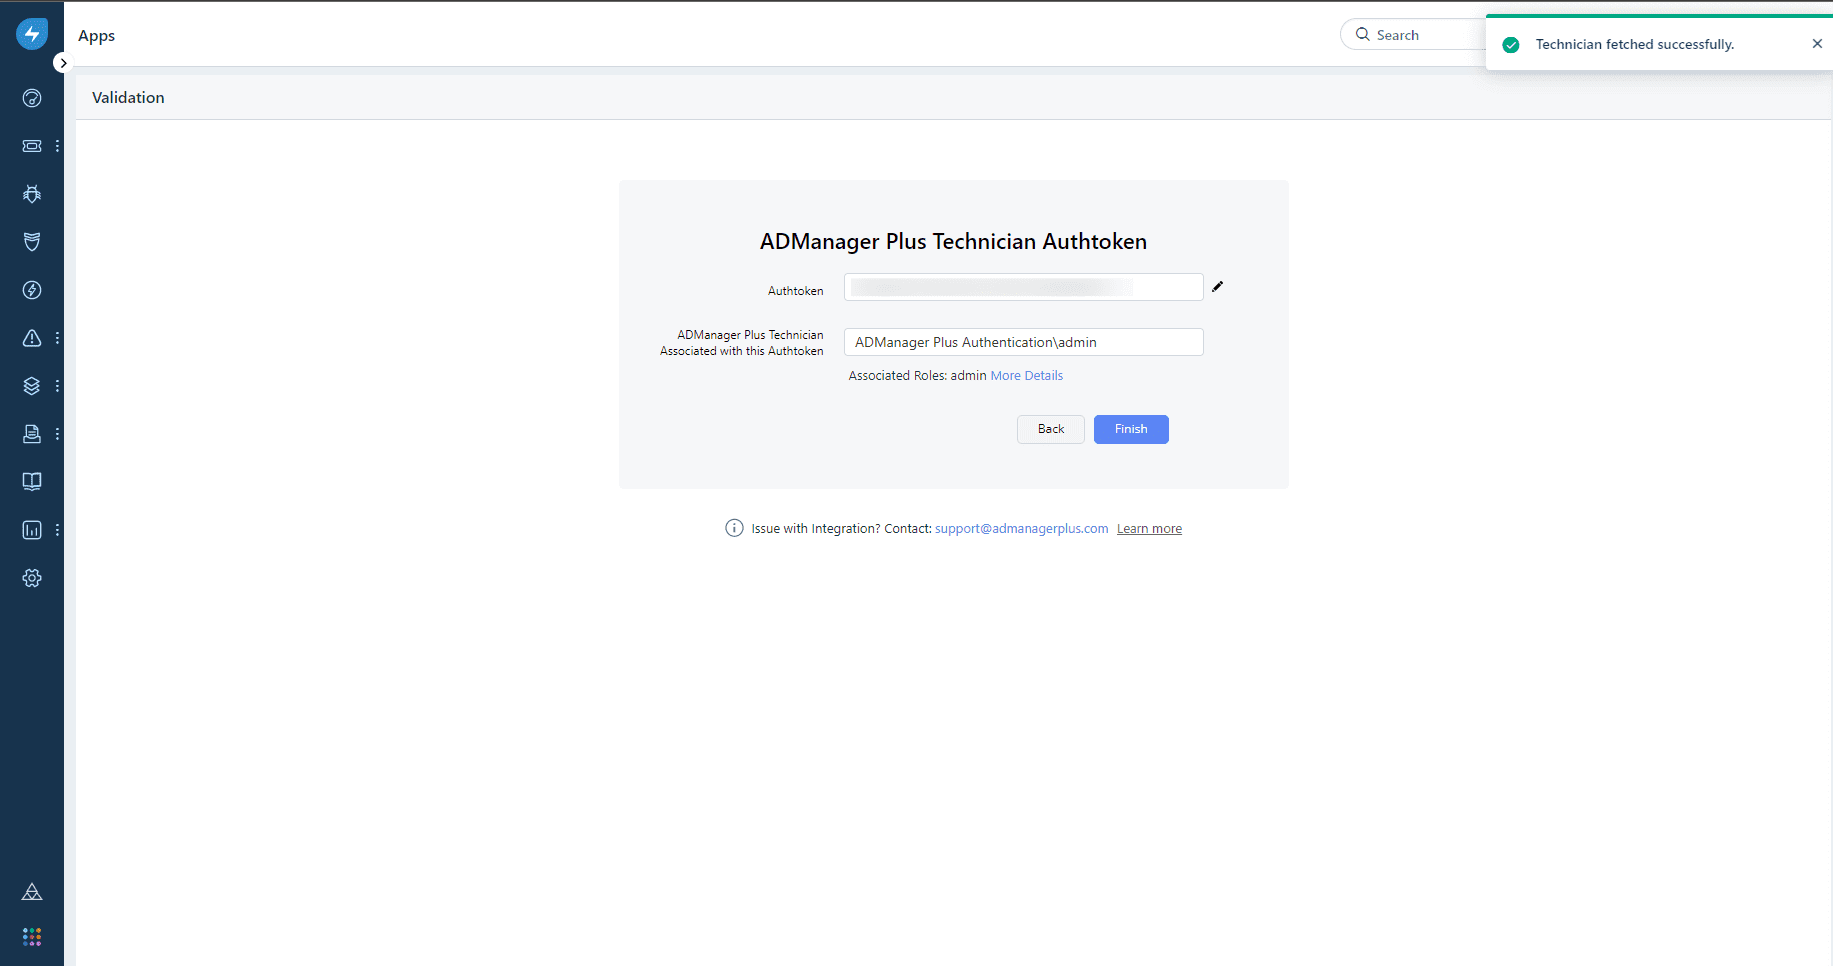
- Enter the ADManager Plus technician's authtoken in the Authtoken field, and click Validate to fetch the associated technician from ADManager Plus.
- Once the technician's details are auto-populated in the ADManager Plus Technician Associated with this Authtoken field, click Finish.
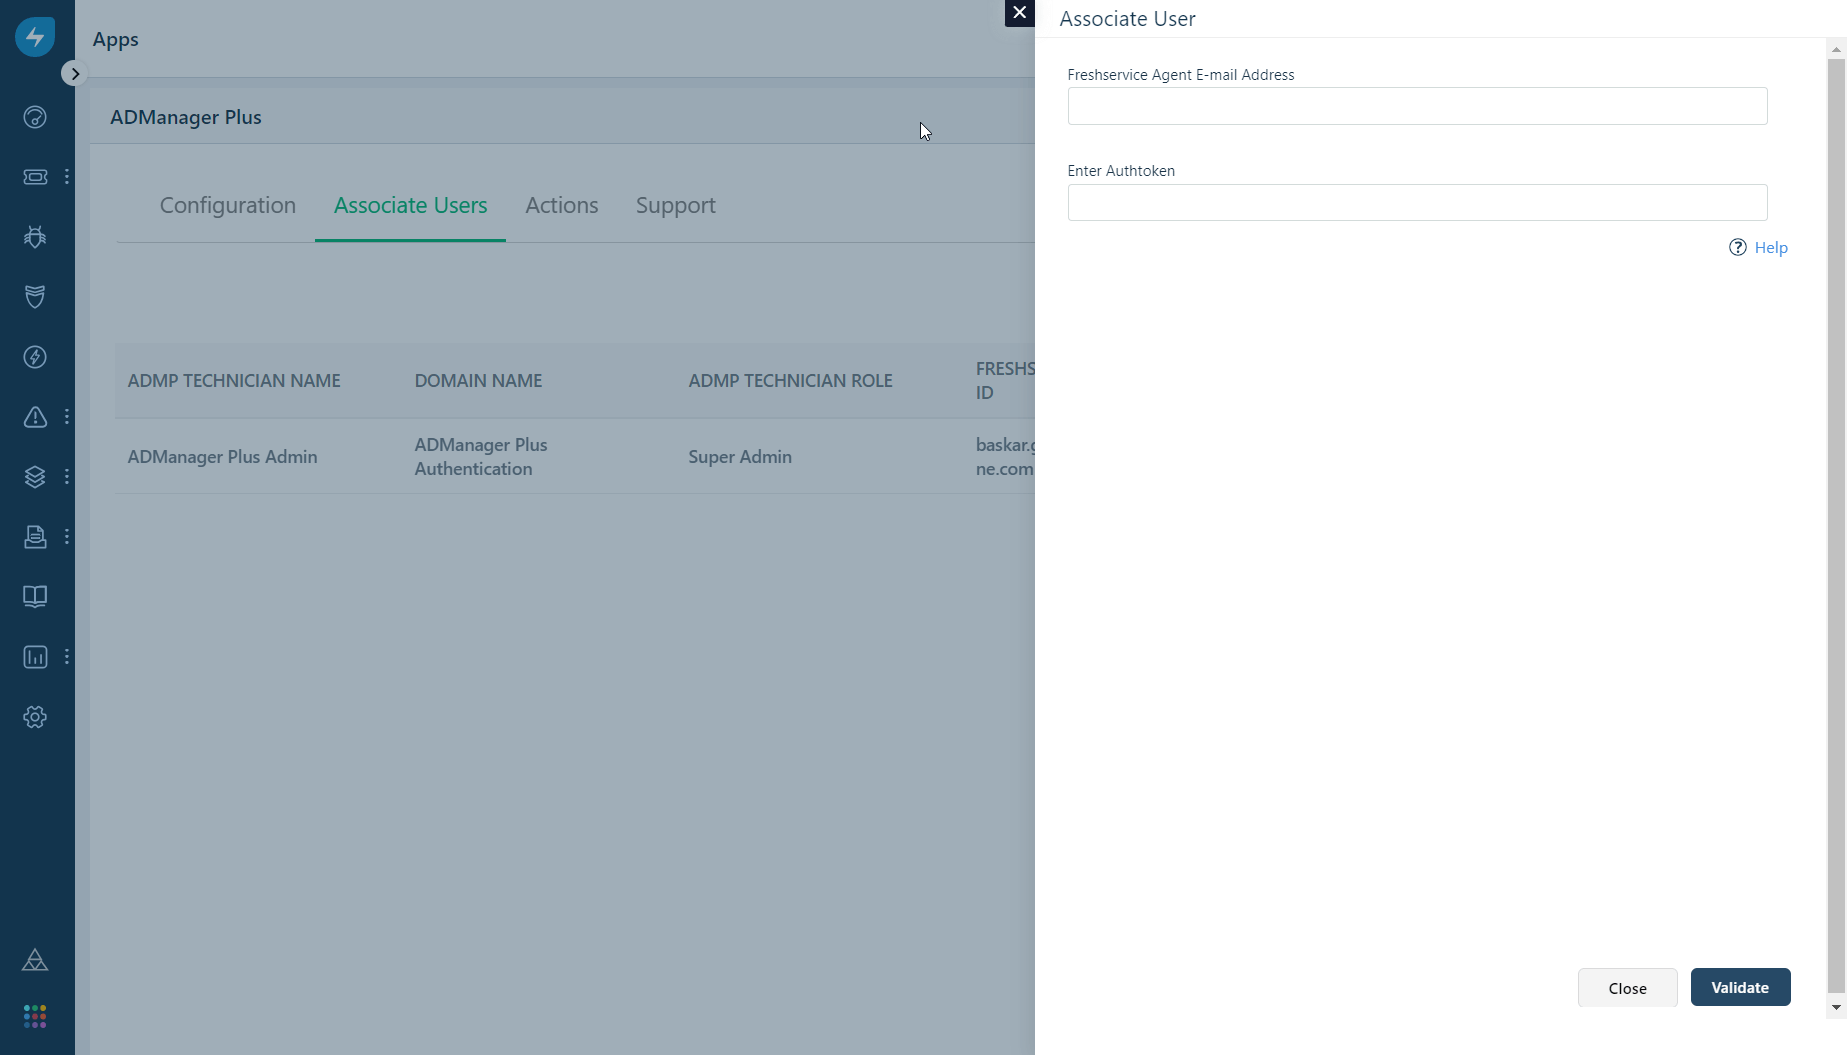
- To add more technicians in Freshservice, click the ADManager Plus icon in the left pane and navigate to the Associate Users tab and click Associate Users. Specify the technician's email address and authtoken in the Freshservice Agent E-mail Address and Enter Authtoken fields respectively, and click Validate. Verify the technician's details and click Update.

Note: The technician's authtoken can be obtained by navigating to Delegation > Configuration > Technician Authtokens in ADManager Plus.
Note: Authtokens can be easily edited in the future by clicking the Edit icon next to the Enter Authtoken field.
Steps to edit the ADManager Plus URL in Freshservice
- Navigate to Admin > Automation & Productivity > Extensibility > Apps > Installed Apps > ADManager Plus.
- Click the Settings button and select Edit Settings from the drop-down menu.
- In the Server Settings page, enter the URL and click Save.
- Click Save to the save the configuration.
- In the left pane, click ADManager Plus.
- Under Configuration, click the Edit icon next to the Server URL field.
- Enter the URL specified in Step 3 and click Connect.
Note: The URL specified here must match with the URL configured in the Server Settings page for this integration to work.
Customizing user creation forms in Freshservice
The user creation fields in Freshservice can be customized to suit your organization's needs. You can add or remove fields, or make them mandatory or non-mandatory in a few clicks. To do this:
- In the left pane, click ADManager Plus and navigate to Actions.
- Hover and click the edit icon next to Create User option.
- In User Creation Fields:
- Click the + icon to add a field from the list of available fields to the user creation form in Freshservice.
- Click x to remove a field and Set as Mandatory to make a field mandatory.
- Click Save to update the changes.
Note:
- User creation fields can be customized in instances integrated with ADManager Plus builds 7180 and above.
- The user creation fields are text boxes and require technicians to enter a value.
- Fields can also be added or removed and made silent or read-only in the User Creation Templates in ADManager Plus. Therefore, it is recommended to add only the required fields to the user creation form in Freshservice.