How to remove AD computers using PowerShell
The following is a comparison between removing computers from a Active Directory domain with Windows PowerShell and ADManager Plus:
Windows PowerShell
Steps to remove AD computers using PowerShell:
- Identify the domain in which you want to remove computers in AD.
- Identify the LDAP attributes you needed to identify the desired computers
- Compile the script.
- Execute it in Windows PowerShell.
Sample PowerShell script:
Copied
Import-Module ActiveDirectory
Remove-ADComputer -Identity "DemoComputer001"
Click to copy entire script
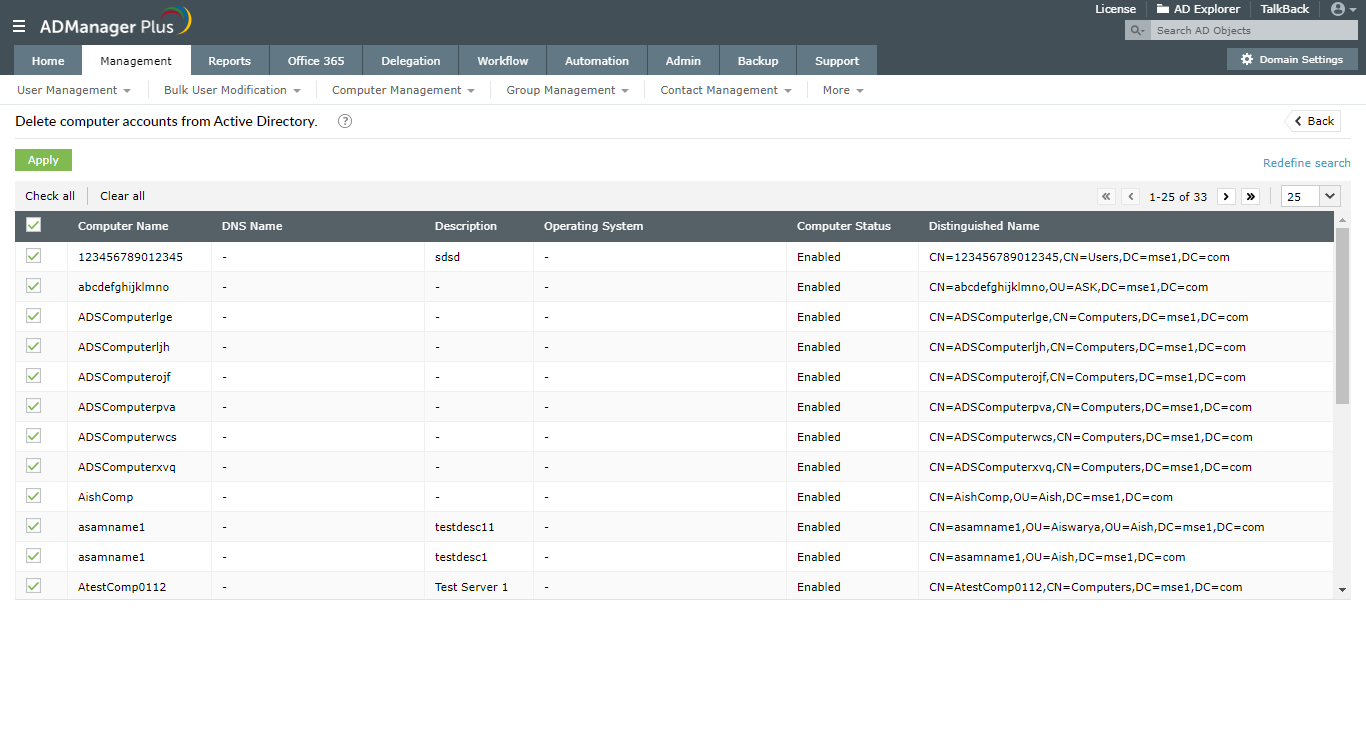
ADManager Plus
Steps to delete computers:
- Select Management -> Computer Management -> Delete Computers.
- Choose the domain and OU.
- Select the desired list of computers or import a CSV file, and click Apply.
Screenshot
» Start 30-day Free Trial
Following are the limitations to remove computers in using native tools like Windows PowerShell:
- We can run this script only from the computers which have Active Directory Domain Services role.
- With each attribute update, the script will get longer and complicated
- Troubleshooting is not easy in case of errors.
ADManager Plus can delete computers in bulk armed with just a CSV file from a simple and intuitively designed UI.
Deprovision AD computers in bulk without breaking a sweat with ADManager Plus' bulk management features.
Get 30-day free trial.