How to modify AD computer attributes using PowerShell

The following is a comparison between modifying AD computer attributes with Windows PowerShell and ADManager Plus:

Windows PowerShell

Steps to modify AD computer attributes using PowerShell:

  • Identify the domain in which you want to modify the group attributes of user(s)
  • Identify the LDAP attributes you need modify.
  • Compile the script.
  • Execute it in Windows PowerShell.

Sample Windows PowerShell script

 Copied
Set-ADComputer -Identity "USER1-SRV1" -ManagedBy "CN=DB Administrator 01,OU=UserAccounts,OU=Managed,DC=USER1,DC=COM"
Click to copy entire script

ADManager Plus

How to modify AD computers in bulk:

  • Select Modify Bulk Computers -> Computer Management -> Management.
  • Import a CSV file with updated attribute values.
  • Click Update in AD button.

Screenshot

Modify Active Directory computer attributes using ADManager Plus

» Start 30-day Free Trial

Following are the limitations to modify AD computers using native tools like Windows PowerShell:

  • We can run this script only from the computers which has Active Directory Domain Services role.
  • With each filter and conditions, the script will get longer and complicated.
  • Troubleshooting these scripts requires extensive AD and scripting expertise

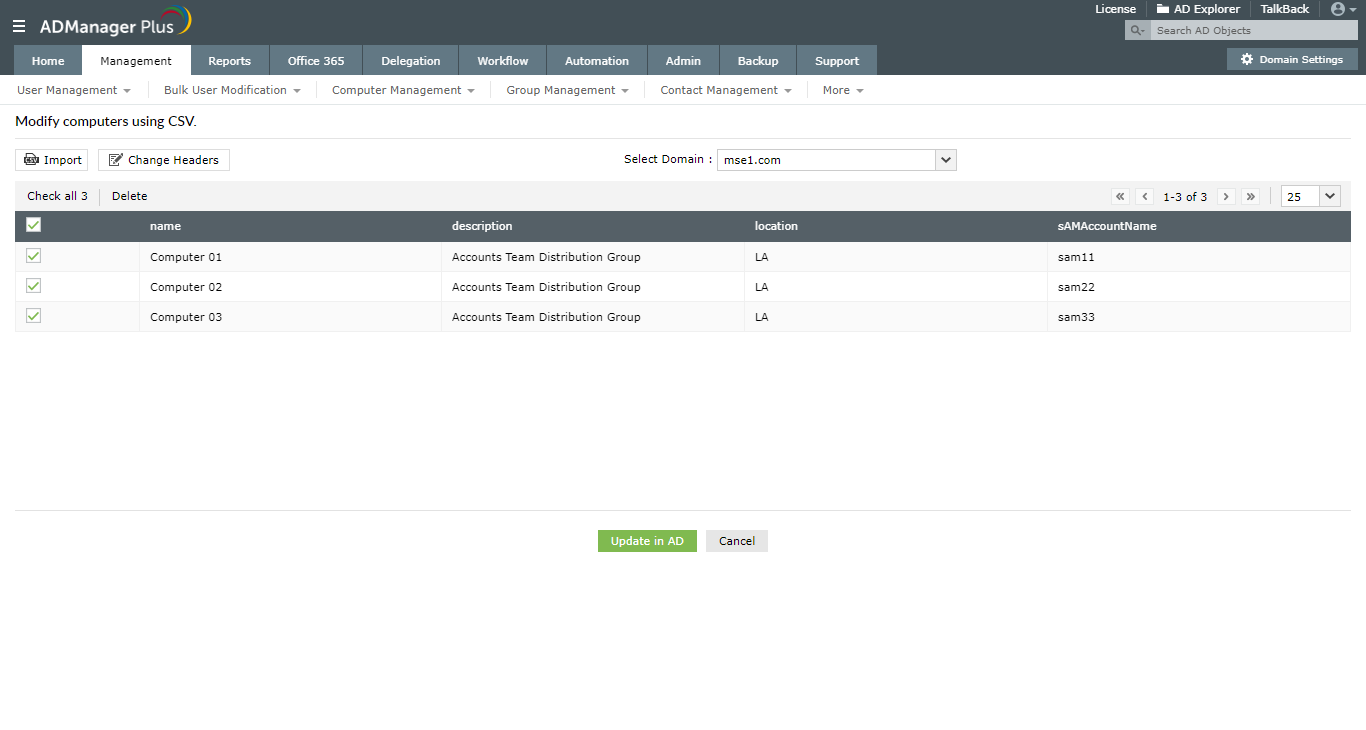
ADManager Plus can help you modify AD computers in bulk with just a CSV file in a simple and intuitively designed UI.

Manage AD computer attributes in bulk with ADManager Plus.

  Get 30-day free trial.
  • Embark on your script-free AD management, reporting, and automation journey with ADManager Plus.
  •  
     
  • By clicking 'Start your free trial now', you agree to processing of personal data according to the Privacy Policy.
  • Thanks
  • Your download should begin automatically in 15 seconds. If not, click here to download manually.

Related Powershell How-to Guides:

The one-stop solution toActive Directory Management and Reporting

Email Download Link