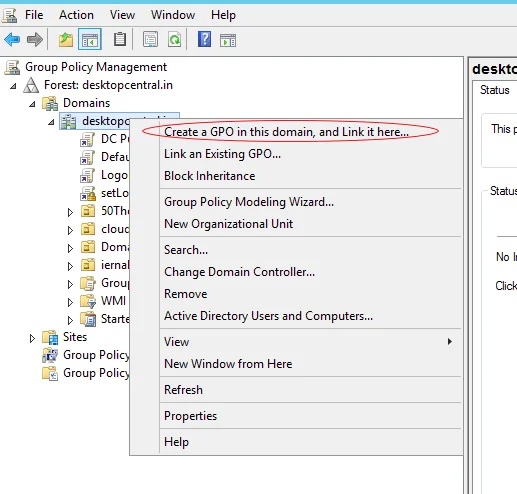
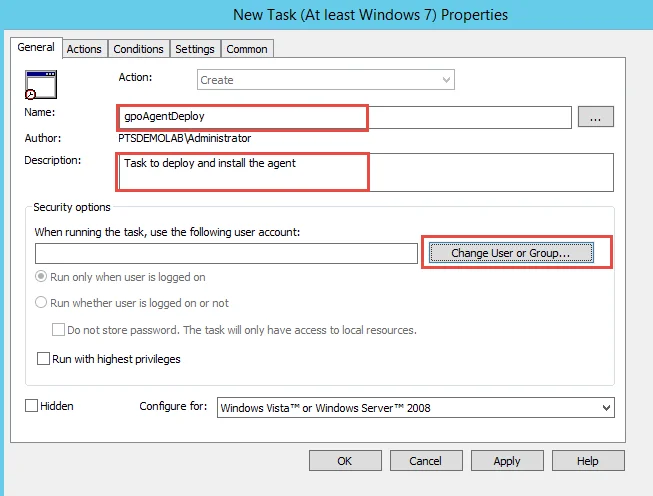
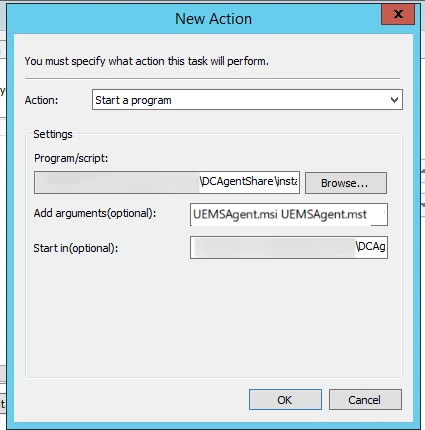
Install Agents Using GPO Scheduler
Agents can now be installed in an Active Directory environment using the scheduler option. When the installation process is initiated with the Scheduler, it is triggered in the time specified while configuring the same, unlike a normal GPO script where the installation happens when a device is turned on or when a user logs in. Windows GPO Tool can be used to install agents via scheduler.
If a new GPO policy is applied, the installation for existing installed agents will be skipped on all machines. The remaining agents will be installed according to the new policy.
Advantages
- Automatically installs the agent more quickly, as it executes during the next GPO refresh cycle, unlike GPO Startup which requires computer restart
Disadvantages
- Complex to configure via traditional GPO editor.
For Endpoint Central version 10.1.2124.1 and above, it is recommended to use exe based agent installation.
Steps
How to install agent in EXE format via GPO Scheduler
- Download the agent package
- Open the server web console.
- Navigate to Agent -> Computers.
- Select the required remote office.
- Click the Download Agent button.
- Rename the file to LocalOffice_Agent.exe.
- Download the script(SHA 256 Checksum: Loading...)and place it in a folder.
- Open the AD machine to configure GPO.
- GPO configuration - Creating/Provisioning Network Share.
- Log on to the Windows Server machine as an administrator.
- Open the Server Manager Console by selecting it from the Administrative Tools menu.
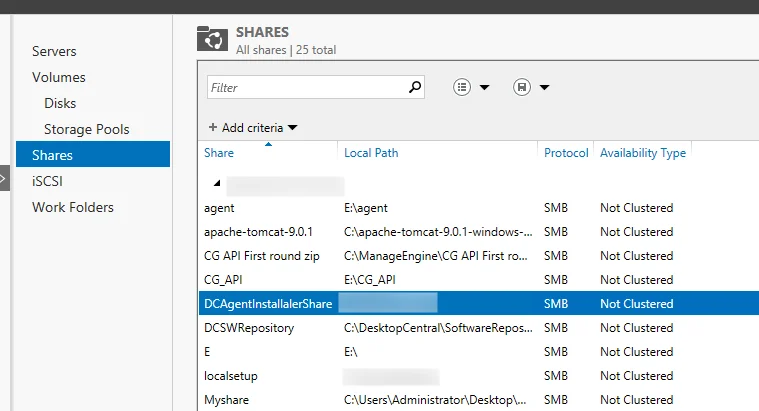
- From the Server Manager Dashboard, select File and storage devices.
- Now, open the Shares tab, select SYSVOL and click on Open Share.
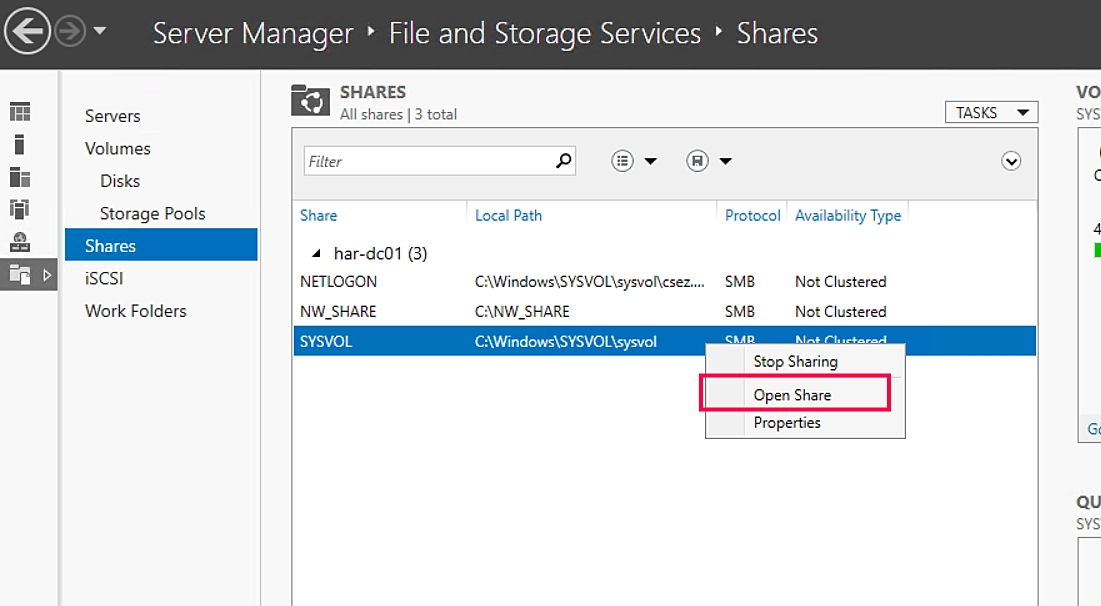
- Navigate to the scripts folder and create a new folder.
- Paste the InstallAgentgposched.ps1 and LocalOffice_Agent.exe downloaded above into the created folder.
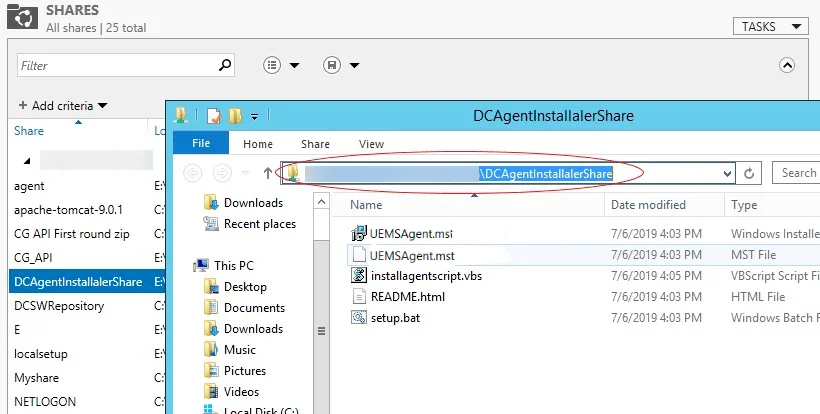
- Now copy the network path, as it is needed in later steps. Network file path format - \\Domain name\SysVol\Domain name\Policies\{ID}\Machine\Scripts\Startup.
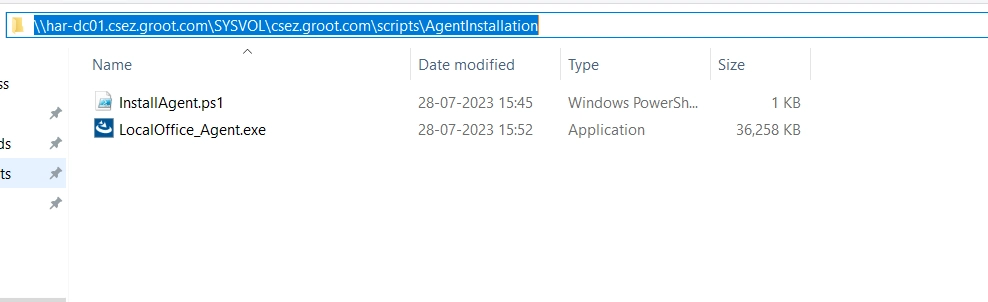
...Remaining EXE installation content continues in the same converted structure...
- Test it in a few test machines before mass deployment.
- Execute the command gpupdate /force on the client machine with admin privileges to trigger the GPO task.
- The task result can be viewed on the task scheduler tool in the client machine.
- If the scheduled task fails, remove the computer name from the network path. For example, if the network path copied earlier is \\DCNAME.zoho.com\SYSVOL\zoho.com\scripts\agent_reinstallation\psinstallagent.ps1, remove the computer name and change it to \\zoho.com\SYSVOL\zoho.com\scripts\agent_reinstallation\psinstallagent.ps1 and check again.
Troubleshooting steps
Please reach out to support with the below files if issue persists.
- GPO result from the client machine.
- In client machine, open command prompt with administrator mode.
- In command prompt, navigate to C:\ and run the command gpresult /h gprep.html.
- Kindly upload gprep.html file under C:\ from the client machine.
- Event Logs
- Export and upload application and system event viewer logs.
How to install agent via MSI format in GPO Scheduler
- To download the agent package, Navigate to the server web console -> Agent -> Deployment -> Agent Installation.
- Under Using Directory Services, in the GPO tab, click on Download Agent.
- Select the required office.
- Download the Zip file, extract it and follow the steps given below.
This can be a local office or a remote office depending on which computers you want to install agents in.
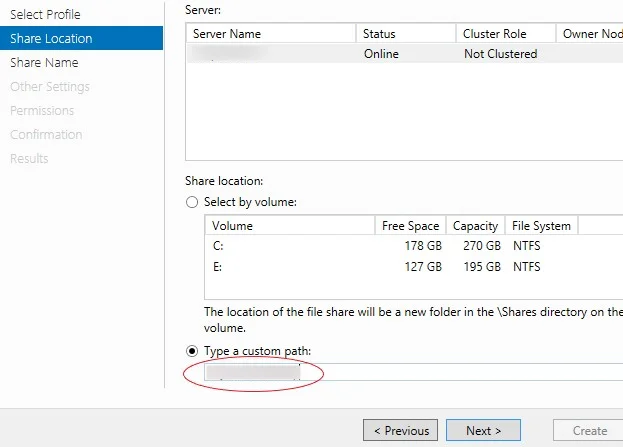
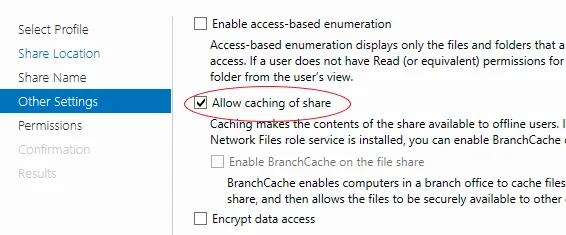
Creating/Provisioning Network Share
...All MSI installation steps should continue using the same clean structure...