Integrating Endpoint Central On-Premise with Power BI Desktop
Introduction
The Endpoint Central Custom Connector enables users to fetch and analyze data from Endpoint Central On-Premise directly within Power BI Desktop. This integration allows administrators to build powerful visualizations and reports using endpoint management data from their Endpoint Central environment.
This document provides step-by-step guidance on integrating Endpoint Central On-Premise with Power BI Desktop using the Endpoint Central Custom Connector to retrieve and visualize data.
Table of contents
Prerequisites
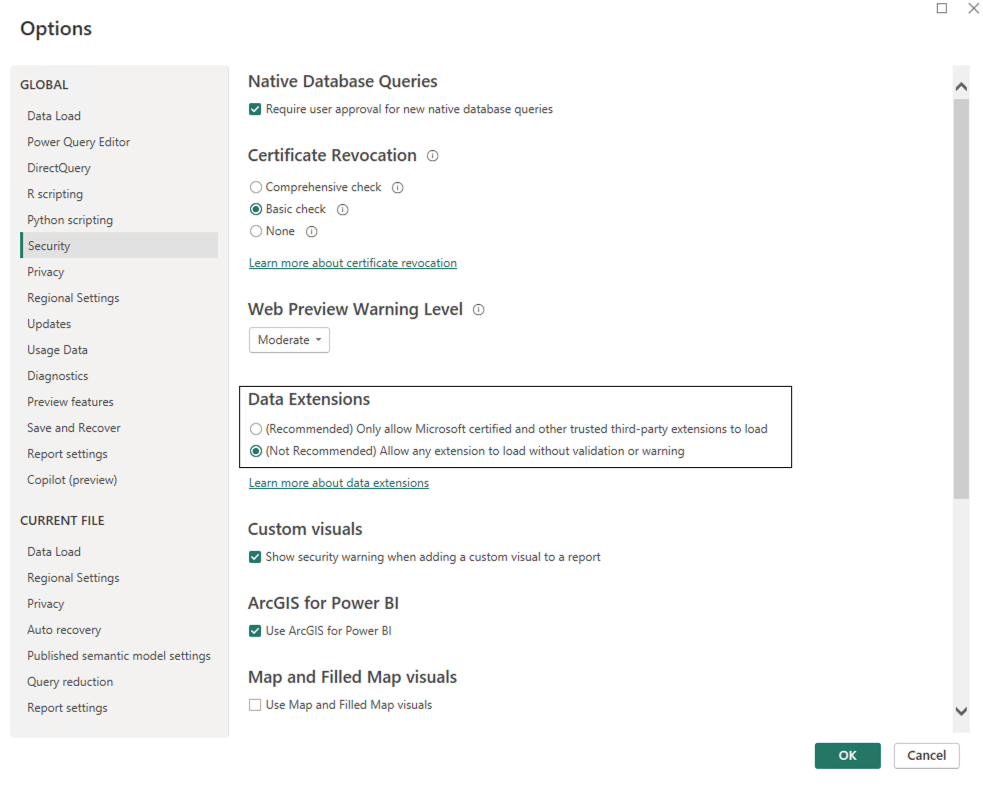
- Enable the Power BI Desktop option to bypass custom connector trust verification:
- Open Power BI Desktop.
- Go to File > Options > Security.
- Enable the option “Allow any extension to load without validating or warning”.
Integration Steps:
- Download the Endpoint Central Connector file.(SHA Checksum: 757baae9a92c708924ec0f85d9e82fc32e0ae0f44f2af56aa45f6dabc5301c72)
Move the downloaded file to the following directory:
<Your Documents Folder>\Power BI Desktop\Custom Connectors
ExampleC:\Users\Administrator\Documents\Power BI Desktop\Custom Connectors
Create a folder named Custom Connectors if it does not already exist.
- Close and reopen Power BI Desktop to load the connector.
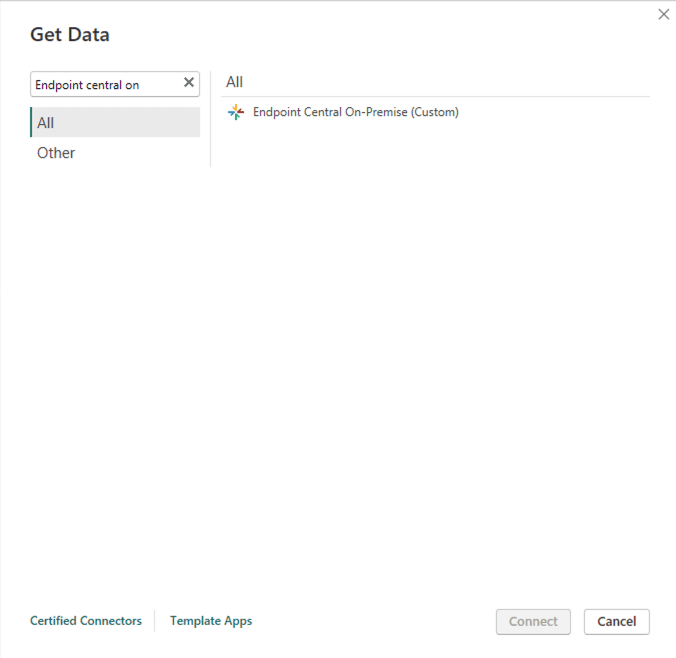
- In Power BI Desktop, go to Get Data, search and select Endpoint Central On-Premise, and click Connect.
- Enter the Endpoint Central Server URL using HTTPS and click OK.

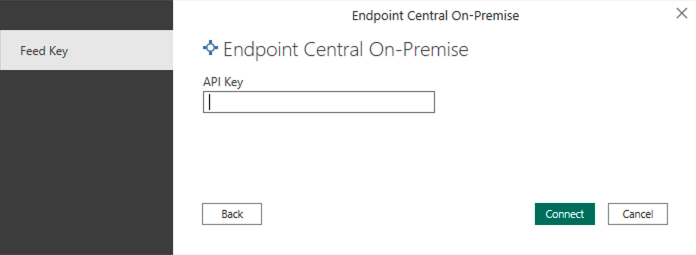
- Generate and enter the Endpoint Central API Key with Admin privileges. To generate API key in Endpoint Central, refer to this document.
- Click Connect to proceed.
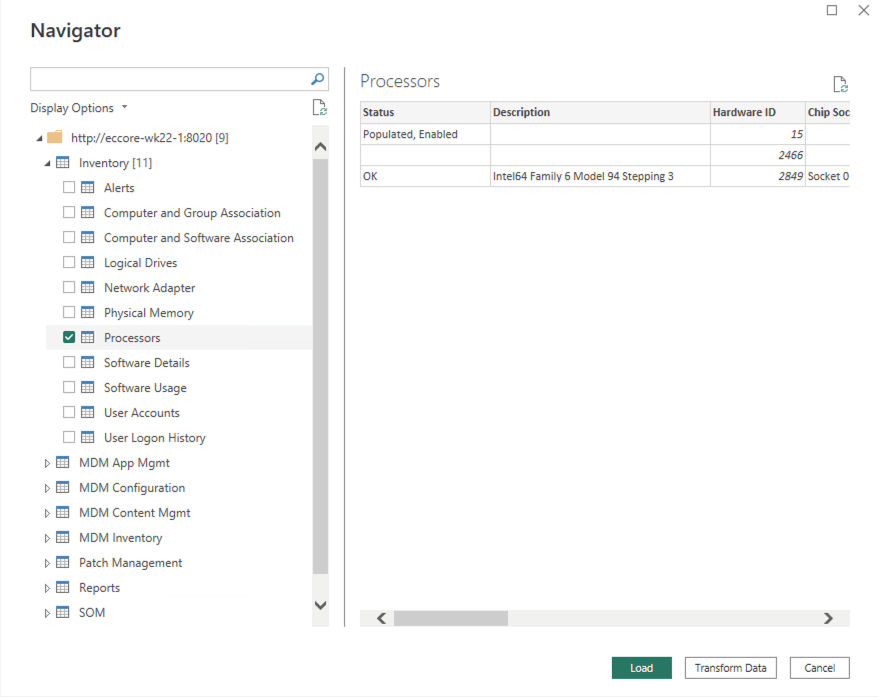
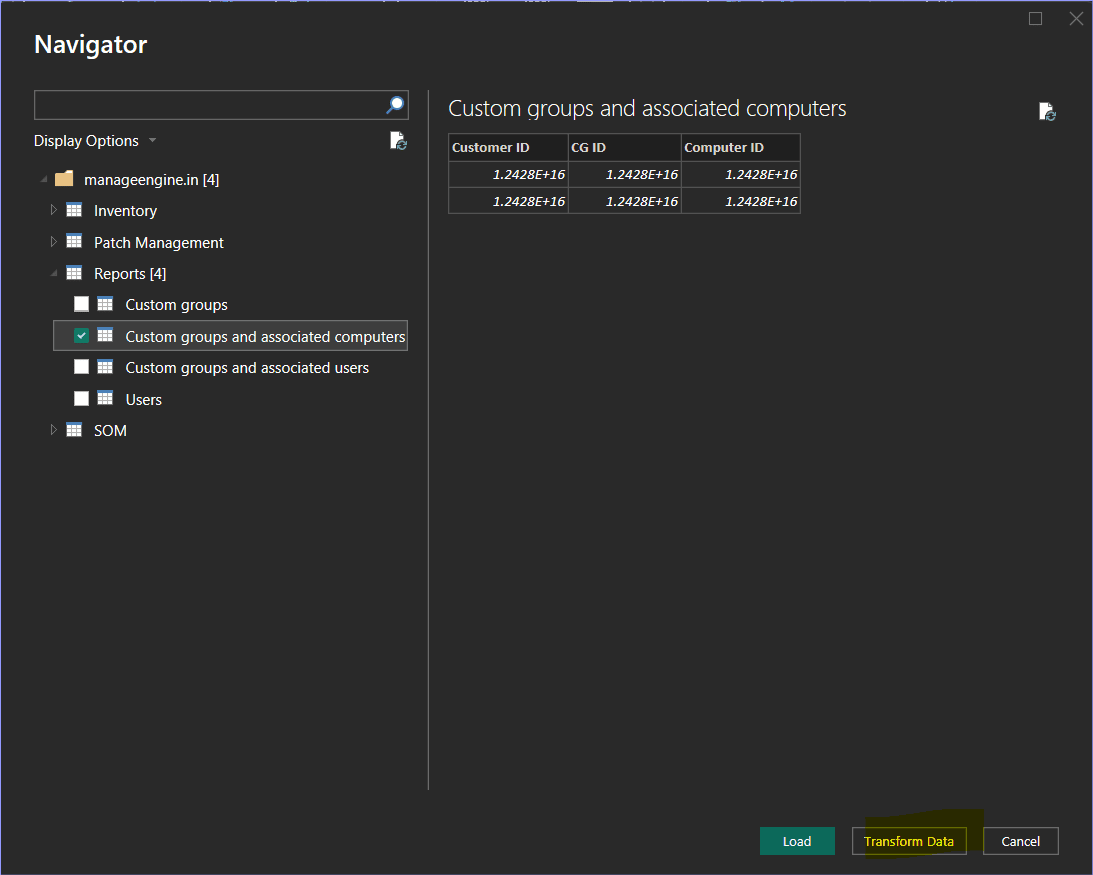
- The connector will list all available modules for your account. Expand the drop-down list and select the required tables under each module.
- A sample data preview will appear in the right-hand pane for verification.
Handling Exponential Data Format
Some columns may display data in exponential format. To make these values readable, use one of the following methods:
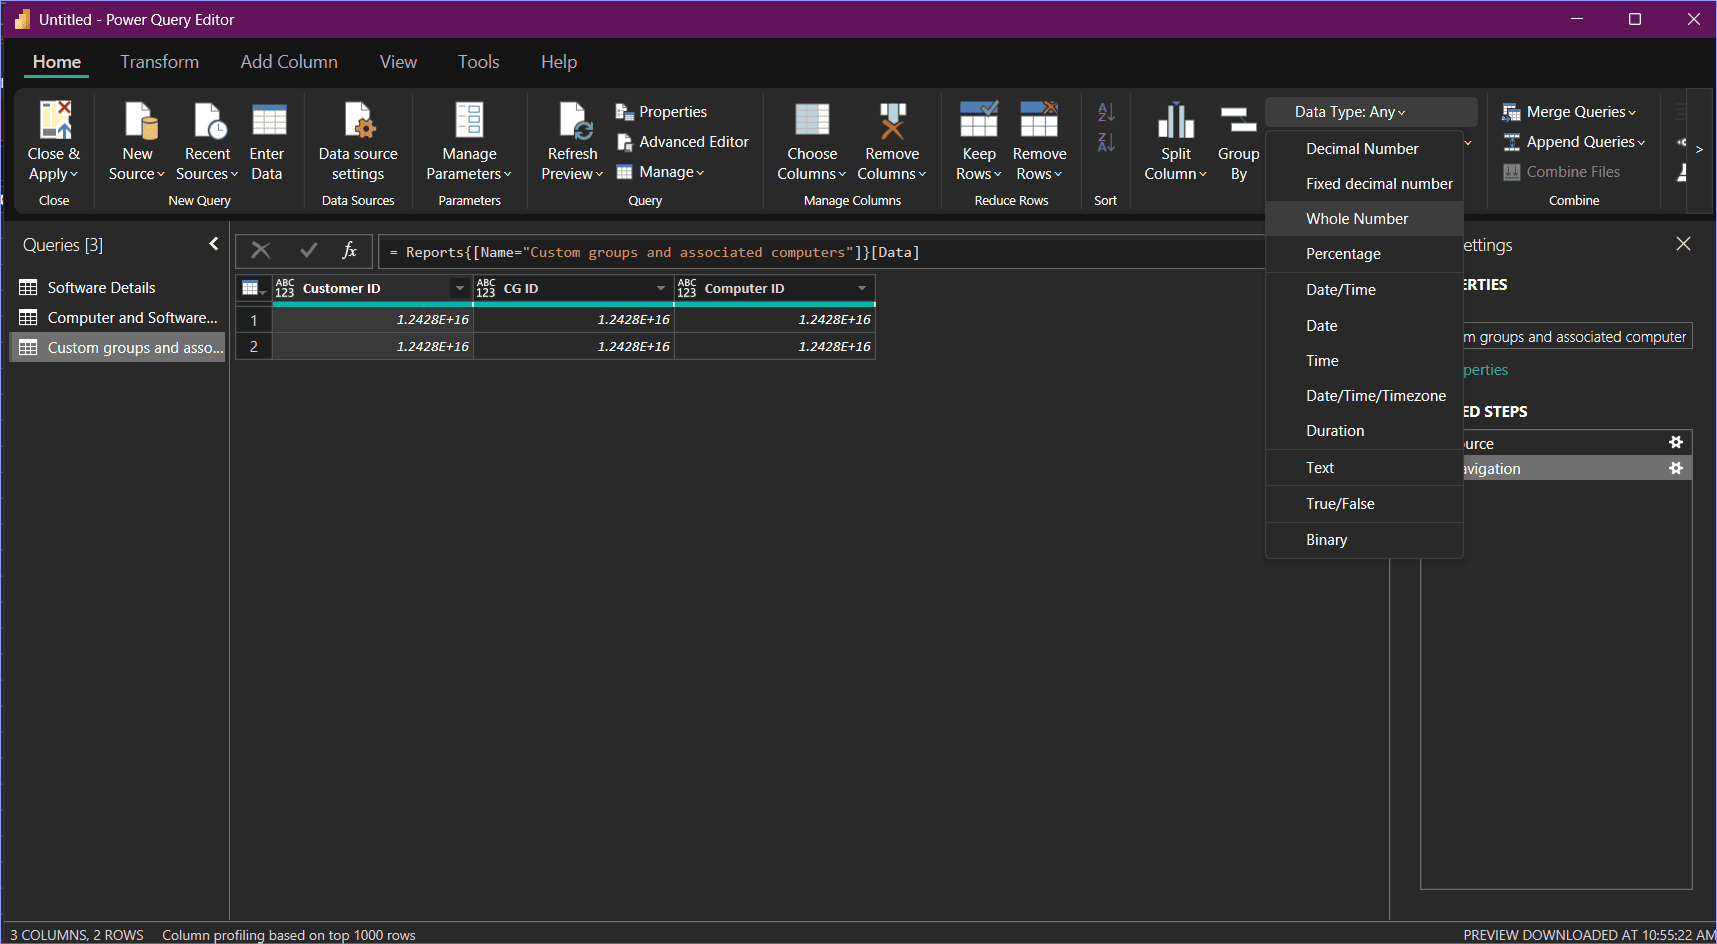
Option 1: During “Transform Data”
- Identify the affected column in the data preview window and click Transform Data.
- In the Power Query Editor, select the column, go to Data Type, and choose Whole Number.
- Click Apply & Close.
Option 2: After Data Load
- In the Table View, select the column.
- Go to Column Tools > Data Type and select Whole Number.
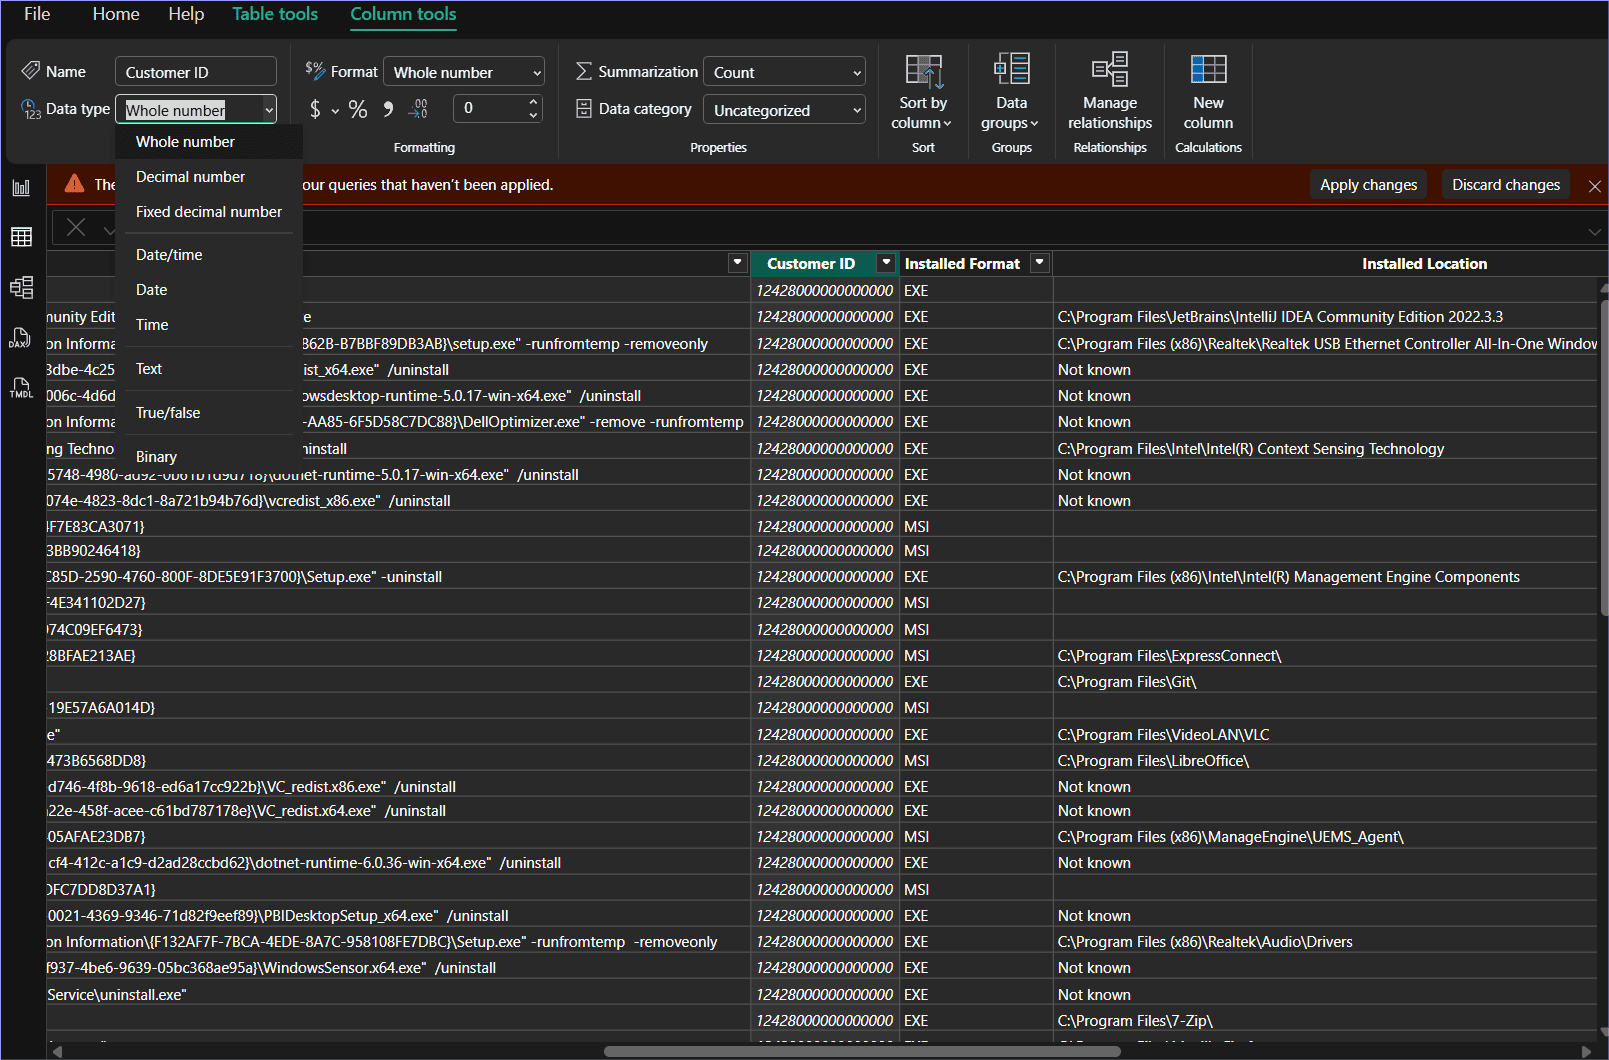
Note: This is a one-time action. Once updated, Power BI will retain the data type even after future refreshes.
Saving and Creating Dashboards
- Use the imported data to create custom reports and dashboards in Power BI.
- Go to File > Save and store your project as a .pbix file for future use.
Troubleshooting Steps
Ensure Latest Power BI Desktop Version
Verify that you are using the most recent version of Power BI Desktop.
Enable Diagnostic Logging
- Open Power BI Desktop.
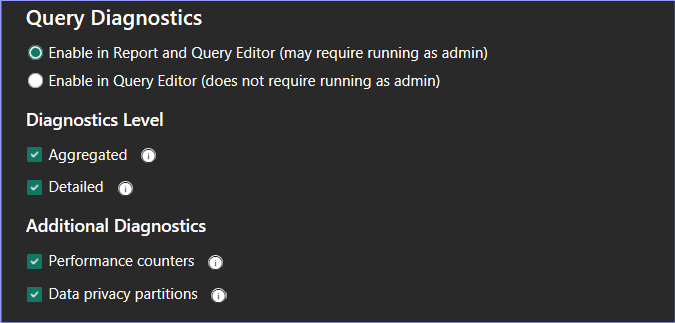
- Go to File > Options and settings > Options > Diagnostics.
- Check Enable tracing and enable all Diagnostics levels and Additional Diagnostics options.
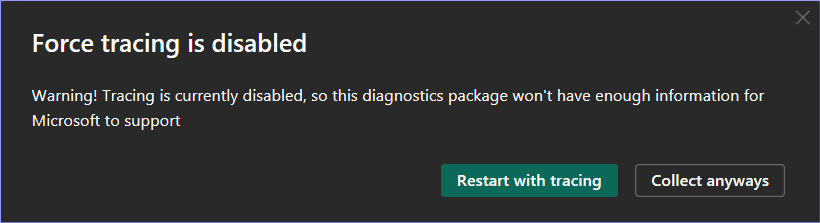
- Click Collect Diagnostic Information and choose Restart with Tracking when prompted.
- After restarting, confirm that all selected options remain active.
Reproduce the Error
- Go to File > Options and settings > Data Source Settings.
- Clear all existing permissions.
- Repeat the steps that trigger the error to generate logs.
Locate Trace Logs
Navigate to the Traces folder:
%LocalAppData%\Microsoft\Power BI Desktop\- Zip the Traces folder.
Collect Diagnostic Information
- Go to File > Options and settings > Options > Diagnostics > Collect Diagnostic Information.
- Choose the destination folder for the zip file.
- Power BI will create a file named PBIDesktopDiagnosticInfo.<Date>.zip in the selected location.
- Share both the trace and diagnostic zip files with the Endpoint Central support team for analysis.