Managing Schedules
Password Manager Pro provides the option to quickly view and edit the schedules created by users and system at one place, thus helping IT admins to easily manage all the schedules. Users can also enable, disable, or delete a schedule.
Through this document, you will be able to perform the following operations:
- View Schedules
- Schedule Actions
2.1 Schedule Details
2.2 Edit a Schedule
2.3 Enable or Disable a Schedule
2.4 Delete a Schedule
- Filter
- Search
Navigate to Admin >> Manage >> Scheduled Tasks.
1. View Schedules
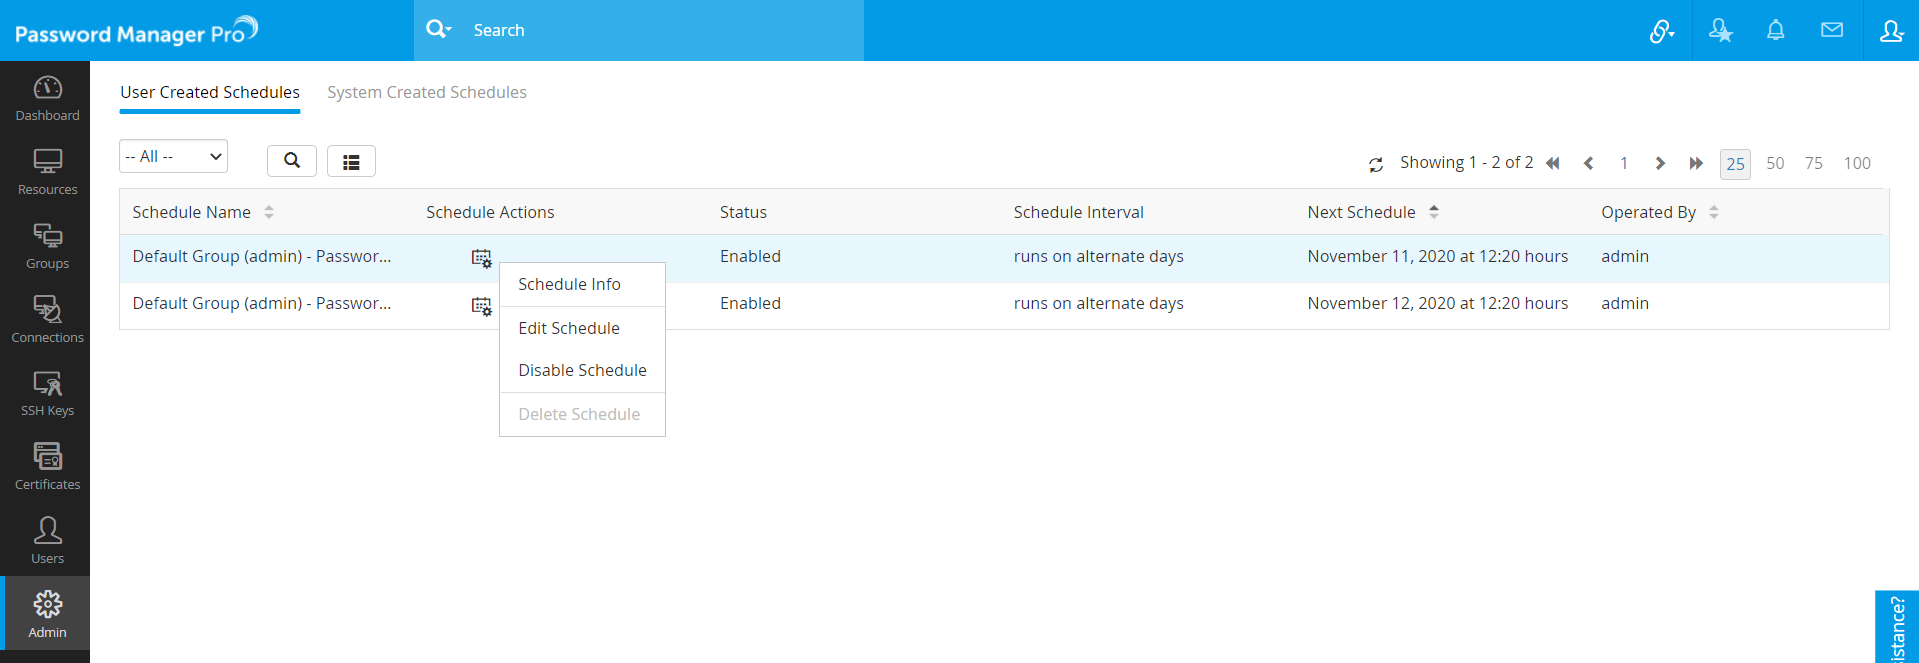
From the Scheduled Tasks page, you will be able to view both User Created Schedules and System Created Schedules. The list includes details such as:
2. Schedule Actions
Password Manager Pro provides schedule actions that helps you perform the following tasks:
- View schedule detail for system created schedules.
- Edit any user created schedule.
- Enable or disable any user created schedule.
- Delete any user created schedule.
2.1 Schedule Details
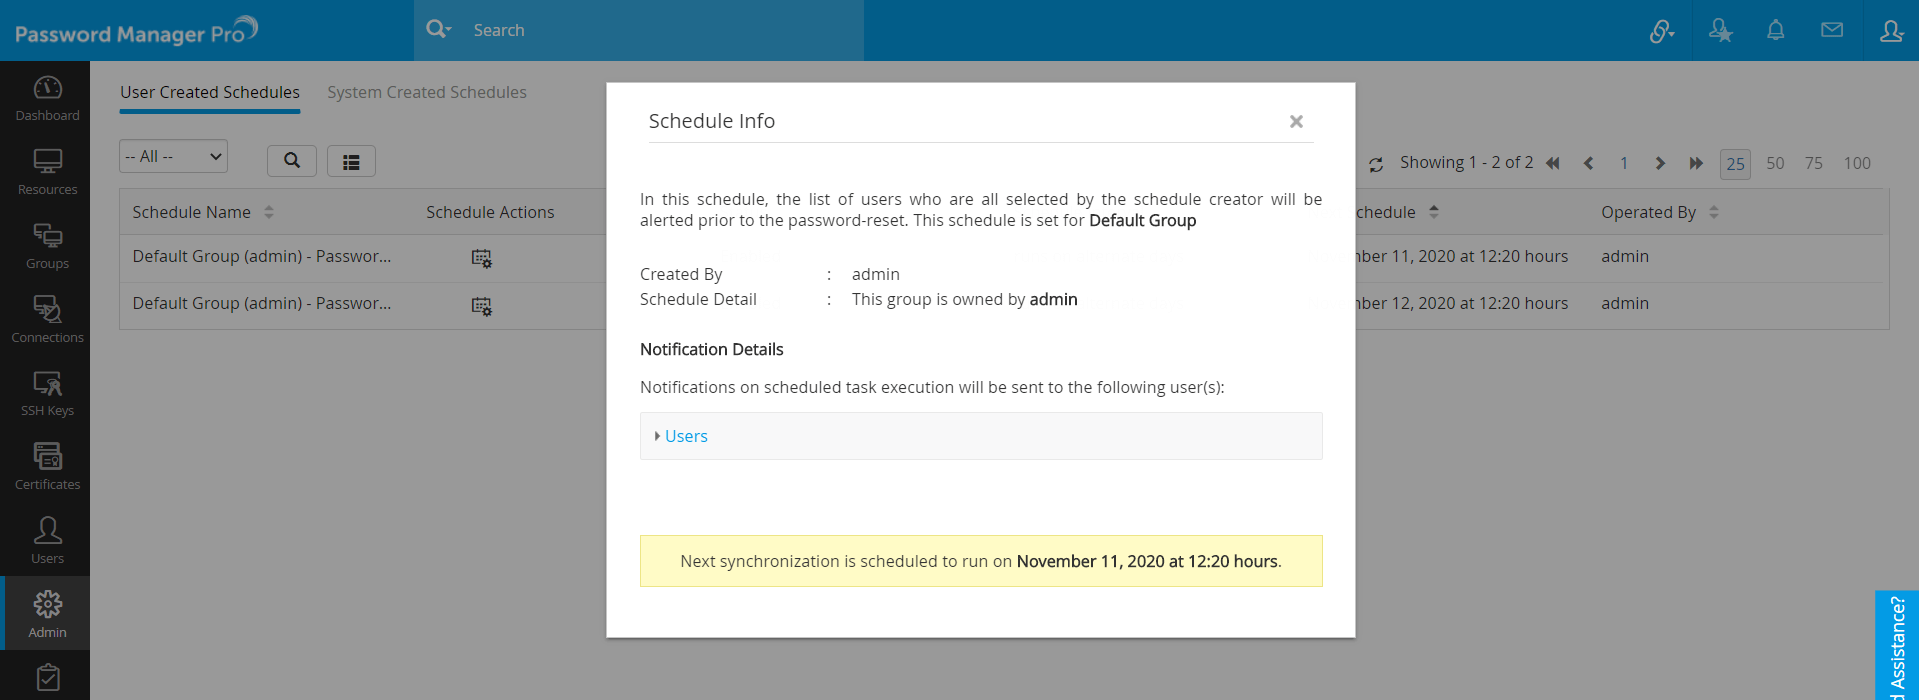
- Click the Schedule Actions icon beside the schedule whose details you want to view and select Schedule Info from the drop down.
- You can now view schedule details such as Schedule Description, Schedule Type, Schedule Owner, Notification Details and the next Scheduled Time.

2.2 Edit a Schedule
Here, you will be able to view the current status of every schedule at the top of edit schedule window. Use this option to edit the schedule interval, date and schedule start time of any user created schedule. You can also edit the list of recipients for notification after the execution of each schedule. The edit schedule option is not available for system created schedules.
- Click the Schedule Actions icon beside the resource whose schedule you want to edit and select Edit Schedule from the drop down.
- In the pop-up that appears, follow the steps and mention the required details.
- Click Finish.
Note: You can also configure the users to be notified after the execution of each schedule.
2.3 Enable or Disable a Schedule
Use this option to enable or disable the user-created schedules. This option is not available for the system-created schedules. However, you can disable system created password synchronization schedules. Click the Schedule Actions icon beside the schedule which is to be enabled/disabled and select Enable Schedule or Disable Schedule from the drop down.
2.4 Delete a Schedule
This option helps you delete any user-created schedule.
- Click the Schedule Actions icon beside the schedule you want to delete and select Delete Schedule from the drop down.
- Click OK in the pop-up that appears to delete the schedule.

3. Filter
Using this option, you can filter and view the list of schedules. To use filter, click the Filter icon present in the top-left corner and filter the schedules by choosing the scheduled task's execution time interval.
4. Search
The search option helps you to find any schedule by specifying the schedule name or schedule operator name. To search a schedule, click the Search icon present in the top and search any schedule by specifying the schedule name or operator name.

