Configuring SAML SSO for StatusDashboard
These steps will guide you through setting up the single sign-on functionality between ADSelfService Plus and StatusDashboard.
Prerequisite
-
Login to ADSelfService Plus as an administrator.
- Navigate to Configuration → Self-Service → Password Sync/Single Sign On → Add Application, and select StatusDashboard from the applications displayed.Note: You can also find StatusDashboard application that you need from the search bar located in the left pane or the alphabet wise navigation option in the right pane.
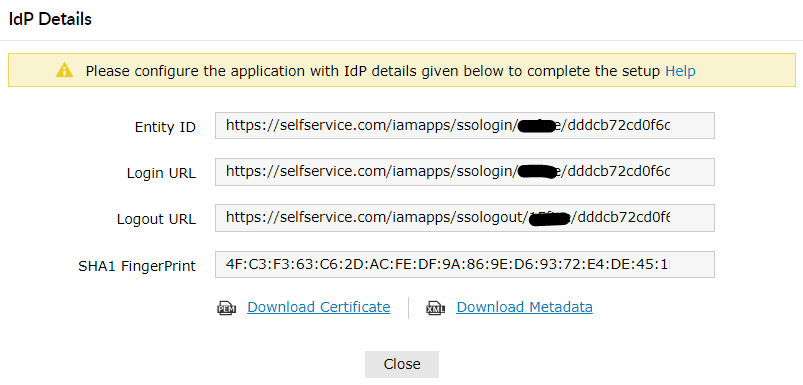
- Click IdP details in the top-right corner of the screen.
-
In the pop-up that appears, copy the Login URL and download the SSO certificate by clicking on the Download Certificate.
Note: StatusDashboard expects Login URL must contains valid domain name [ .com, .in, .eduetc. ] as hostname.
Example :- Valid format : http://selfservice.com/iamapps/ssologin/statusdashboard/ed0f5e921b75e8b5eab7bbfdf886597303c417f3
- Invalid format : http://machine-1/iamapps/ssologin/statusdashboard/ed0f5e921b75e8b5eab7bbfdf886597303c417f3
StatusDashboard (Service Provider) configuration steps
- Log in to StatusDashboard using your administrator credentials. (https://<subdomain>.StatusDashboard.com)
-
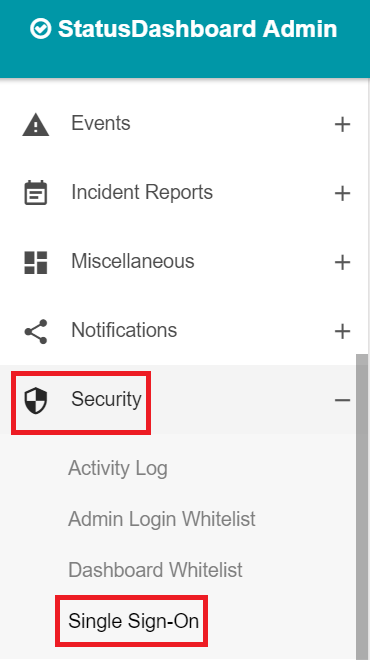
Navigate to Security → Single sign on
-
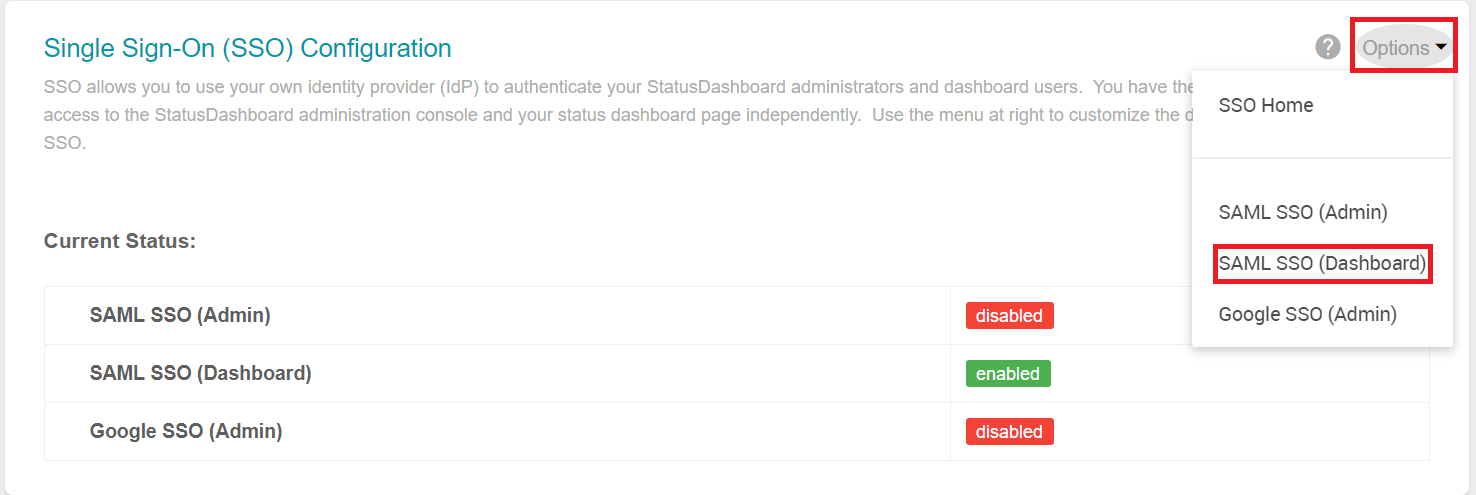
Click the drop-down and select SAML SSO(Dashboard).
-
Enable SAML dashboard status.

-
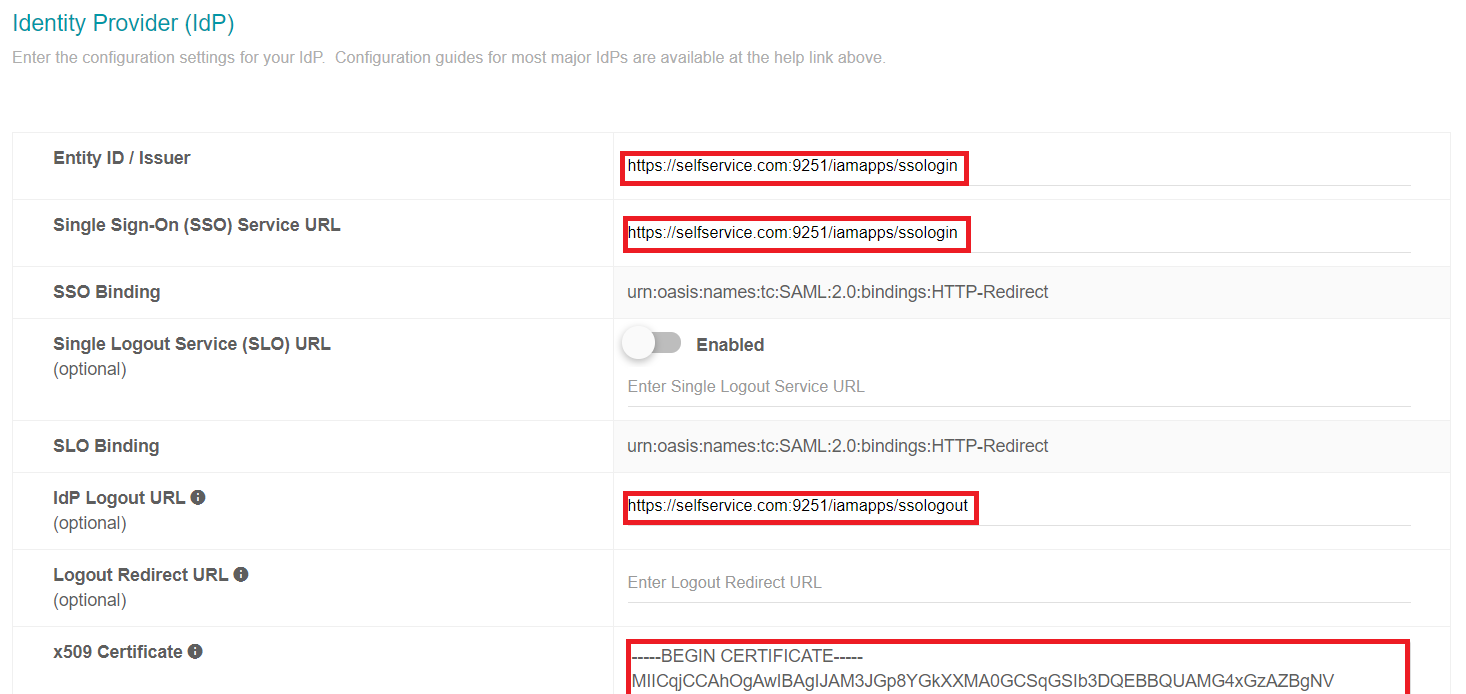
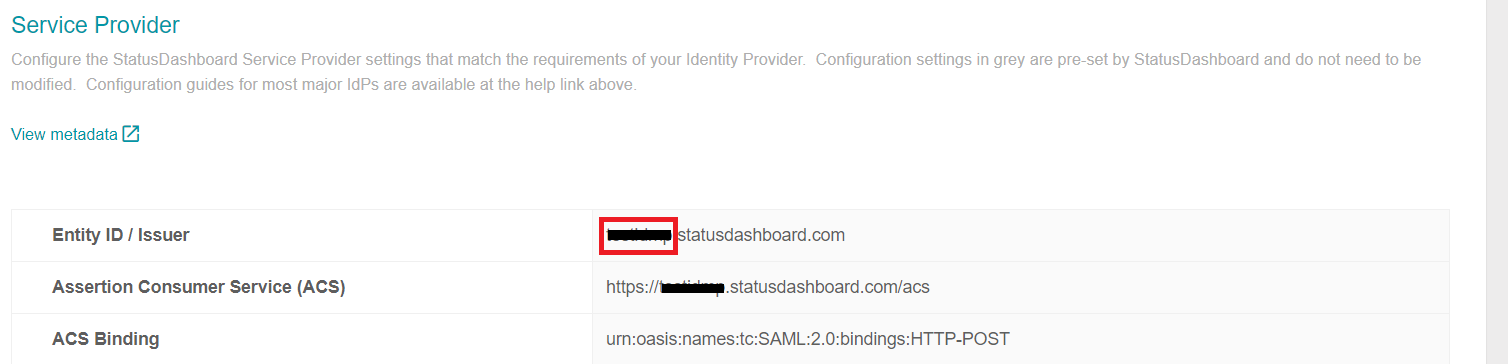
Paste the URL, copied in step 4 of Prerequisite, in the Entity ID/ Issuer and Single Sign On(SSO) Service URL field.
-
Open the downloaded certificate as a text file. Copy and paste the content it in the X.509 Certificate text field.
-
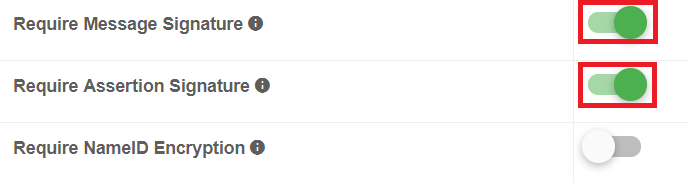
Enable Message Signature and Assertion Signature.
- You can save the configuration.
ADSelfService Plus (Identity Provider) configuration steps
- Now, switch to ADSelfService Plus’ StatusDashboard configuration page.
- Enter the Application Name and Description.
-
In the Assign Policies field, select the policies for which SSO need to be enabled.
Note: ADSelfService Plus allows you to create OU and group-based policies for your AD domains. To create a policy, go to Configuration → Self-Service → Policy Configuration → Add New Policy.
- Select Enable Single Sign-On.
- Enter the Domain Name of your StatusDashboard account. For example, if you use johndoe@thinktodaytech.com to log in to StatusDashboard, then thinktodaytech.com is the domain name.
-
Enter the SP-Identifier in the repective field. (https://<SP_Identifier>.StatusDashboard.com)
- In the Name ID Format field, choose the format for the user login attribute value specific to the application.
- Click Add Application
Note: Use Unspecified as the default option if you are unsure about the format of the login attribute value used by the application