Notification Delivery Report
The Notification Delivery Report provides a record of all notifications sent by ADSelfService Plus to administrators, managers, and end users. Each entry includes the date, time, notification name, delivery type (email, SMS, or push notification), and delivery status.
ADSelfService Plus sends notifications for the following events:
- Enrollments
- Password resets and account unlocks
- Password changes
- Verification codes for password resets and account unlocks
- Notifications to admins or managers
- Logins using a verification code
- Enrollment acknowledgements
- Directory self-updates
- Blocked accounts
- Mobile app authentication
Prerequisites
- You must have administrator or operator credentials to access the ADSelfService Plus portal.
- At least one AD domain must be configured in ADSelfService Plus.
Generating the report
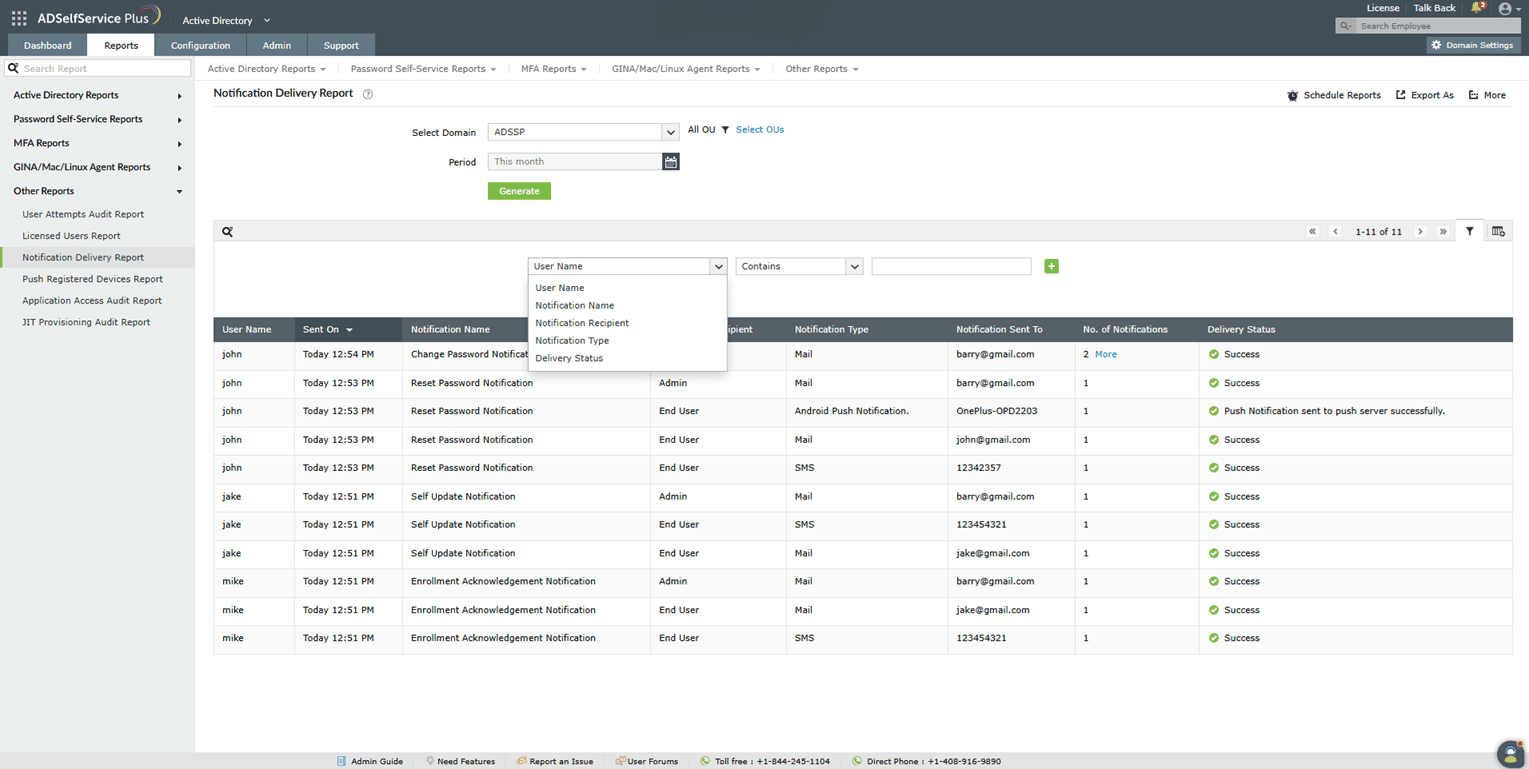
To generate the Notification Delivery Report:
- Log in to the ADSelfService Plus portal with admin or operator credentials.
- Go to Reports > Password Self-Service Reports > Notification Delivery Report.
- Select the domain using the Select Domain drop-down.
- Optionally, use the Select OUs option to scope the report to specific organizational units.
- Use the Period drop-down to set the time range for the report. Available options are: Today, Yesterday, Last 7 days, Last 30 days, This month, and Custom Period.
- Click Generate.
Report customization
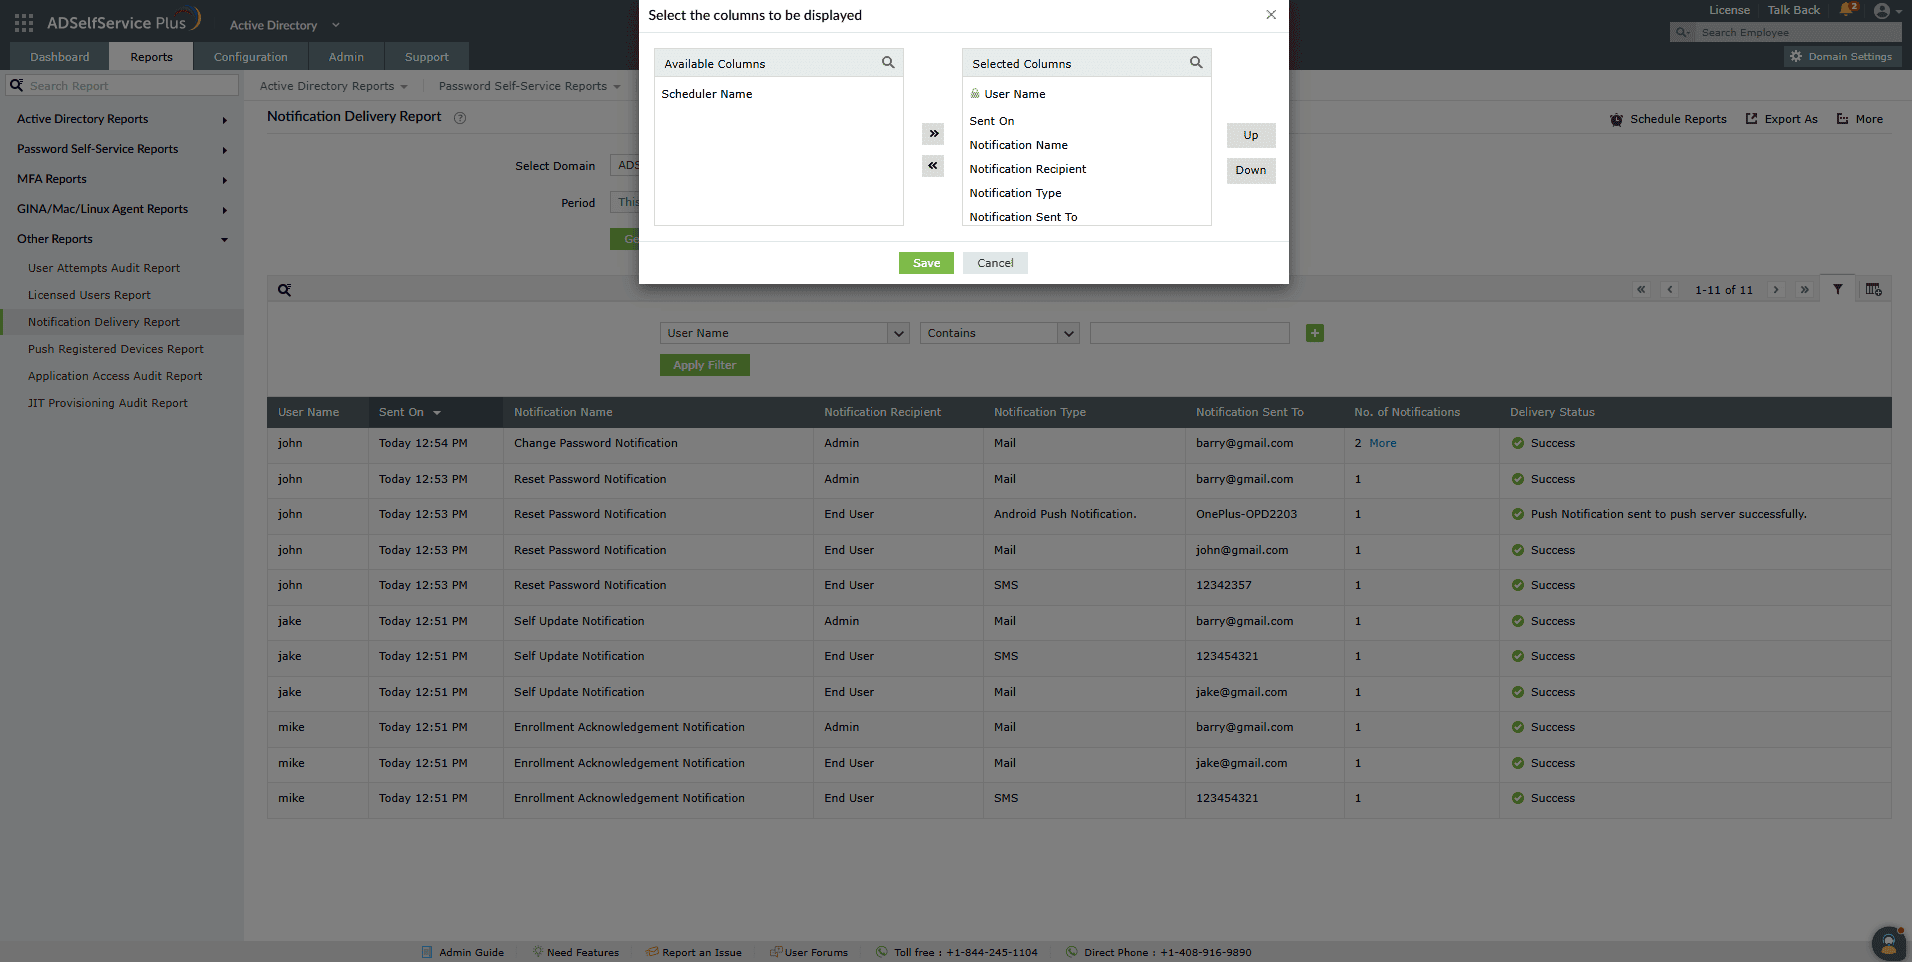
Adding or removing columns
Click the Add/Remove Columns icon at the far right of the report. In the Select the columns to be displayed pop-up:
- To add a column: select the field under Available Columns and click the right arrow (>>) to move it to Selected Columns.
- To remove a column: select the field under Selected Columns and click the left arrow (<<) to move it back to Available Columns.
Reordering columns
Select a value under Selected Columns and use the Up and Down buttons to change its position in the report.
Advanced filtering
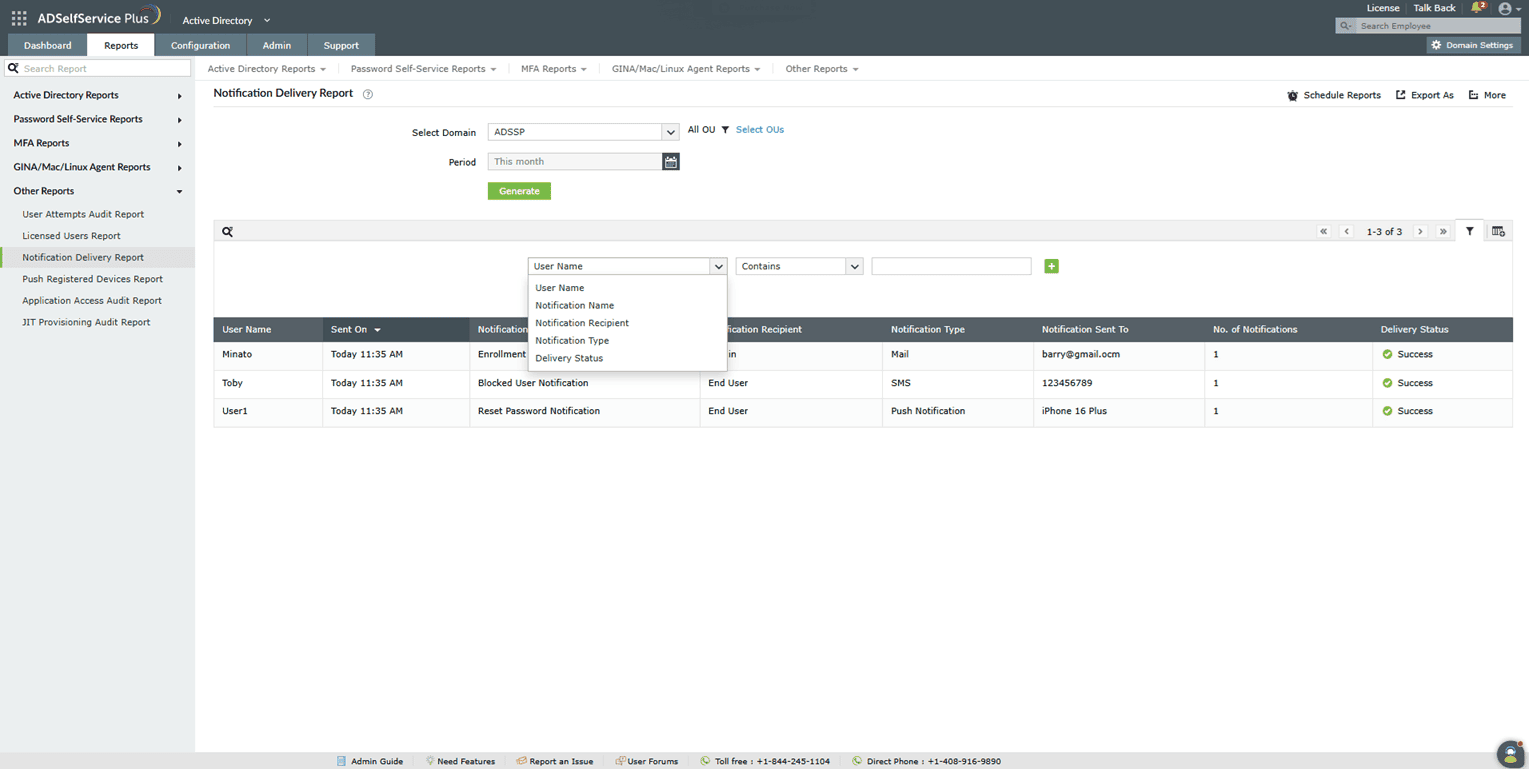
After generating the report, click the Advanced Filter icon at the far right to narrow entries by the following parameters:
- Notification Name: Filter by the name of a specific notification. Available conditions: Is and Is Not.
- Notification Type: Filter by delivery method — Email, SMS, or push notification (Android or iPhone).
- Notification Recipient: Filter by recipient type — End User, Admin, or Manager.
- User Name: Enter a username to display notifications sent to that specific user.
- Delivery Status: Filter by outcome — Success or Failure.
Sorting
Click any column header — except the Delivery Status and Notification Sent To columns — to sort the report entries in ascending or descending order.
Searching
Click the search icon to search for specific entries within the report. You can search by:
- Username
- IP Address — the IP address of the device from which the MFA attempt was made
Searches use a contains match. For example, searching for jack in the Username column returns all usernames that contain the sequence jack.
Schedule Reports, Export As, and More
- Schedule Reports — Schedule automatic report generation at set intervals, and email results to administrators or specified addresses.
- Export As — Export the report in CSV, PDF, XLS, XLSX, HTML, or CSVDE format using the option in the top-right corner.
- More — The More menu in the top-right corner provides the following options:
- Printable View: Preview and print the report.
- Send Mail: Email the report to specified addresses.
- Export Settings: Configure a custom report title and header logo to display on each exported page.
Tips
- Use the Delivery Status filter in Advanced Filtering to quickly isolate failed notifications. Repeated failures for a specific user or notification type may indicate a misconfigured email server, an invalid mobile number, or a push notification enrollment issue.
- Use the Period drop-down to narrow the report to a recent time window before applying Advanced Filters — this keeps report generation fast and results focused.
- If you need a record of notification activity for a compliance audit, use Export As to save the report in CSVDE or PDF format and configure Export Settings with a custom title and logo before exporting.
The Schedule Reports option at the top-right corner of the page can be used to schedule the generation of reports at specified intervals to set up an automated scheduler. Learn to schedule reports here.