Preferences
You can customize your personalization such as the language to be displayed, time zone, signature attested to all your replies via email and so on. Apart from this, you can also change your login password and organize tabs on the main menu.
-
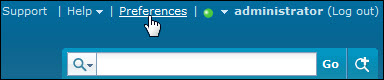
Click on Help link. Select Feedback from the list of options.
-
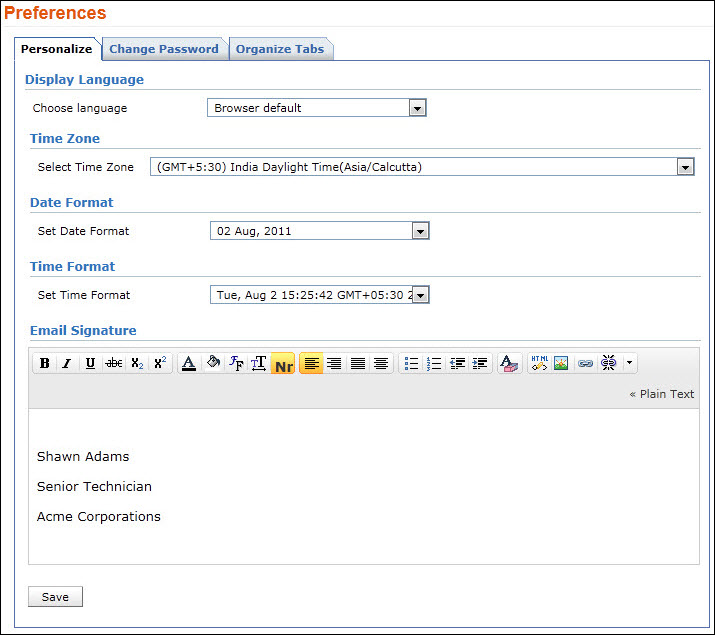
The Preference page opens to display the Personalize and Change Password tab. By default, the Personalize tab is displayed.
Personalize
The Personalize tab consists of display language, time zone, date format, time format and email signature.
-
Date/Time Format
Select the format of the date such as, 2009.09.10, from the Set Date Format drop down box. Similarly, you can also set the time format from the Set Time Format drop down box. The selected date and time format will be displayed where ever the date/time is mentioned.
Say, while creating a new request, the request created on and due by time will be displayed in the selected date and time format. The date and time is set accordingly to the selected time zone. The same can be viewed under Solution and Purchase modules.
Change Password
To change your password,
-
Click on Change Password tab.
-
Enter the Current Password in the field.
-
Next, enter your New Password.
-
Re-enter the new password in Confirm New Password field.
-
Click Save. Your login password has been changed and will be taken into effect when u log out and log into the application.
The Prefe
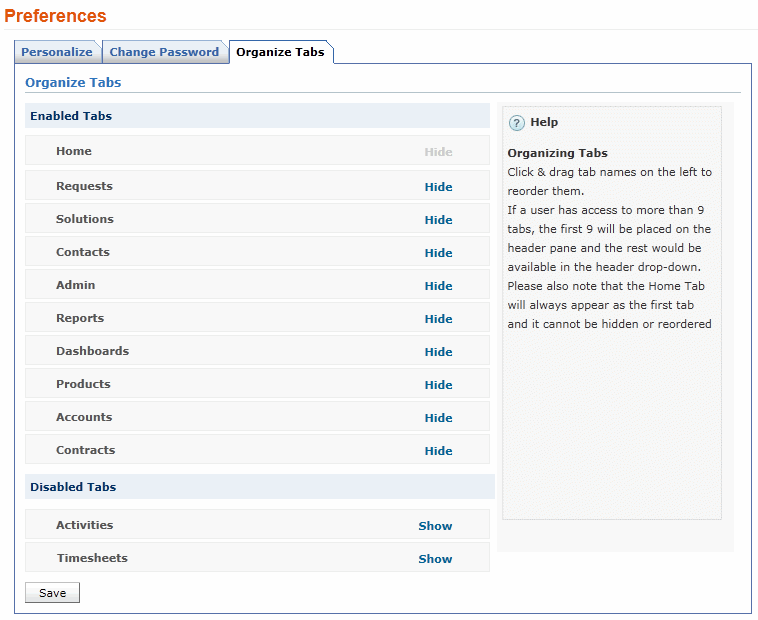
Organize Tabs
Tabs are used to quickly access the pages that are important to you. SupportCenter Plus enables you to organize the default tabs setup by the administrator. To personalize SupportCenter Plus, you can add and remove tabs, or reorder them. The changes you made to the tabs are not affected for other users.
Maximum nine tabs can exists on the header pane. The remaining enabled tabs will be available under the More Tabs  drop down. You can select a tab from the More Tabs drop down to instantly add it on the header pane and the selected tab is replaced with the last existing tab.Click Preferences --> Organize Tabs to organize your tab view on the main menu. You can also click More Tabs drop down to Organize Tabs.
NOTE:
-
The Home tab cannot be reordered or removed from the main menu.
-
The More Tabs drop down will be available only when more than nine tabs are enabled.
Add Tab
To add a tab:
-
Click the Preferences link. The Preferences Page opens.
-
Click Organize Tabs which displays both the Enabled and Disabled Tabs.
-
To add a tab click Enable link beside the tab in the Disable Tabs block. The tab is added under the Enabled Tabs block.
-
Click Save. The enabled tabs are displayed on the header pane of the application. If more than nine tabs are enabled, the remaining tabs will be available in the More Tabs drop down, from where you can instantly add tabs on the header pane.
-
Click More Tabs drop down.
-
Select the tab from the drop down which you want to add it on the header pane. The selected tab is added on the header pane replacing the last existing tab.
Remove Tabs
To remove a tab:
-
Click the Preferences link. The Preferences Page opens.
-
Click Organize Tabs which displays both the Enabled and Disabled Tabs.
-
To remove a tab click Disable link beside the tab in the Enabled Tabs block. The tab is removed and shown under the Disabled Tabs block.
-
Click Save. The disabled tabs are removed from the header pane of the application.
Reorder Tabs
To reorder tabs:
-
Click the Preferences link. The Preferences Page opens.
-
Click Organize Tabs which displays both the Enabled and Disabled Tabs.
-
Add the tabs by clicking Enable link, the tabs are added under the Enabled Tabs block.
-
To reorder the tabs in the Enabled Tabs block, hover the mouse over the tab which you like to reorder.
-
The reorder icon  appears beside the tab, click and drag the tab and place it in the desired position over an empty cell as shown in the image.
Note: The field can be placed only in the highlighted grey area.
-
To reorder more tabs, repeat steps 4 and 5.
-
Click Save. The tabs are reordered and displayed on the header pane.