Exporting Time Entries to QuickBooks
ManageEngine SupportCenter Plus provides you the ability to export time entry details to QuickBooks, a popular business accounting software used for invoicing the customers. With the ability to export time entries, this feature offers an ideal solution for the Support Reps working on customer requests that needs to be billed to the customer. To facilitate transfer of time entry data to QuickBooks, the billable time entries are tracked under the Timesheets tab and are exported as QuickBooks IIF file format.
The time entries can be sent to the QuickBooks in two steps;
Step 1 : Export as IIF file
You can export the time entries as IIF file format and save the time entries for importing into QuickBooks.
-
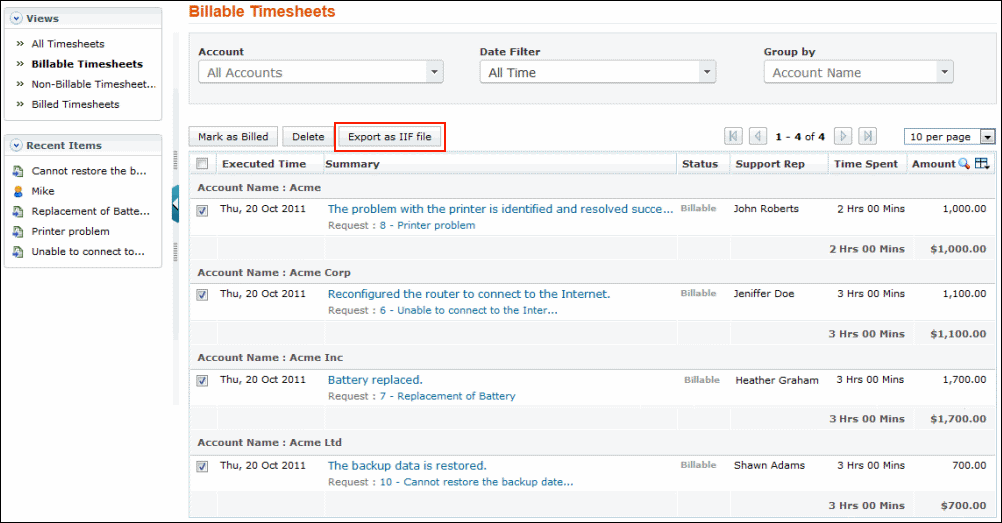
Click Timesheets tab in the header pane to open the timesheets list view page.
-
Click Billable Timesheets link under Views.
-
From the Billable Timesheets list view, select the time entries which you want to export as IIF file.
-
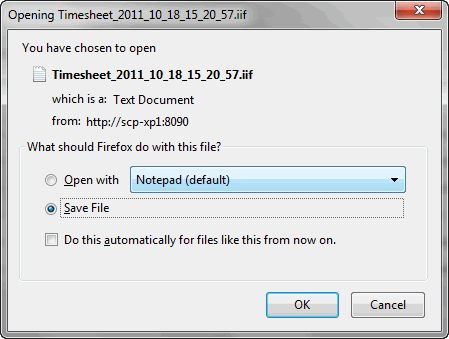
Click the Export as IIF file button. You will be asked to save the file to your disk.
-
Click OK. You will be asked to select the location to save the file.
-
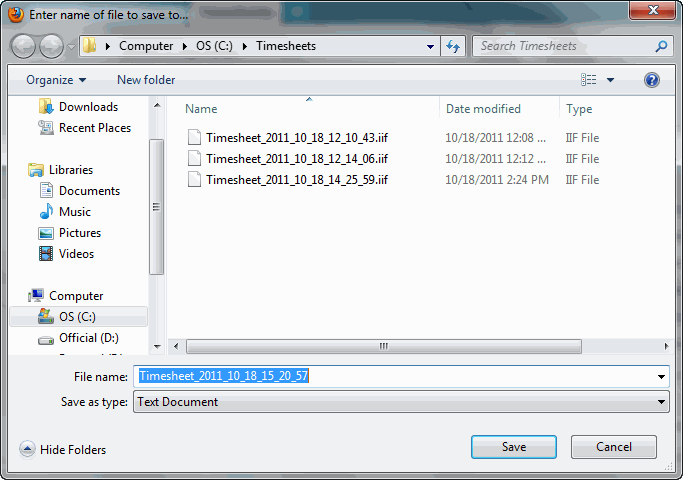
Select the location and click Save. The file is saved in the selected location.
-
A dialog box appears seeking your confirmation to mark the exported time entries as billed in the timesheets list view page.

-
Click OK to mark the selected time entries as billed. If you do not wish to mark as billed, click Cancel.
Step 2 : Import to QuickBooks
The time entries saved as IIF file can be imported to QuickBooks.
-
Open QuickBooks.
-
Select File --> Utilities --> Import --> IIF Files from the main menu.

-
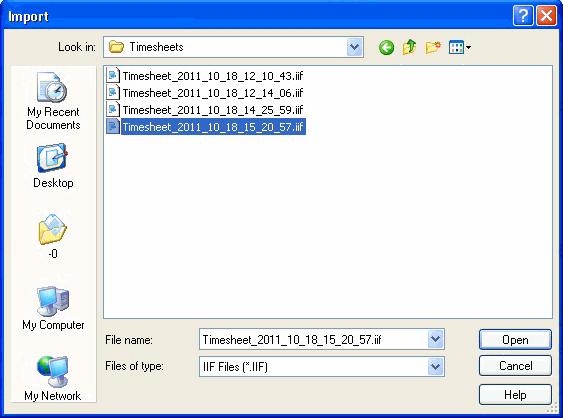
The Import dialog box appears.
-
Browse and select the IIF file to be imported.
-
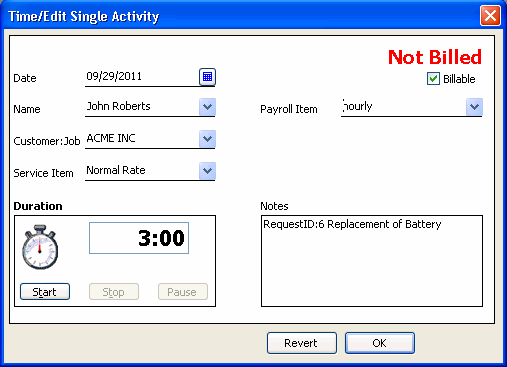
Click Open. The Time/Edit Single Activity dialog box appears. You can edit the time entries as required before the import and click OK.
-
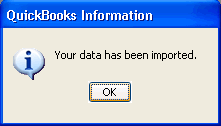
A dialog box pops up asking your confirmation on the import operation.
-
Click OK. The time entries data are imported and displayed as shown.
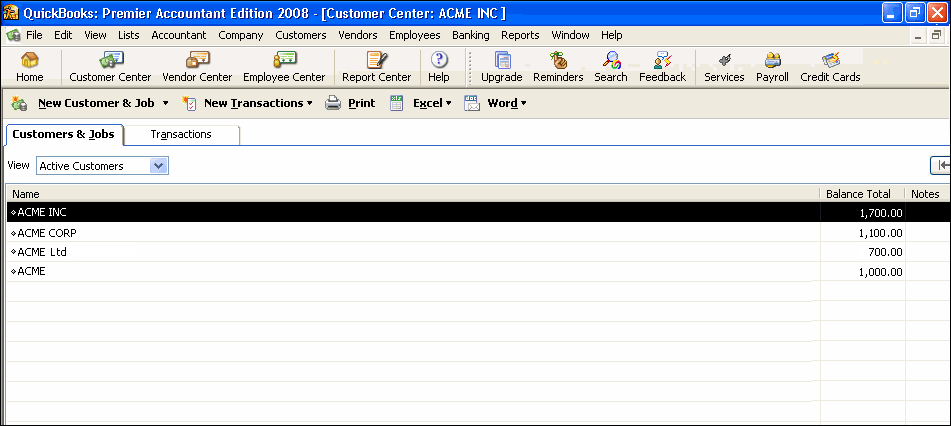
NOTE: The imported time entries can be invoiced to the customer using QuickBooks.