Multi-factor Authentication
Multi-factor authentication (MFA) offers an additional layer of security for your Analytics Plus account. It works based on a time-based one-time password, which can be generated using any authenticator application. On enabling multi-factor authentication, every user who logs into Analytics Plus will need to provide an additional verification code during authentication.
Note: The multi-factor authentication functionality is not supported for Active Directory and SAML users.
Set up multi-factor authentication
Follow the steps below to configure multi-factor authentication in Analytics Plus.
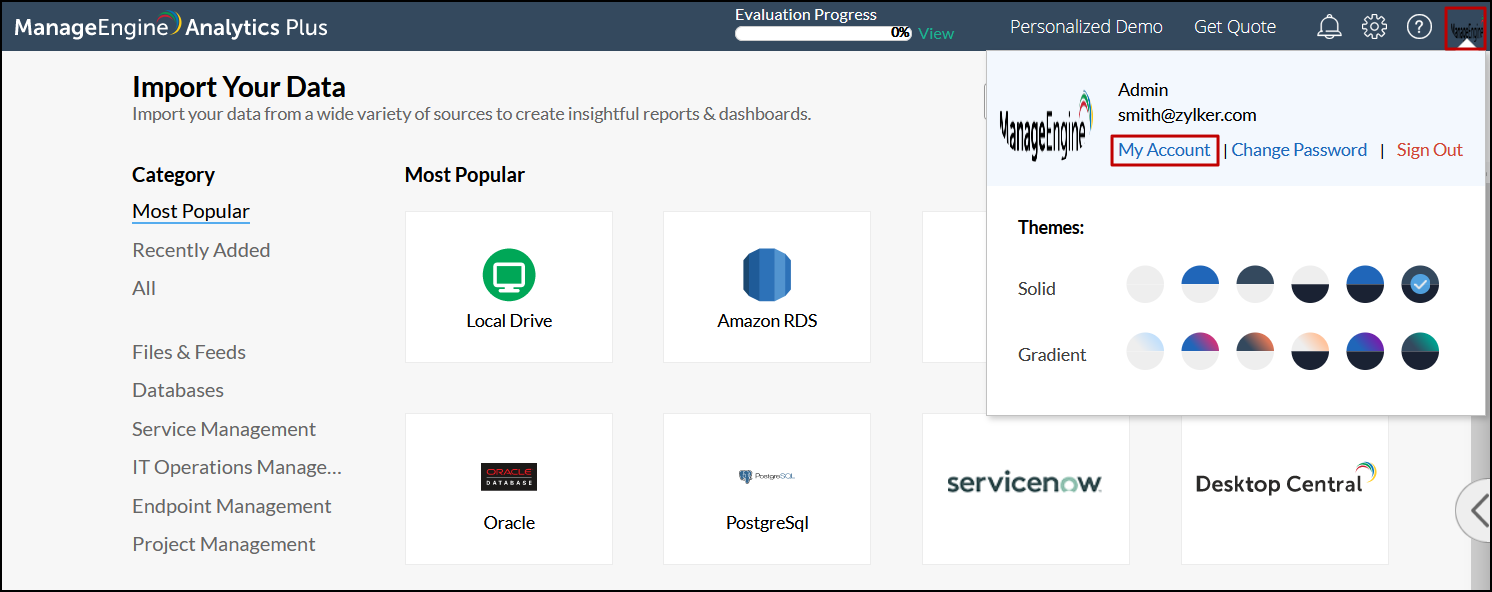
Navigate to the profile icon on the top right corner, and select the My Account link.
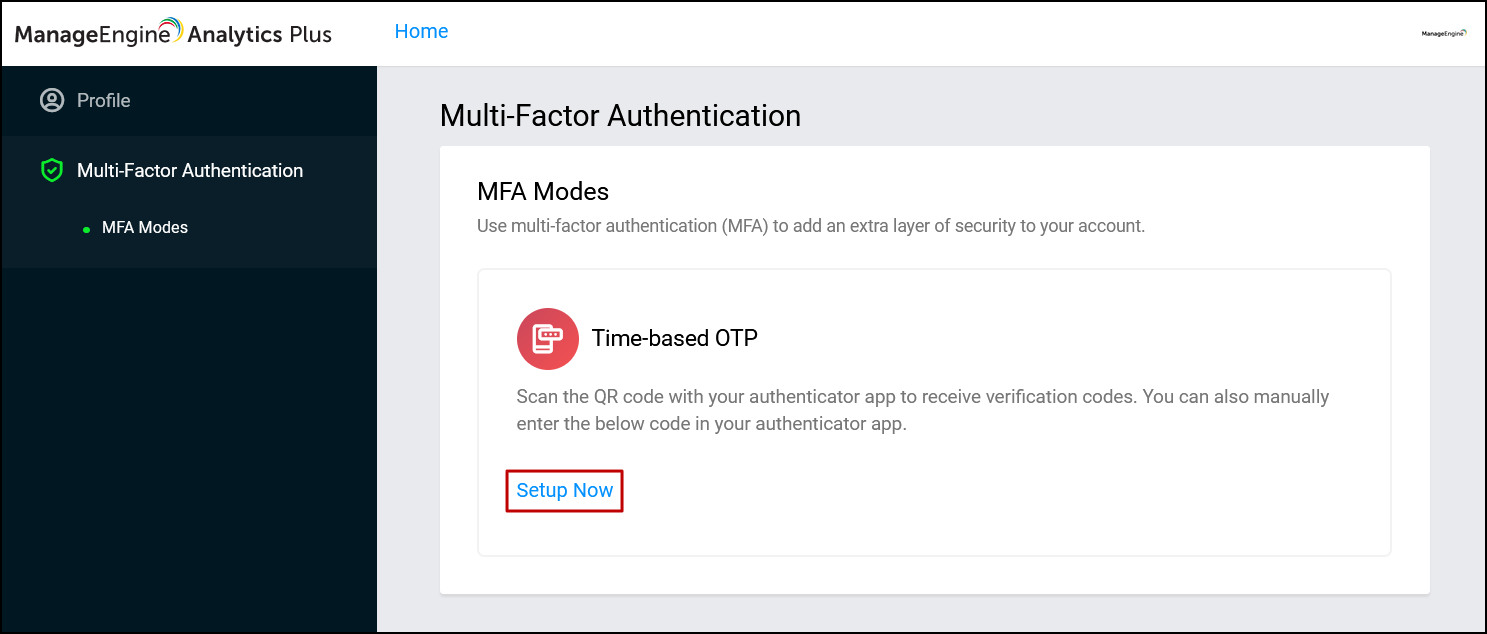
In the new tab that opens, head to the Multi-Factor Authentication section from the side panel, and click Setup Now.
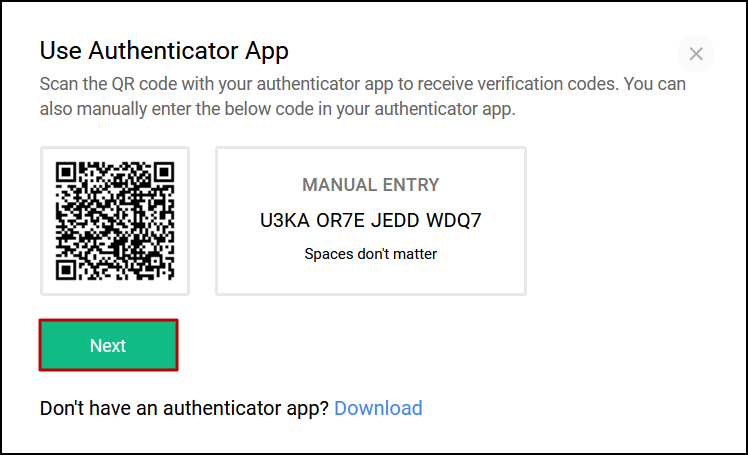
You can either choose to scan the QR code that appears using your authenticator application, or manually enter the displayed code into the app.
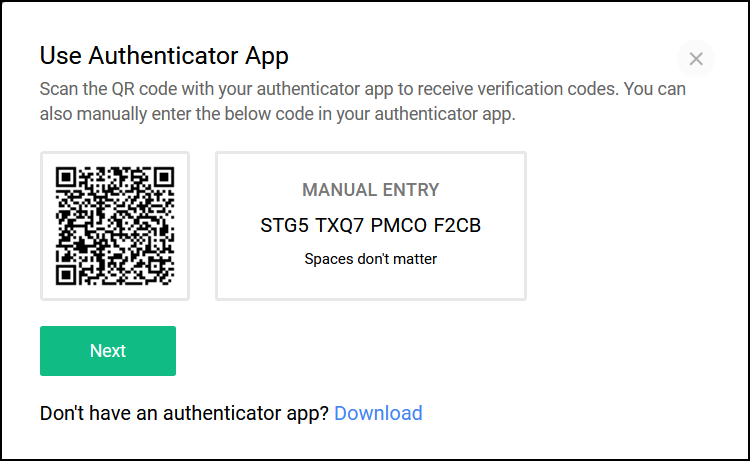
If you do not have an authenticator app, you can choose to download one of the recommended apps using the Download option below.
Your Analytics Plus account will be added to your authenticator app upon scanning the code or entering the code manually. Click Next to proceed to the next screen.
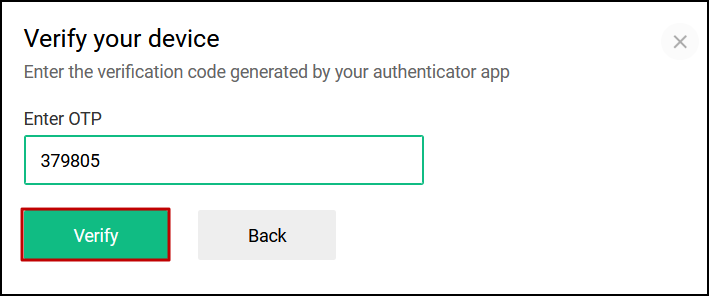
Enter the generated one-time password in the screen that appears, and click Verify to complete the multi-factor authentication configuration.
On successfully configuring multi-factor authentication, you will need to enter the one-time password generated in your authenticator app each time you login to Analytics Plus.

Note: Users will be locked out of their Analytics Plus account when the multi-factor authenticator configuration has been deleted in the authenticator application. Use backup verification codes to log in to your Analytics Plus account (Please write to us at analyticsplus-support@manageengine.com if you don't have one). Click here to learn more about backup verification codes.
Backup verification codes
Backup verification codes prove beneficial when you are unable to log in using the one-time password generated from your authenticator application. You can generate five backup verification codes, and each of these codes can be used once to log in to Analytics Plus.
Note: When all five codes are used, ensure you generate new backup verification codes.
Generate backup verification codes
Follow the steps below to generate backup verification codes.
Navigate to the profile icon on the top right corner, and select the My Account link.
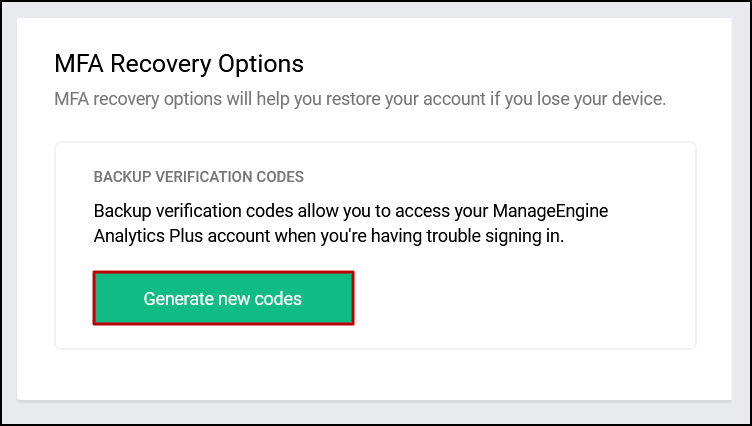
In the new tab that opens, navigate to the MFA Recovery Options section, and click Generate new codes.
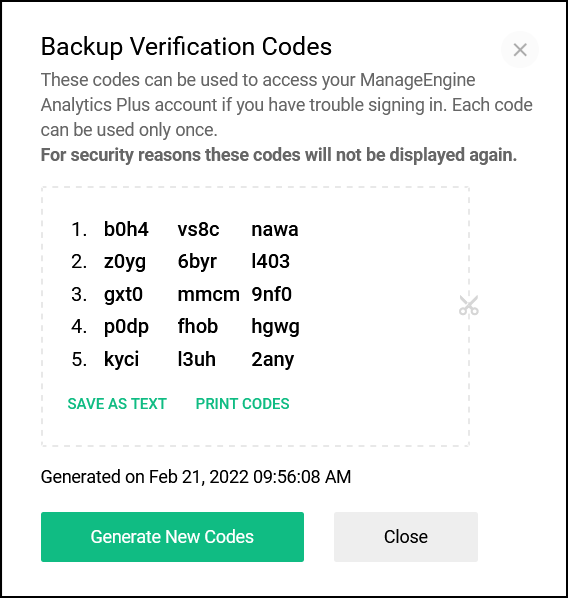
The backup verification codes will be generated and displayed in a pop-up. Use the Save As Text and the Print Codes links to save or print the generated codes as required.
Log in with backup verification codes
To log in using the backup verification codes, follow the steps below.
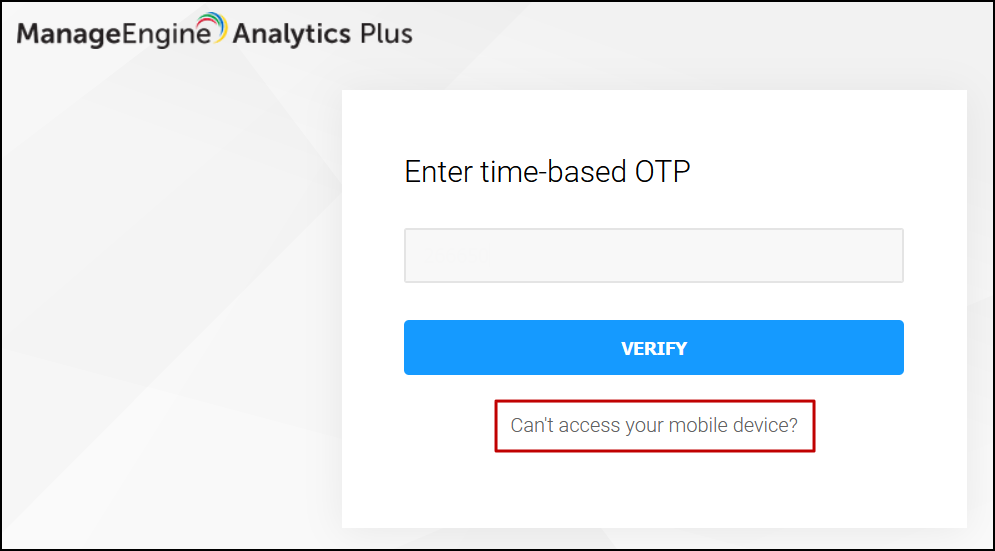
Navigate to the Analytics Plus login page, enter the username and password, and click Sign in.
In the page that appears, click the Can't access your mobile device? link.
Select the Use backup verification code option.

Paste a backup verification code and click Verify to log in to Analytics Plus. Click here to learn more about generating backup verification codes.

Change the multi-factor authentication configuration
Analytics Plus allows you to change the existing multi-factor authentication configuration from one authenticator app to another. This is also beneficial in cases where the existing configuration has been deleted in the initial authenticator application. Follow the below steps to do this.
Navigate to the profile icon on the top right corner, and select the My Account link.
In the new tab that opens, navigate to Multi-Factor Authentication tab, and click Change Configuration.
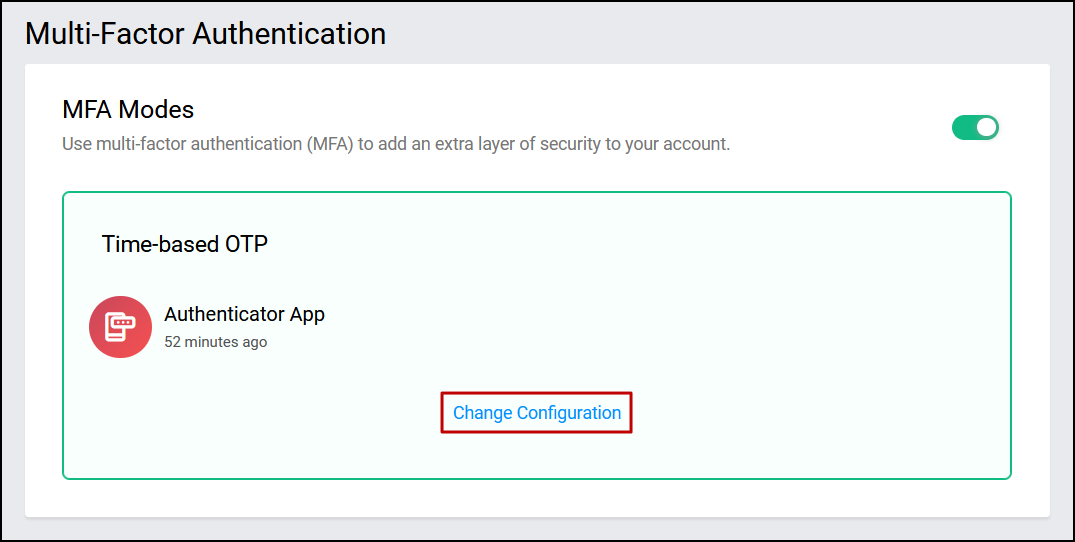
A popup appears, displaying a QR code and a numeric code. Follow the steps detailed in the setup procedure to configure multi-factor authentication.
Delete the multi-factor authentication configuration
Follow the steps below to delete the multi-factor authentication configuration.
Navigate to the profile icon on the top right corner, and select the My Account link.
In the new tab that opens, navigate to the Multi-Factor Authentication section.
Click the Delete icon that appears when hovering over the configured authenticator application.
Click Continue in the popup that appears to delete the existing MFA configuration.

Note: When the Analytics Plus administrator mandates multi-factor authentication, users will not be able to disable the configuration for their account individually.
Enable or disable multi-factor authentication configuration
To enable or disable the MFA configuration, follow the steps below:
Navigate to the profile icon on the top right corner, and select the My Account link.
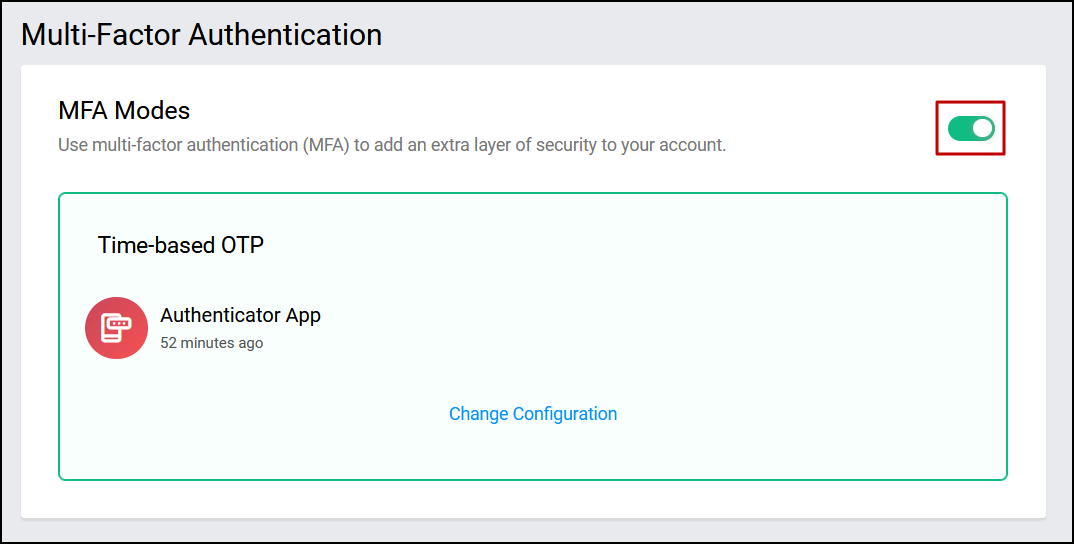
In the new tab that opens, navigate to the Multi-Factor Authentication section, and toggle the button corresponding to the MFA Modes section.
Note: When the Analytics Plus administrator mandates multi-factor authentication, users will not be able to delete the configuration for their account individually.
Mandate multi-factor authentication
The Analytics Plus administrator can mandate the usage of multi-factor authentication for all Analytics Plus users. Follow the steps below to do this.
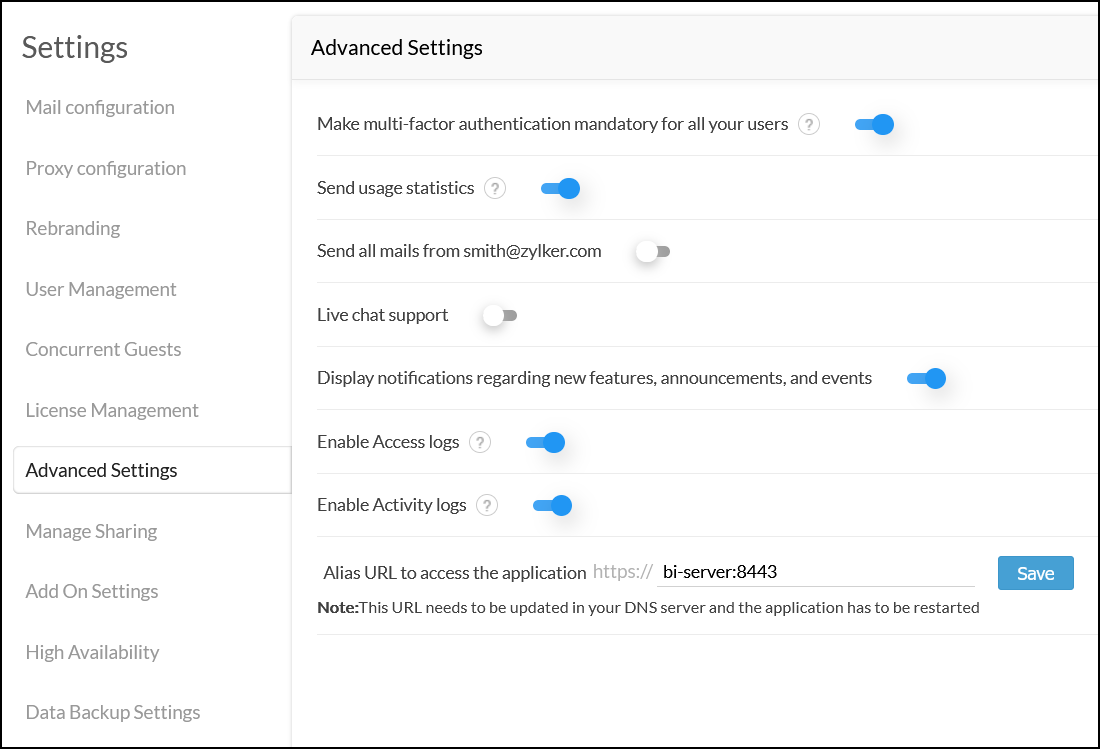
Click the Settings icon and navigate to the Advanced Settings section.
Enable the Make multi-factor authentication mandatory for all your users option.
This enforces all Analytics Plus users to configure multi-factor authentication to log in to the application. Users who haven't already configured MFA will now be required to download and configure an authenticator app to log in to Analytics Plus. Refer to the following section to configure multi-factor authentication while logging in to Analytics Plus.
Configure multi-factor authentication from login page
Navigate to the Analytics Plus login page, enter the username and password, and click Sign in. The following screen displays a QR code to allow you to configure multi-factor authentication for your installation.
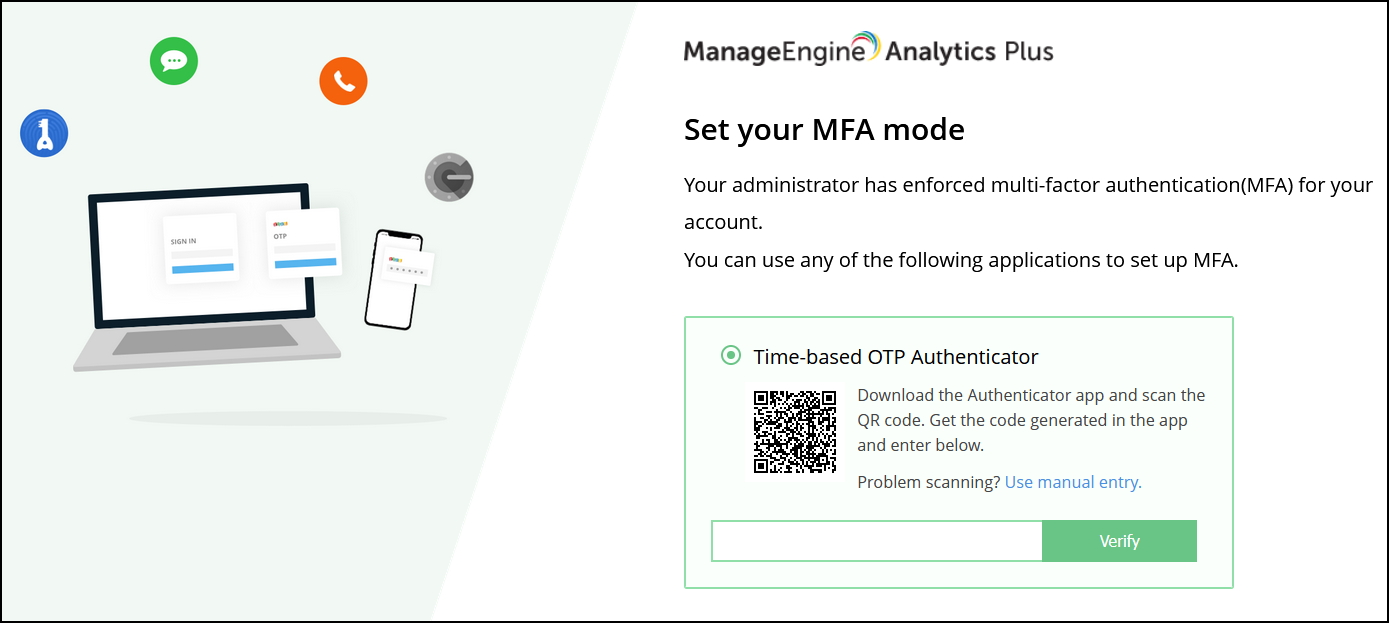
Open your authenticator app and scan the QR code.
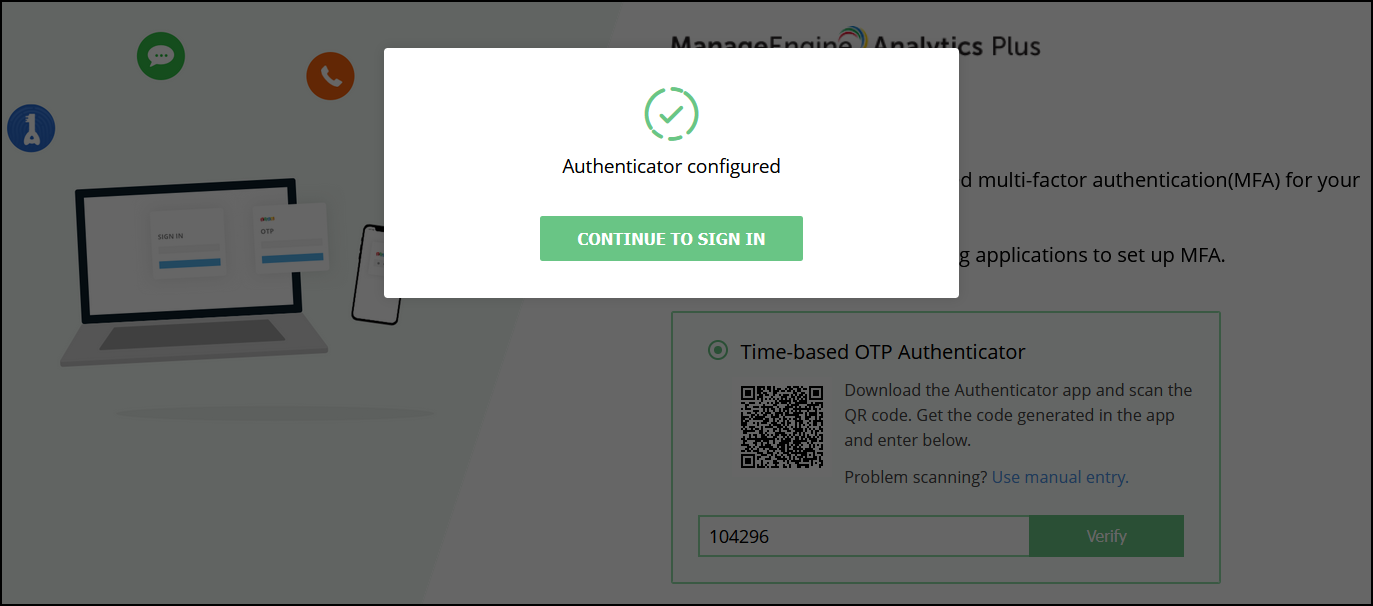
Enter the one-time password generated in the authenticator app and click Verify.
In the pop-up that appears, click the Continue to sign in button to log in to the Analytics Plus application.