Support
 
Phone Get Quote
 
Support
 
US Sales: +1 888 720 9500
US Support: +1 844 245 1108
Intl: +1 925 924 9500
Aus: +1 800 631 268
UK: 0800 028 6590
CN: +86 400 660 8680

Direct Inward Dialing: + 1 408 454 4213
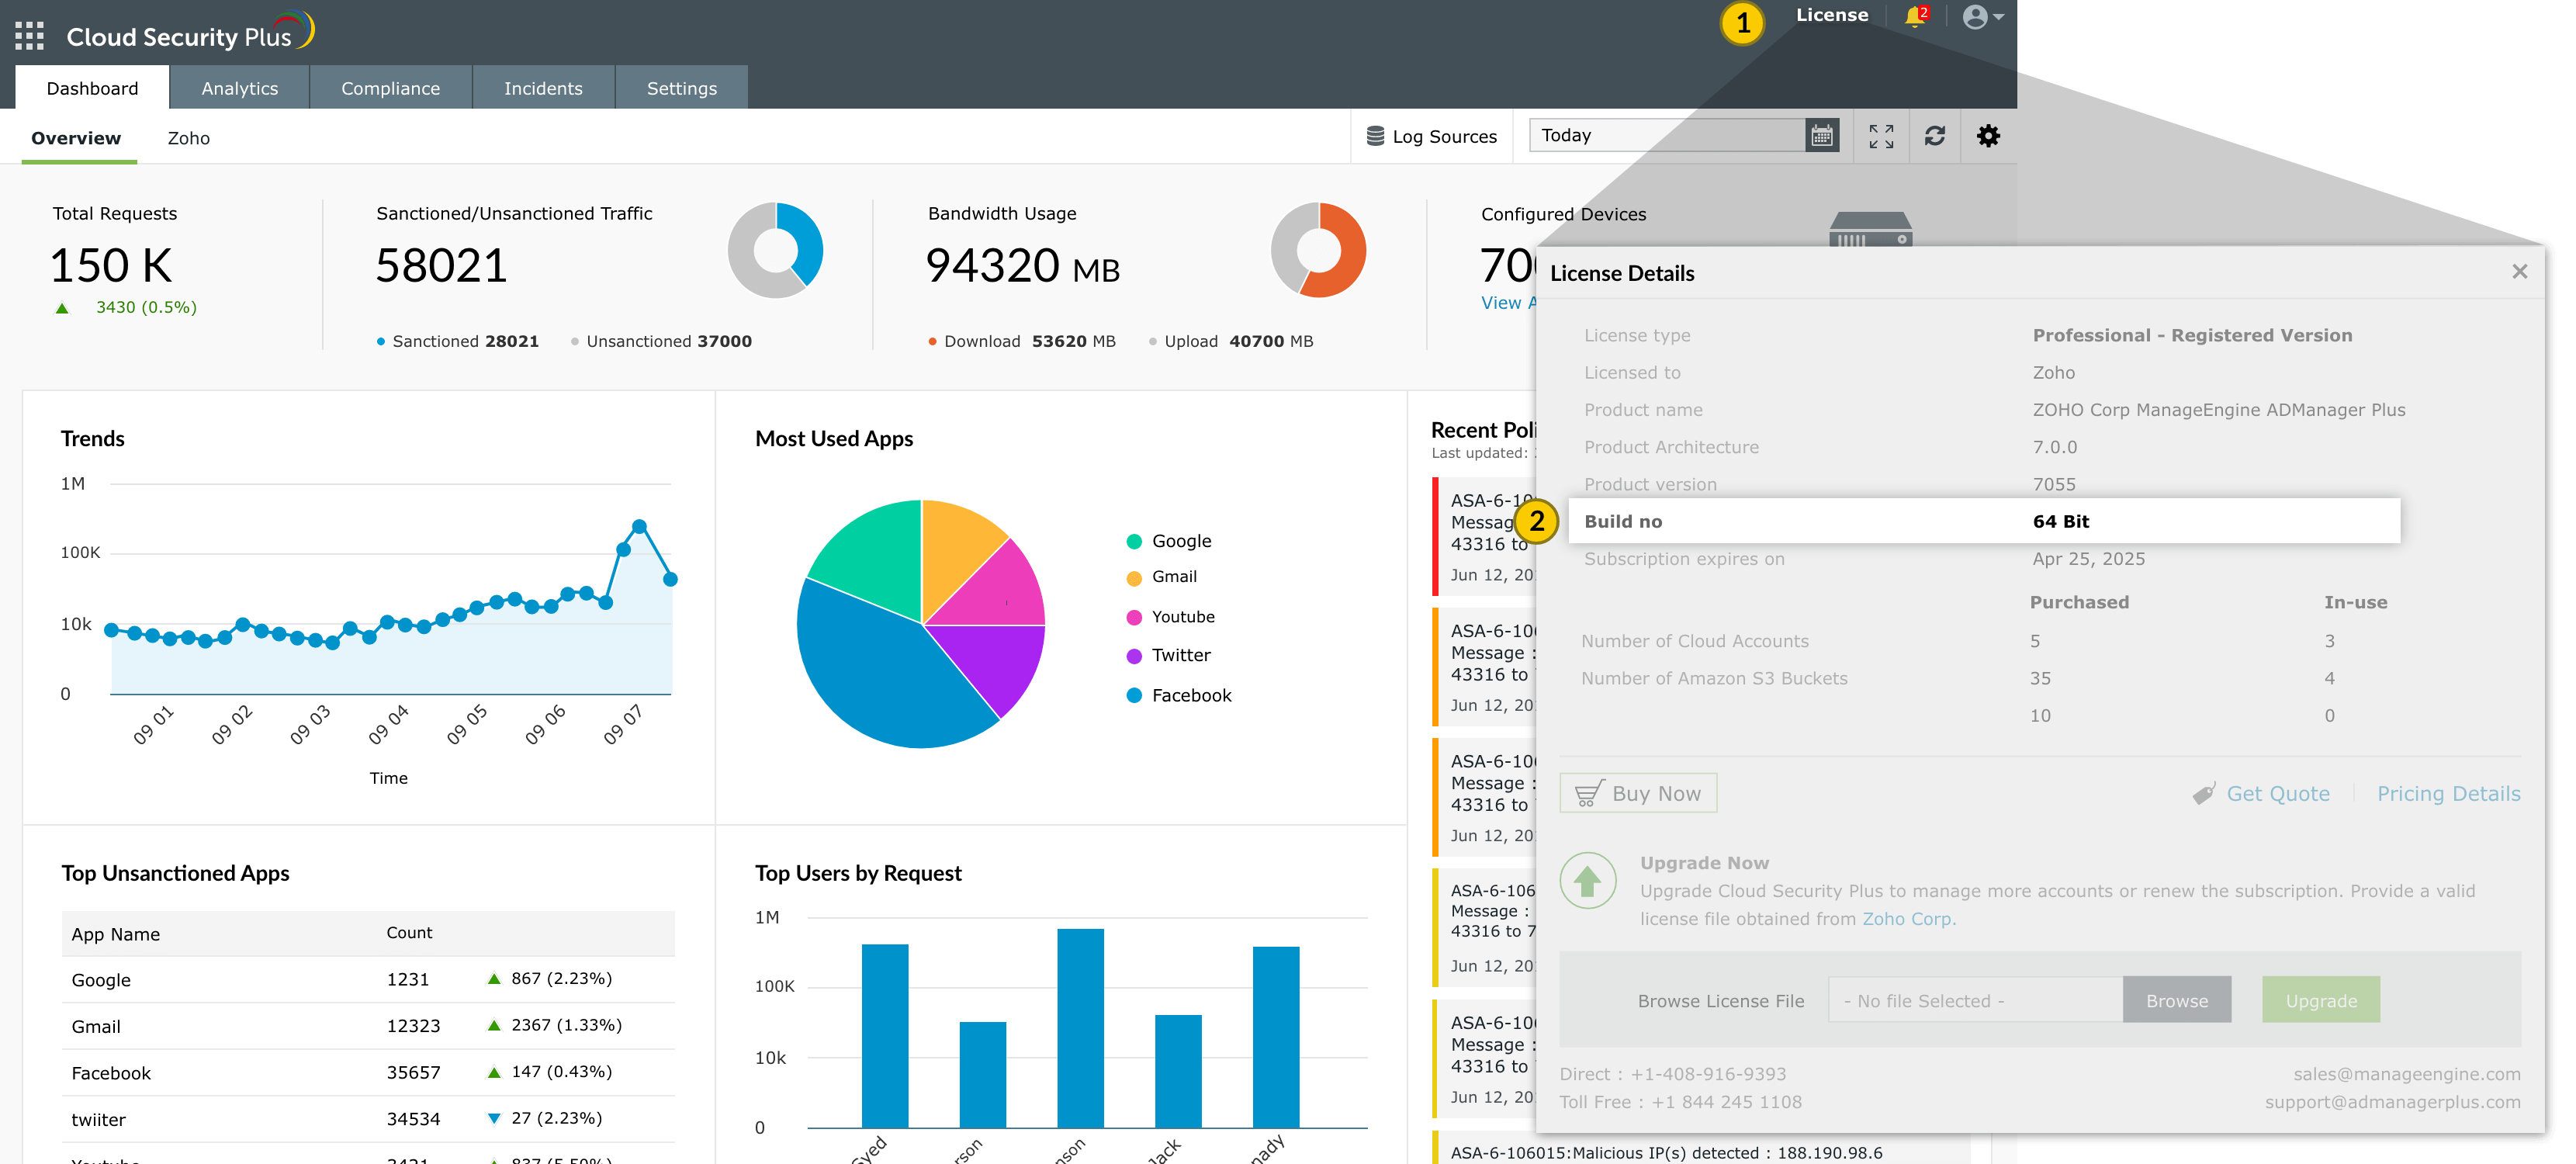


close-but
  • How do I find out my Build number?
  • 1 Log in to the Cloud Security Plus web client, and click the "License" link in the top pane.
  • 2 You will find the "Build" number mentioned below the "Product Version"

    how-do-find-build-number

Cloud Security Plus Service Pack

     
If your Build Number is Upgrade to Build Number
4116 through 4170

Download and upgrade to latest 4200

spack-arrow
Note: We recommend our users to move to the latest version, Cloud Security Plus build #4200 released on Jan 26, 2024. Please use this link to import the new certificate.
  • If your build number isUpgrade to Build NumberSHA256 Checksum hash value
  • 4116 through 4170 Download and upgrade to 420062f43533a21b1fe6d6baa29adc6d1d0817916a4242bb5abbae1ecd5aa9c411dd

Instructions to apply service packs

  • 1Shut down Cloud Security Plus
    • If the product runs as an application, click on Start → All Programs → Cloud Security Plus → Stop Cloud Security Plus.
    • If the product runs as a windows service, click on Start → Run → type services.msc → Stop "ManageEngine Cloud Security Plus".
  • 2Execute the shutdown.bat file as an administrator under the <CloudSecurityPlusHome> bin directory.
  • 3Back up Cloud Security Plus by zipping the contents of <CloudSecurityPlusHome> directory.
  • 4Ensure that the <CloudSecurityPlusHome> directory has Write permission.
    • If not sure, provide "Full control" for "Everyone" user, which can be removed after applying the Service pack.
    • Right click on directory → Security tab → Add "Everyone" with "Full control" → Apply
  • 5Open Command Prompt and execute the UpdateManager.bat file under <CloudSecurityPlusHome>\bin directory.
  • 6For Windows 7 / Vista / 2008 / 2008 R2 machines with User Account Control enabled, select 'Run as Administrator' while opening Command Prompt
  • 7Click Browse and select the .ppm file that you have downloaded.
  • 8Click on Install for the service pack. Depending on the amount of data to be migrated, the installation procedure may take a few minutes. Please do not terminate prematurely.
  • 9Please note that patch upgrade cannot be reverted to the older versions.
  • 10Click Close and then Exit to quit Update Manager tool.
  • 11Start Cloud Security Plus.
    • If the product runs as an application, click on Start → All Programs → Cloud Security Plus → Start Cloud Security Plus.
    • If the product runs as a windows service, click on Start → Run → type services.msc → right-click ManageEngine Cloud Security Plus → Start

Do not interrupt or revert the upgrade process. In case of upgrade failure, please contact Cloud Security Plus support team.

Important note:
  • Please stop the Cloud Security Plus service and take a copy of the entire Cloud Security Plus folder or a server snapshot. Please note that backing up Cloud Security Plus is mandatory so that you can restore the installation to this version in case of upgrade failures.
  • Before you proceed with the upgrade process, please ensure the availability of enough disk space in the server where Cloud Security Plus is installed.

In case you apply more than one service pack at a time, please start the Cloud Security Plus application after each service pack upgrade.


Need Help?

You can contact Cloud Security Plus Support at any time for assistance in upgrading Cloud Security Plus to the latest version.

© 2022 Zoho Corporation Pvt. Ltd. All rights reserved.