Configuring Endpoint Central in DDI central
DDI central benefit administrators monitor and manage all the devices, patches and vulnerabilities by fetching and displaying the data from Endpoint central. In order to fetch the Endpoint Central, admins need to configure the Endpoint Central in DDI Central.
To configure Endpoint Central in DDI Central:
- Go to the Integrations section on the right side menu bar
- Select the Endpoint Central option on the settings menu.
- Provide the details for configuring Endpoint Central.
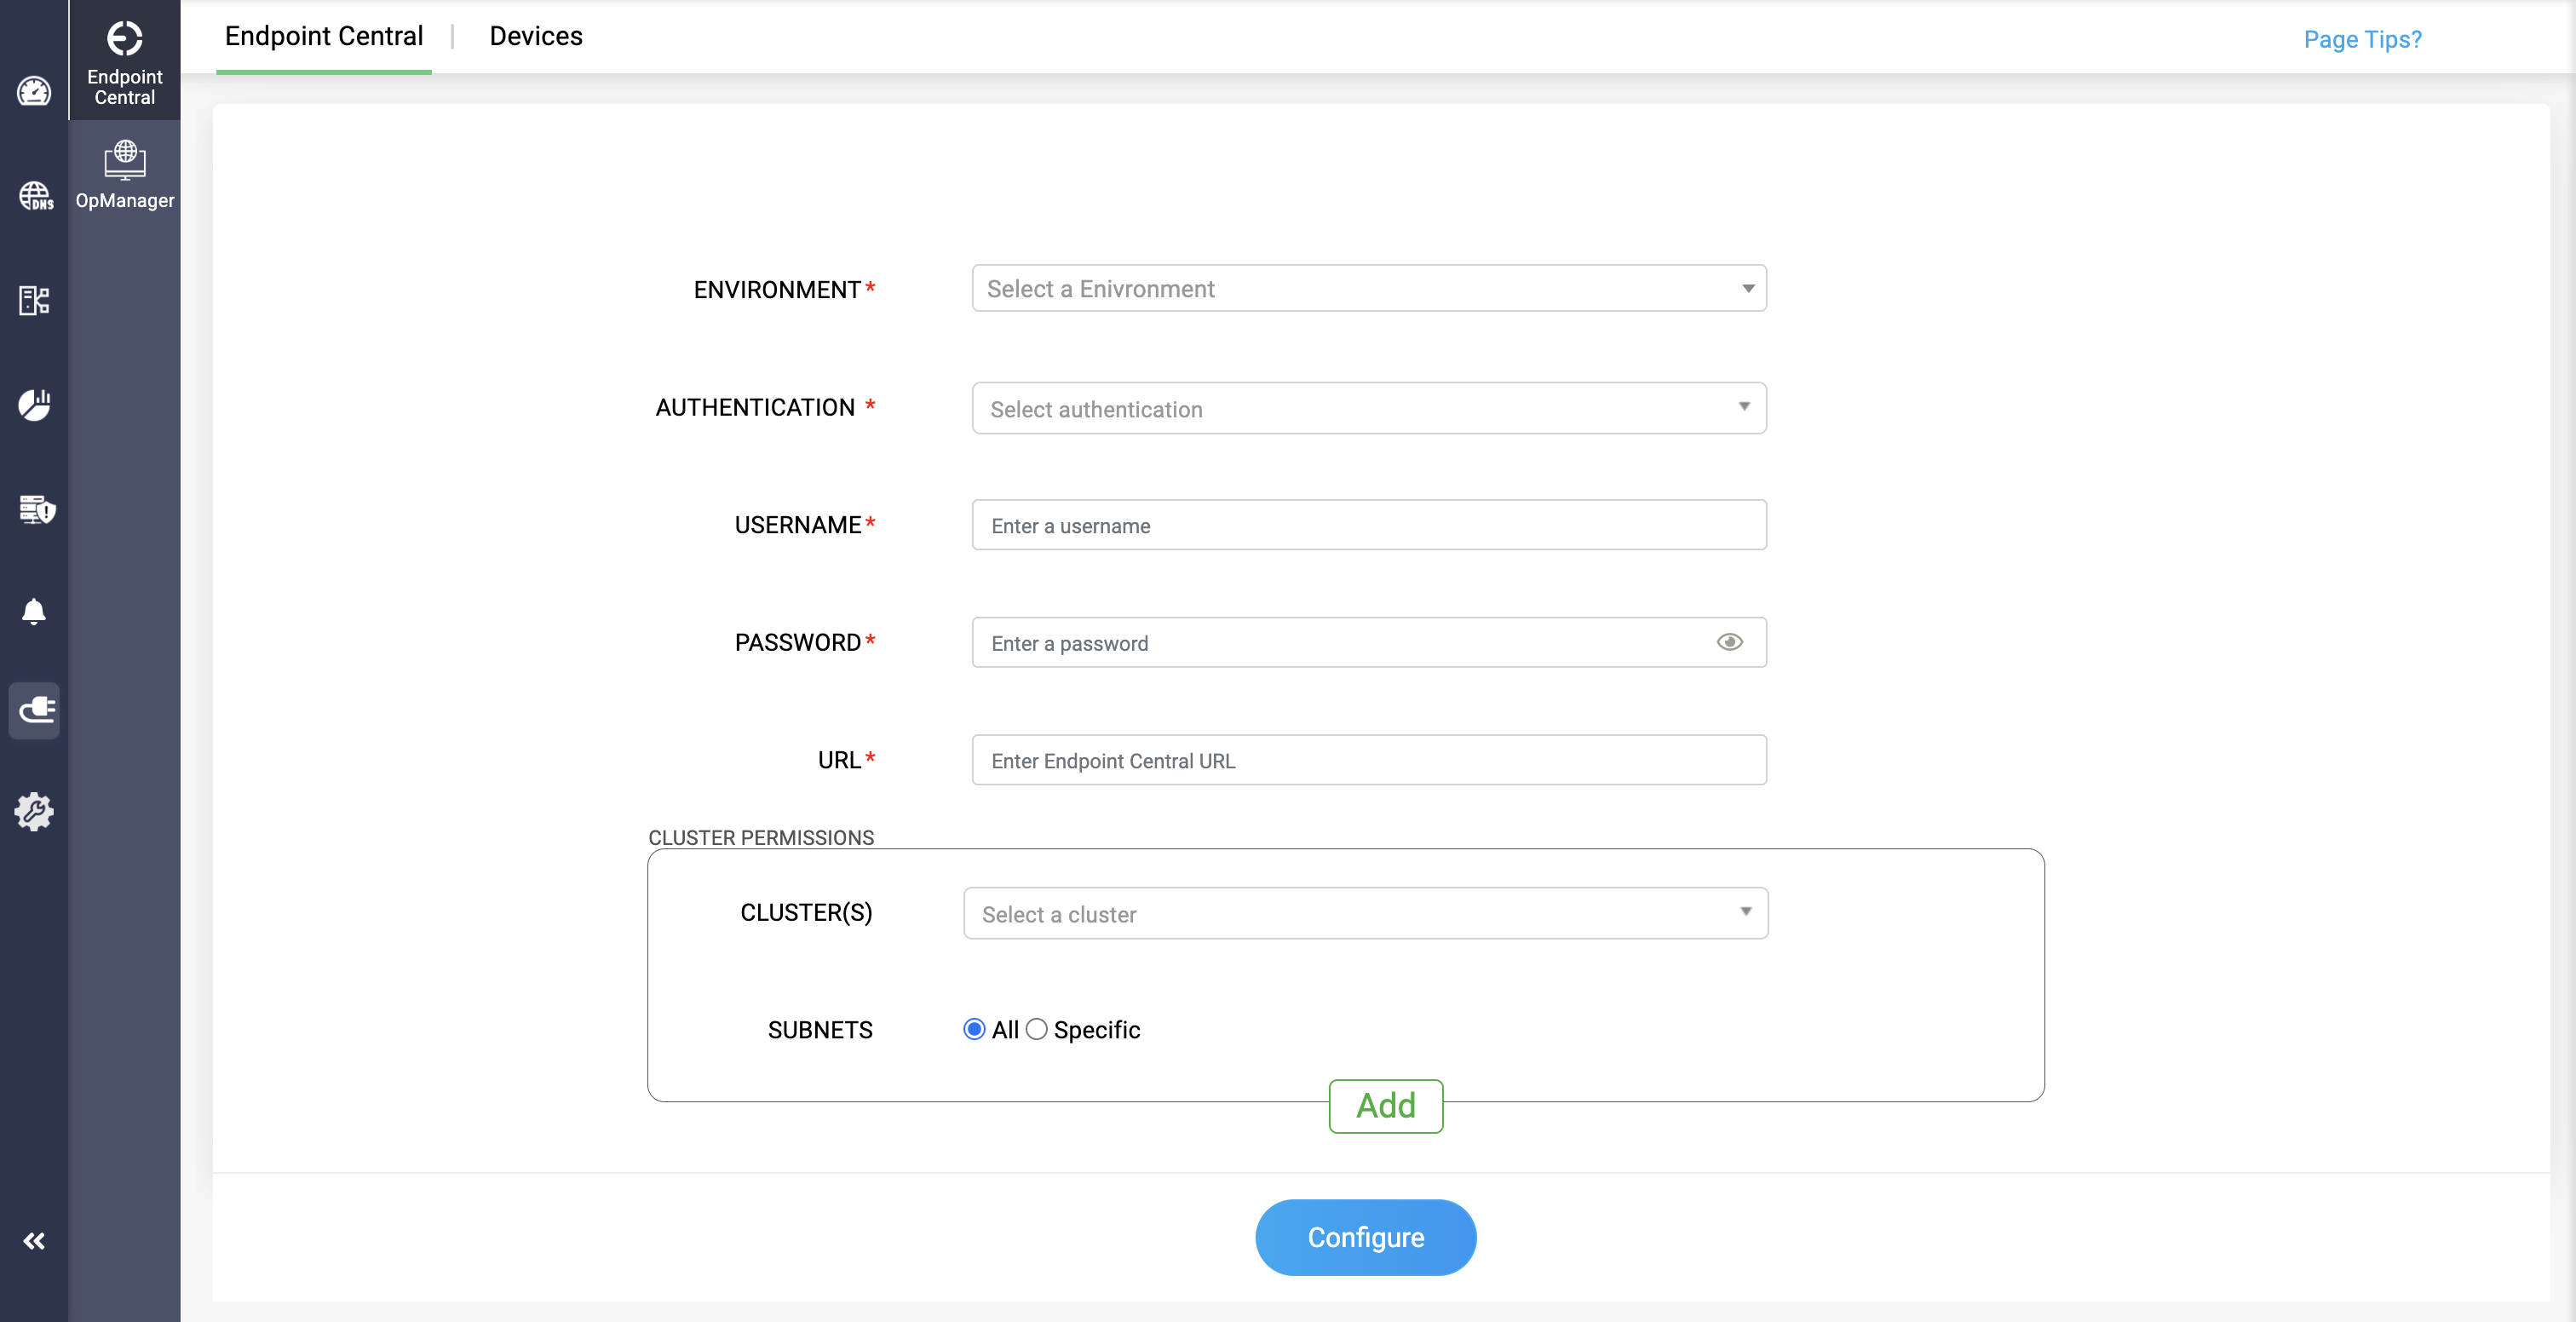
- ENVIRONMENT: Select the environment of the Endpoint Central from which you want the data to be fetched and displayed.
USERNAME and PASSWORD:
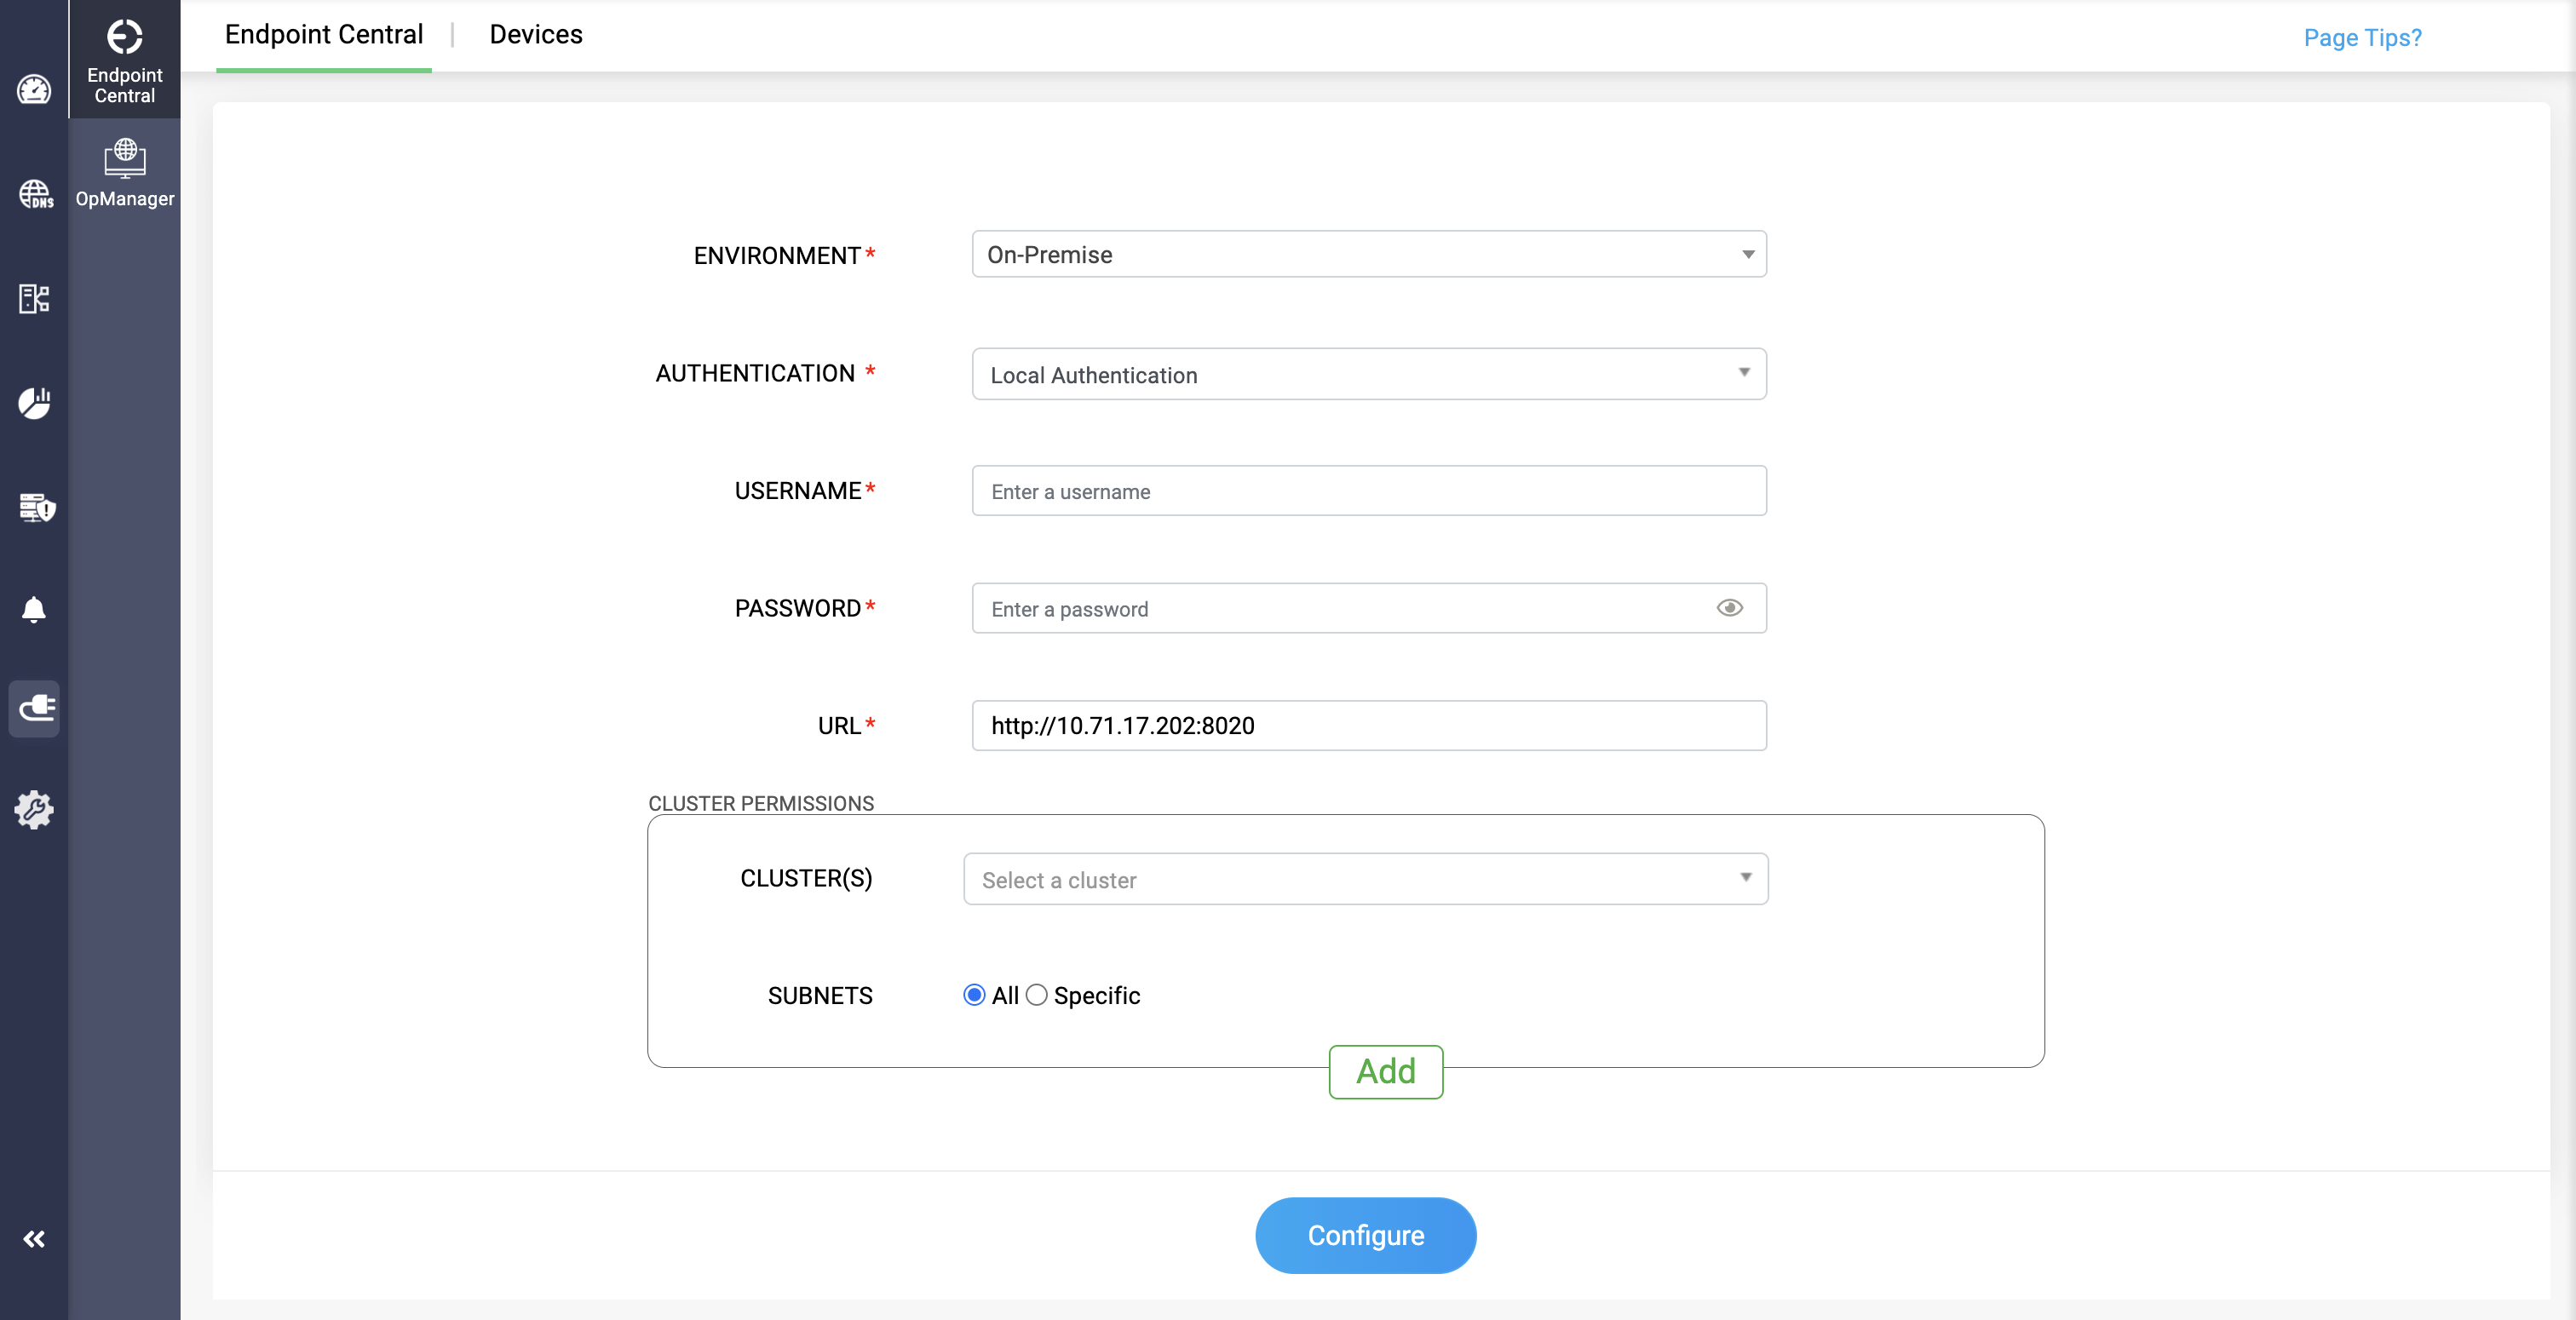
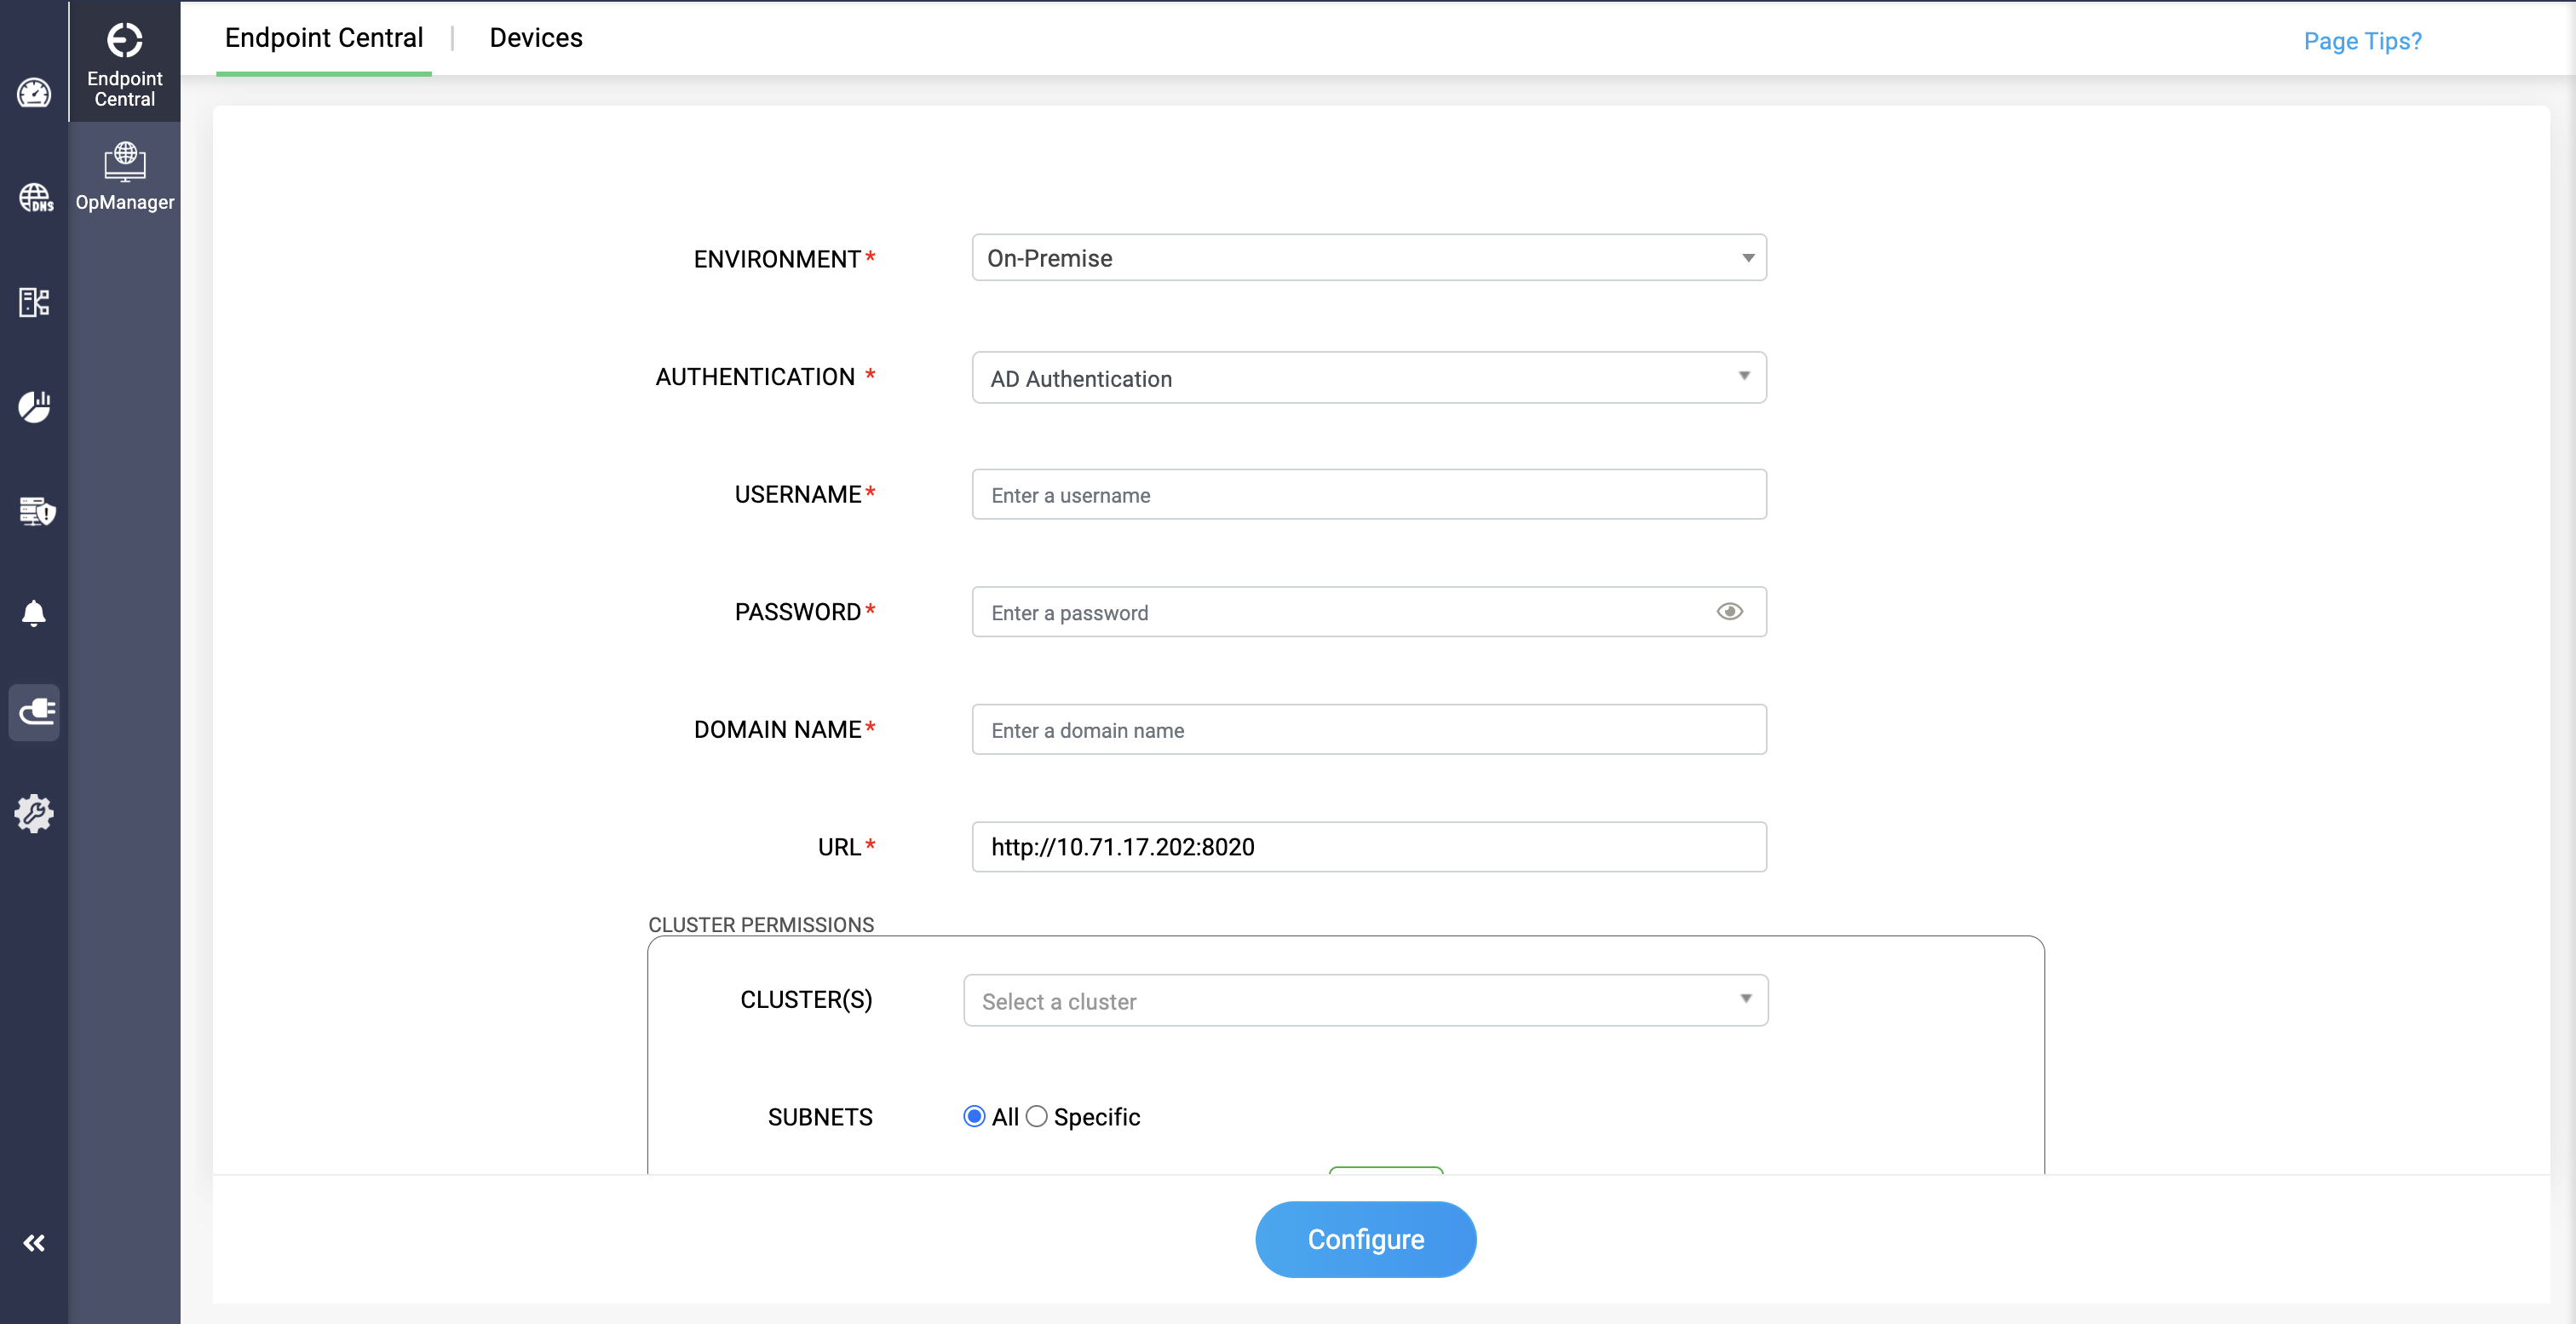
For On-prem environment: Select the type of authentication in the Authentication field.
- Local Authentication: This authentication type allows users to allow provide username and password.
- AD Authentication: This authentication types allows users to provide the AD domain name alongside the credentials.
Please provide the same username and password that you use for your Endpoint Central application.
Click on Save button to save your changes.
The OTP will be generated for your Endpoint Central credentials. Provide the OTP here.
Note: The OTP will only be generated when the 2FA is enabled in Endpoint Central. If the OTP is disabled, it will automatically be configured.Note: DDI Central notifies admins via email when Endpoint Central device tokens are about to expire.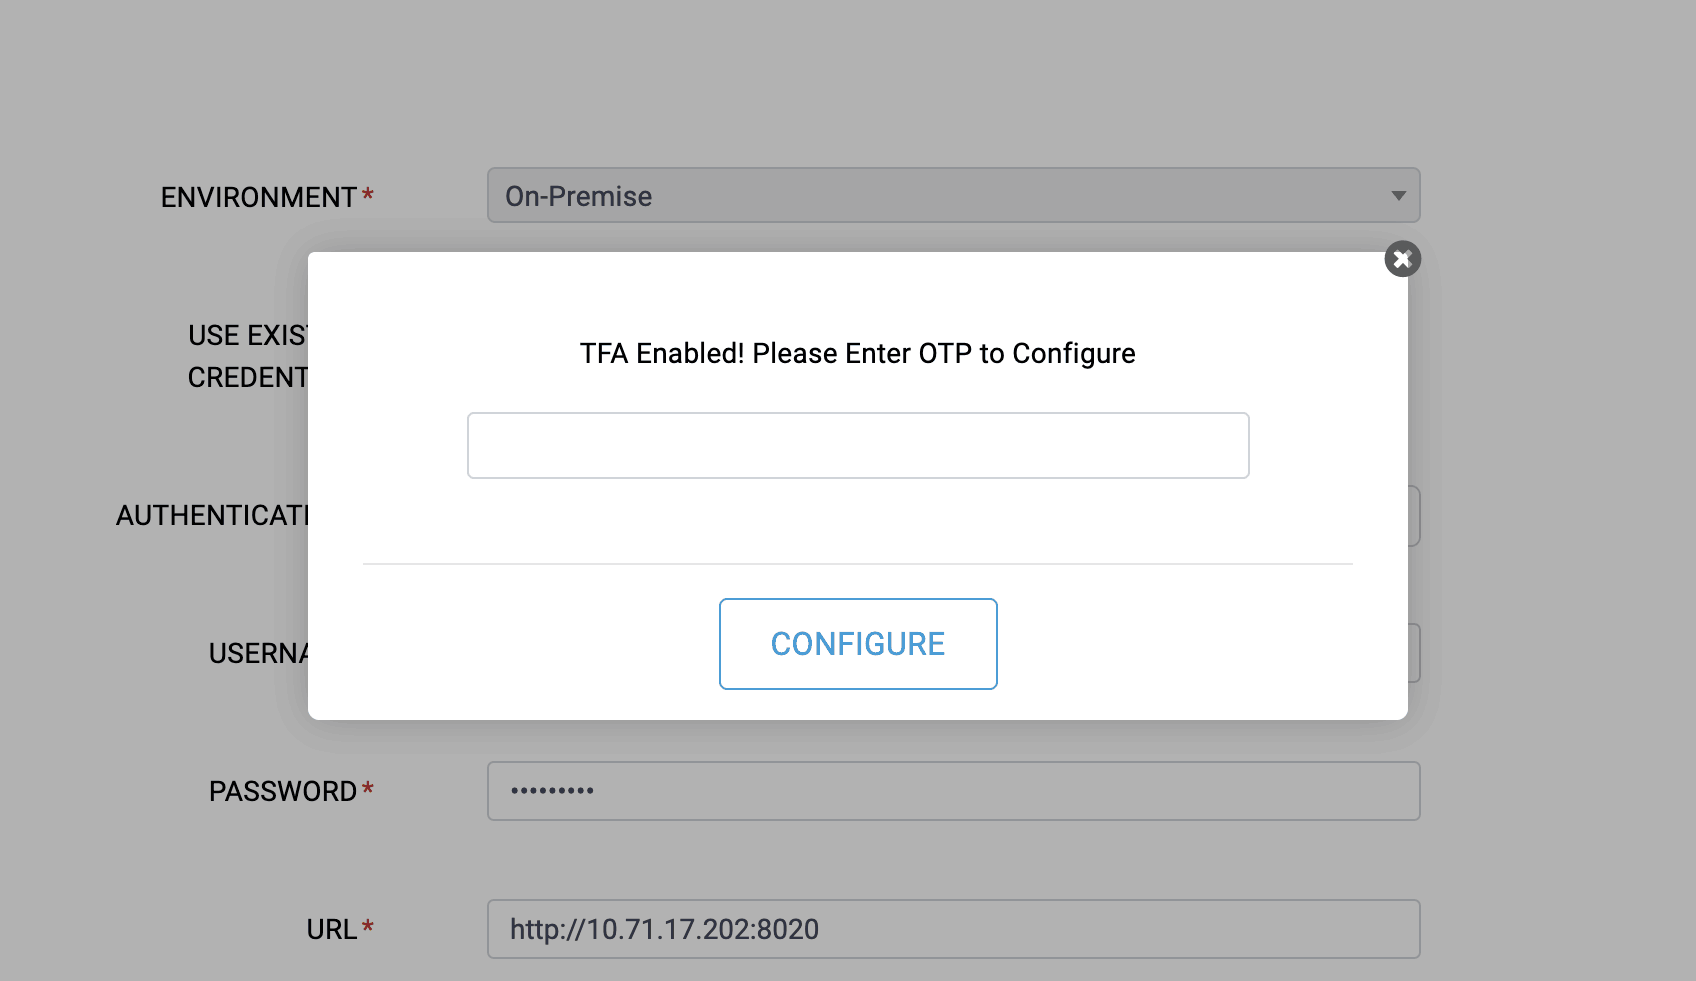
For Cloud environment: Create Client ID and Client secret for your Endpoint Central application through Zoho API console.
- Go to the Zoho API console and click on Get Started.
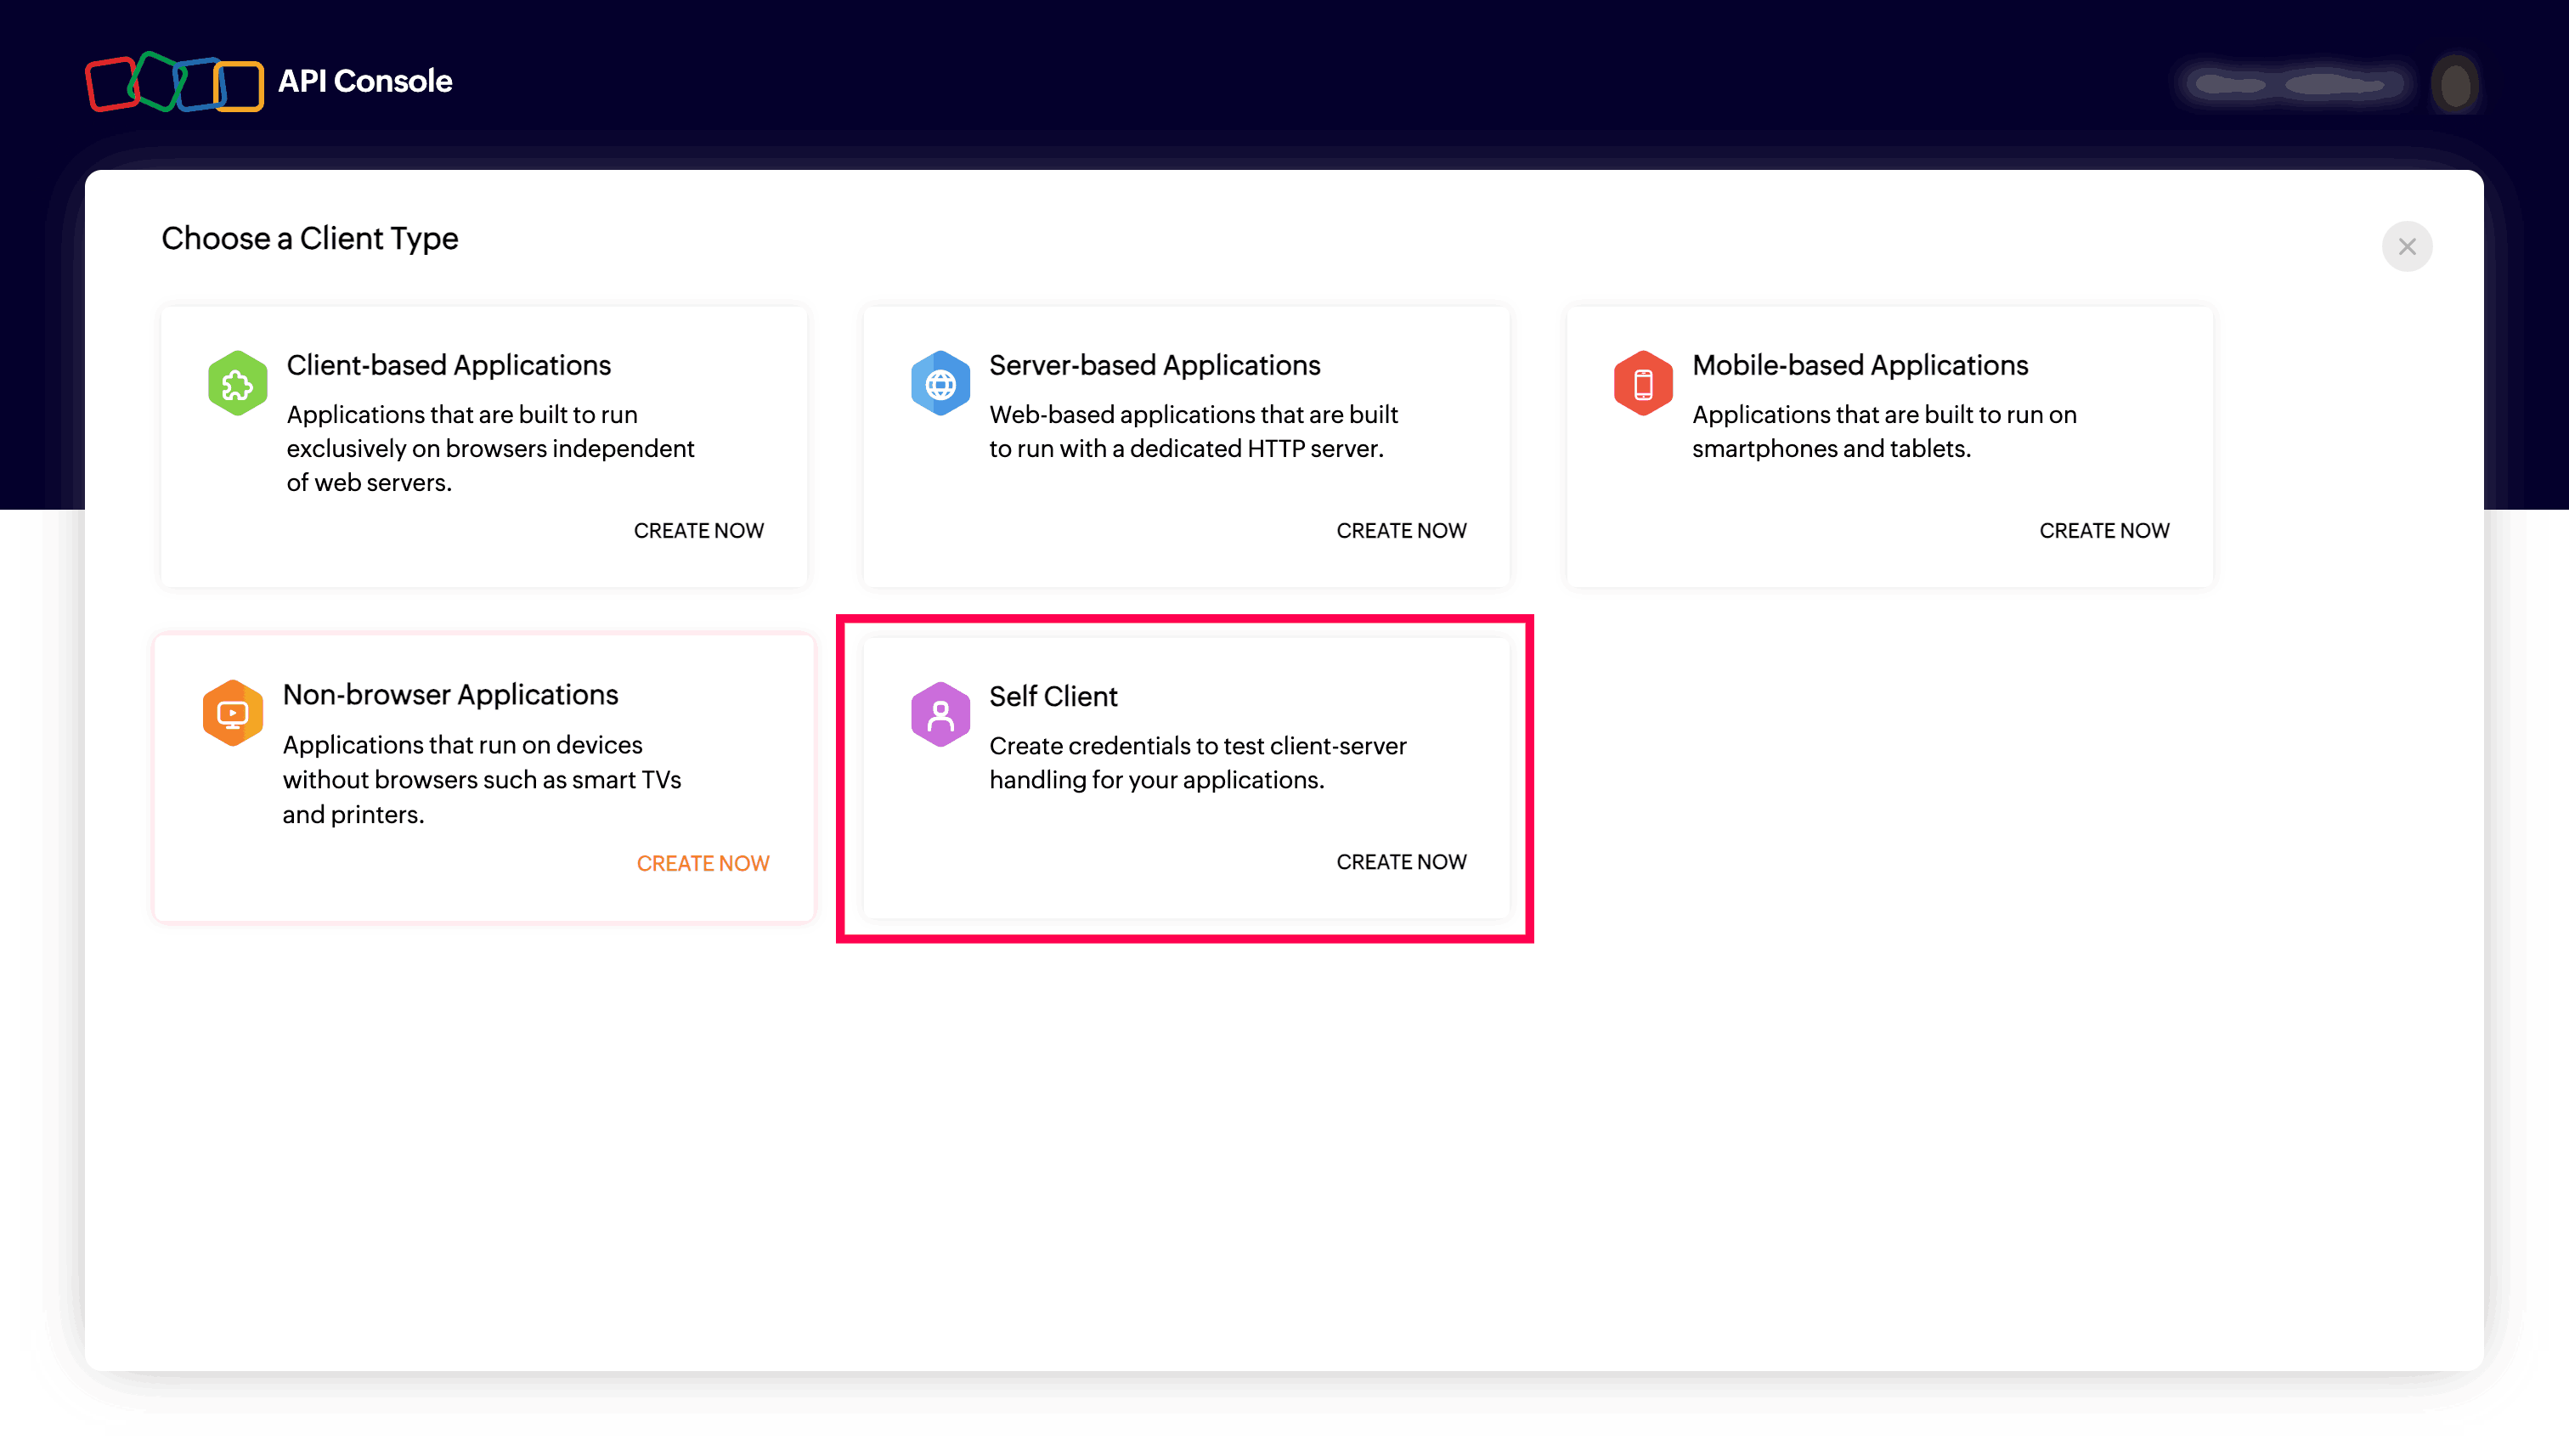
- Select the Self Client option in the menu.
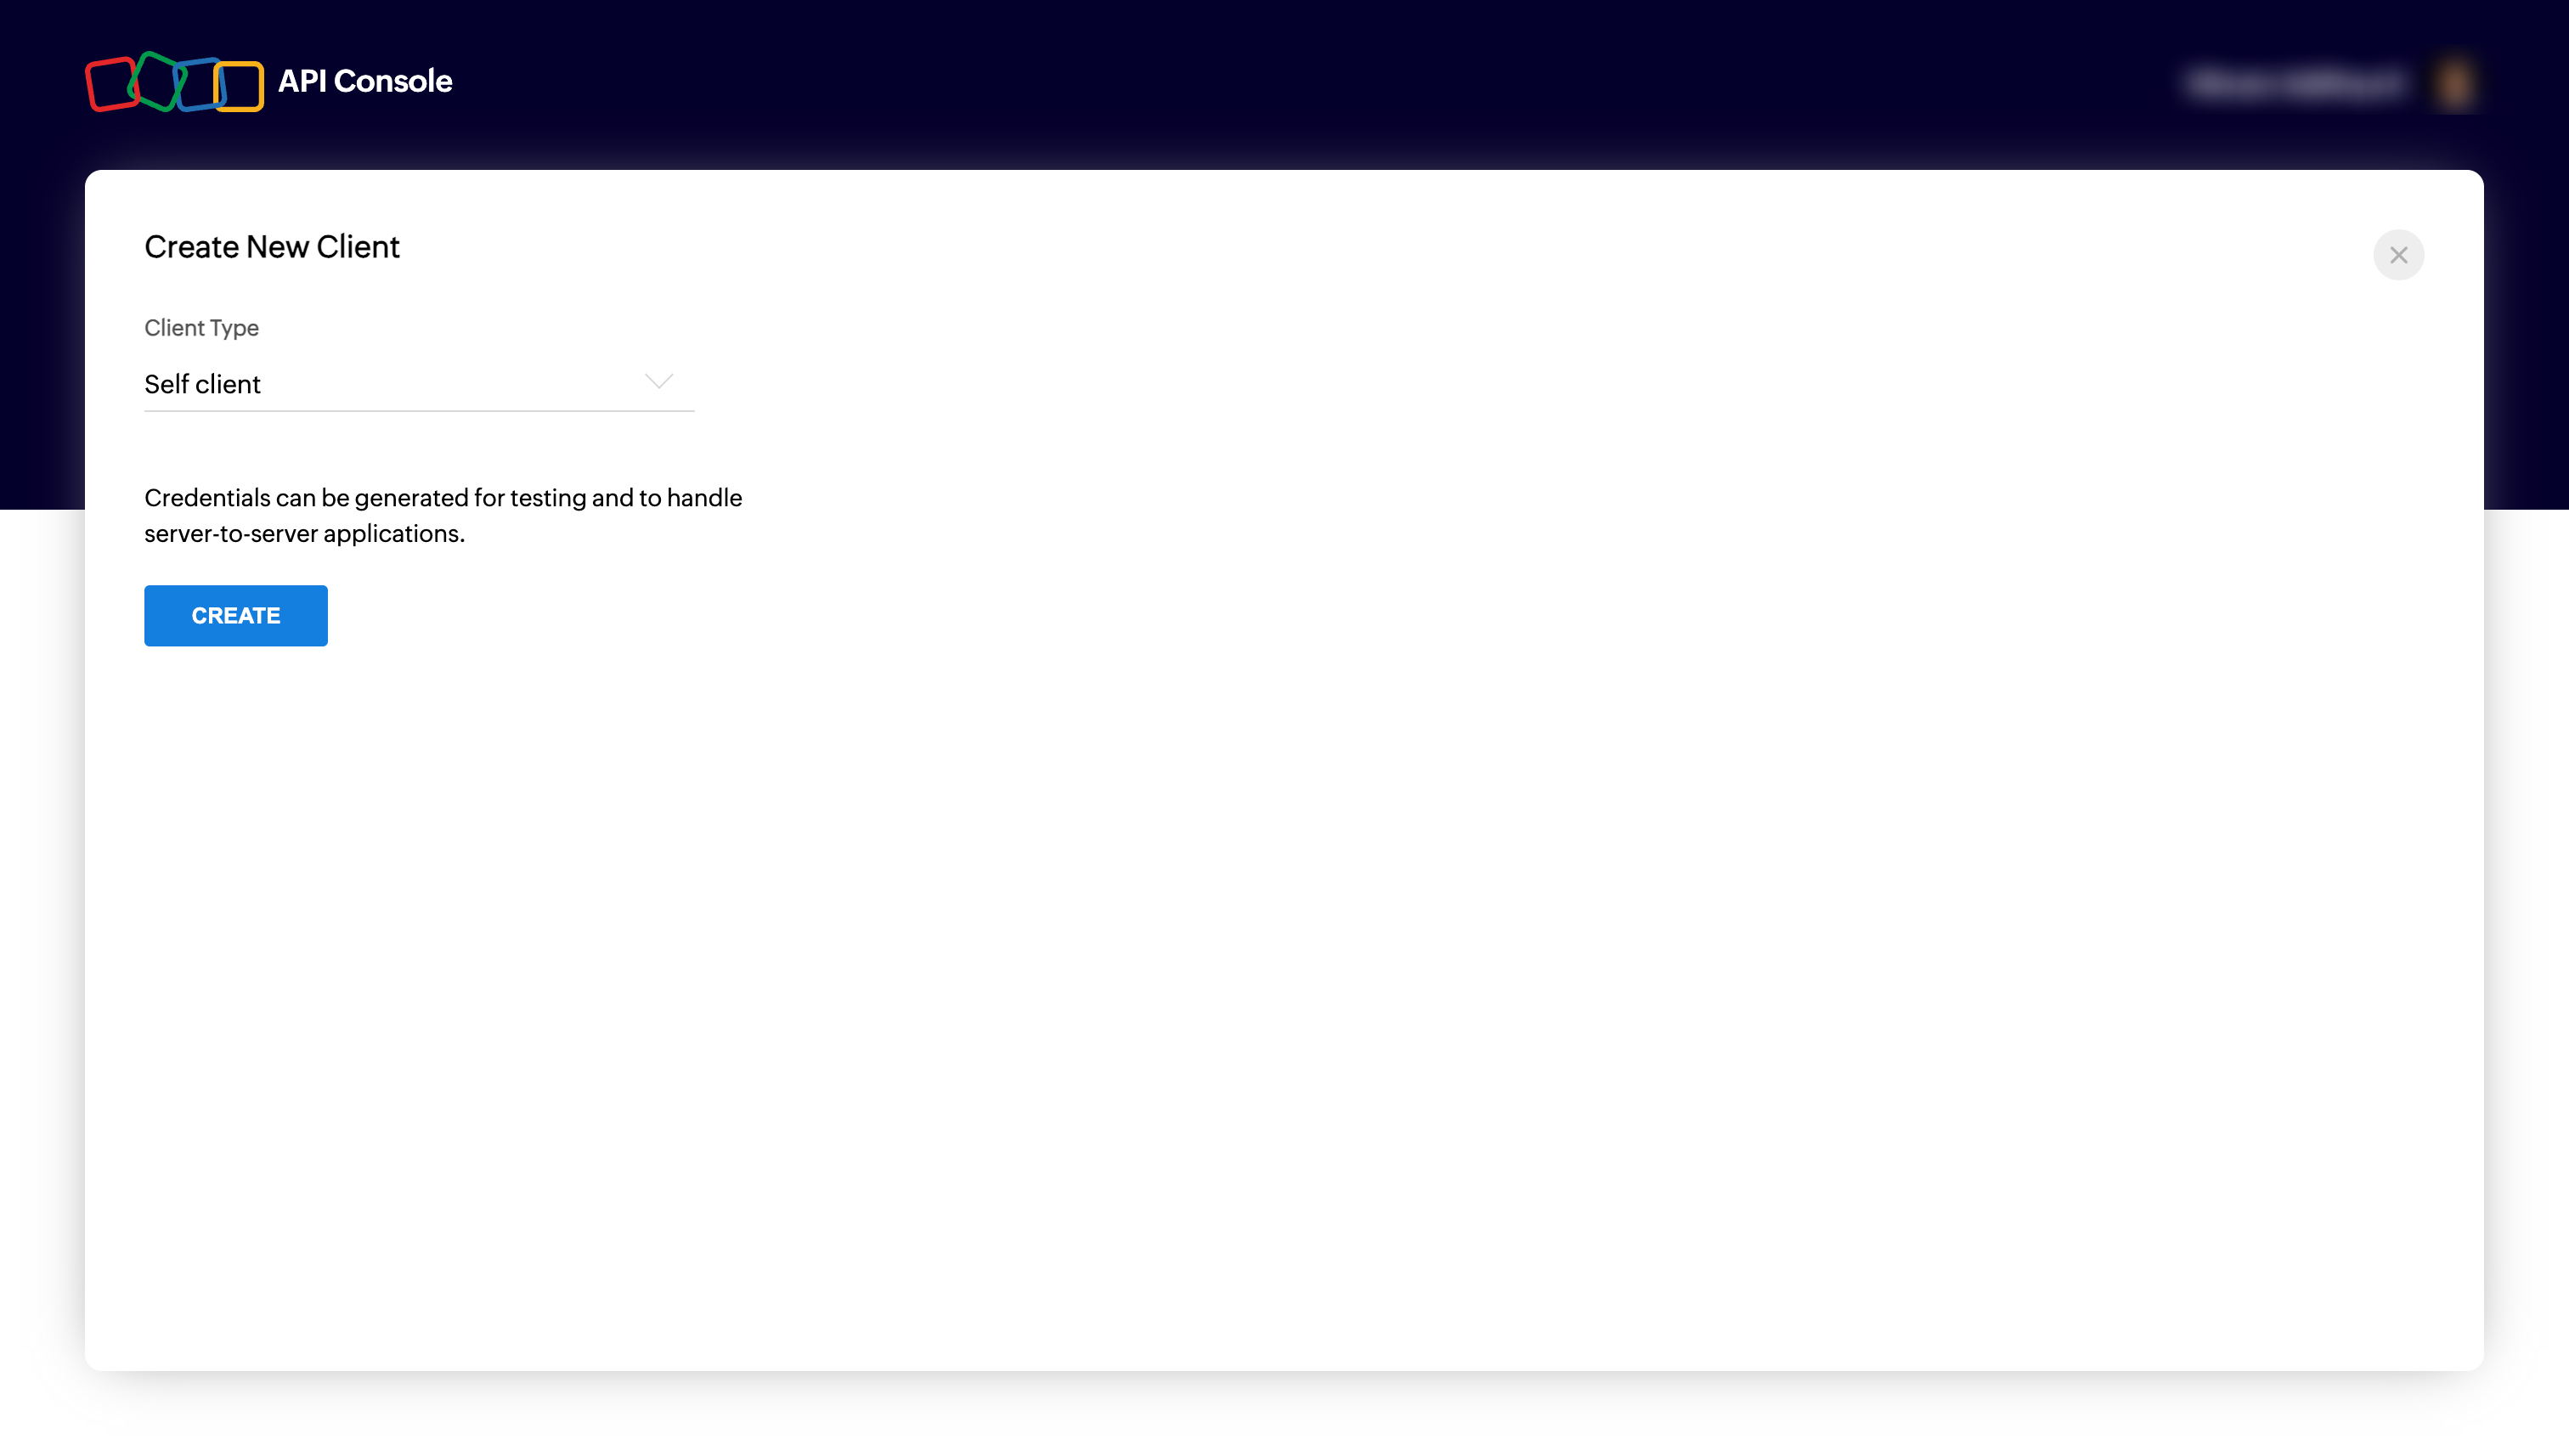
- Select Create button.
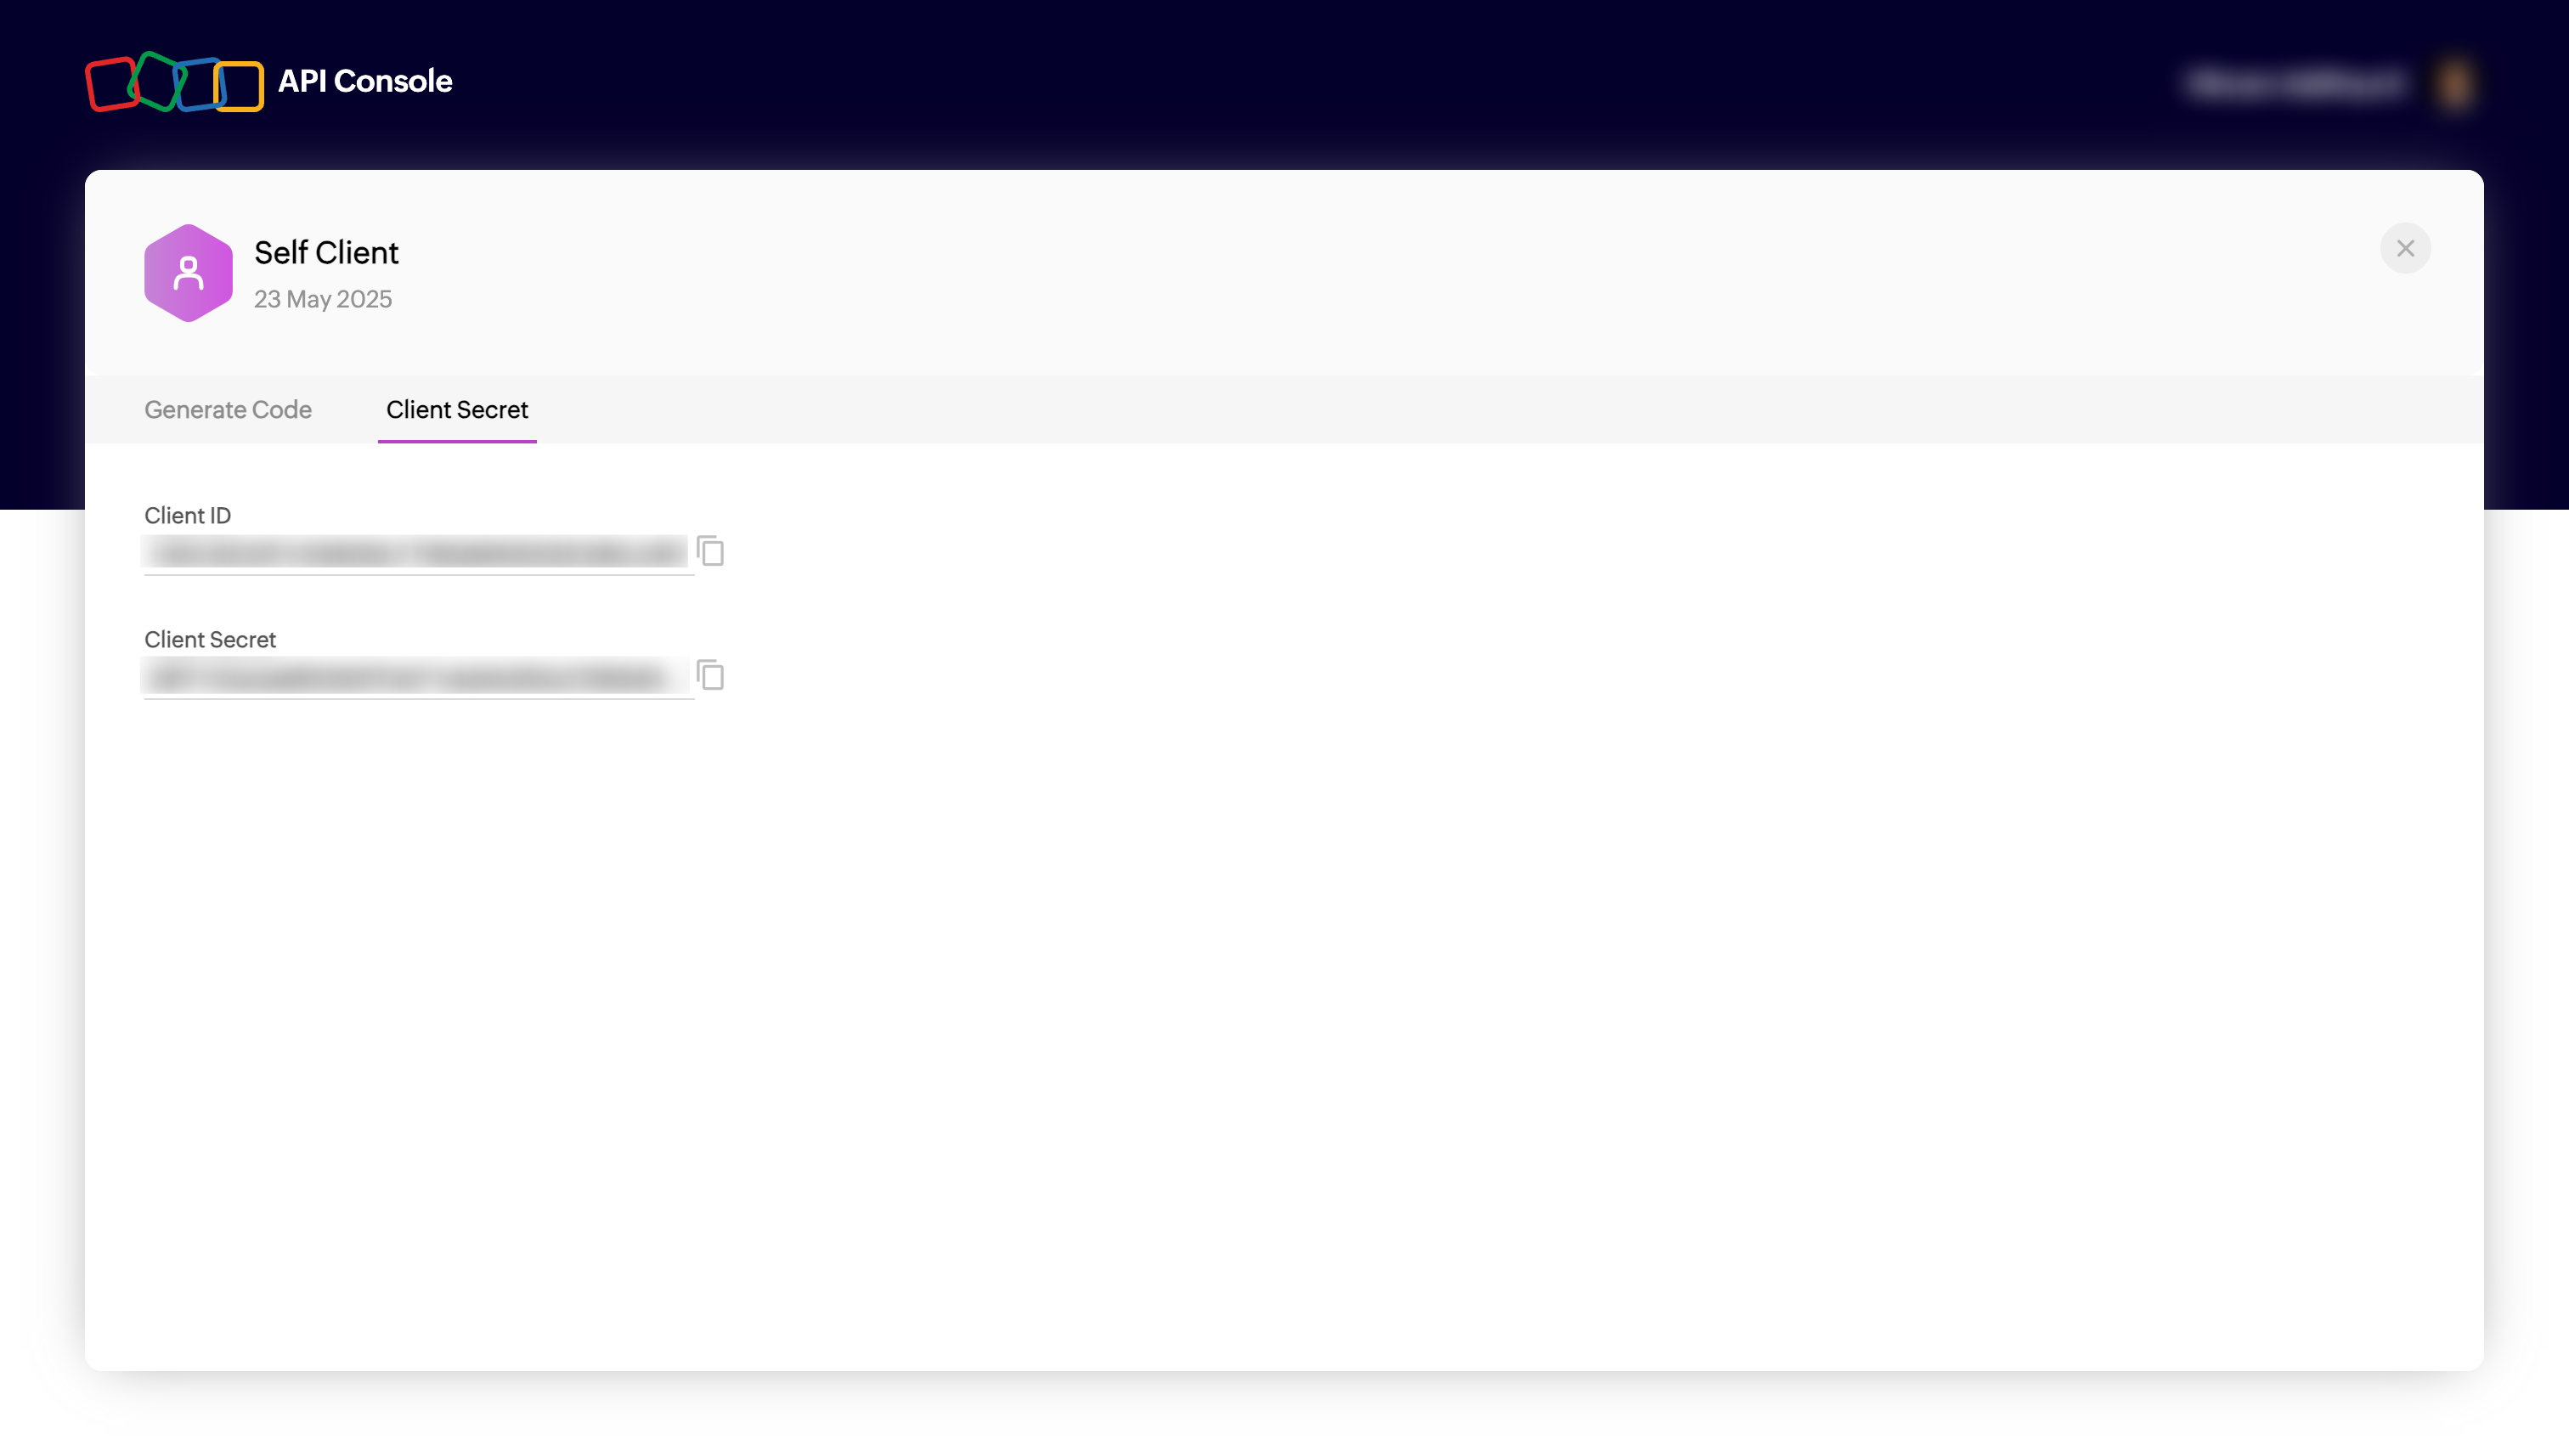
- Client ID and Client secret gets generated for your account.
Note: The URL for Zoho API console need to be regional specific.- URL: Provide the URL of the Endpoint Central application.
- CLUSTER PERMISSIONS: Provide the cluster permission for allowing DDI central to visualize the data.
- CLUSTER(S): Select the cluster/clusters from which you want to display the data in DDI Central.
- SUBNETS: Select the subnets from which you want to display the data in DDI Central.
- All: When selected all, DDI Central fetches and displays the data from all the subnets in the network.
- Specific: When selected specific, DDI Central fetches and displays the data from the subnets you select from the dropdown menu.
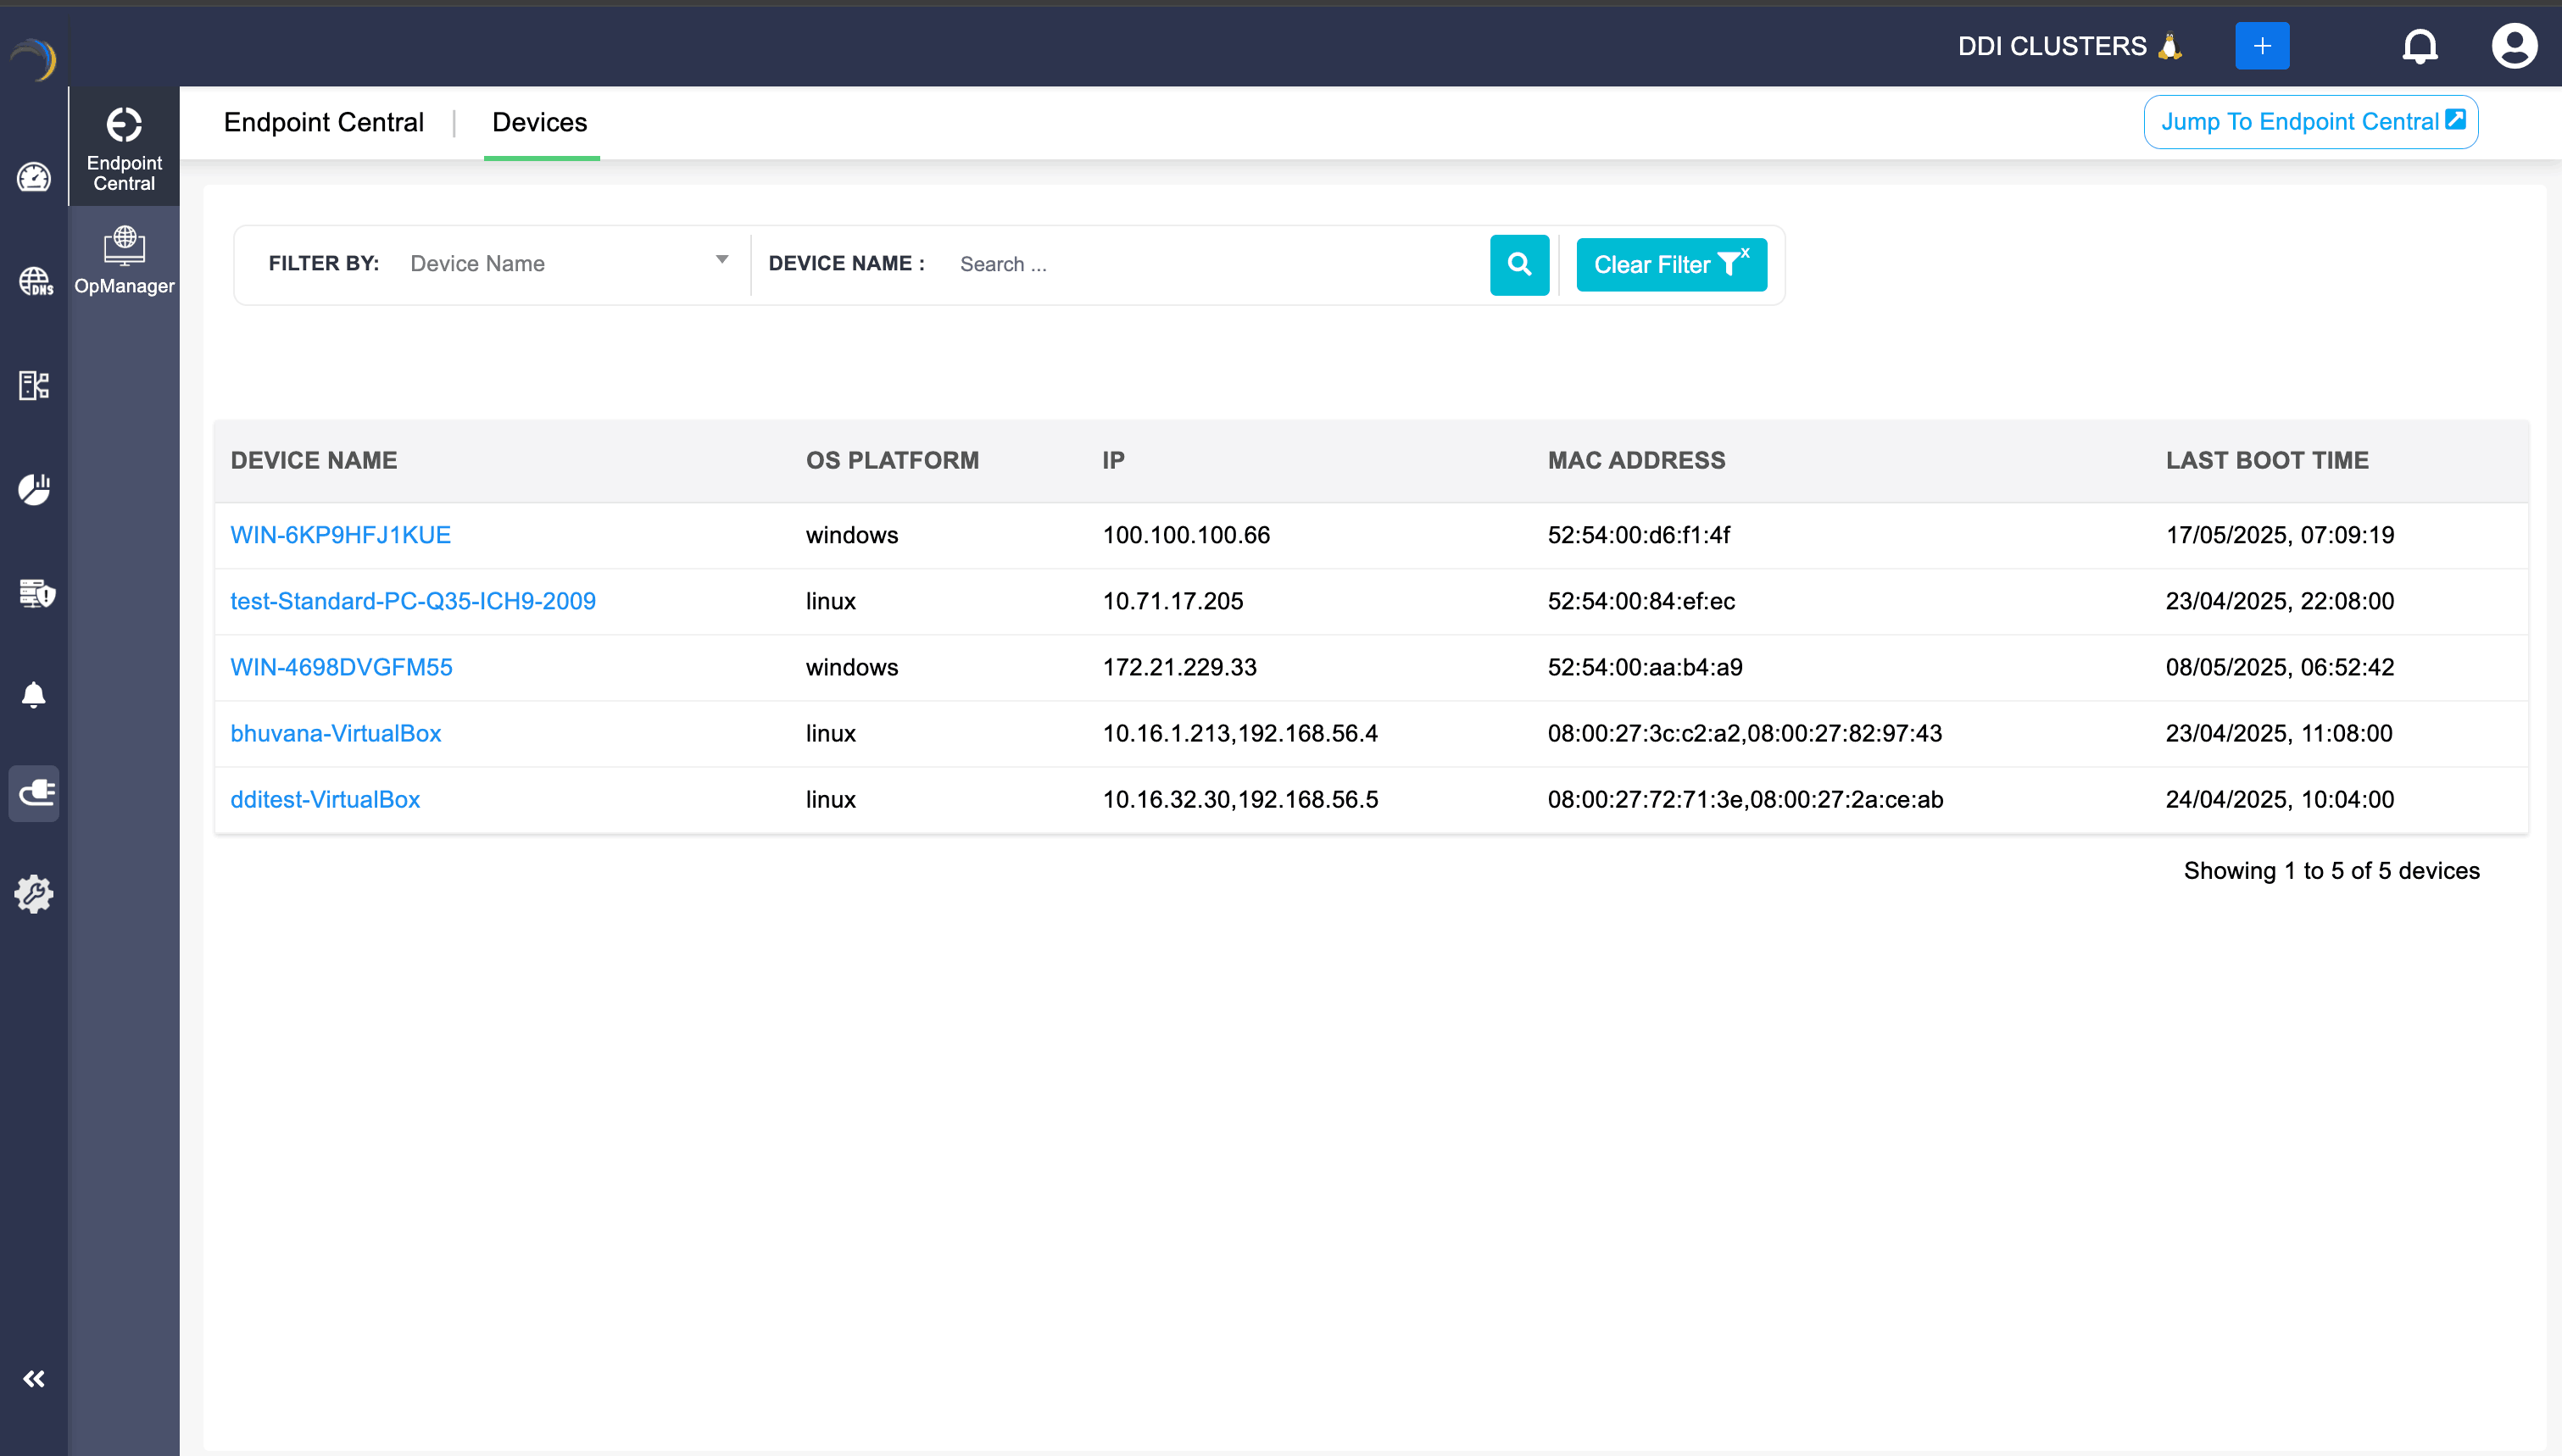
After successfully setting up Endpoint central integration, you can view the number of devices listed in the endpoint database, along with their details of OS, IP, MAC address, and Last booted time, through the Devices section.
You can click on the Jump to Endpoint Central button to get redirected to the endpoint central.
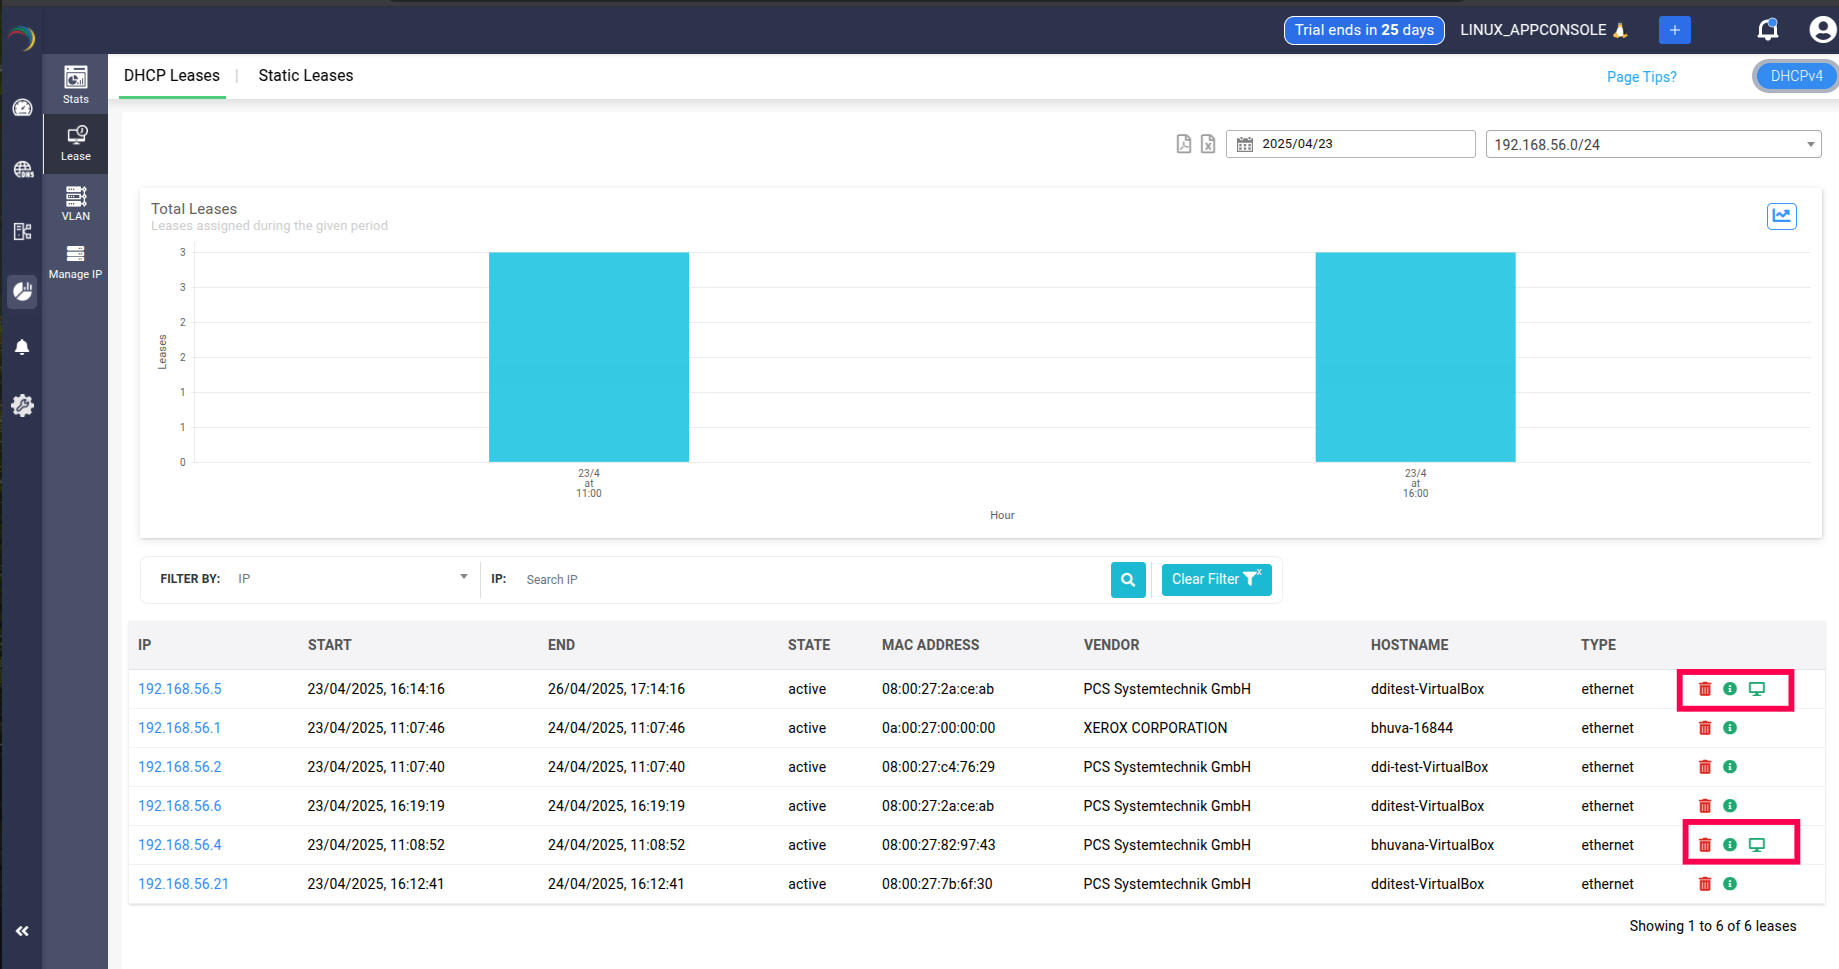
Also, when you go to theIPAM->DHCP Lease page, a Monitor icon appears in the DHCP lease data table alongside the Delete and Additional Info icons. This indicates that the device to which IP got leased has its data fetched from Endpoint central.