- Overview
- Configuration
Calamari
Unify HR-IT Operations with Active Directory Synchronization by integrating ADManager Plus with Calamari
Calamari is a cloud-based HRMS application for small to medium-sized businesses. It focuses on leave and attendance management, offering a user-friendly self-service portal. The Calamari -ADManager Plus integration simplifies user account provisioning, modification, and deprovisioning by linking employee management data from Calamari with Active Directory (AD), ensuring consistent and secure access control across the organization.
Streamlined identity management
Leveraging the strengths of ADManager Plus, a powerful IGA solution, with Calamari enhances efficiency by automating employee onboarding and offboarding, streamlining administrative processes and enhancing accuracy
Unified HR and IT operations
The ADManager Plus and Calamari integration supplies a cohesive solution for managing HR tasks and IT resources, ensuring smooth workflow between departments, and improving operational efficiency.
Enhanced security and compliance
By synchronizing user data between ADManager Plus and Calamari, businesses provide better security and compliance with regulatory standards while delivering consistent data management and access controls.
How to integrate ADManager Plus and Calamari
- Log in to ADManager Plus and navigate to Directory/Application Settings.
- Go to Application Integrations, then search for and select Calamari
- Toggle the Enable Calamari configuration button to use the Calamari integration.
- In the Authorization section, Basic Authentication is selected by default as the Authorization Type.
- Enter the Username as calamari and obtain the token for the Password field from the steps listed in the Steps to obtain credentials in Calamari section.
- Click Configure.
- In the API Endpoint Configuration section, replace the {YOUR-SUB-DOMAIN} with your instance.
- Once done, click Test & Save.
- A response window will display the response schema. Verify and click Proceed.
- Click Data Source - LDAP Attribute Mapping to map AD LDAP attributes with the respective attributes in Calamari.
- Enter the Configuration Name and Description and select the Automation Category from the drop-down menu.
- In the Select Endpoint field, select the primary key column that has unique values for each user (E.g. employeeIdenifier). Note: When multiple endpoints are configured, this attribute must hold the same value in all the endpoints.
- In the Attribute Mapping field, select the attribute from the LDAP Attribute Name drop-down menu and map it with the respective column in Calamari.
- Click Save.
While configuring an automation in ADManager Plus, select Calamari as the Data Source to automate user management. Click here to learn more about configuring AD automation.
Steps to obtain credentials in Calamari:
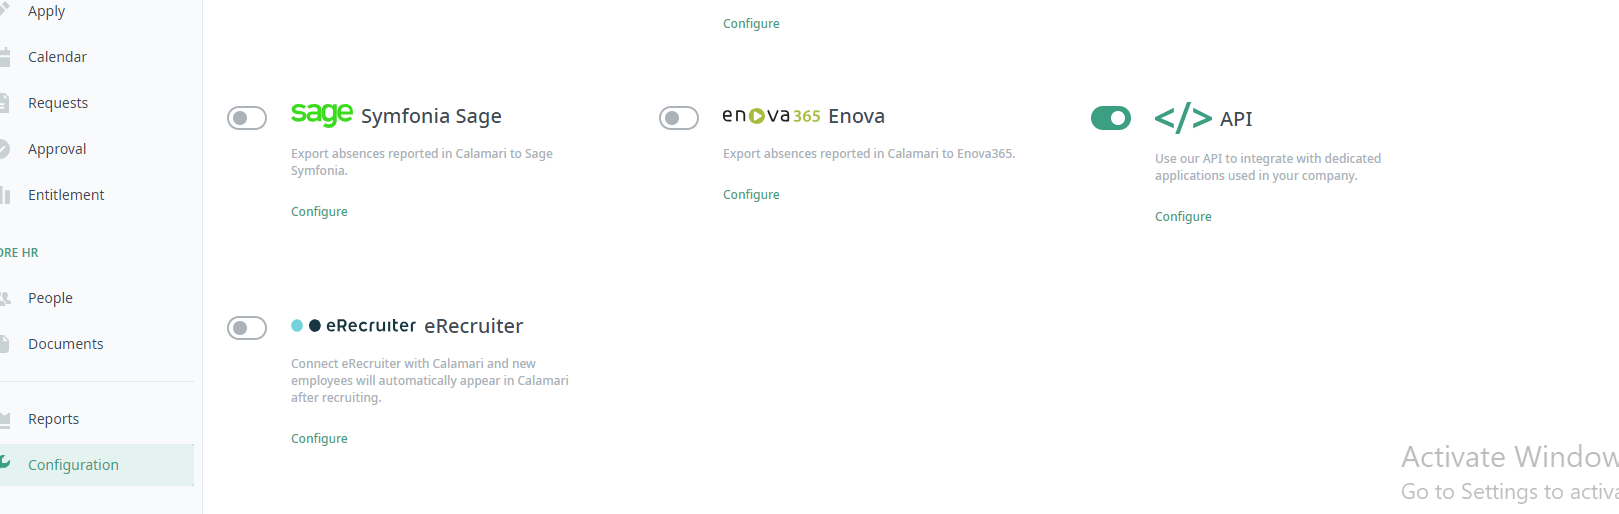
- Log in to your Calamari instance and navigate to Configuration tab from the left panel.
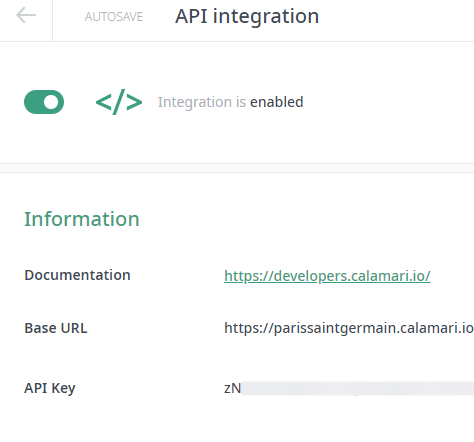
- Scroll down and enable API ( https://app-new.calamari.io/clockin/configuration/api )
- Click Configure and on the next page you can find the API key.
- Copy the generated API key and paste it while configuring authorization for Calamari in ADManager Plus.
How to content for UI:

Authorization
- Calamari uses Basic Authentication as the Authorization Type.
- Enter the credentials, Calamari as the Username and the password generated from Calamari in the Password field, respectively.
Endpoint configuration
- In the API Endpoint Configuration section, replace the {YOUR-SUB-DOMAIN} with your instance.
Actions supported:
Upon integration, administrators can configure automations to carry out the desired tasks. These automations can be monitored and controlled by implementing multi-level business workflows, which ensure that they are reviewed and approved before execution. The following actions can be automated:
- Create user accounts
- Modify user attributes
- Modify user accounts by template
- Reset passwords
- Unlock user accounts
- Enable user accounts
- Disable user accounts
- Delete user accounts
- Run custom scripts
- Move users across groups
- Add users to groups
- Remove users from groups
- Create mailbox
- Disable or delete mailbox
- Move Home Folder
- Delete Home Folder
- Revoke Microsoft 365 licenses
- Manage users' photos
- Disable Lync accounts
- Configure auto reply settings