Microsoft Intune Service Deployment With Storage Account
This document provides a step-by-step guide for installing agents using Microsoft Intune and a Microsoft Azure Storage Account. By following these instructions, you can efficiently manage and deploy agents across your organization’s devices in an Azure Active Directory (Azure AD) environment.
Table of Contents
- Prerequisites
- Create a Storage Account
- Create a Blob and Upload Agent Files
- Modify the Installation Script
- Initiate Installation via Intune
- Conclusion
Prerequisites
Before starting the installation process, ensure you have the following:
- Microsoft Intune Subscription: To manage devices and deploy applications.
- Microsoft Storage Account: To store agent installation files.
Step 1: Create a Storage Account
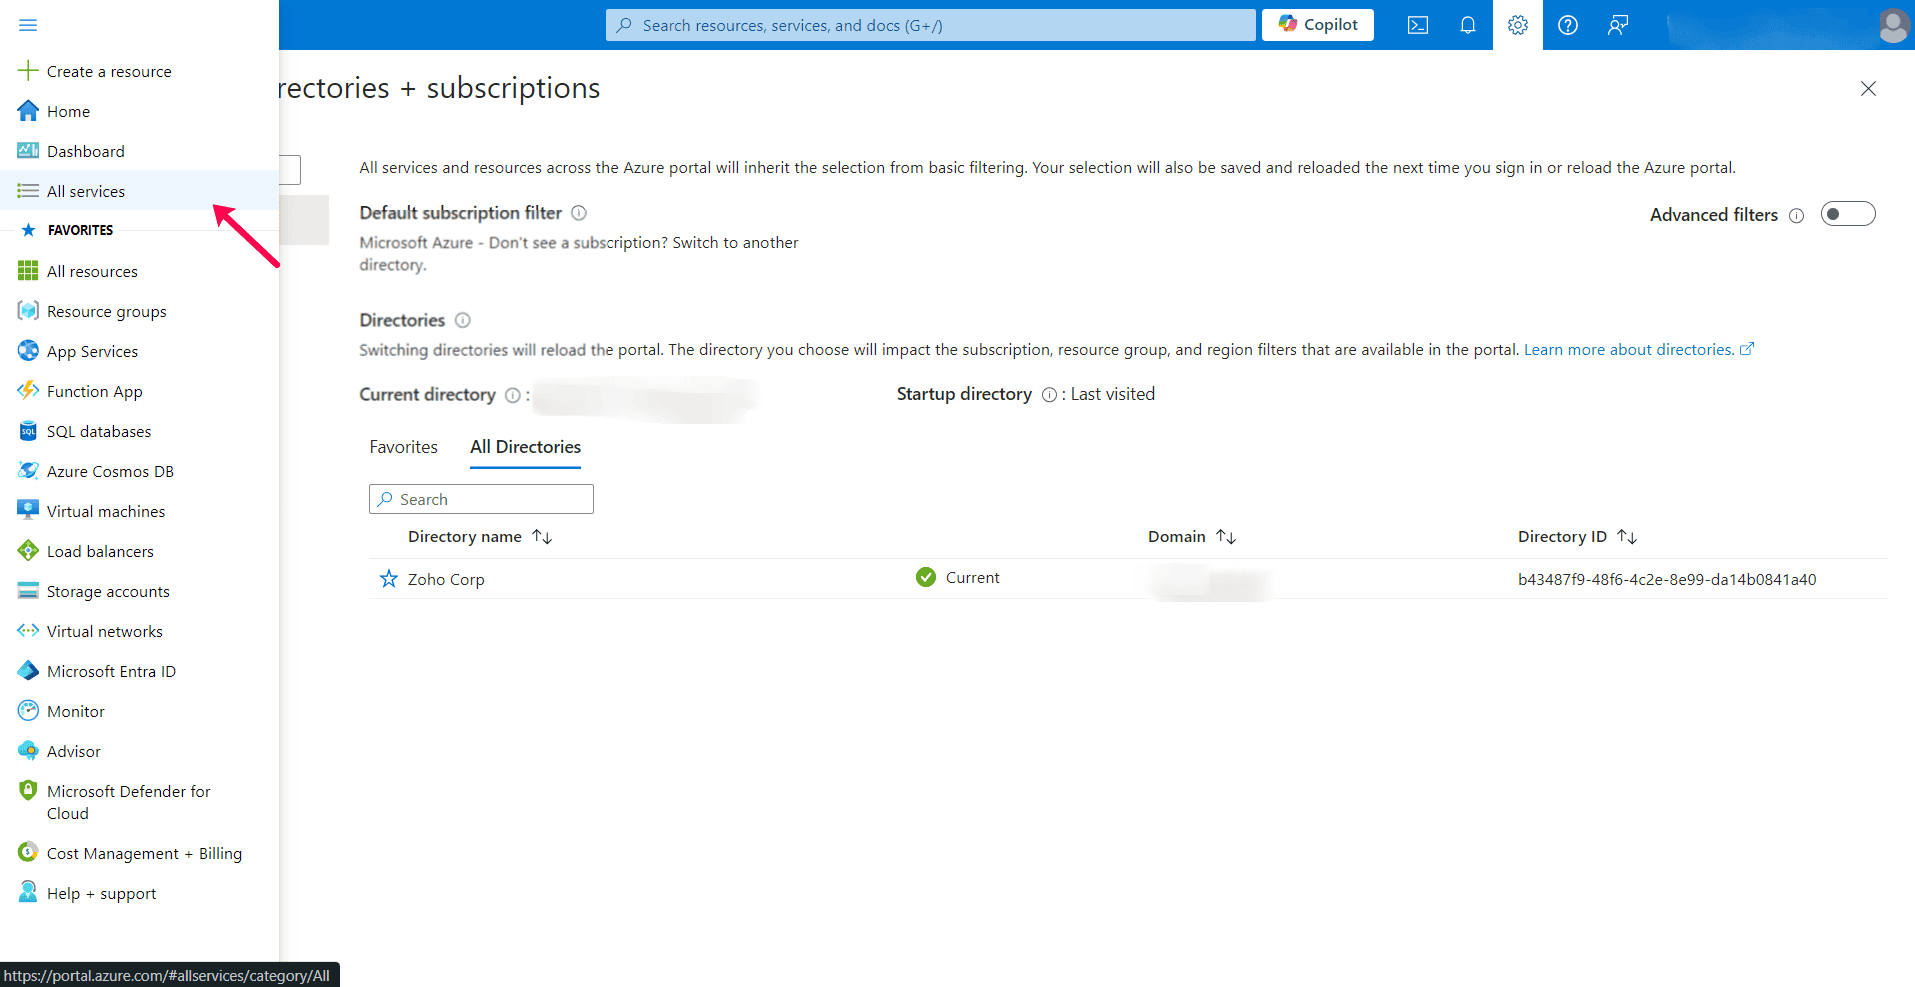
- Access Azure Portal: Sign in to the Azure portal.
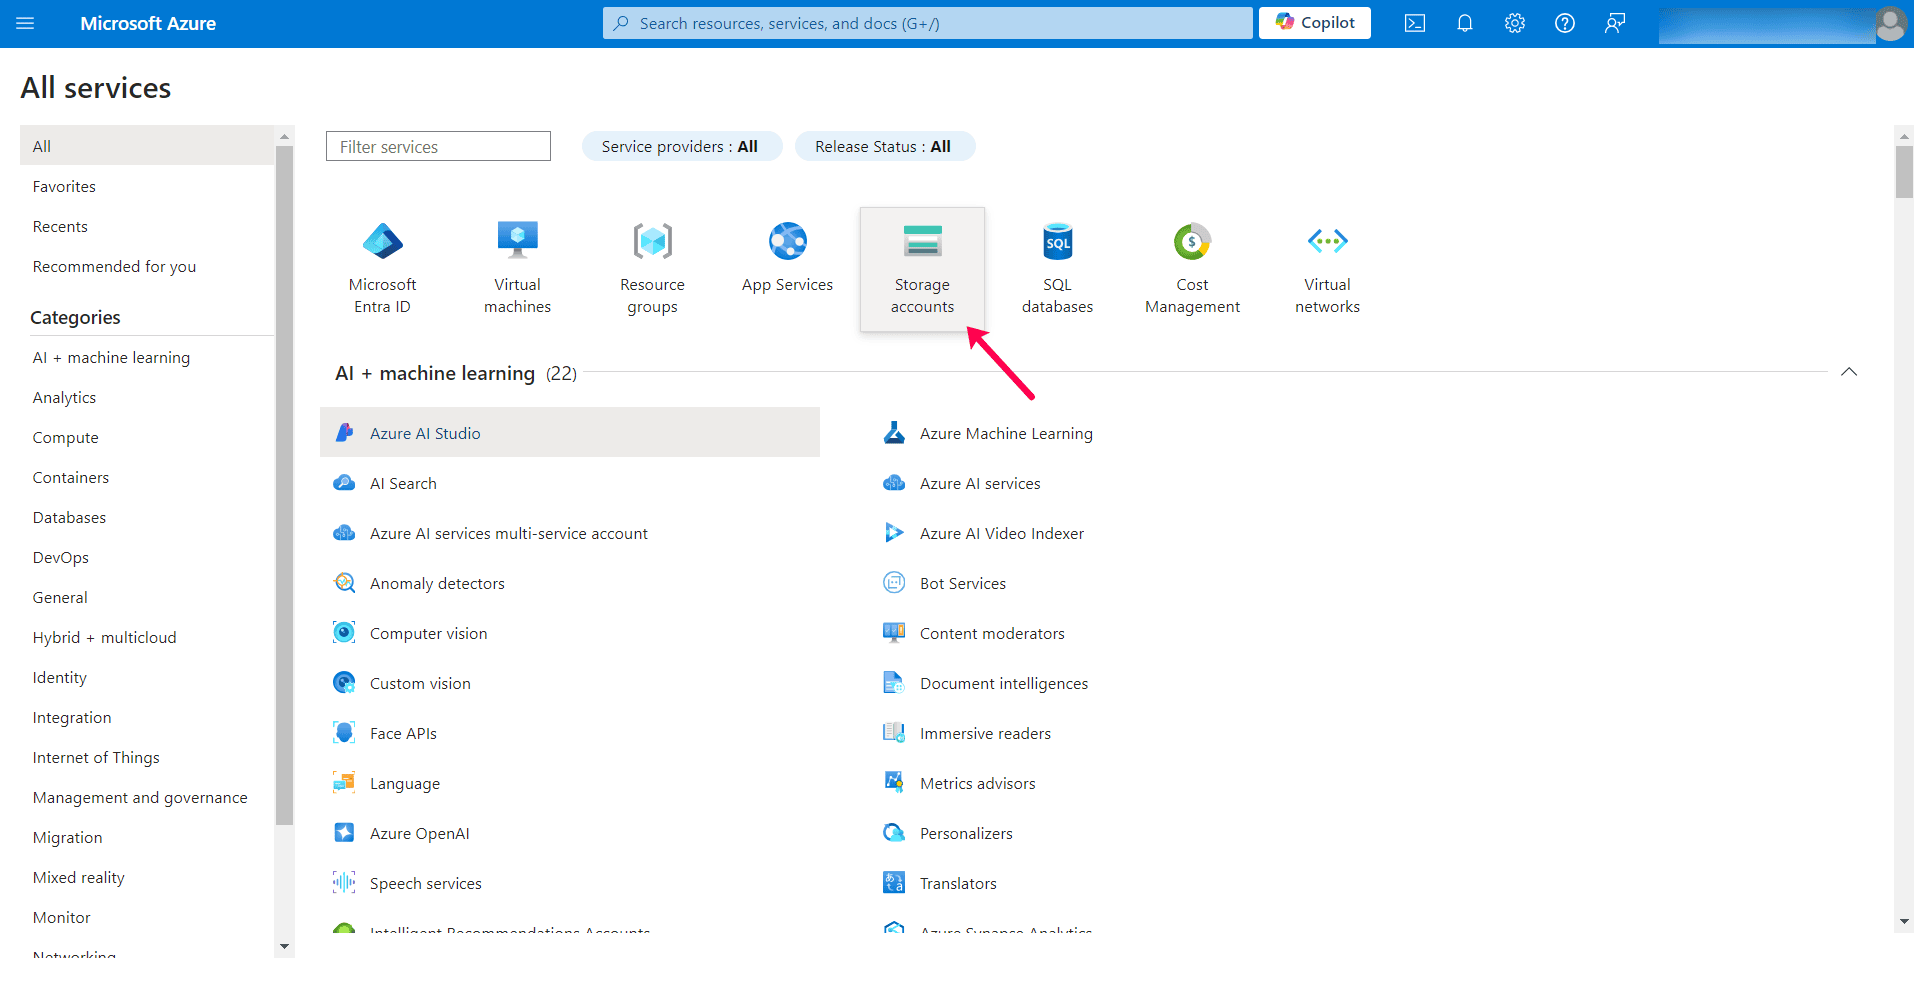
- Select Storage Accounts: In the left-hand menu, select "All services" and then click on "Storage Accounts."
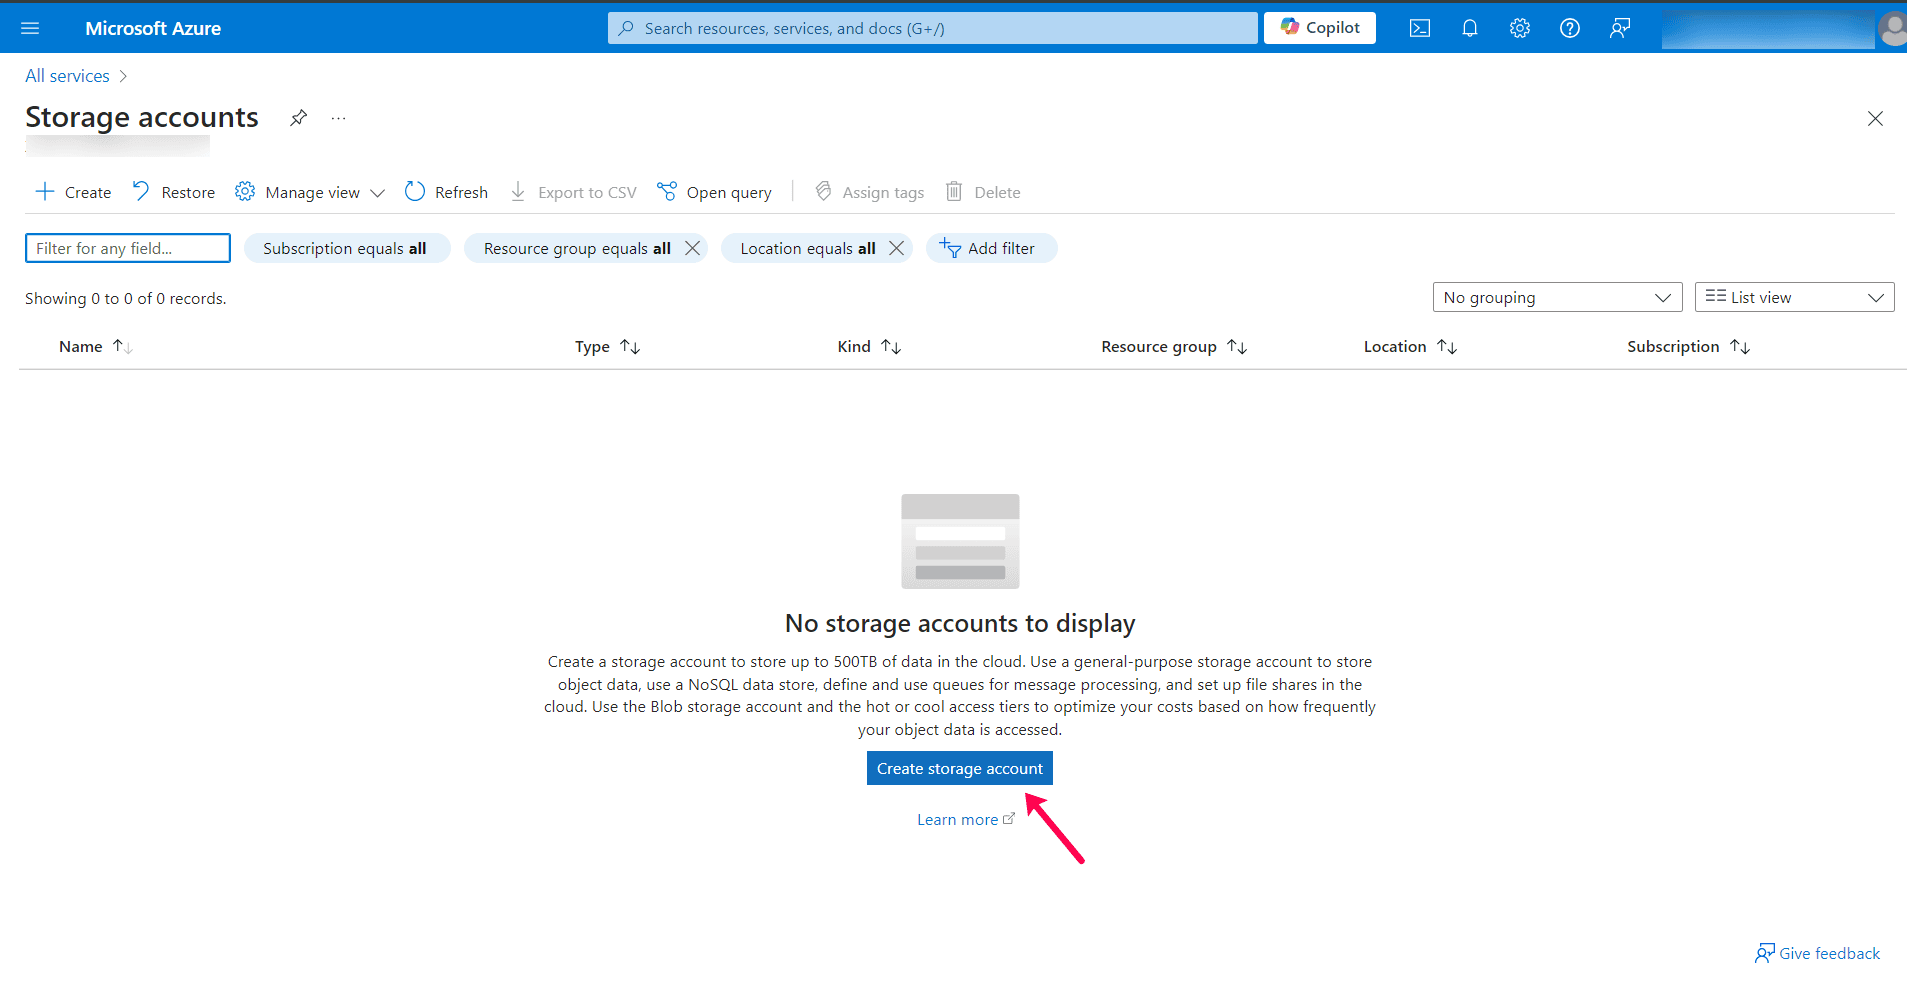
Create a New Storage Account:
- Click on the Create Storage Account option.
- Choose the appropriate Subscription for your storage account.
- Under the Resource group field, select "Create New." If you have an existing resource group, choose it from the dropdown menu and enter a name for the new resource group.

- Advanced Settings:
- Navigate to the Advanced tab.
- Ensure that the option "Allow enabling anonymous access on individual containers" is checked.

- Create Storage Account: Leave other fields at their default values and click Review + Create to finalize the creation of your storage account.
Step 2: Create a Blob and Upload Agent Files
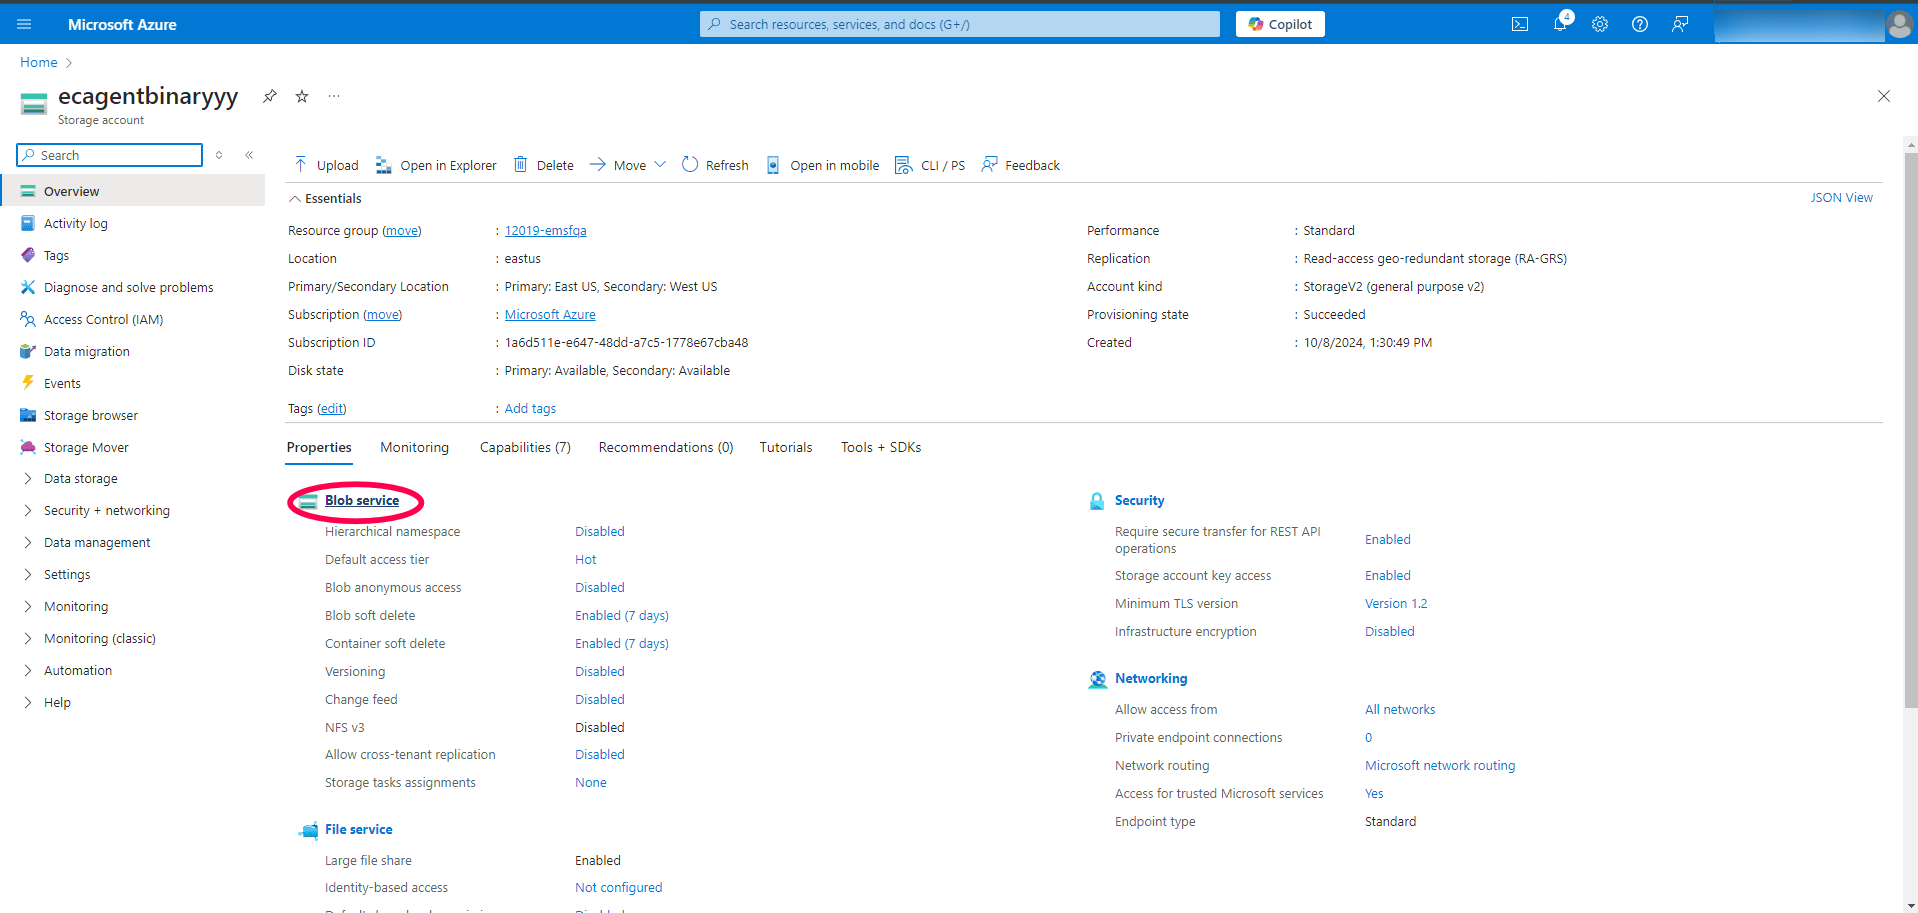
- Navigate to the Storage Account: Go to the storage account you created.
- Access Blob Services: Click on Blob service.
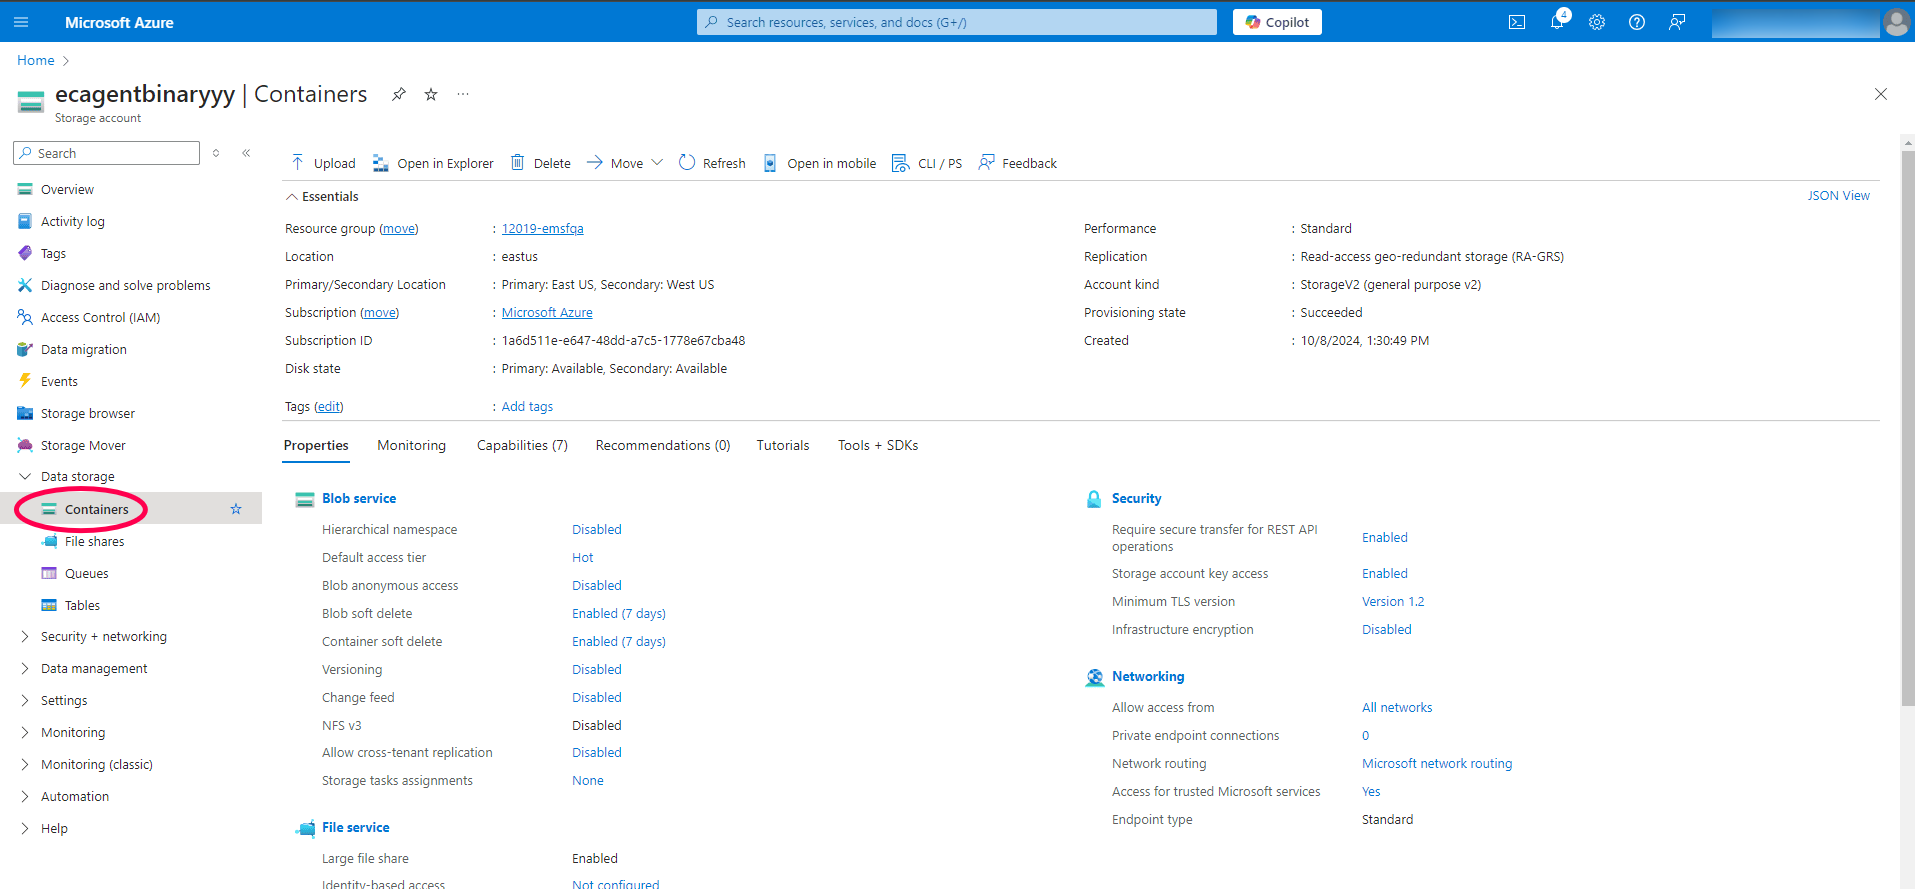
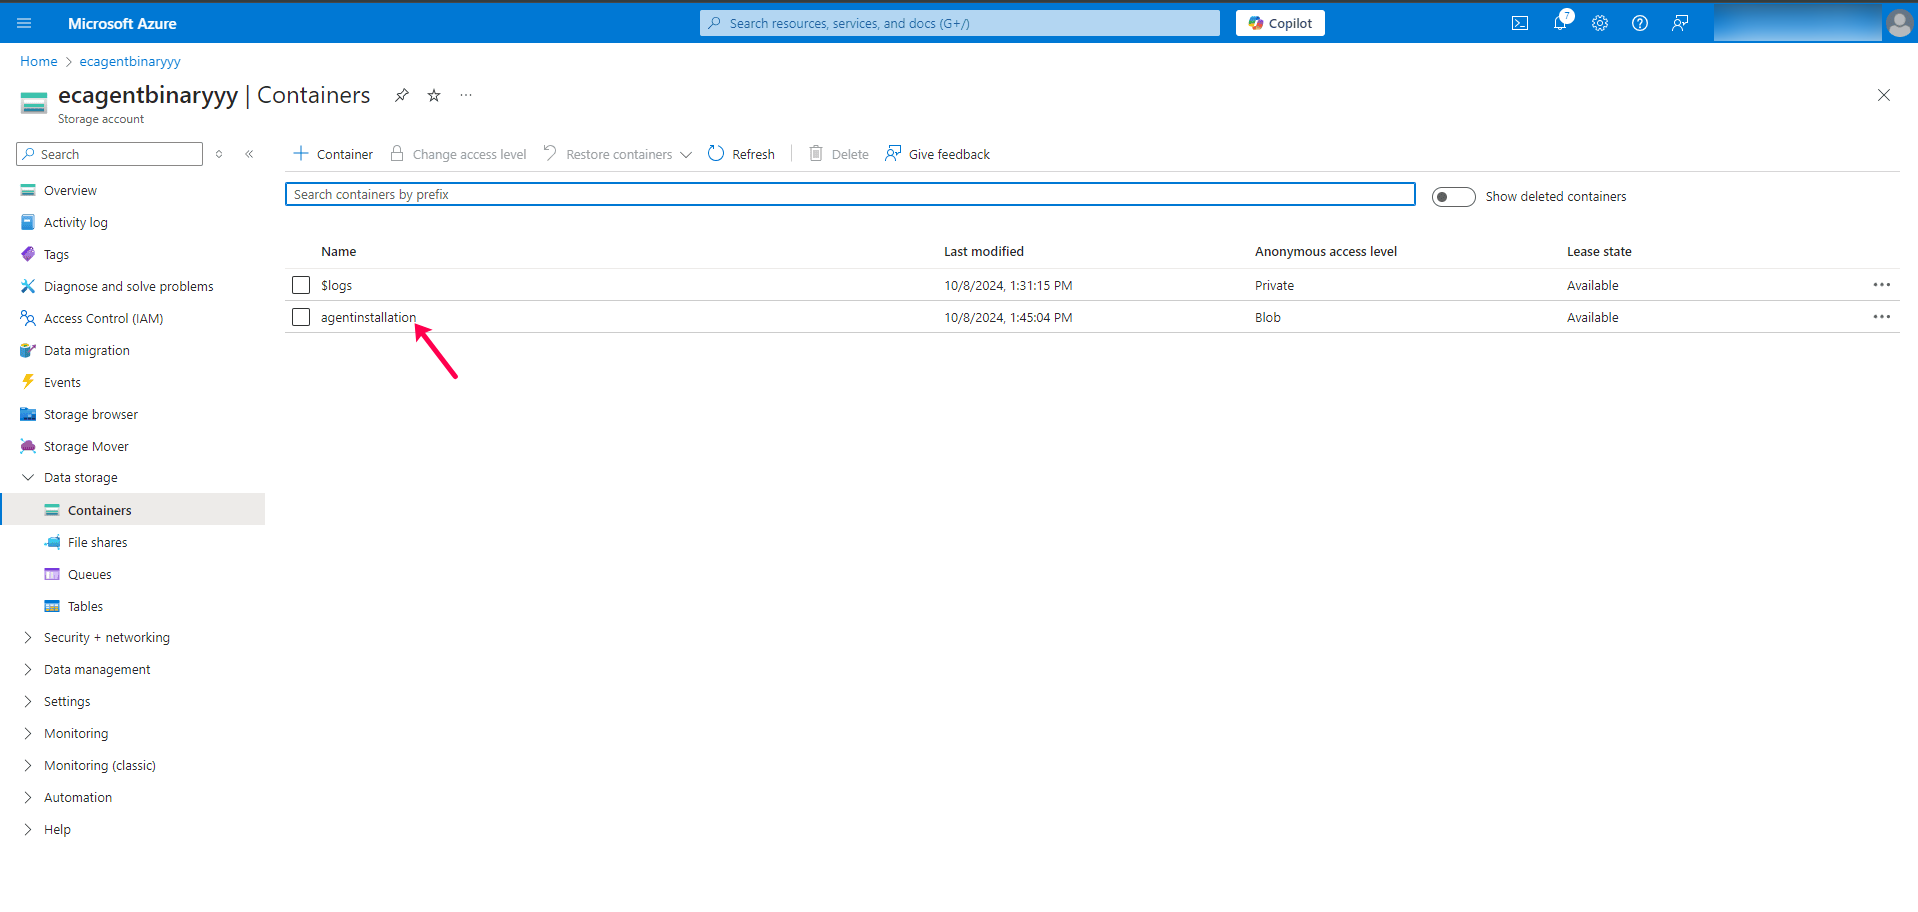
- Create a Container:
- Click on the Containers button.
- Click + Container and provide a name for your container.
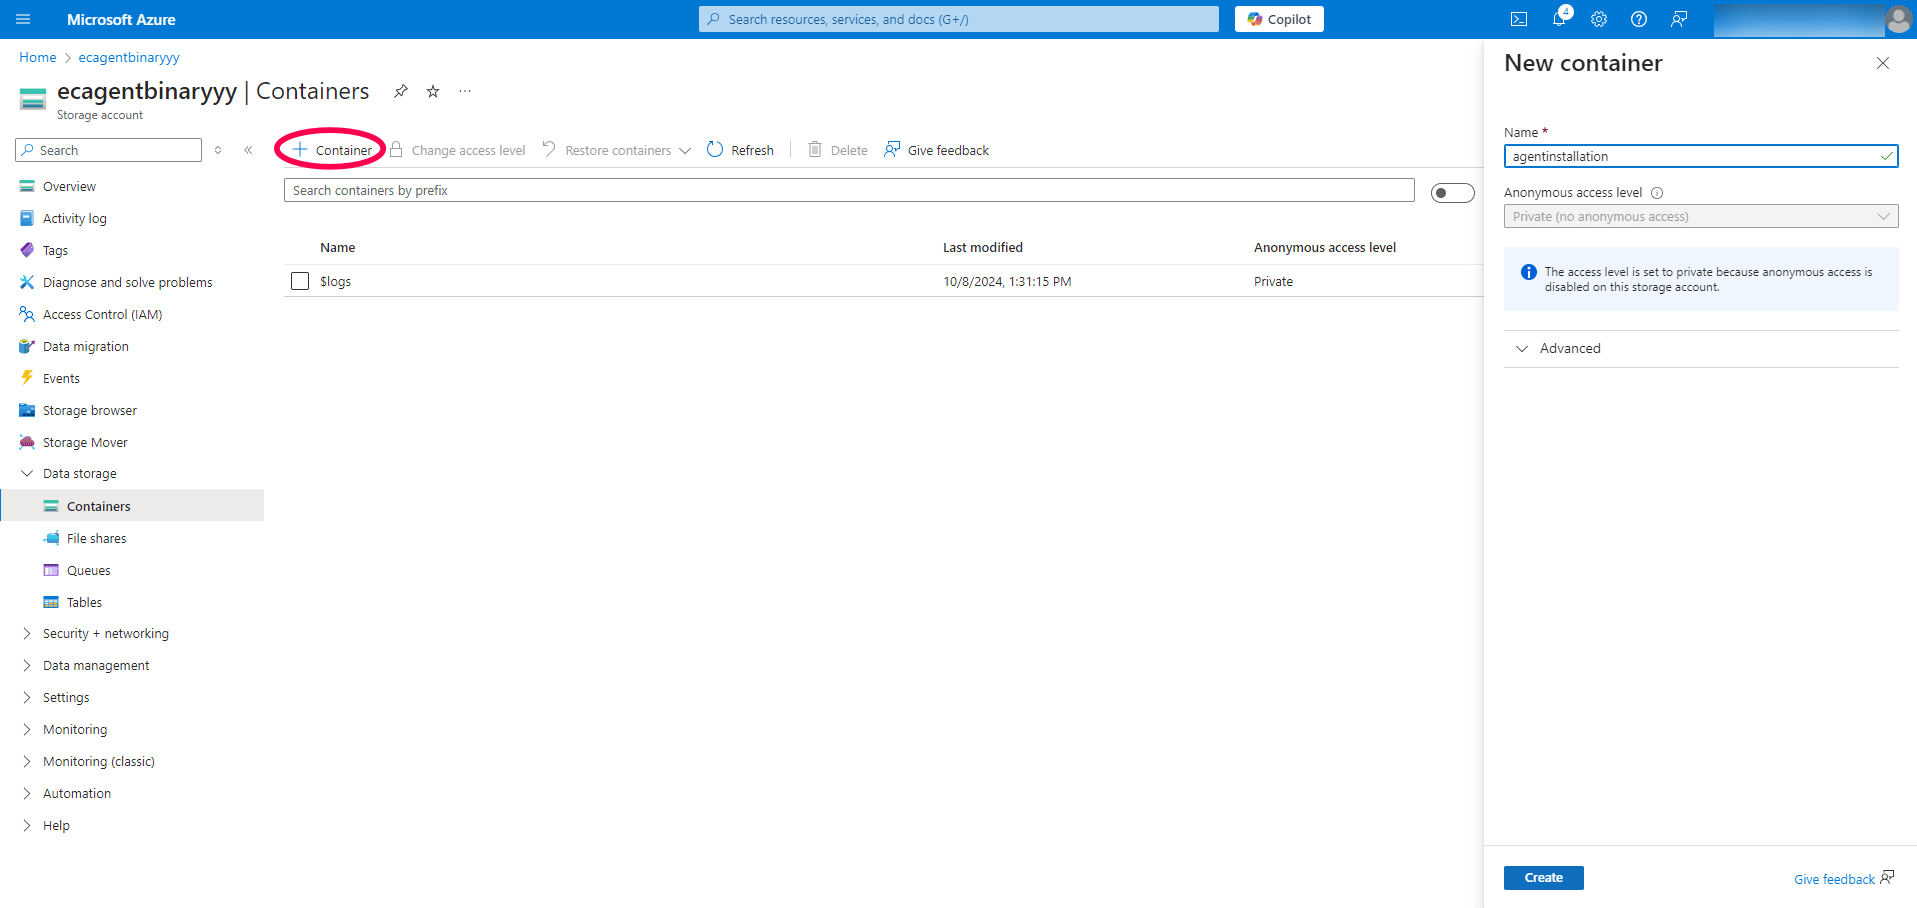
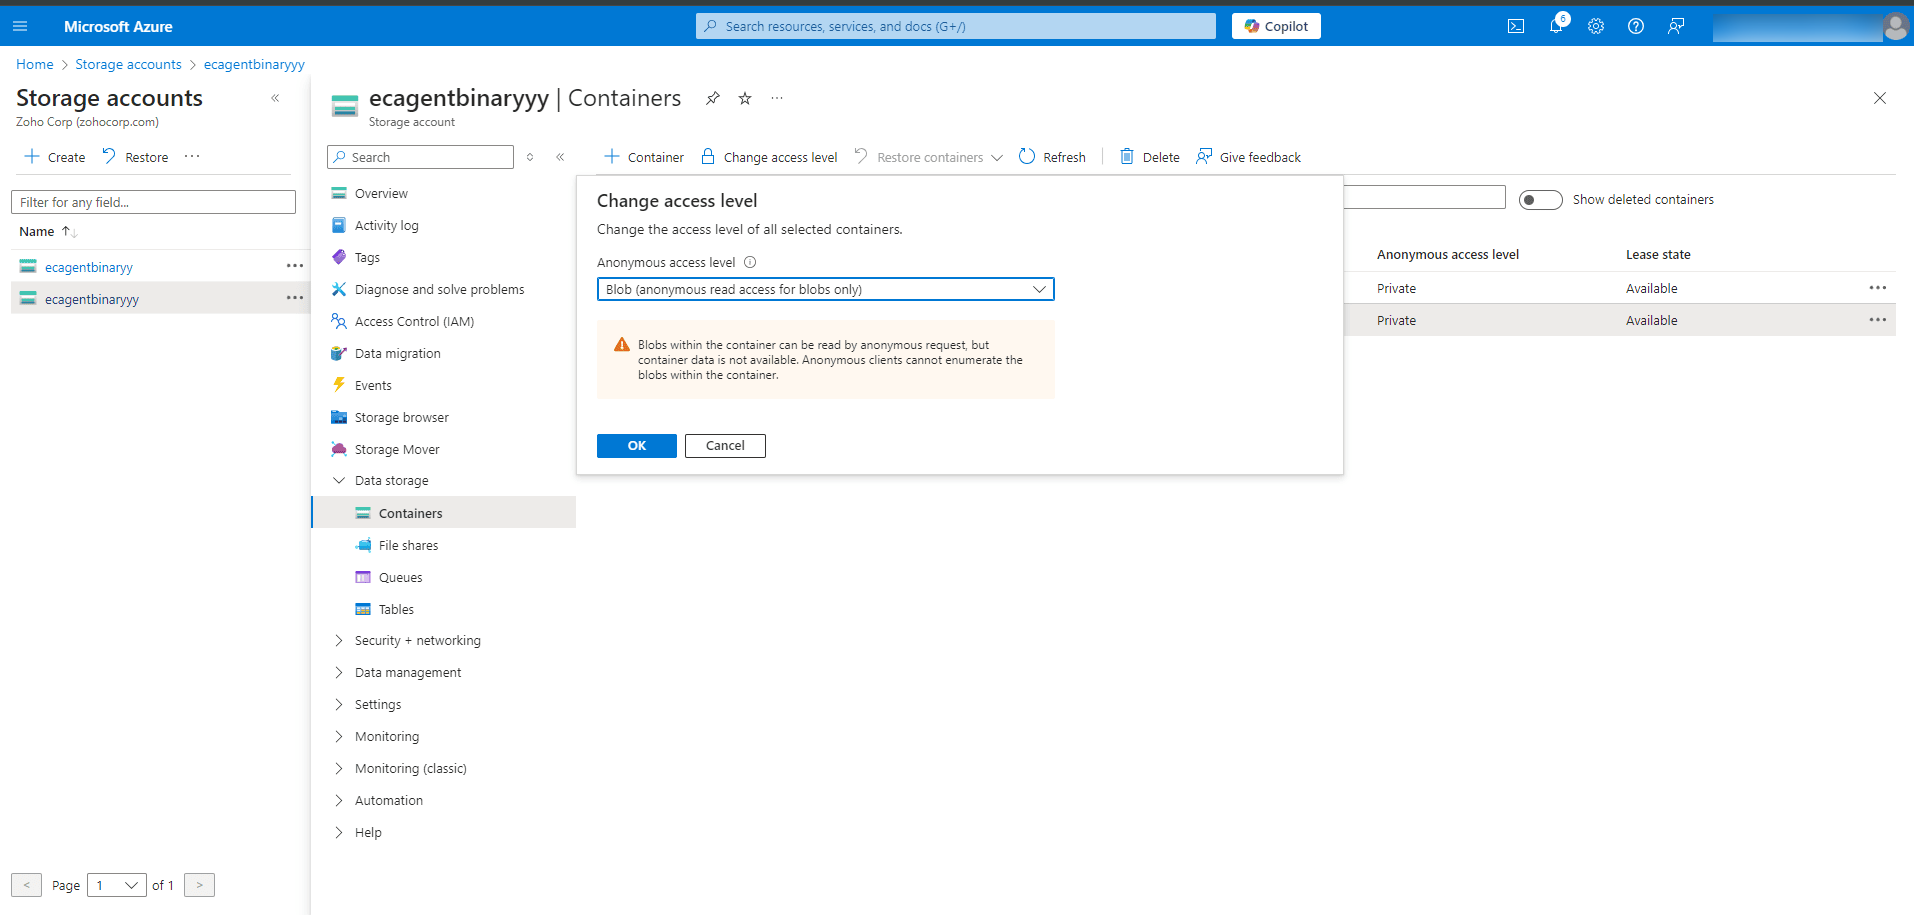
- Set the access level to Blob and click OK.
Upload Agent Files:
- Download the ZIP file from the Central Server by navigating to Agent -> Agent Installation -> GPO and selecting the respective remote office.
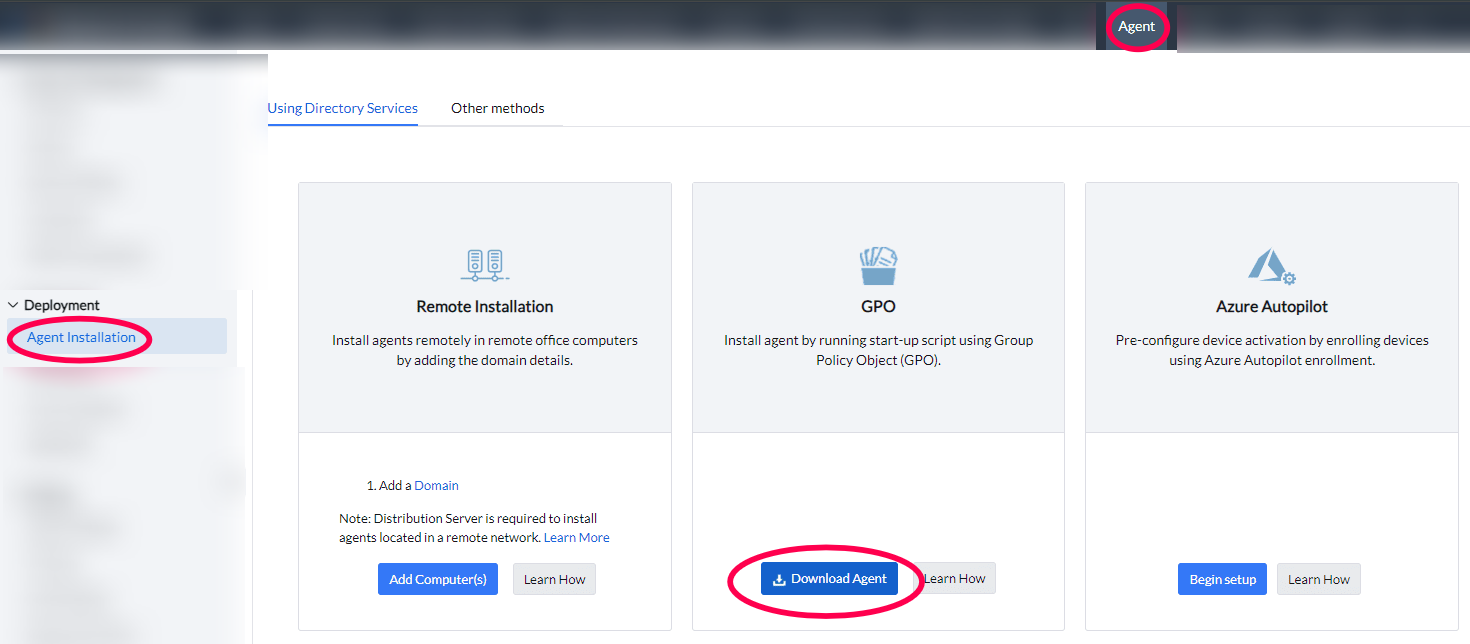
- Extract the LocalOffice.zip file.
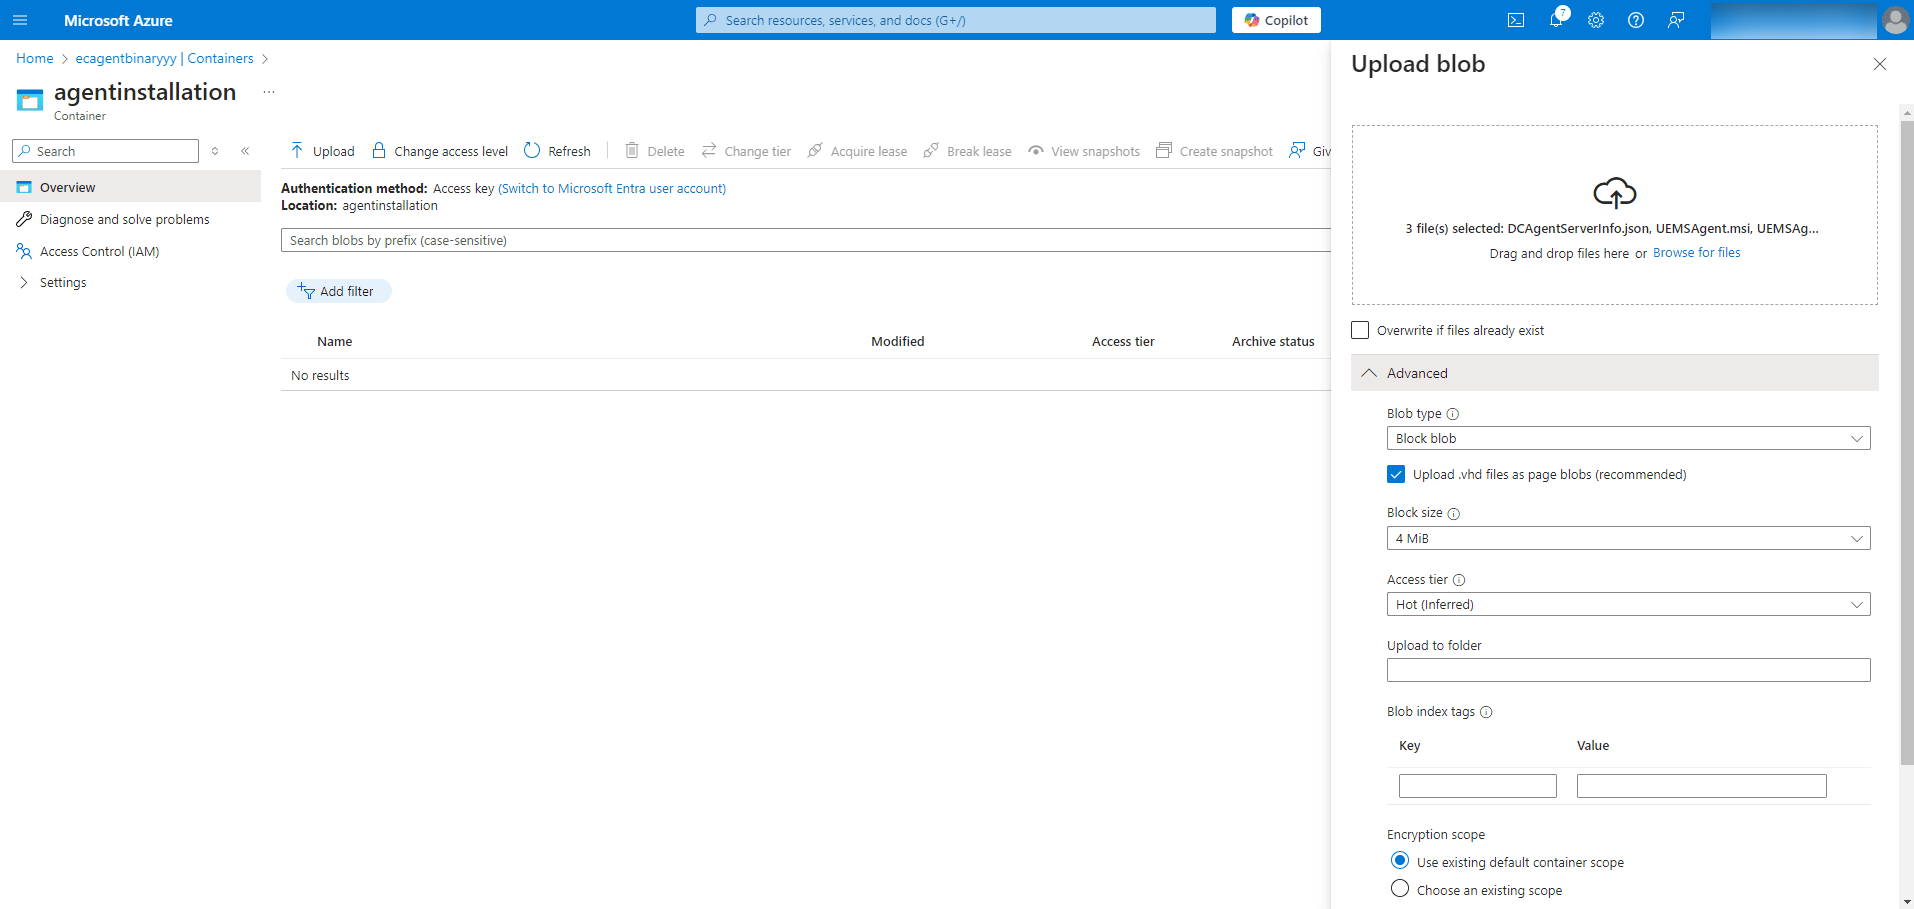
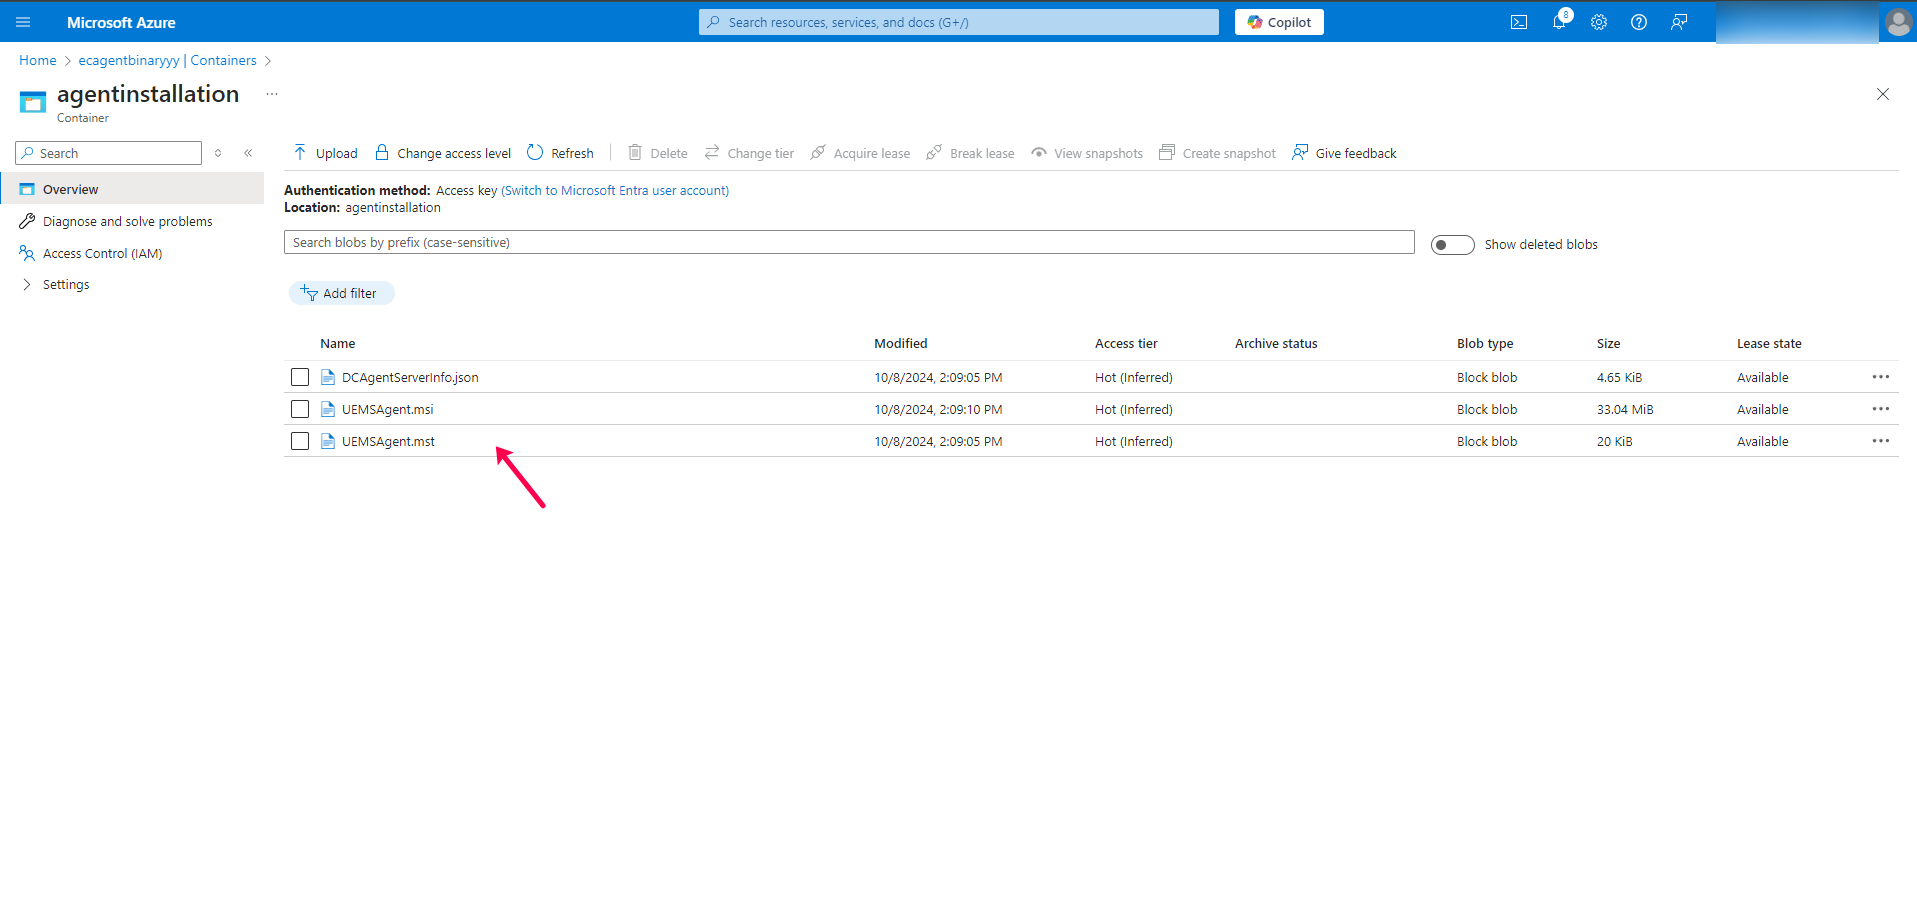
- Open the created Blob container and click on the Uploadbutton to upload the following files:
- UEMSAgent.msi
- UEMSAgent.mst
- DCAgentServerInfo.json
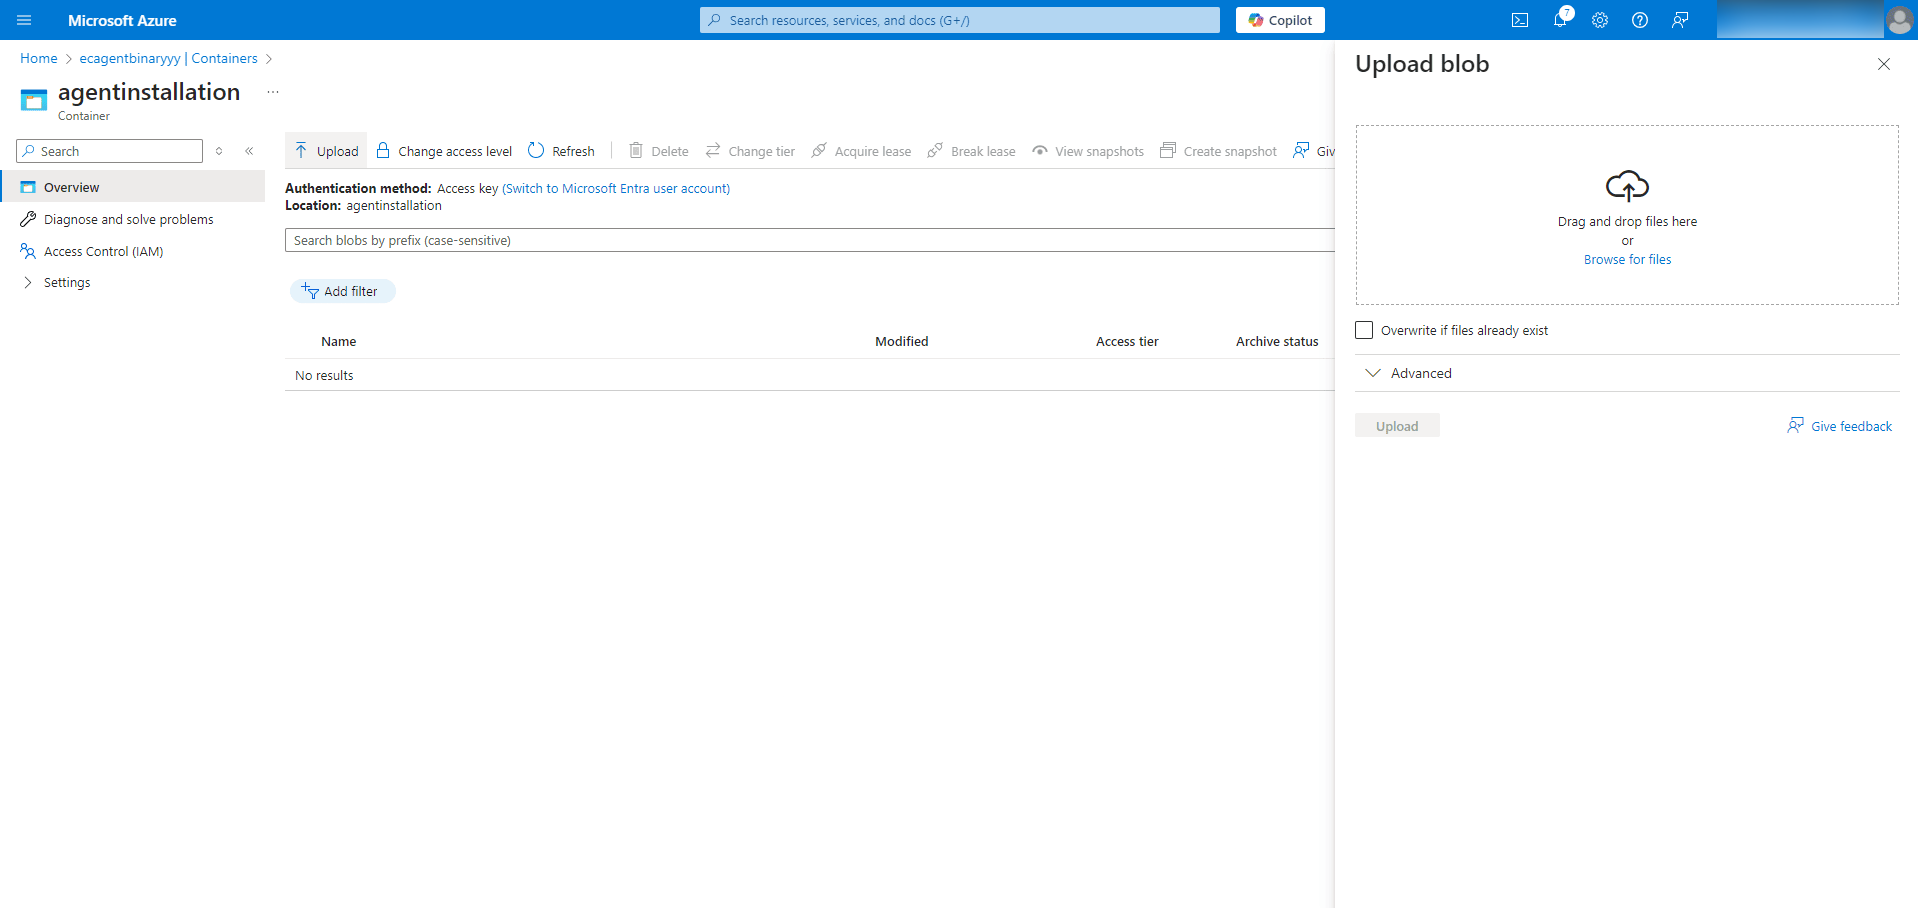
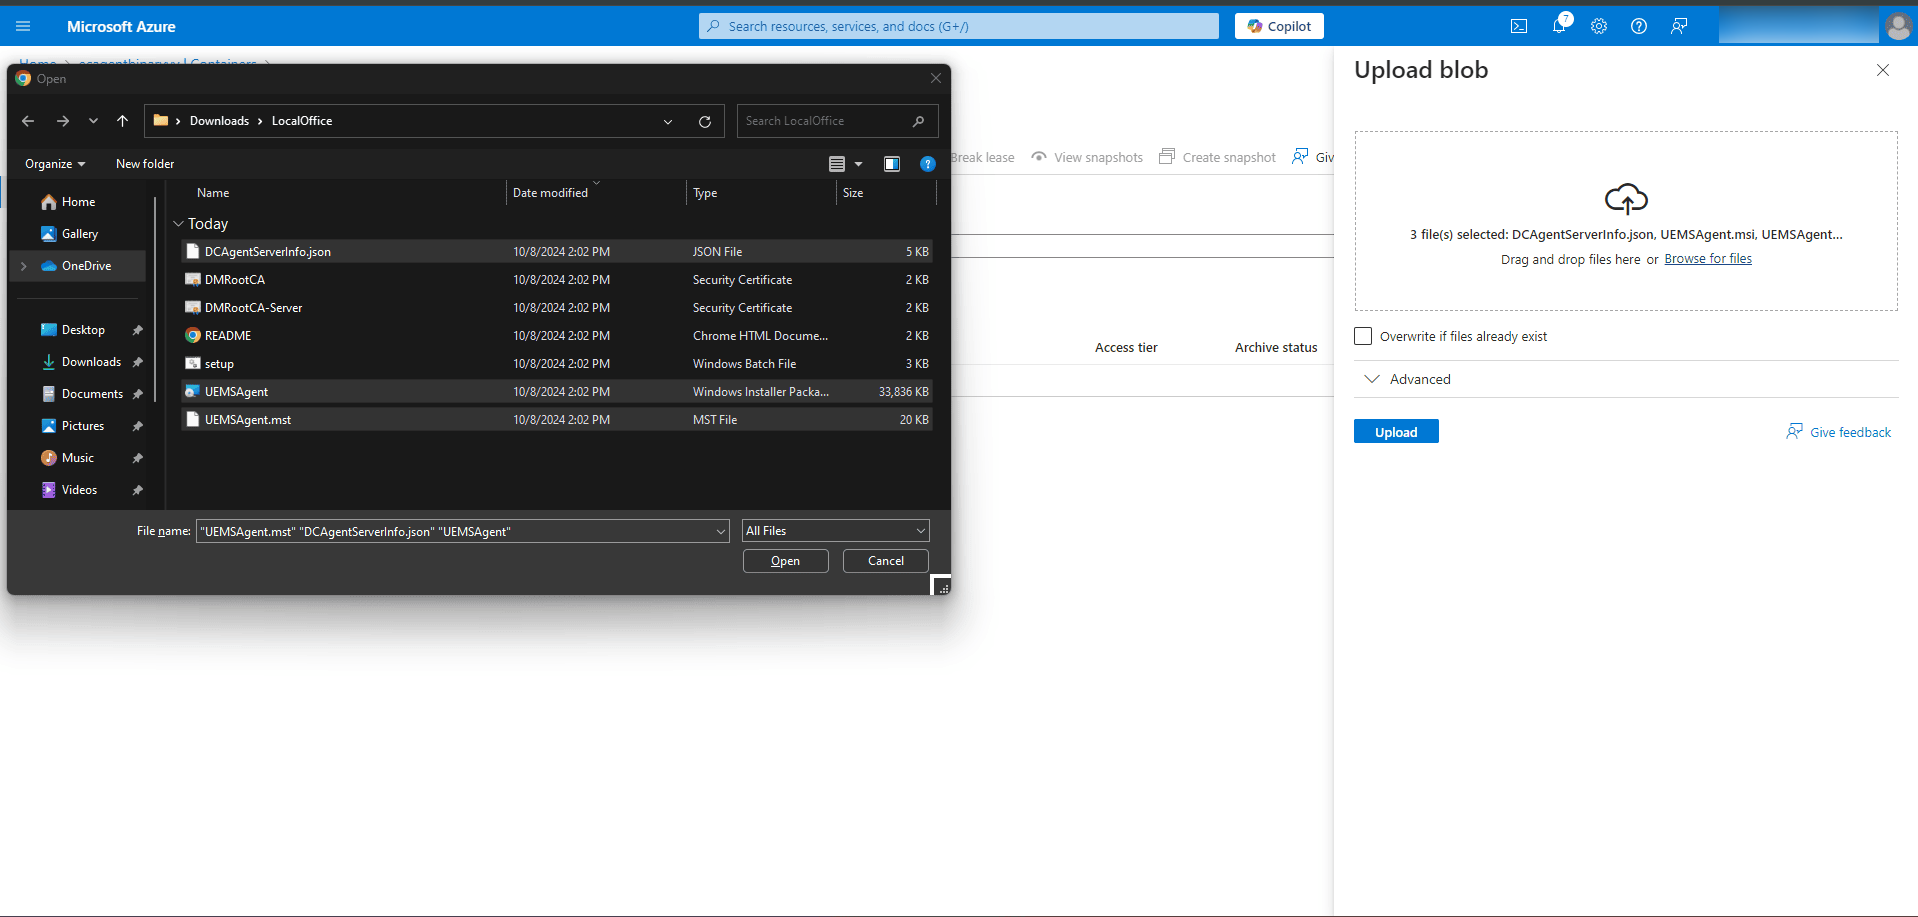
- In the upload dialog, select Block blob from the Advanced dropdown and then click Upload.
Step 3: Modify the Installation Script
Access the Uploaded Files:
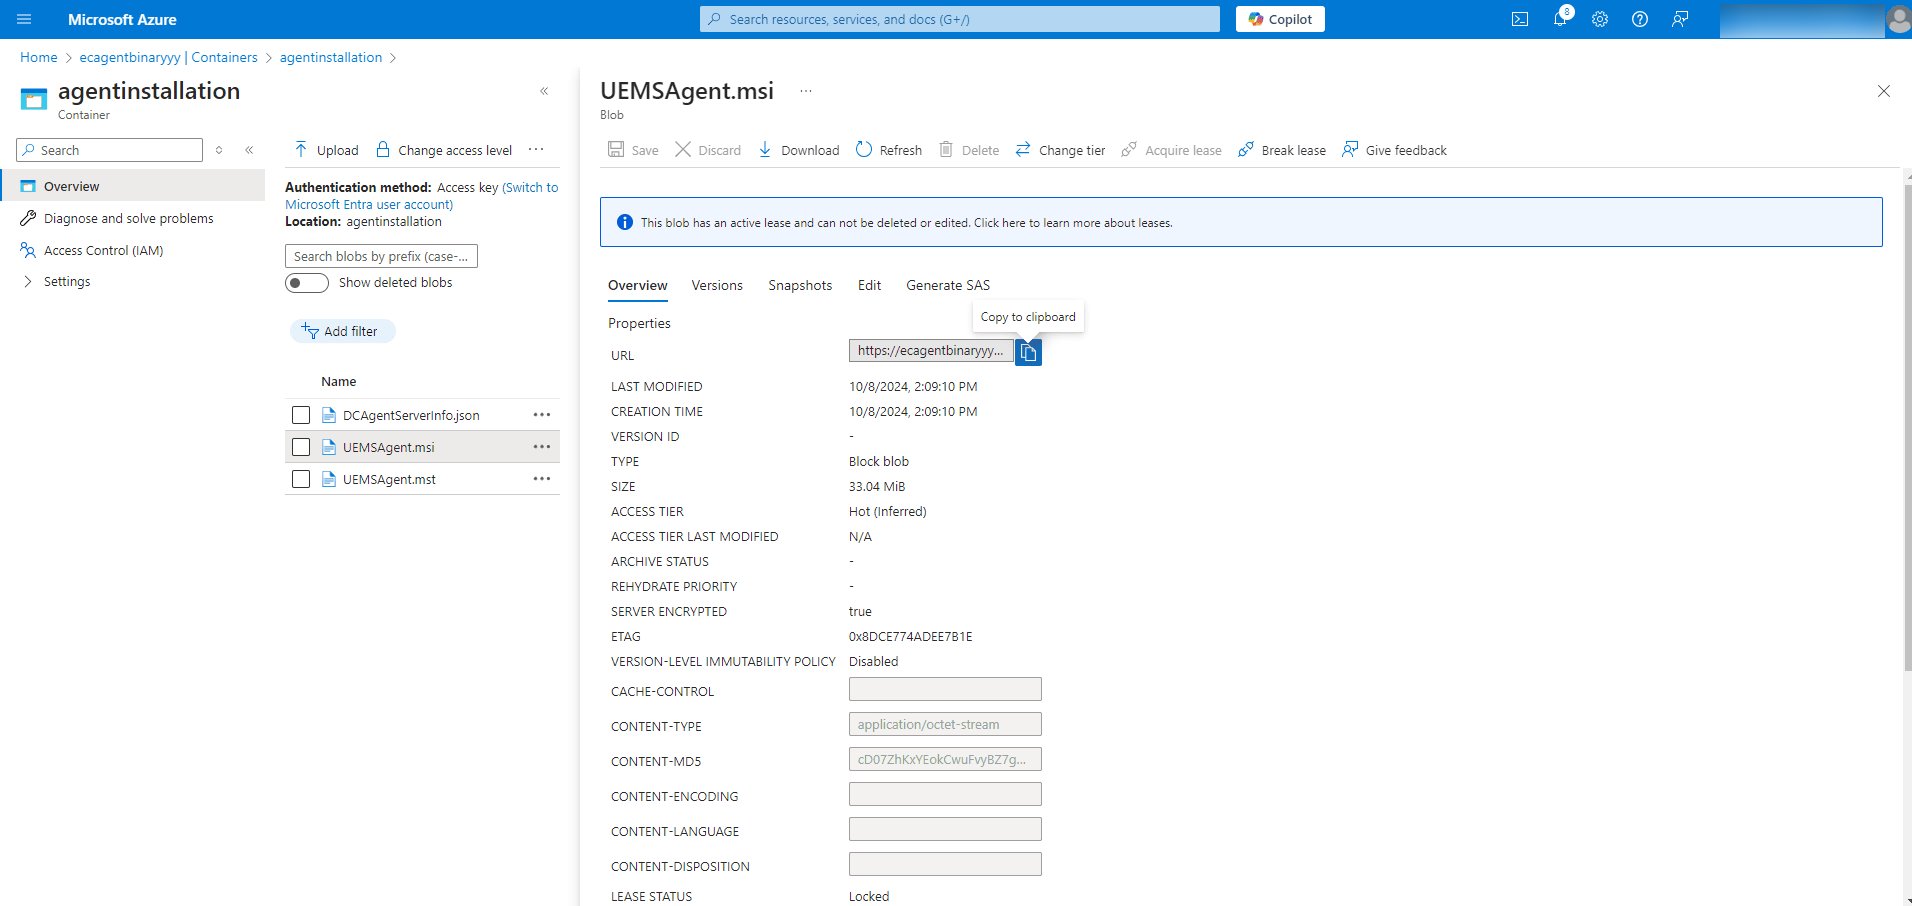
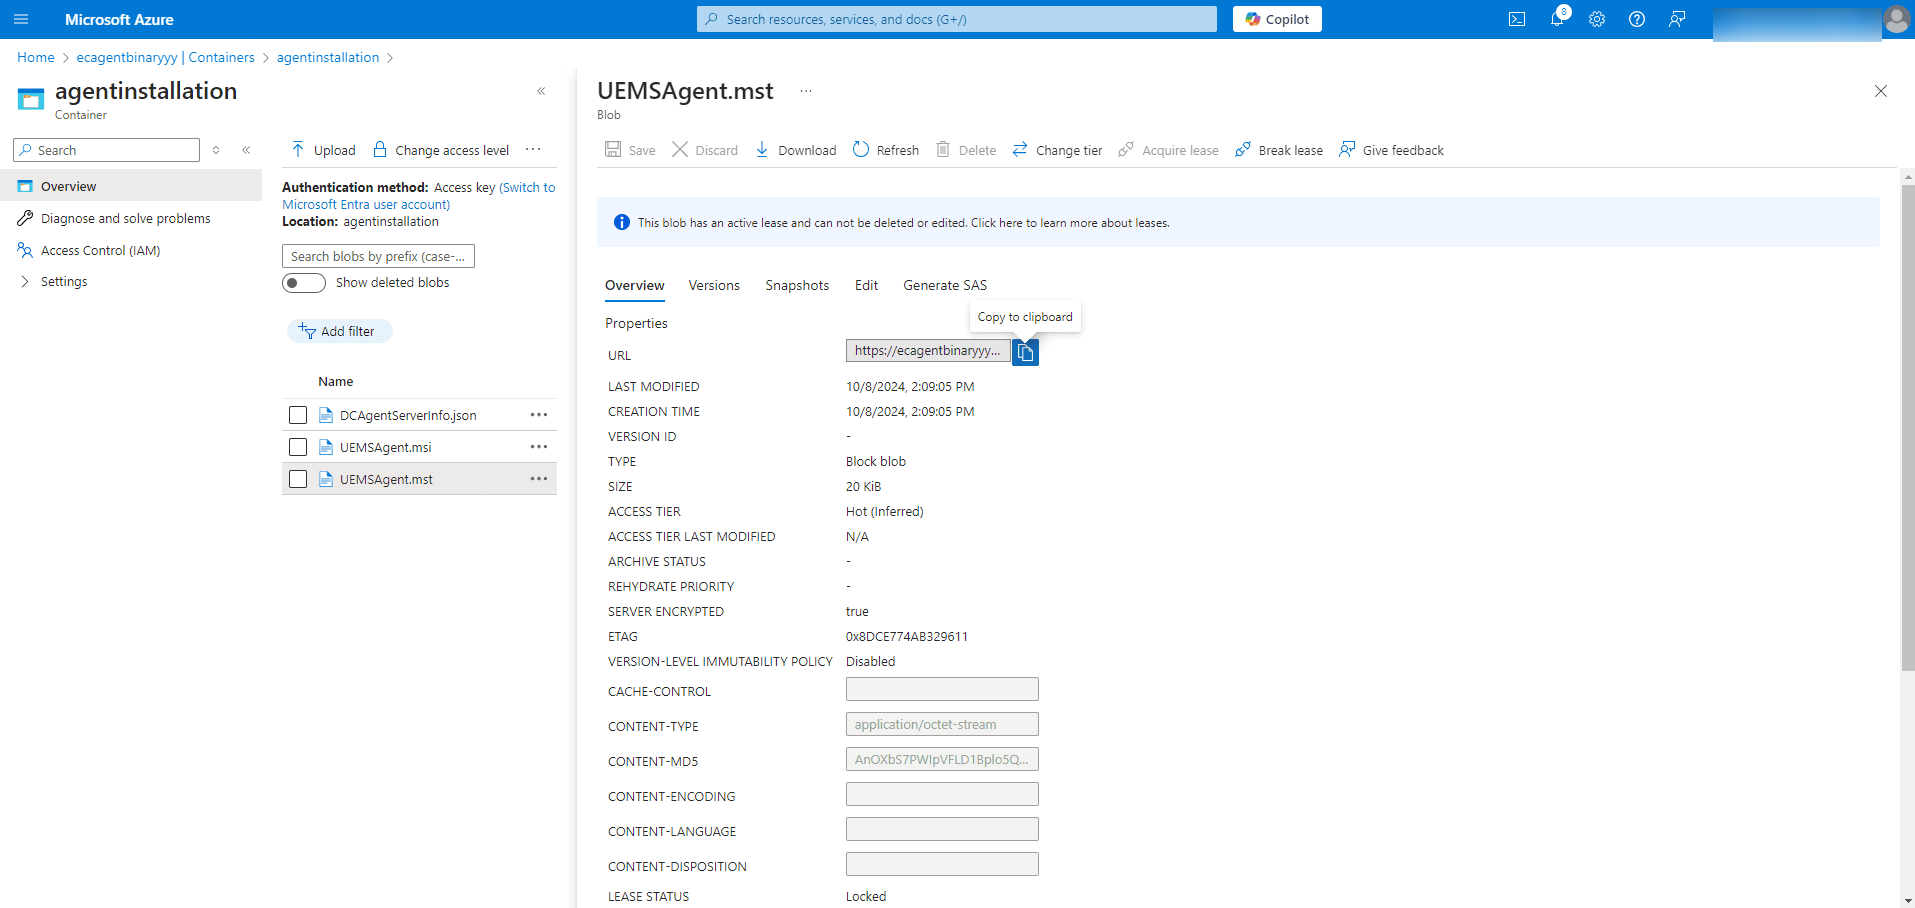
- Go to the Blob container containing the uploaded files.
- Copy the URLs for UEMSAgent.msi, UEMSAgent.mst.
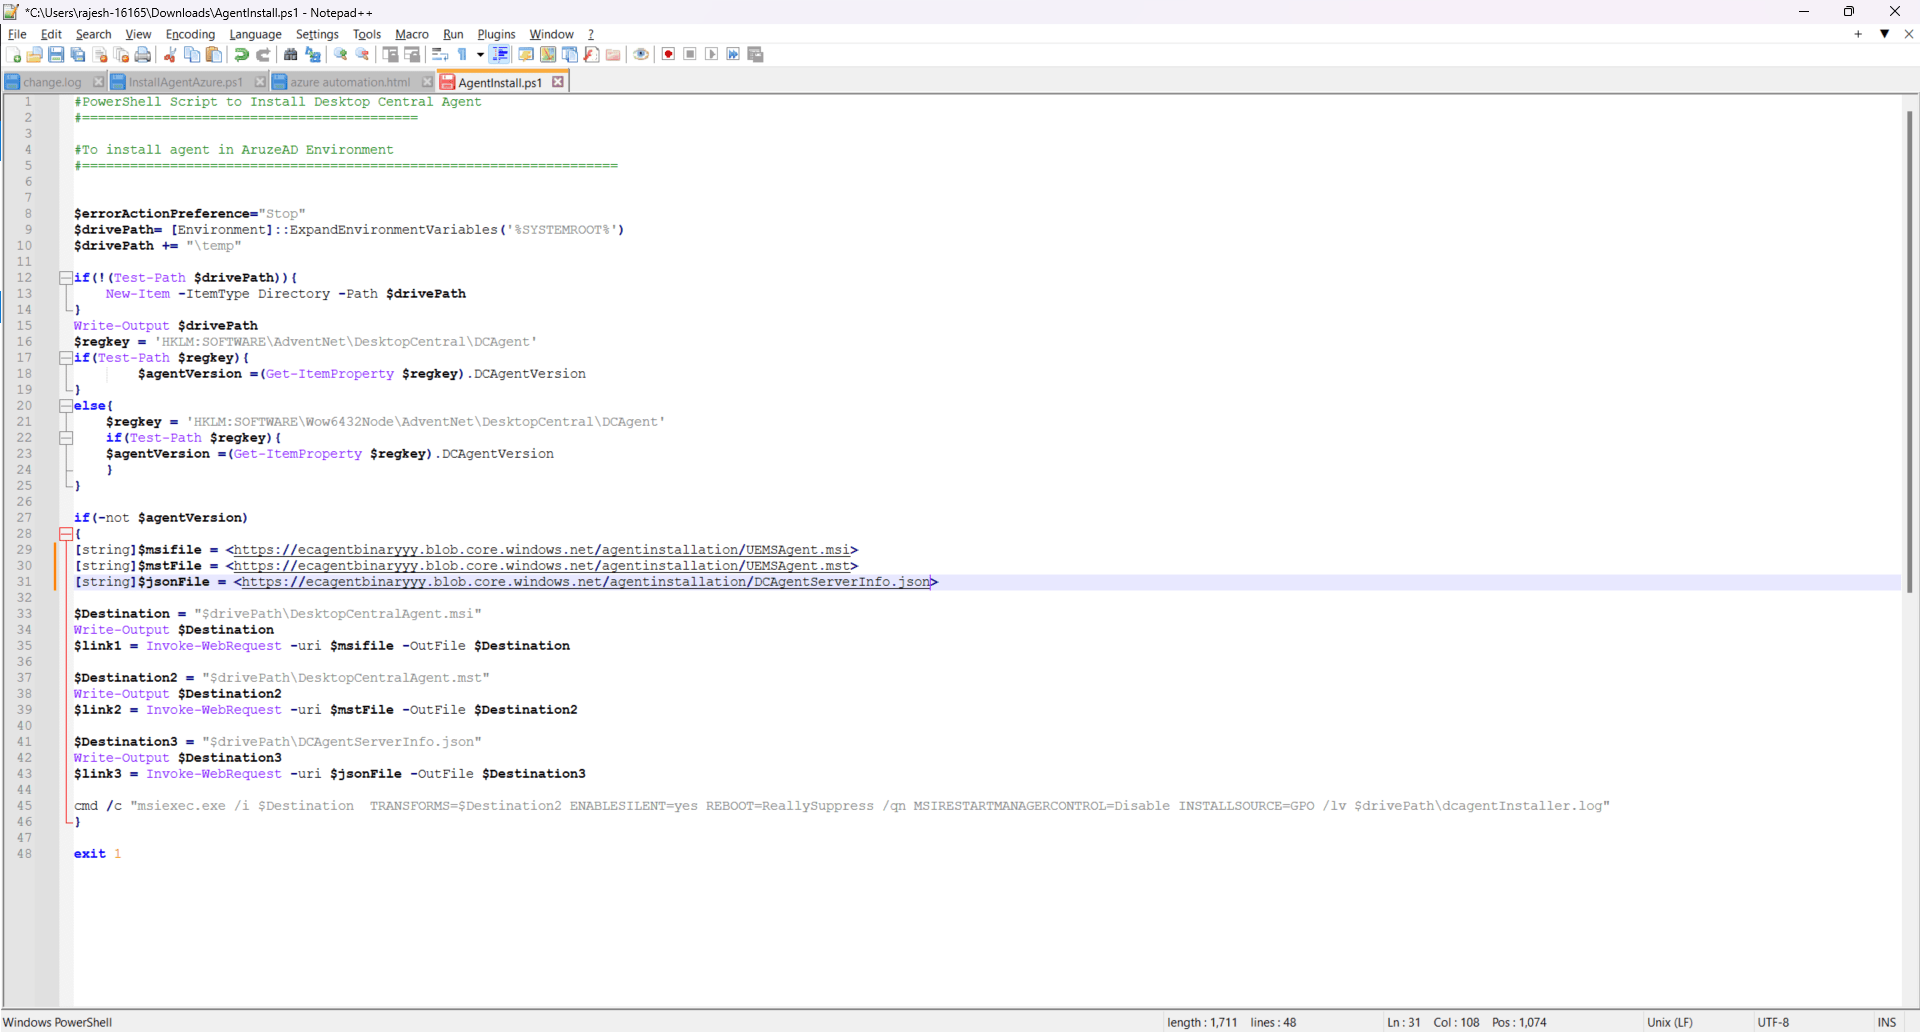
- Edit the Script:
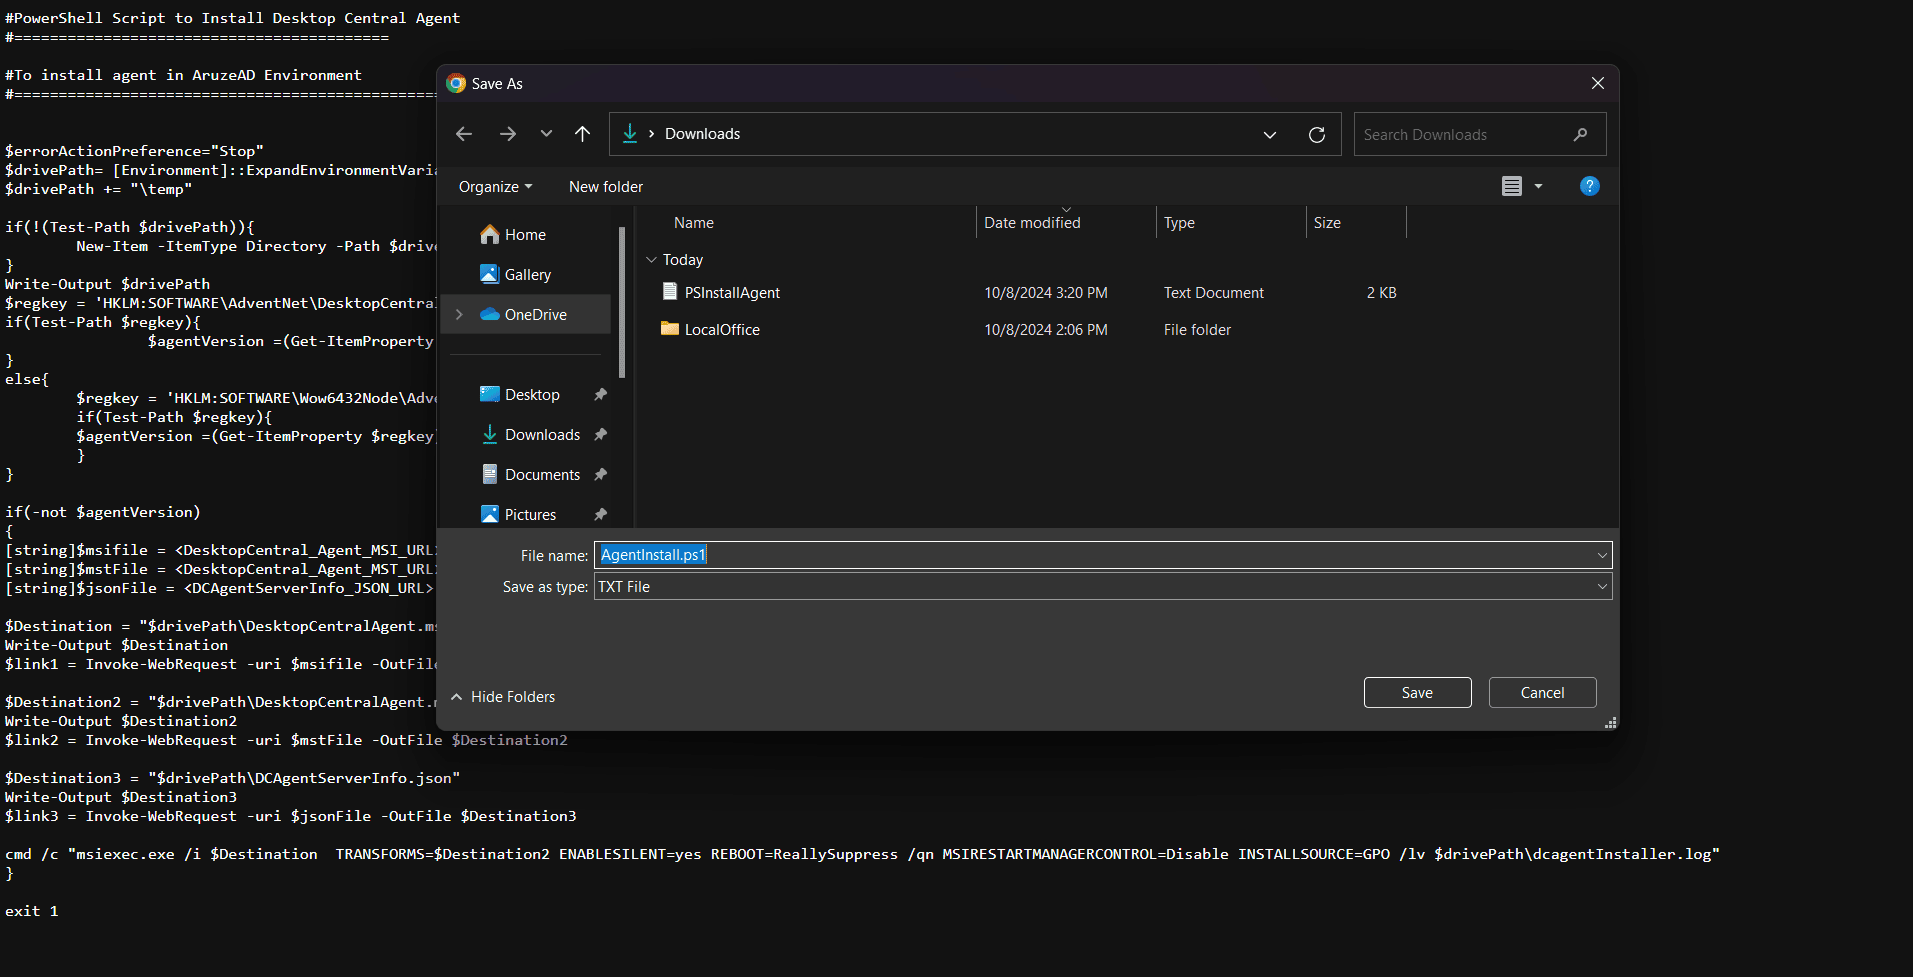
- Copy and paste the given Text File in a text editor and save it asAgentInstall.ps1.
- For Endpoint Central versions below 11.2.2309.01:
- Replace
<DesktopCentral_Agent_Msi_URL>,<DesktopCentral_Agent_Mst_URL>, and<DCAgentServerInfo_JSON_URL>with the copied URLs.
- Replace
- For Endpoint Central version 11.2.2309.01 and above:
- Replace
<UEMS_Agent_Msi_URL>,<UEMS_Agent_Mst_URL>, and<DCAgentServerInfo_JSON_URL>with the copied URLs.
- Replace
Step 4: Initiate Installation via Intune
- Access Microsoft Intune: Navigate to the Microsoft Intune portal.
Create a New Script:
- Go to Devices > Scripts and click on the Create button.
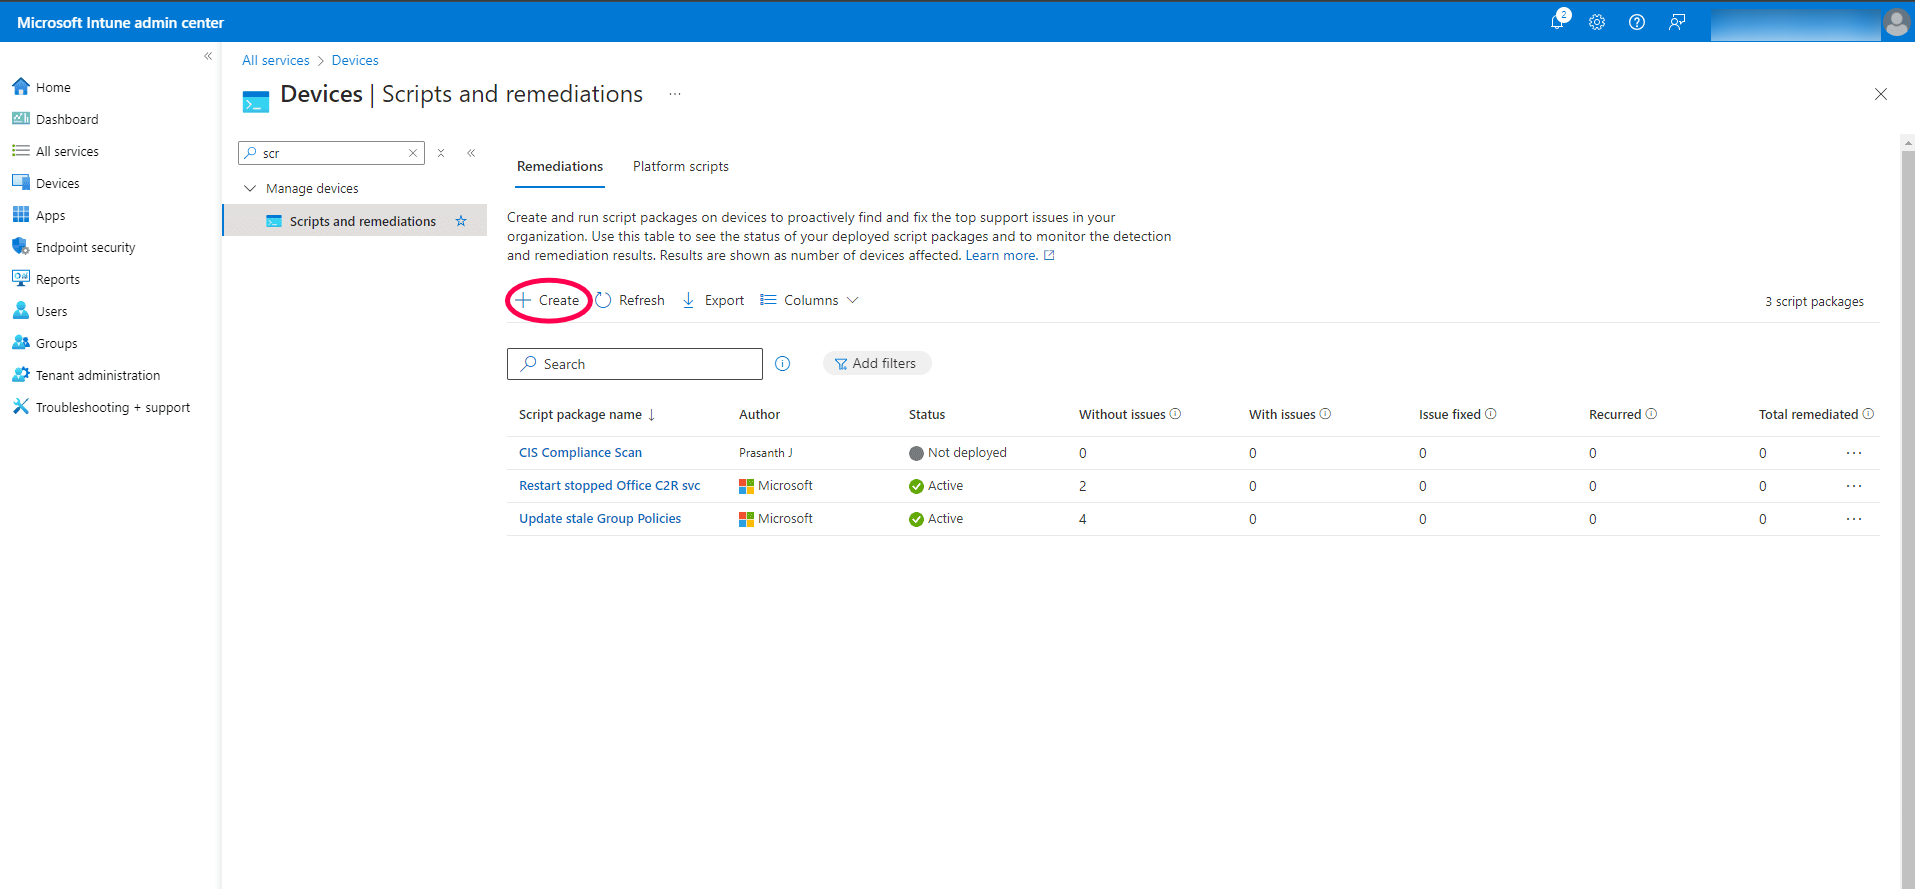
- Provide a name for the script and click Next.
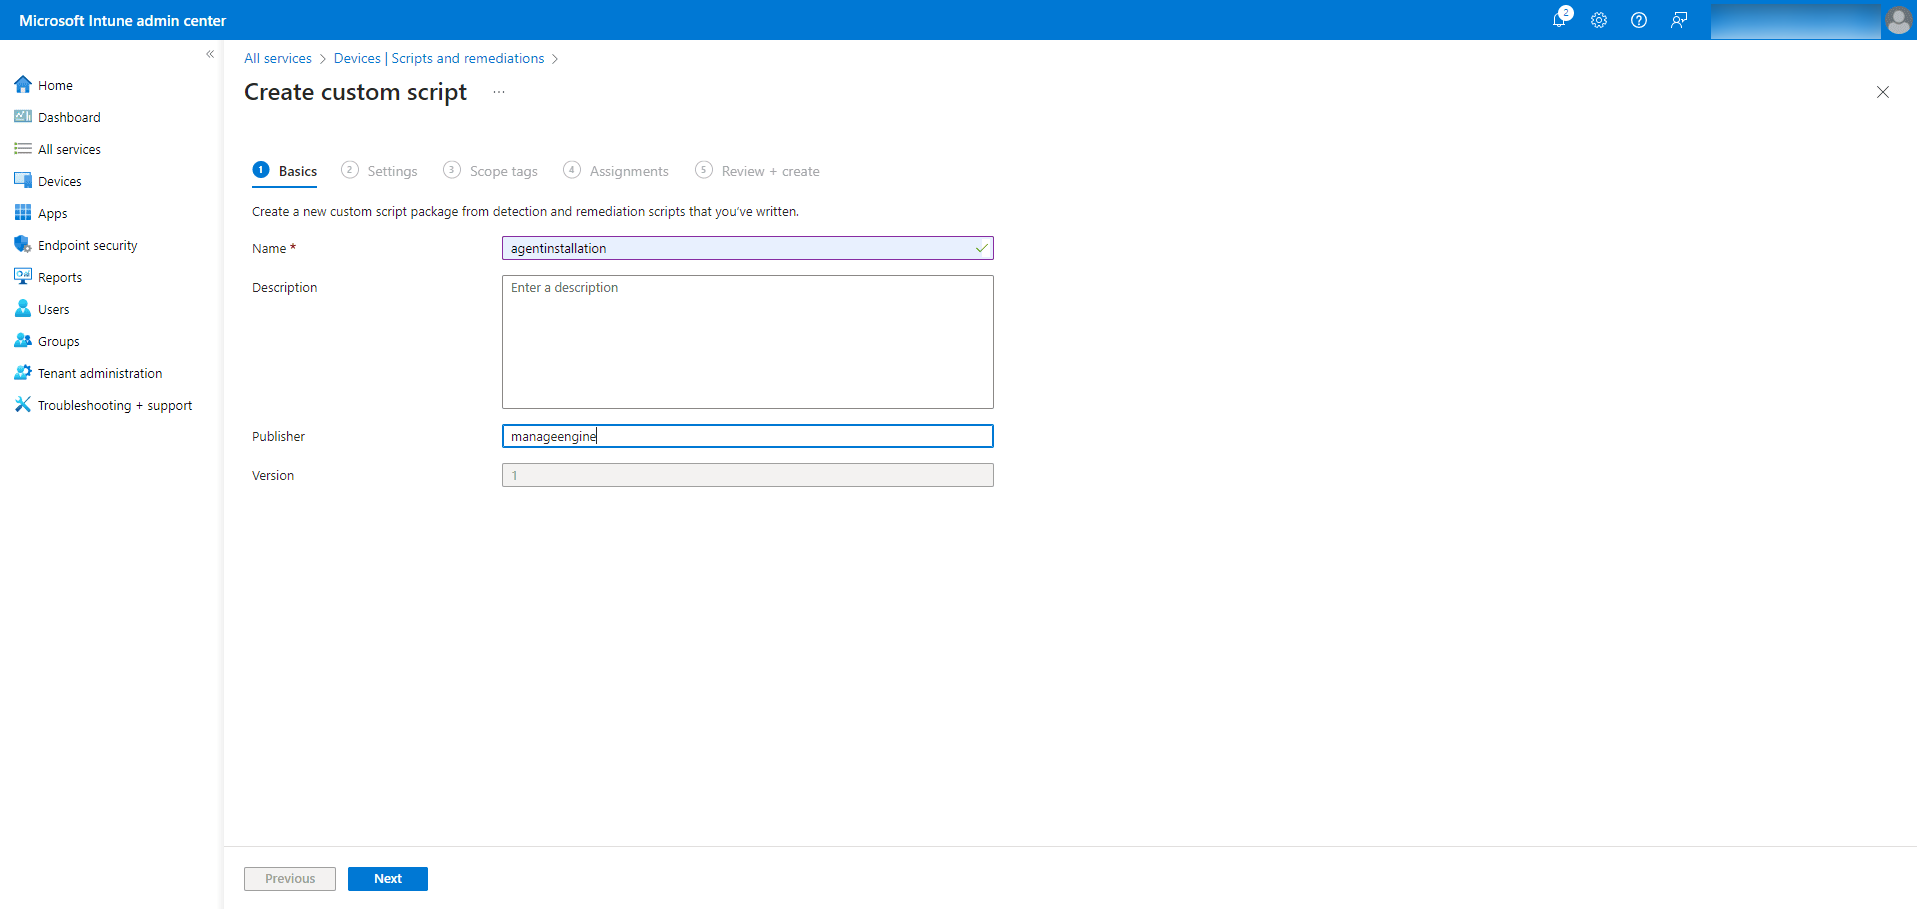
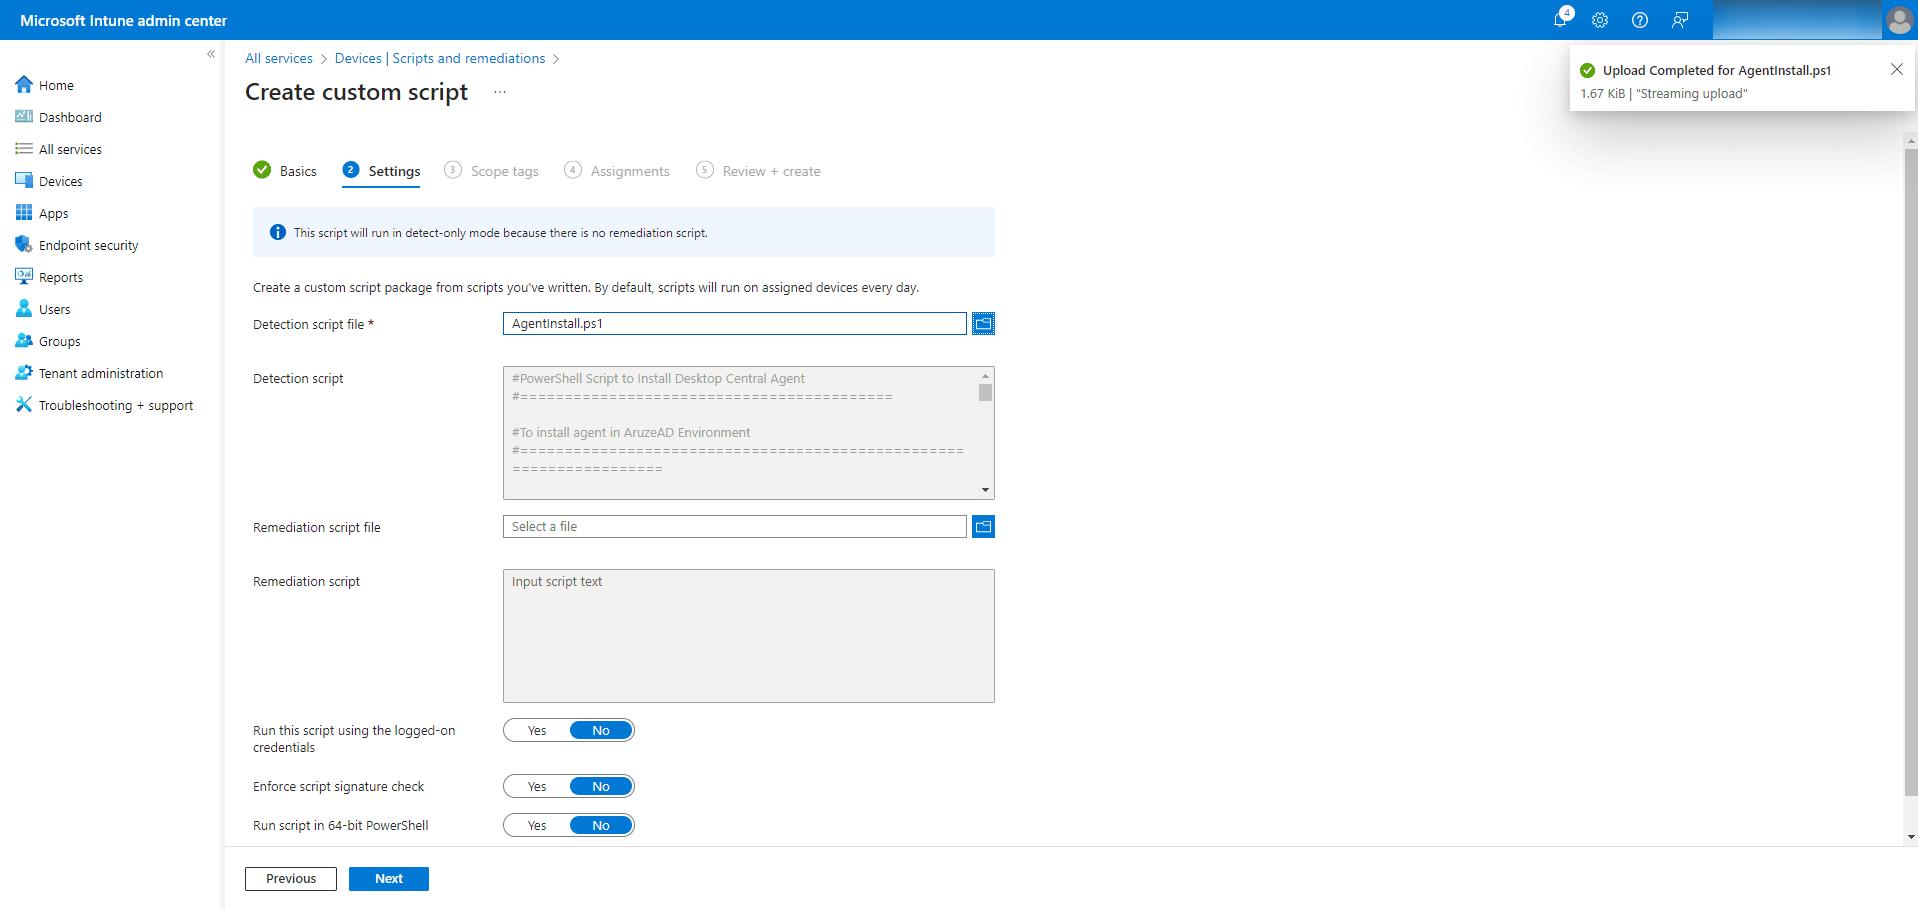
- Configure Script Settings:
- In the Settings section, browse to the location of the AgentInstall.ps1 file and click Open.
Assign the Script:
- In the Assignments section, assign the script to all devices, users, or specific groups as needed.
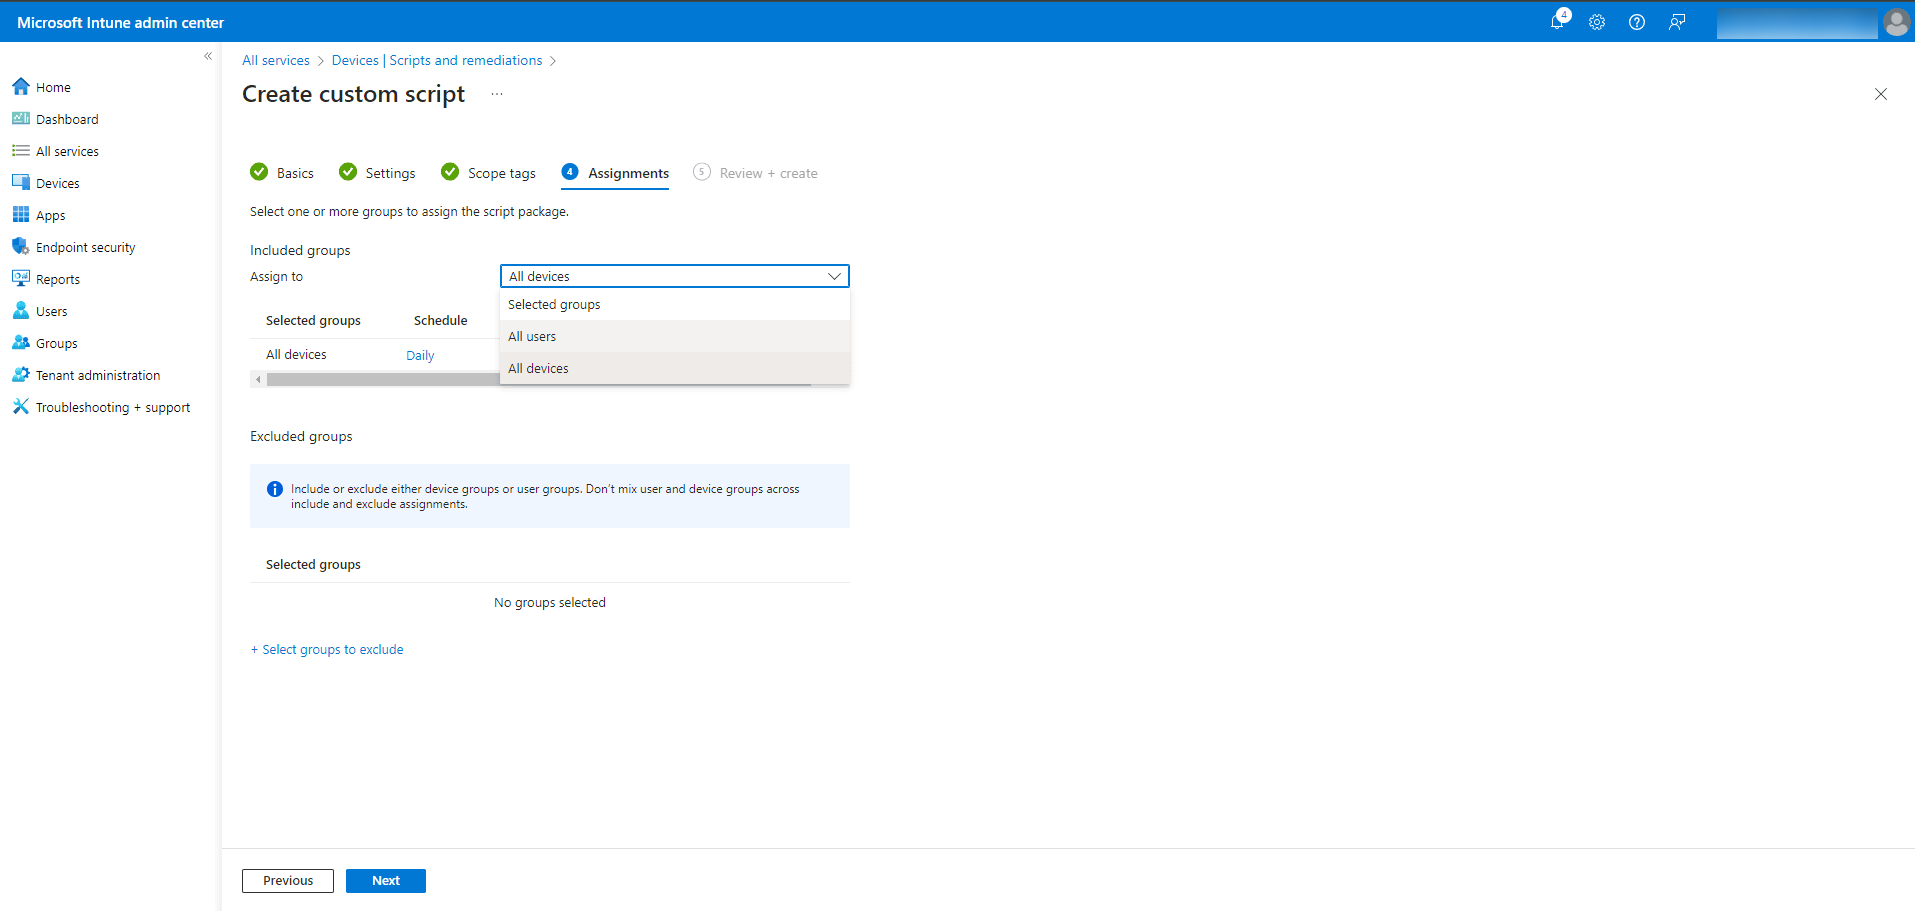
- Click Next and review the settings.
- Finalize the Task: Click the Add button to execute the script.
Conclusion
You have successfully installed the agent on devices within a Microsoft Azure AD environment using Microsoft Intune and an Azure Storage Account. This process streamlines agent deployment, ensuring efficient management of your organization's devices. For any further assistance or troubleshooting, consult the Microsoft documentation or reach out to your IT support team.