Folders
(This feature is available from PMP build 12300)
Password Manager Pro allows you to combine and sort required accounts into various custom folders based on your requirement for ease of management and accessibility. Instead of selecting each account separately, you can pick multiple accounts at once in the folder and perform bulk operations on them based on the user's privilege. The folders will be accessible through the Resources and Connections tabs. However, you can create or modify the folders from the Resources tab only, and the Connections tab will reflect every change made to the folder from the Resources tab. Please note that Folders are user-specific, so you cannot share them with other users.
Real-time scenario:
- Users can create a folder and associate accounts based on a specific resource type or the resource's location.
- For example, consider a user managing a number of resources, some of which are located throughout Asia, Europe, and Africa. The user can create folders specific to the resource's location and associate the accounts in the respective folders for easy access.
- Similarly, when a user has access to multiple resources with different resource types, the user can create folders such as Operating Systems, Database servers, and Network devices and add the resources to the folders specific to the resource type.
Notes:
- The decision to retain the accounts in a particular folder is up to the user.
- You can associate a particular account with any number of folders.
You can perform the following operations using Folders:
- Creating a New Folder
- Associating Accounts with Folders
- Disassociating Accounts from Folder
- Renaming a Folder
- Deleting a Folder
- Enabling/Disabling Folders Option
1. Creating a New Folder
- Navigate to the Resources tab.
- Click the + icon besides Folders tag from the left pane and enter a name for the folder and hit enter.
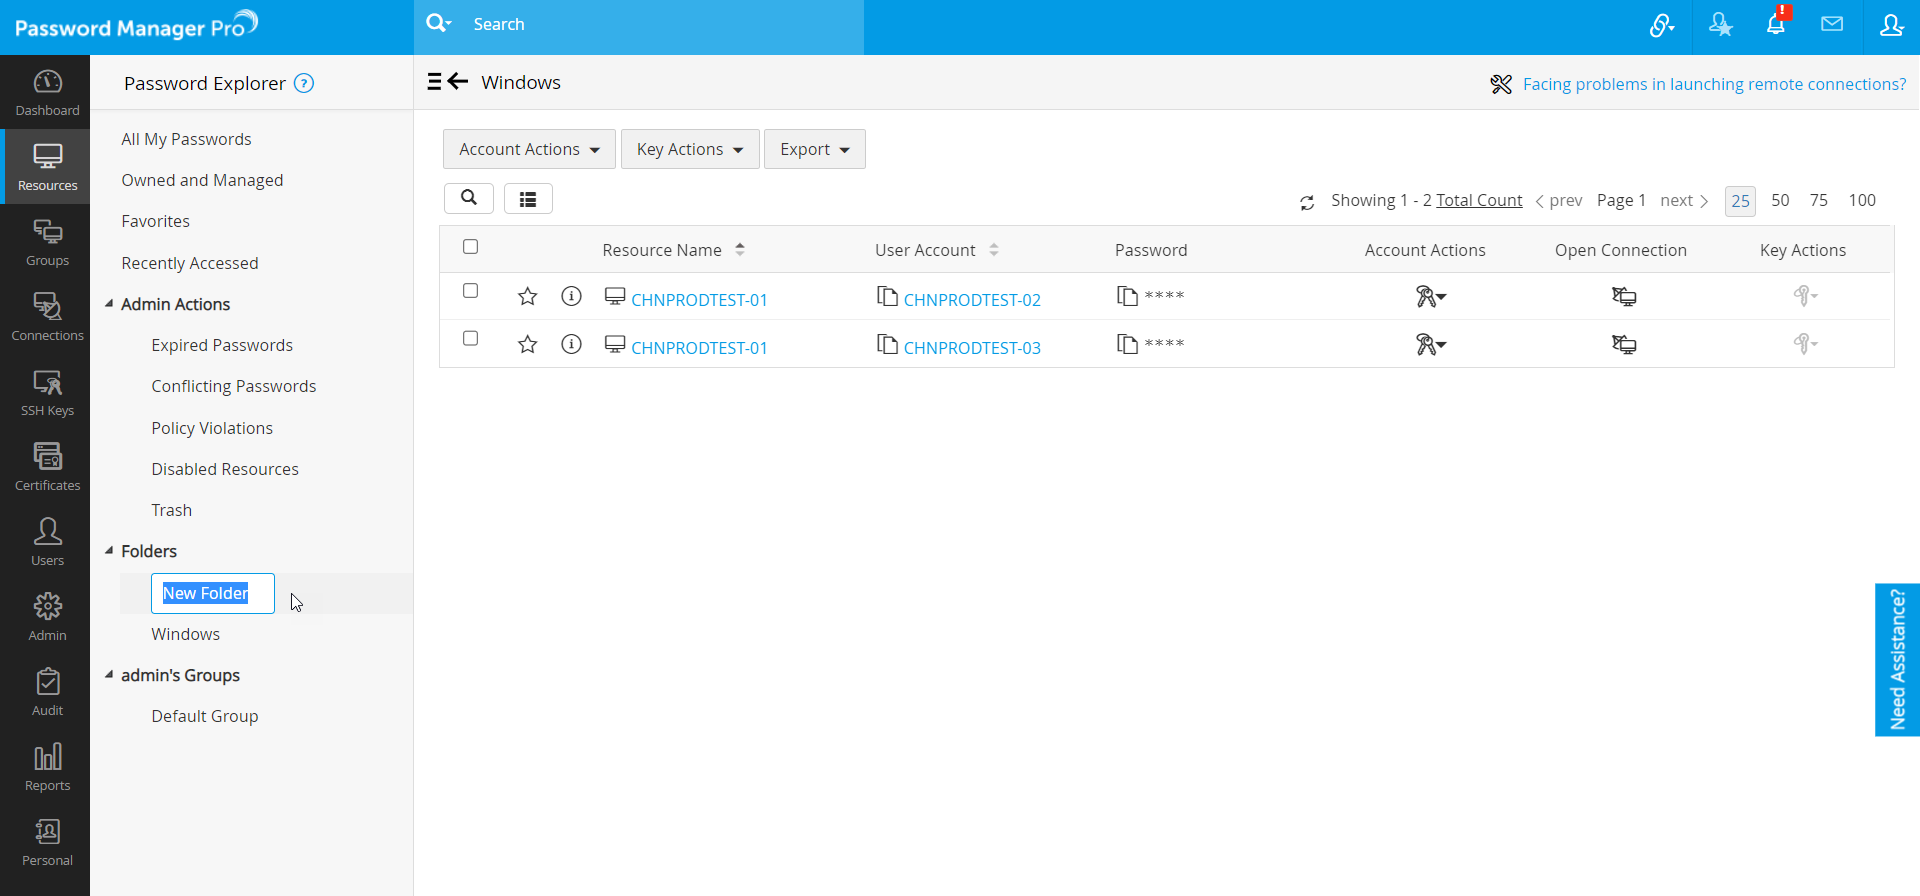
You have successfully created a new folder.
2. Associating Accounts with Folders
- Users will be able to add accounts to folders from the following locations:
- Navigate to Resources >> All My Passwords and select the Password tab from the top pane.
- Navigate to Resources >> All My Passwords and select the Resources tab from the top pane. Select a resource to access the 'Account Details' window.
- From one Folder to another. Open the folder from which you want to add the account(s).
- From 'Global Search'.
- To add accounts individually,
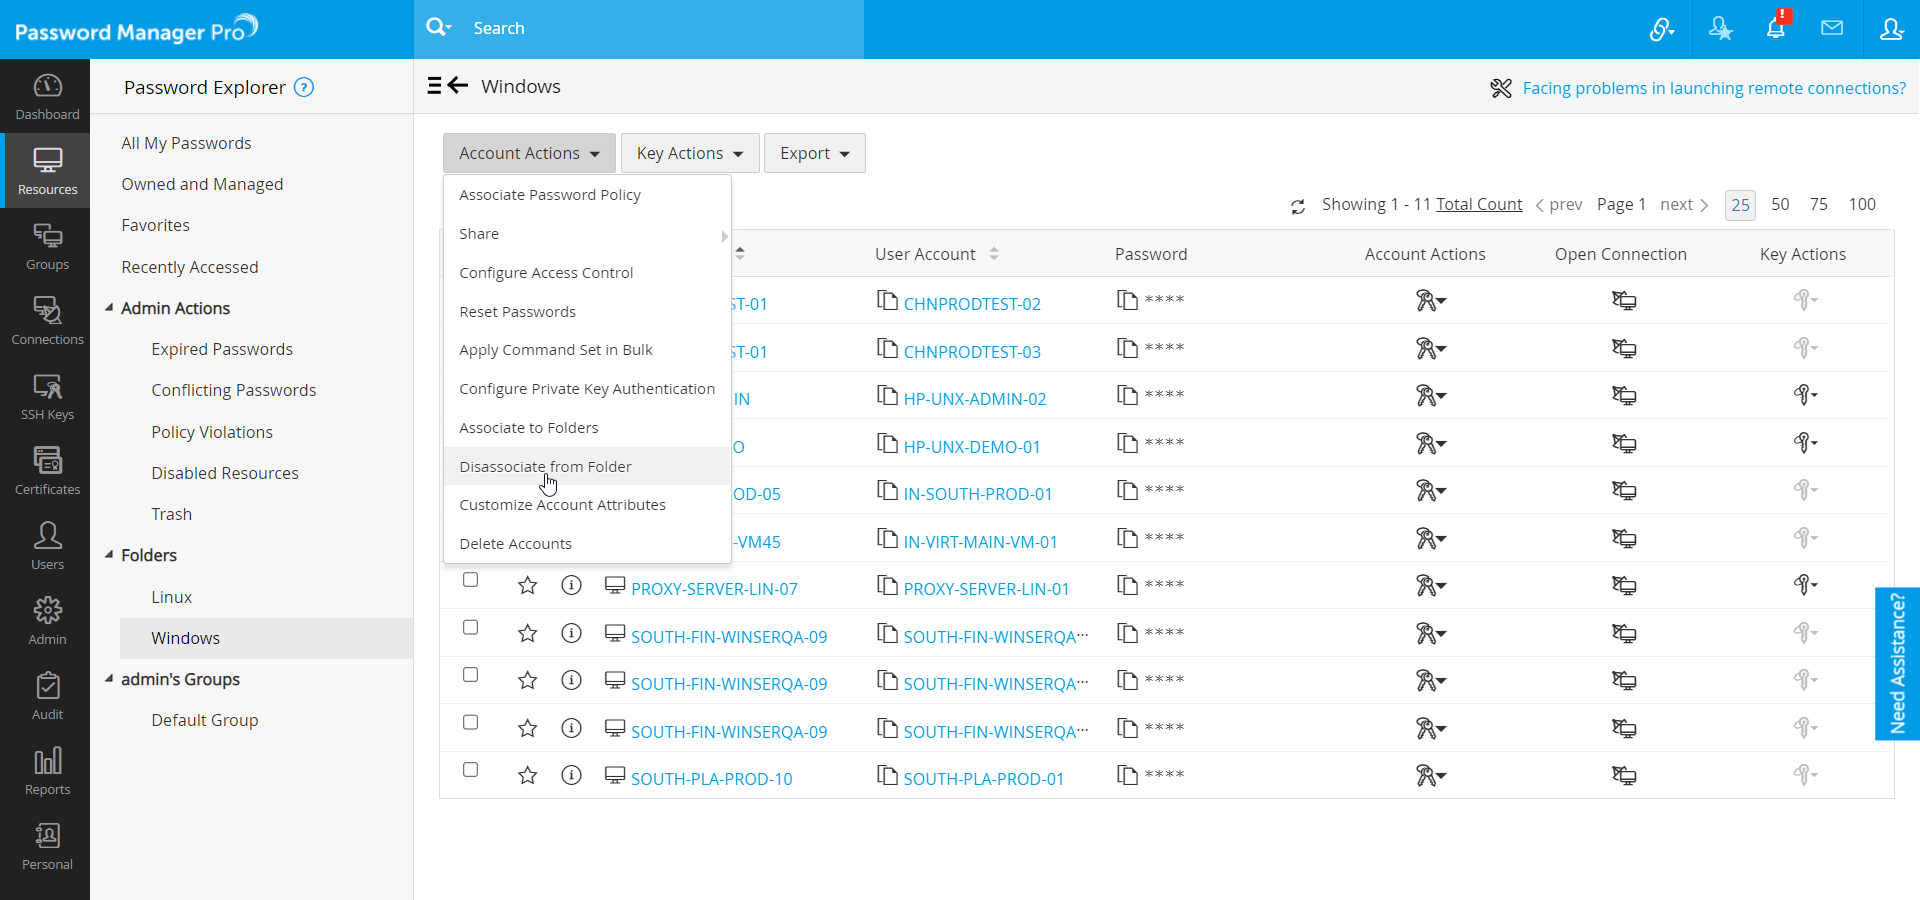
- Select the Account Actions icon beside the desired account and select Associate/Disassociate Folders.
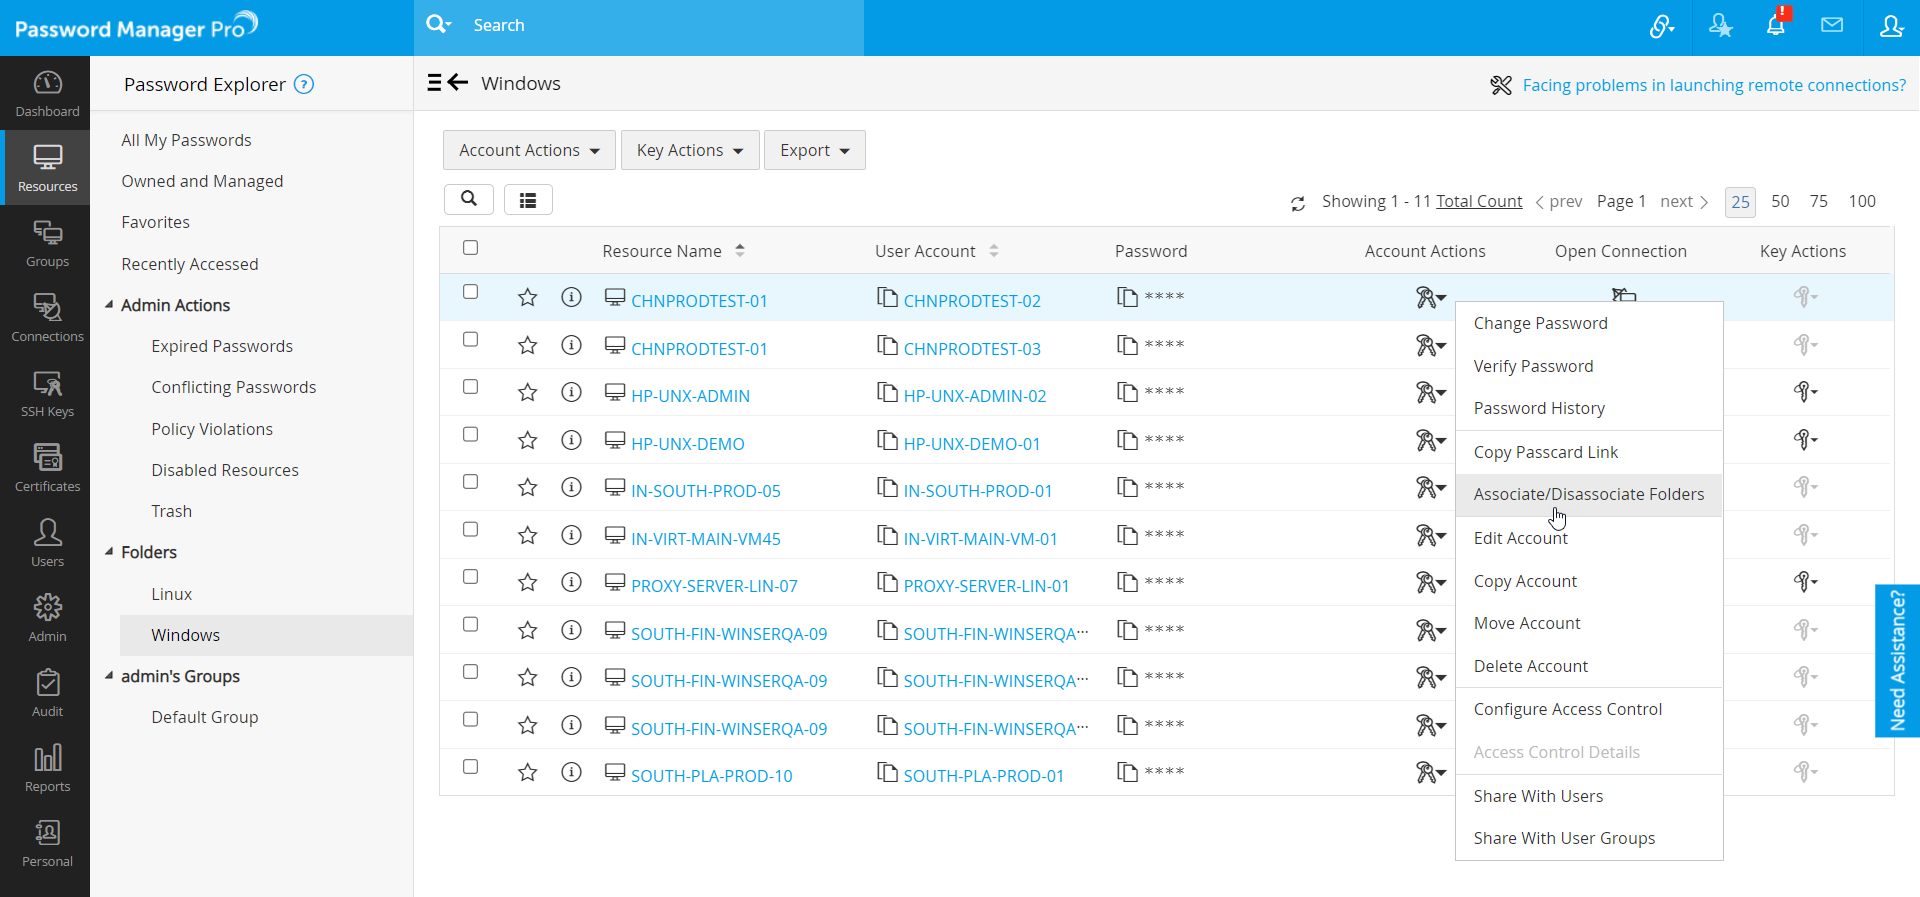
- In the pop-up that appears, select the folder(s) to which you wish to add the account and click Save.
- To add accounts in bulk,
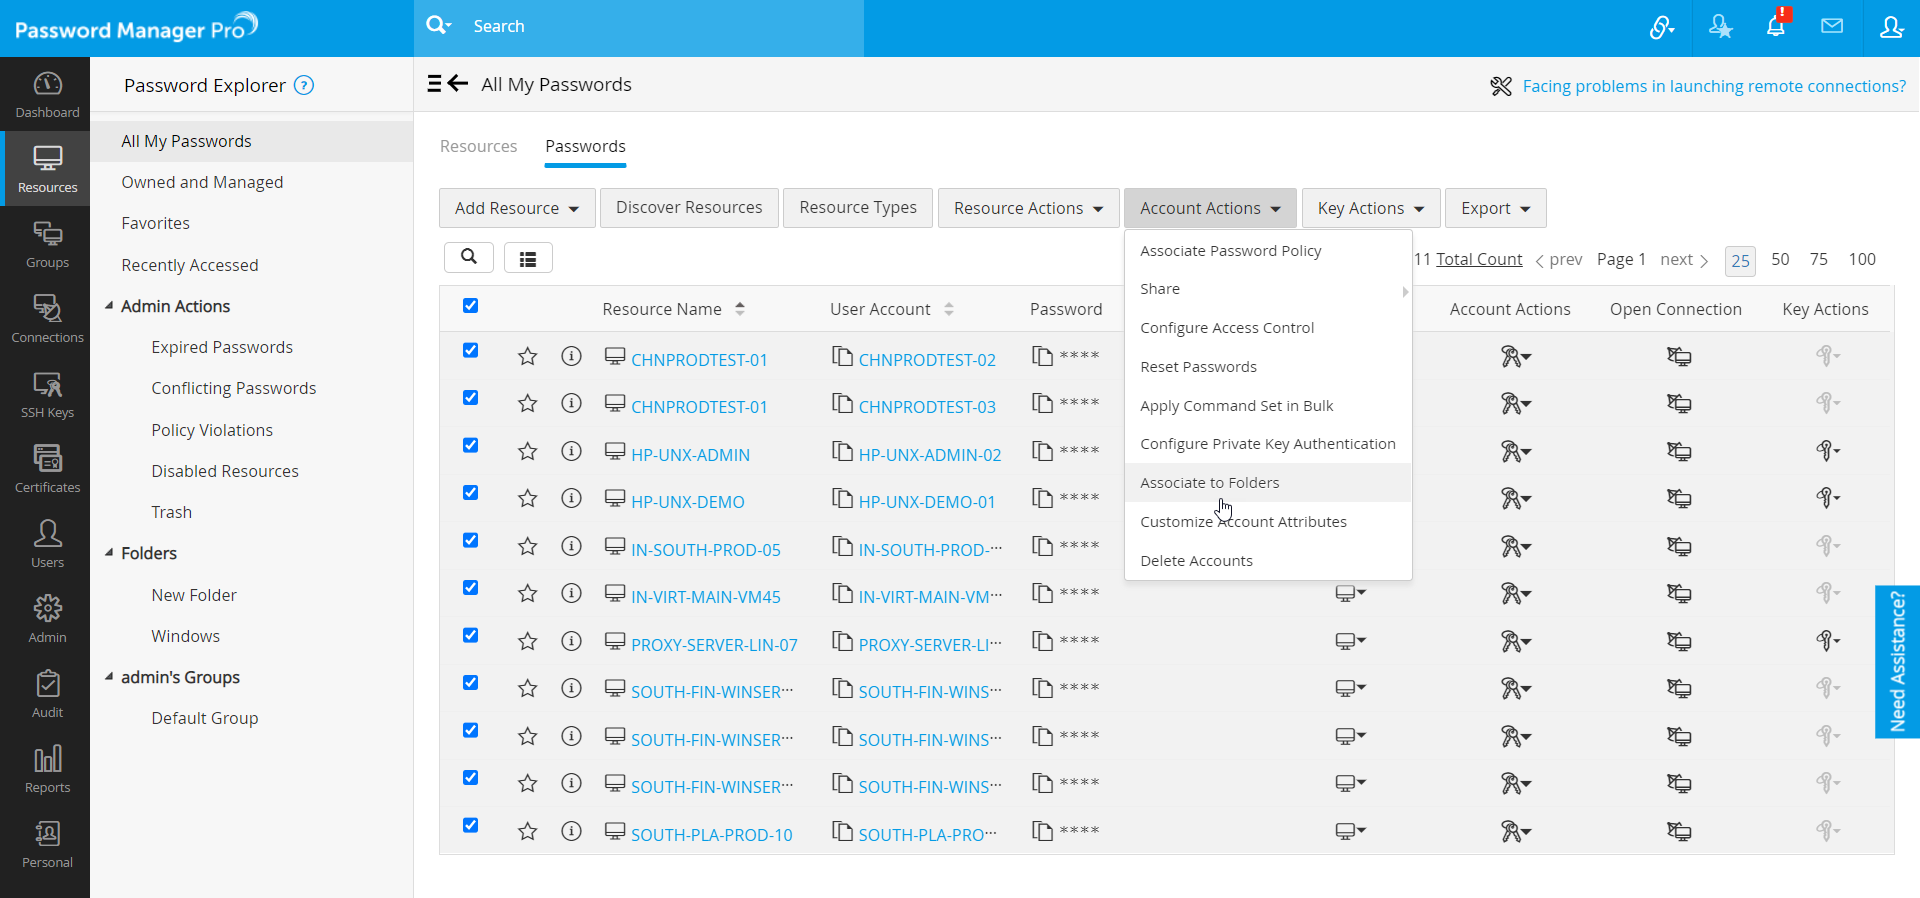
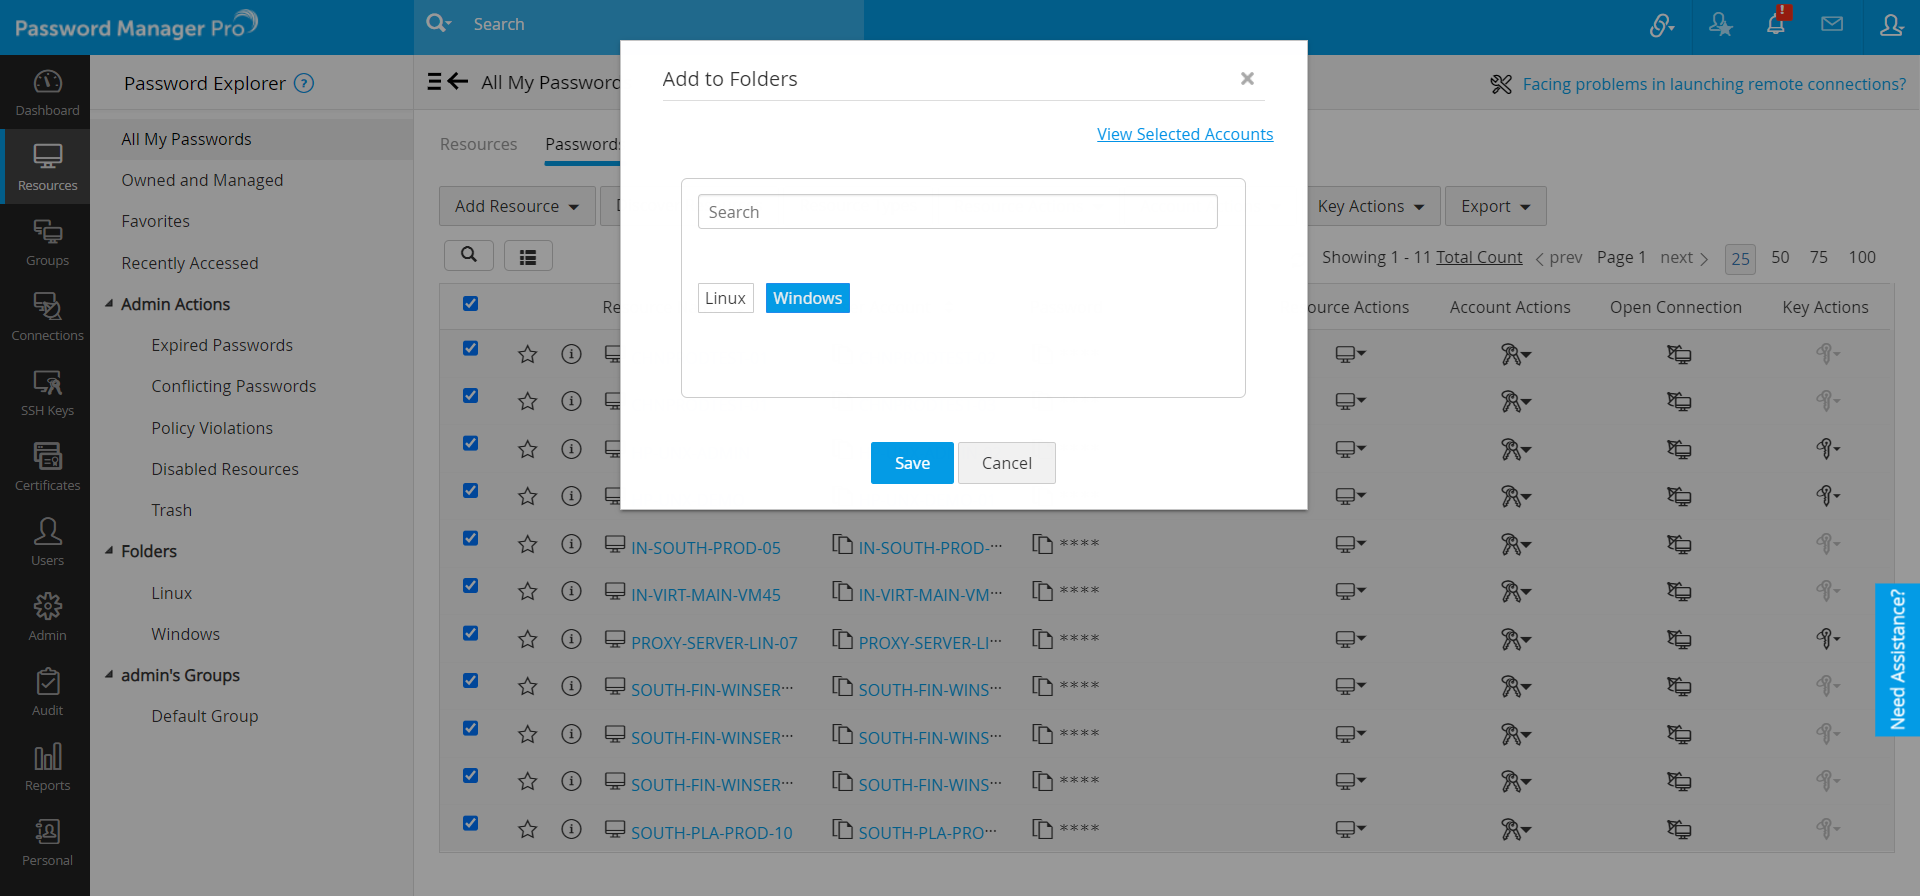
You have now successfully added the selected account(s) to the selected folder(s).
3. Disassociating Accounts from Folders
- Users will be able to remove accounts from folders from the following locations:
- Navigate to Resources >> All My Passwords and select the Password tab from the top pane.
- Navigate to Resources >> All My Passwords and select the Resources tab from the top pane. Select a resource to access the 'Account Details' window.
- From a Folder. Open the folder from which you want to disassociate the account(s).
- From 'Global Search'.
- To disassociate accounts individually,
- Select the Account Actions icon beside the desired account and select Associate/Disassociate Folders.
- In the pop-up that appears, deselect the folder(s) from which you wish to remove the account and click Save.
- To disassociate accounts in bulk,
Note: You can remove accounts in bulk only from inside a folder.
You have successfully disassociated the accounts from the current folder.
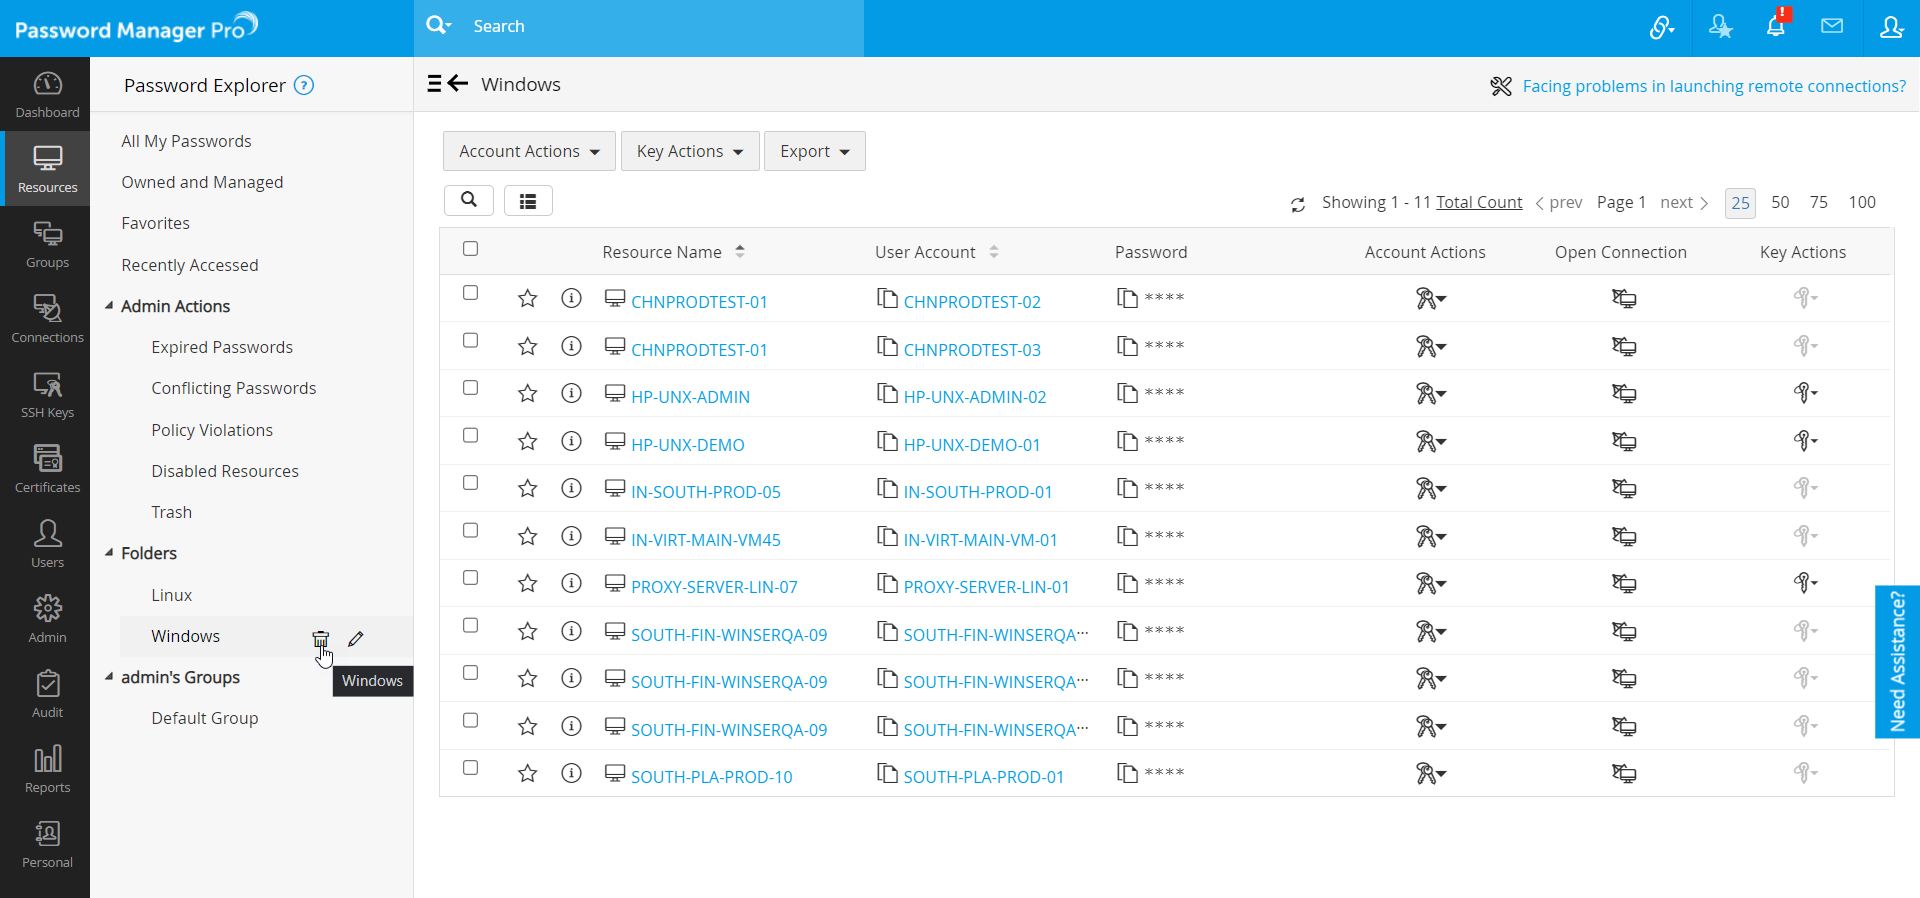
4. Renaming a Folder
- Click the edit icon beside the folder name from the left pane.
- Enter the new folder name and hit enter.
You have successfully renamed the folder.
5. Deleting a Folder
Click the delete icon beside the folder name from the left pane and click Delete in the pop-up to delete the folder.
Note: This action will disassociate the accounts from the folder and delete the folder only. This action will not delete the accounts from Password Manager Pro. Users will not be able to delete the pinned folder.
6. Enabling/Disabling Folders Option
- Login to Password Manager Pro as an administrator and navigate to Admin >> Settings >> General Settings.
- Select Miscellaneous from the left pane.
- Now, select the checkbox Disable Folders option to disable folders function for all users in Password Manager Pro.
