Steps to integrate Cloudflare with DDI Central
Step 1: Generating Auth-Code in Cloudflare
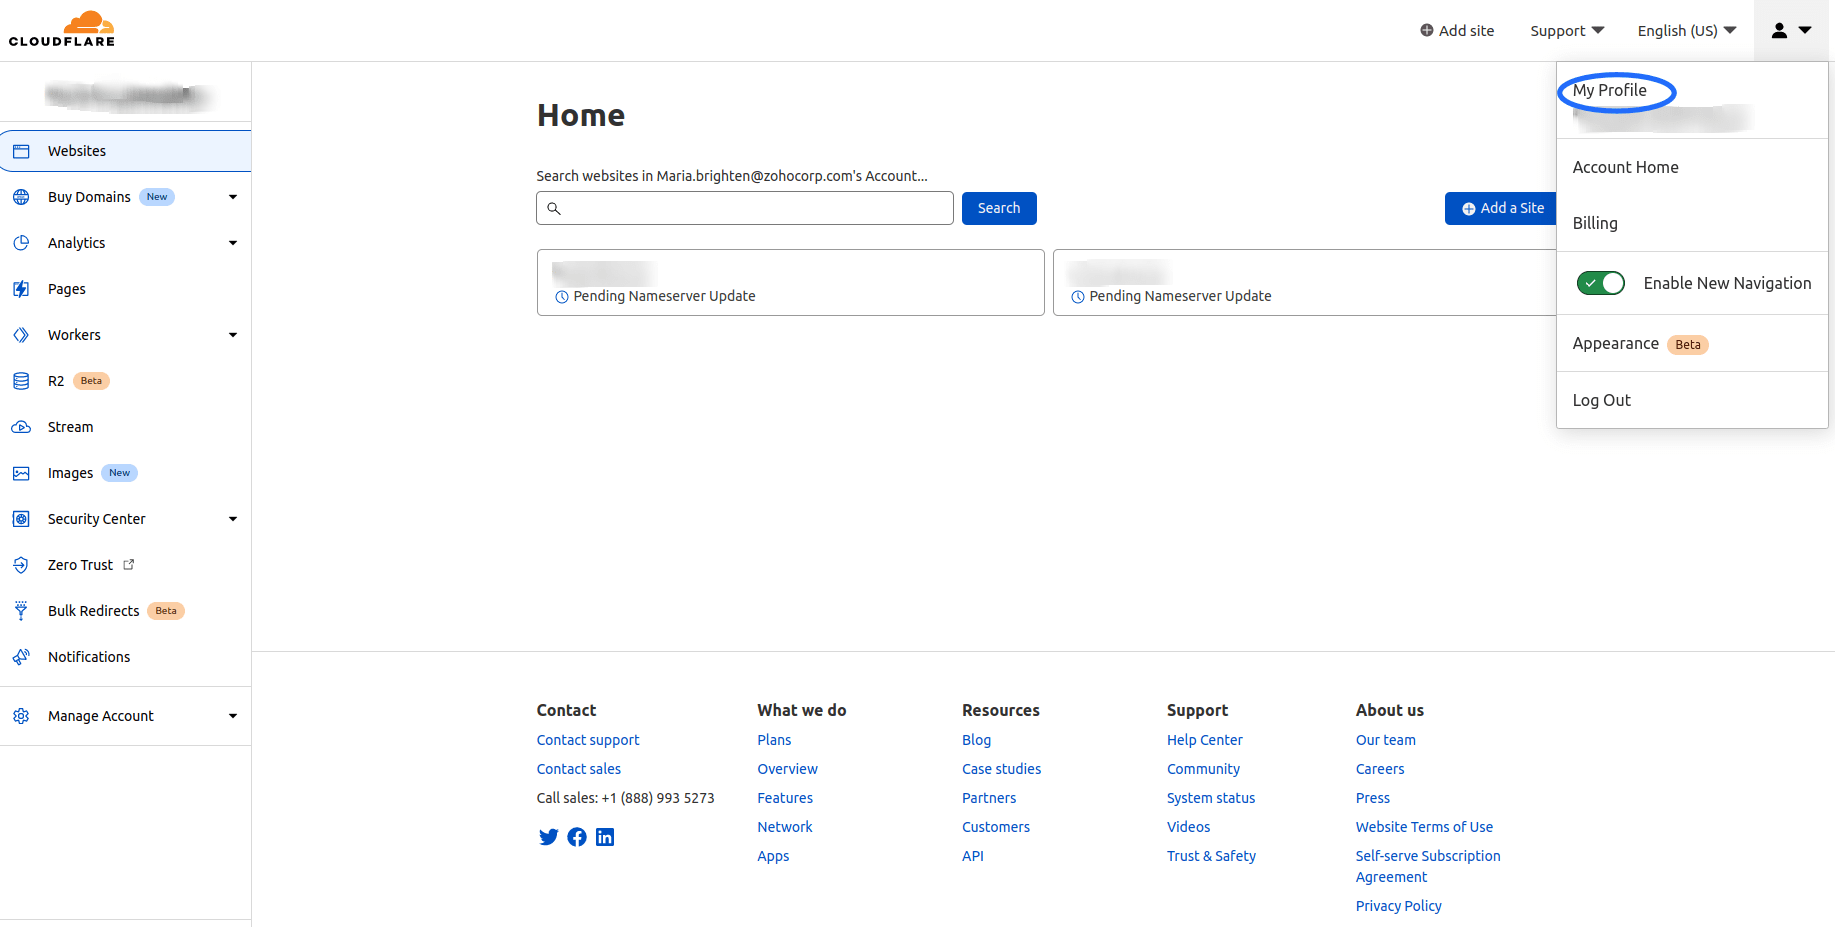
- Login into your Cloudflare account. On the dashboard, click on the User icon and select My Profile.
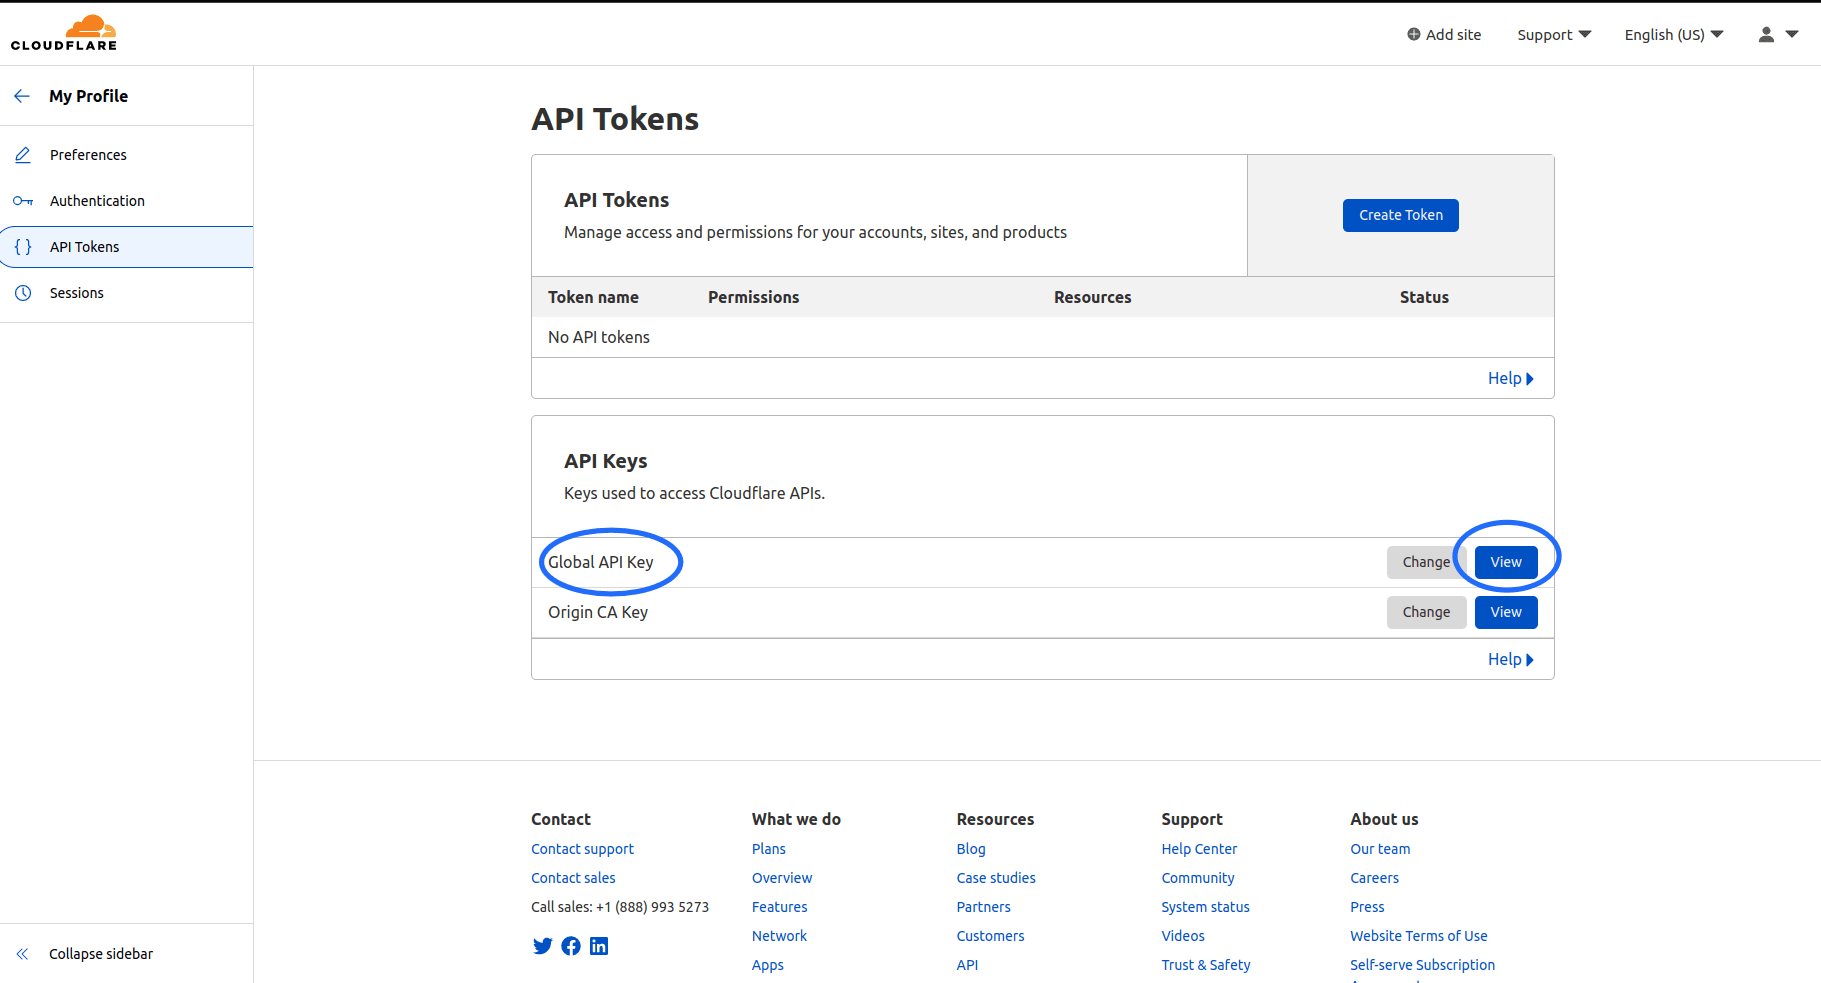
- Navigate to API Tokens and click on the 'View' button of 'Global API Key'.
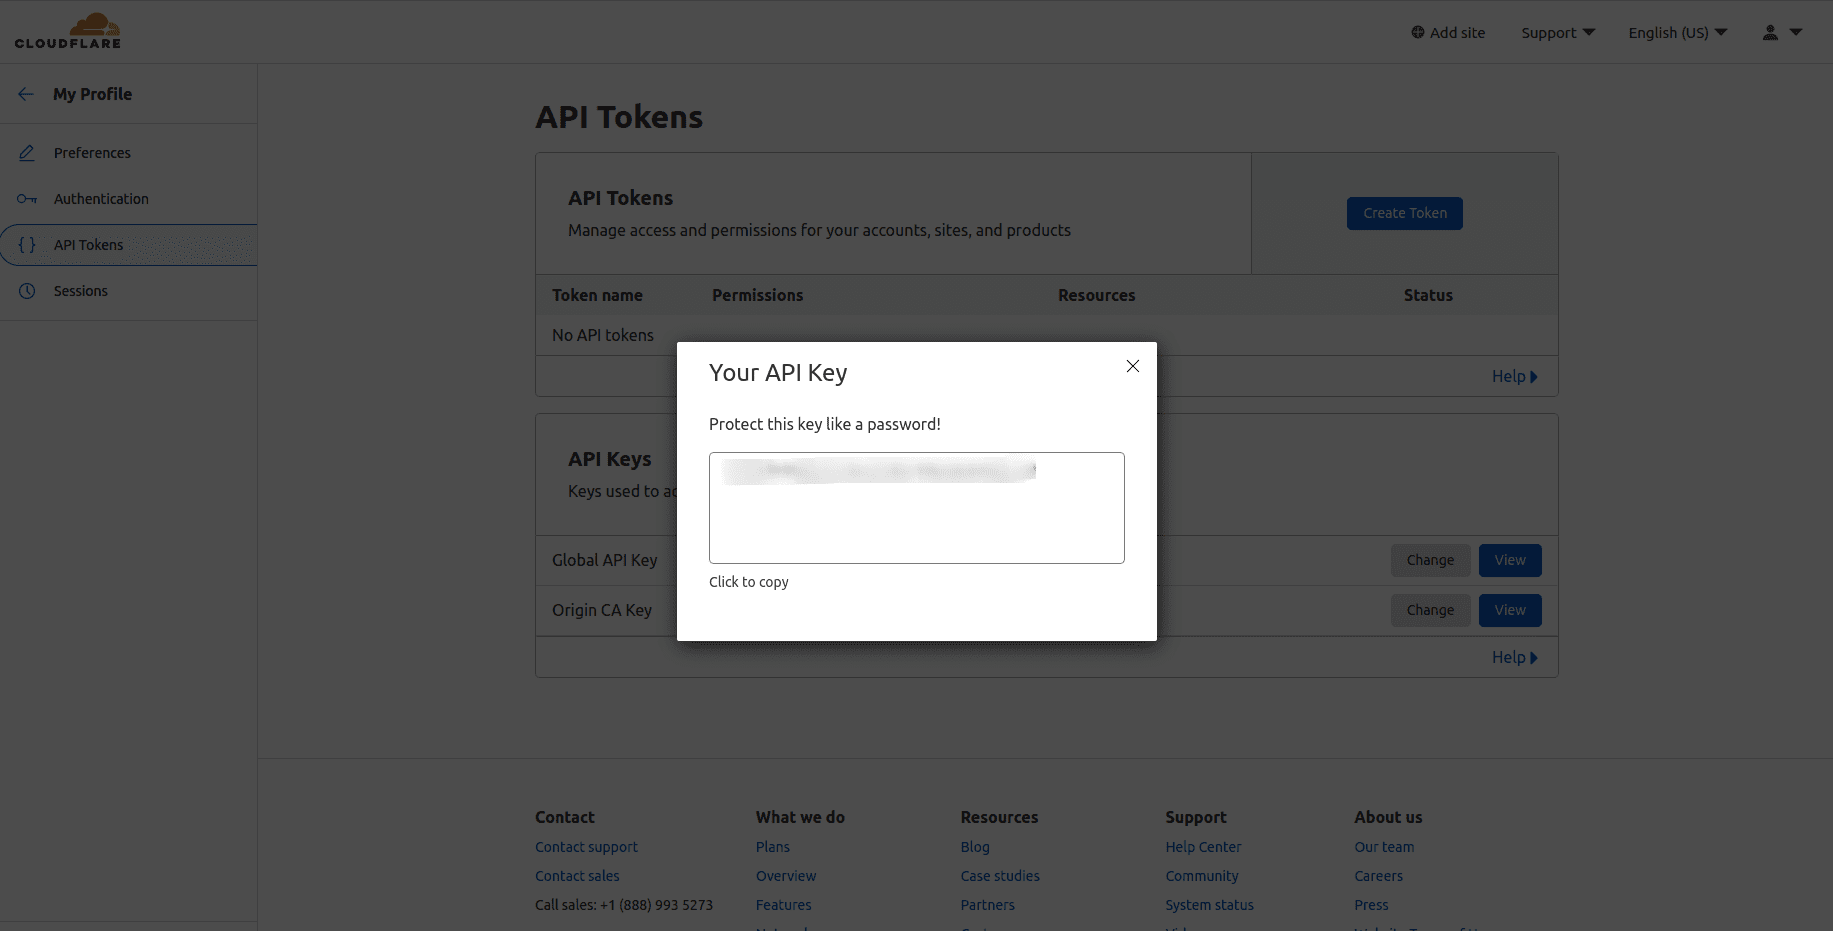
- Enter your password and complete the verification and the 'Auth-Code' will be displayed, copy the code.
Step 2: Configurations to be made in DDI Central
- Once you copied the Auth-code from Cloudflare, log into DDI Central and select the required Cloud Observability cluster. Navigate to Settings-> Profile->Provider Profile. Select the provider as Cloudflare.
- On choosing Cloudflare, you can not only migrate your existing domains from Cloudflare but also create a new ones directly using DDI Central console.
- Subsequently, enter the authentication details like your registered Email with Cloudflare and the Auth Code that you get to copy from the Cloudflare dashboard. Only with these details DDI Central will be able to open up bilateral API transactions between the DDI Console and the Managed DNS service provider and fetch the zones under your account.
- On successful authentication, you will be prompted to select the zones you would like to migrate into DDI Central. Select the relevant zones.
- Finally, click the Migrate button. The migration process takes some time. On successful migration you can find your selected zones hosted in Cloudflare servers listed under the Domains page within the DNS module.
- You can further easily add and manage the configurations of zones under each domain directly using DDI central controls.
- Click through a domain name and access the DNS records associated with the zones under that domain name.