×![]()
×
×![]()
×
×
How to configure SAML authentication settings in Central Server for AD FS?
Description
This document will walk you through the steps required to configure SAML Authentication settings in Central Serverfor AD FS.
Installation Steps
- Open AD FS management. Click on Add Relying Party Trust.

- Click on Start.

- Choose Enter data about the relying party manually. Click on Next.

- Enter an appropriate Display name.

- Click on Next.

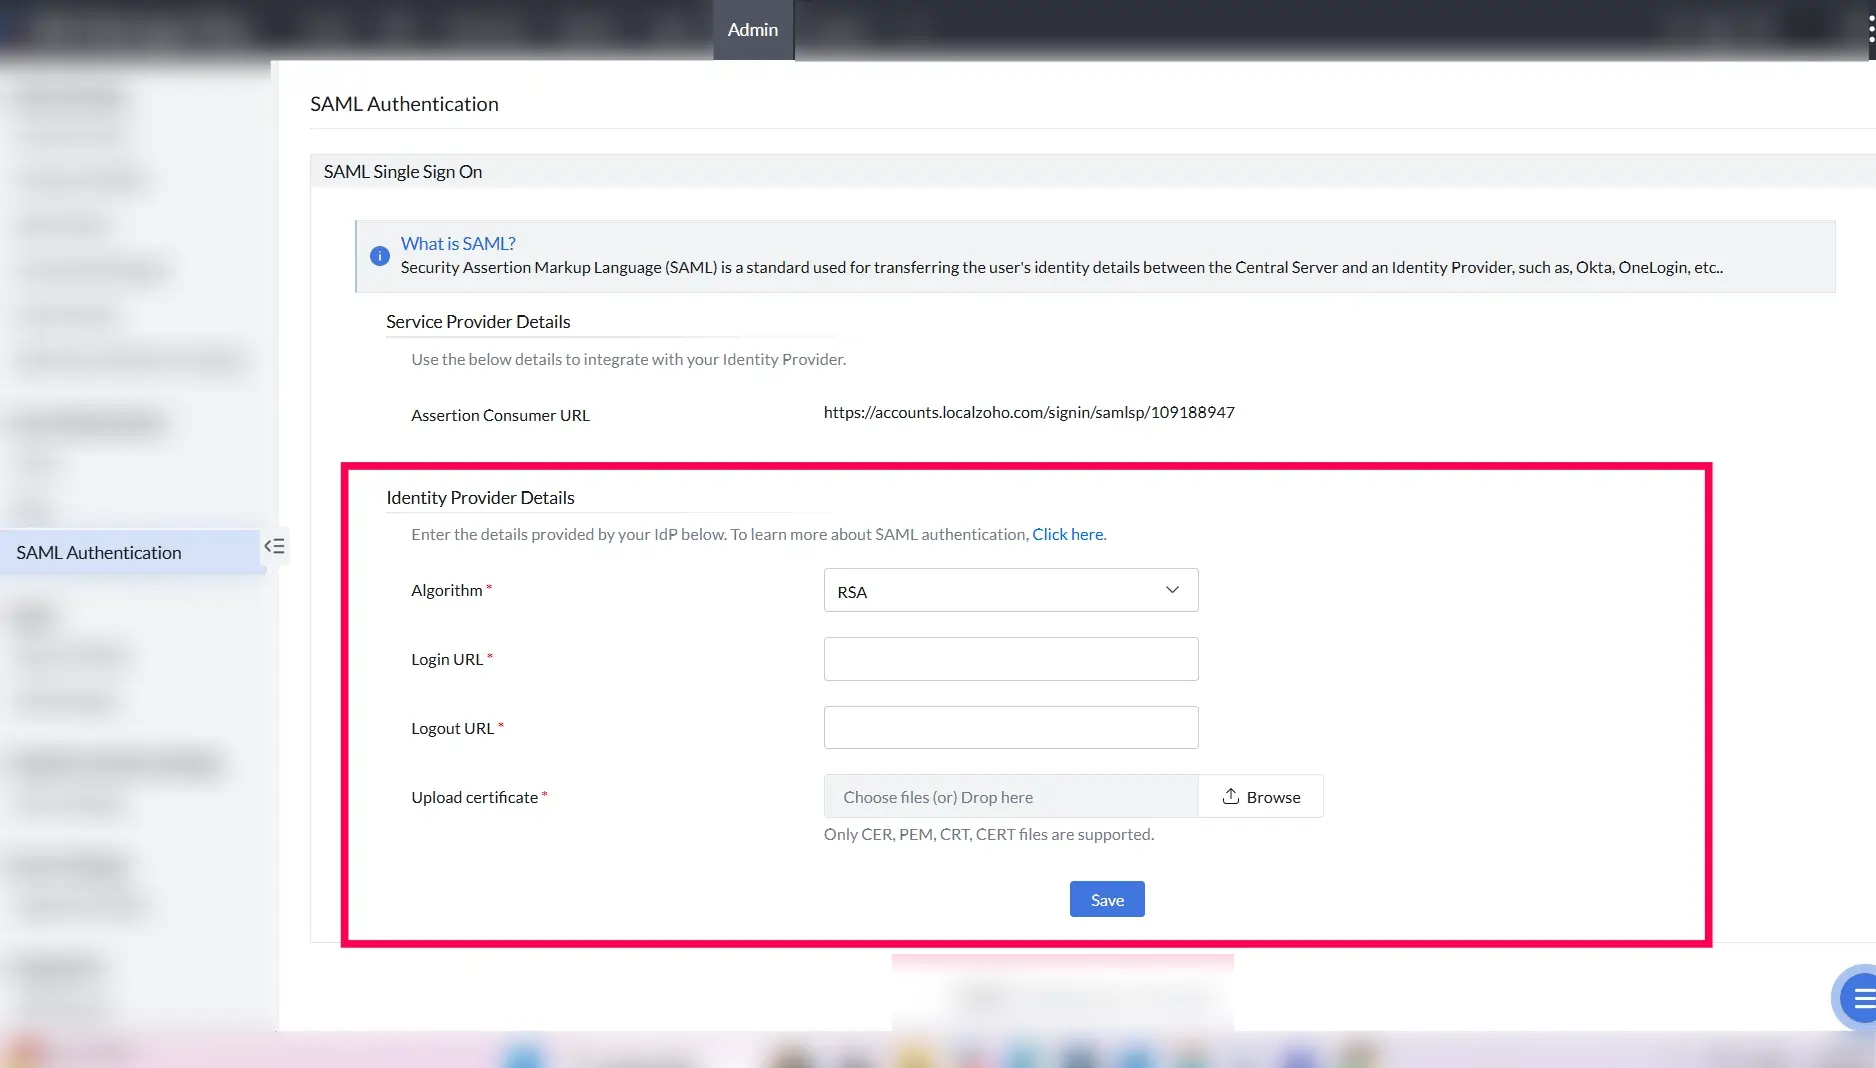
- In Central Server, navigate to Admin tab and select SAML Authentication. Choose Certificate against Configuration by downloading. Copy the Assertion Consumer URL.

- Choose Enable support for the SAML 2.0 WebSSO protocol. Paste the Assertion Consumer URL here. Click on Next.

- Again in Central Server, navigate to Admin tab and select SAML Authentication. Choose Certificate against Configuration by downloading. Copy Entity ID.

- In AD FS management, paste the Entity ID in the Relying party trust identifier. Click on Add.

- Click on Next.

- Choose Permit everyone. Click on Next.

- Click on Next.

- Click on Close.

- Select the added Relying Party Trust (Endpoint Central_ SAML) and Click on Edit Claim Issuance Policy.

- Click on Add Rule.

- In the drop-down list under Claim rule template, choose Transform an Incoming Claim. Click on Next.

- Enter appropriate Claim rule name. Choose Windows account name as Incoming claim type. Select Name ID as Outgoing claim type. Choose Transient Identifier as Outgoing name ID format. Select Pass through all claim values. Click on Finish.

- Click on Apply and then, click OK.

- The next step is to download the Federation Metadata XML file from ADFS. The XML can be downloaded by appending: FederationMetadata/2007-06/FederationMetadata.xml to the root URL of the ADFS server. For example: If the FQDN of the ADFS server is ec.com, then the complete URL would be https://ec.com/federationmetadata/2007-06/FederationMetadata.xml" target="_blank">https://ec.com/federationmetadata/2007-06/FederationMetadata.xml
- In the Central Server console, navigate to Admin -> SAML Authentication. Here, select the IdP as ADFS and choose the Name ID as Username. Beside Configuration by uploading, choose Metadata and upload the Metadata XML file. Click on Save.
- Open Central Server console. Click on Login with ADFS. Enter the credentials.
