How to back up User Profiles
Description
When you are upgrading to a new Windows OS, migrating the personalized User settings and configurations can be worrisome. Our USMT tool will help you back up your User Profiles by selecting multiple computers and User Accounts in each computer that you want to backup and the location where you want to store the backup. This will help you migrate User Accounts without compromising on your productivity. Follow the steps given below to backup your User Profiles and complete the first step in migration.
Steps to Backup User Profiles
Pre-requisites for User Profile Backup
- To perform User Profile Migration, download the latest version of Windows ADK tool.
- When you install the tool, select the following options,
- Deployment Tools
- Windows Preinstallation Environment (Windows PE)
- User State Migration Tool (USMT)
For more details about downloading the Windows ADK tool, refer to this document.
Select Computers for User Profile Backup
With the help of User Profile Migration feature, you can choose to back up multiple computers simultaneously. To backup the computer(s) that you want to migrate,
- Under the Create tab, select Backup User Profile under Image & Backup.
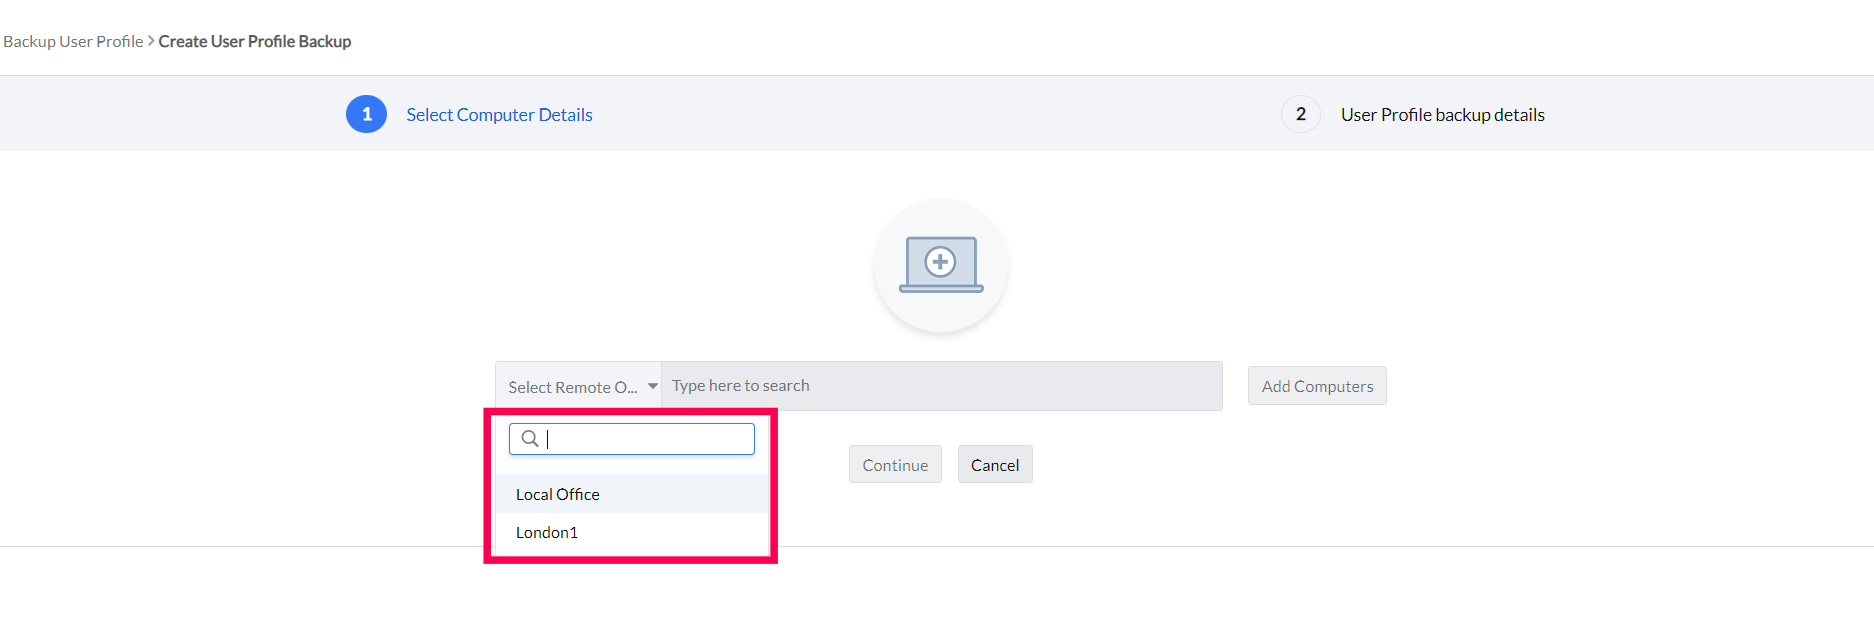
- Click Create User Profile Backup and select the Office (Local or Remote office), depending on the location of the computer(s) that you want to backup.NoteUser Profile migration is only available for Local Office deployments.
- Click Add Computers and search for the computer in the required domain.
- If you cannot find the computer in the list, you can also add them manually. Select Add Computers Manually, enter the name of the computer followed by a comma. Press enter to add them to the list and click Next. Click Add Computers.NoteAll the computers that are managed by the Endpoint Central agent come under Managed Computers list. Other computers where the DC agent is not installed will come under Unmanaged Computers.
- Verify the computer details such as Operating System, Credential and IP Address and click Continue.
Select User Account(s) for User Profile Backup
- Under Backup settings, choose the User Account type that you want to backup. You can either choose Domain Users or Local Users or All Users.
- Choose a storage location for the backup, from the list of configured Image Repositories.
- Click Create Backup.
- All the application settings, user settings and network related configurations found in the selected User Accounts will be captured and stored in the chosen repository.

You have now successfully created a backup of your User Profiles. The next step in User Profile Migration is template creation. Click here to learn more!
To know more about how to perform Windows 11 migration in certain scenarios, click here.


 Yes
Yes