Configuring self-service policies
In ADSelfService Plus, self-service features are assigned to users through self-service policies. Each policy links a specific set of self-service features to a group of users, letting you control and customize the level of access granted to different user segments within your organization. Active Directory policies are scoped by domain, organizational unit (OU), and group.
A self-service policy can include any combination of the following features:
- Self-service password reset: Enables users to securely reset their own passwords without requiring IT assistance.
- Change password: Enables users to proactively change their passwords without contacting IT support.
- Self-service account unlock: Enables locked-out users to unlock their own accounts without contacting the IT help desk.
- Directory self-update: Enables users to update their own profile information in the directory, and subscribe to or unsubscribe from mail groups.
Note:
- You can configure any number of self-service policies for a given domain, OU, or group.
- If a user falls under multiple policies due to overlapping domains, OUs, or groups, the policy with the highest priority (listed first) will take effect.
- Policies can be configured based on users’ domains, OUs, and group memberships, allowing granular control over who can access which ADSelfService Plus features.
How to create a self-service policy
- From the directory selector at the top of the page, choose Active Directory.
- Navigate to Configuration > Self-Service > Policy Configuration.
- Click the Add New Policy button.
- Enter a descriptive policy name.
- Select the self-service features you want to enable for this policy (for example, Reset Password). You need to select at least one self-service feature.
- Click Select OU(s)/Groups to define the policy’s scope. You can apply the policy to all users in the selected domain, or only to specific users based on their OU or group membership.
- Click OK to confirm the selection.
- Click Save Policy.
Note: ADSelfService Plus creates a default policy for each discovered domain. You can edit this existing policy or create new policies to fit your requirements.
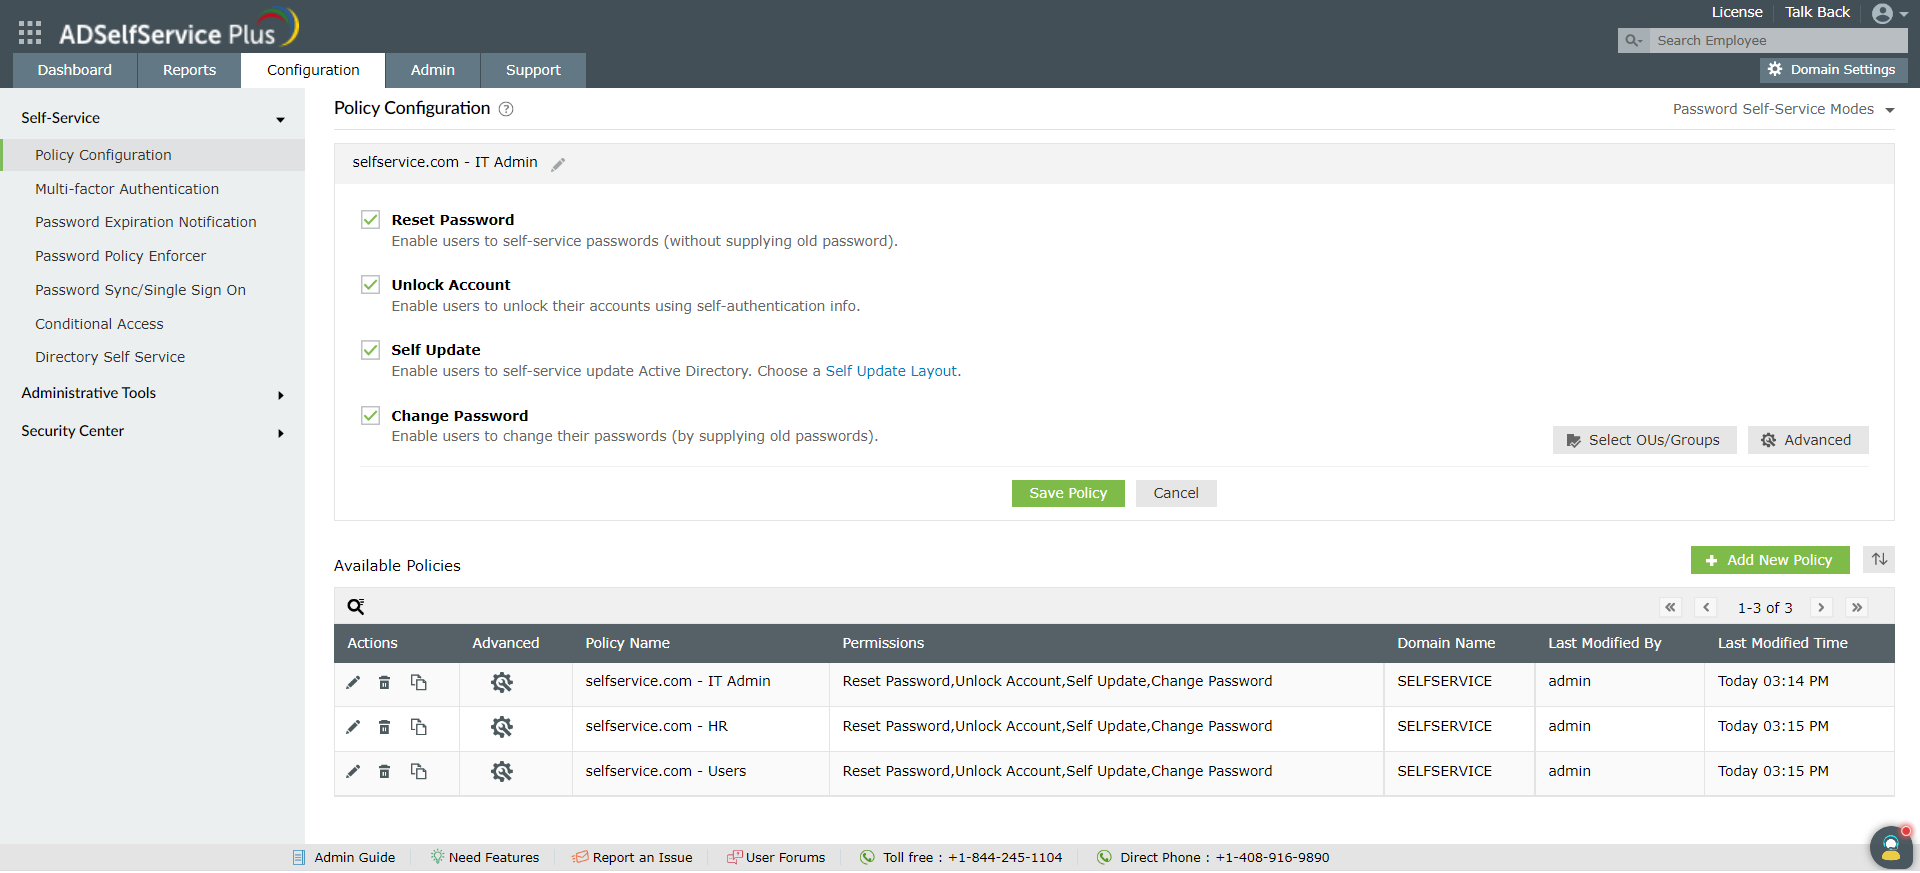
How to manage existing policies
From the main policy configuration screen, you can perform the following actions on any existing policy:
-
Update: Click the edit icon (
 ) to modify a policy’s features or its assigned domains and groups.
-
Delete: Click the delete icon (
 ) to remove a policy. A policy cannot be deleted if it is the only one remaining for a configured domain, or if users assigned to it have enrolled in multi-factor authentication.
-
Duplicate: Click the copy icon (
 ) to create a new policy based on an existing one, which you can then modify.
-
Prioritize: Use the reorder arrows next to the Add New Policy button to change the policy execution order. The policy at the top of the list has the highest precedence.
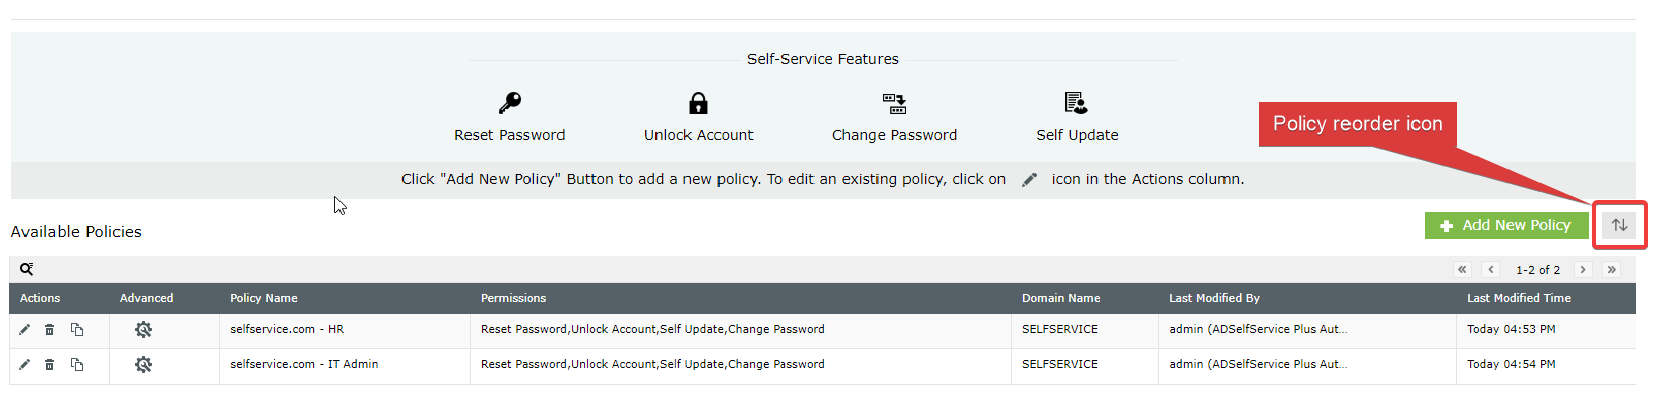
Note: All modifications to policies are tracked. You can verify who made changes and when by referencing the Last Modified By and Last Modified Time columns in the policy list.