Bill Generation
Bills are automatically generated and e-mailed to the addresses specified in the Contract Billing page. Once the bills are generated, it will be available under the Billing tab. If the bill amount is paid by the customer, then the status of the bill can be marked as paid.
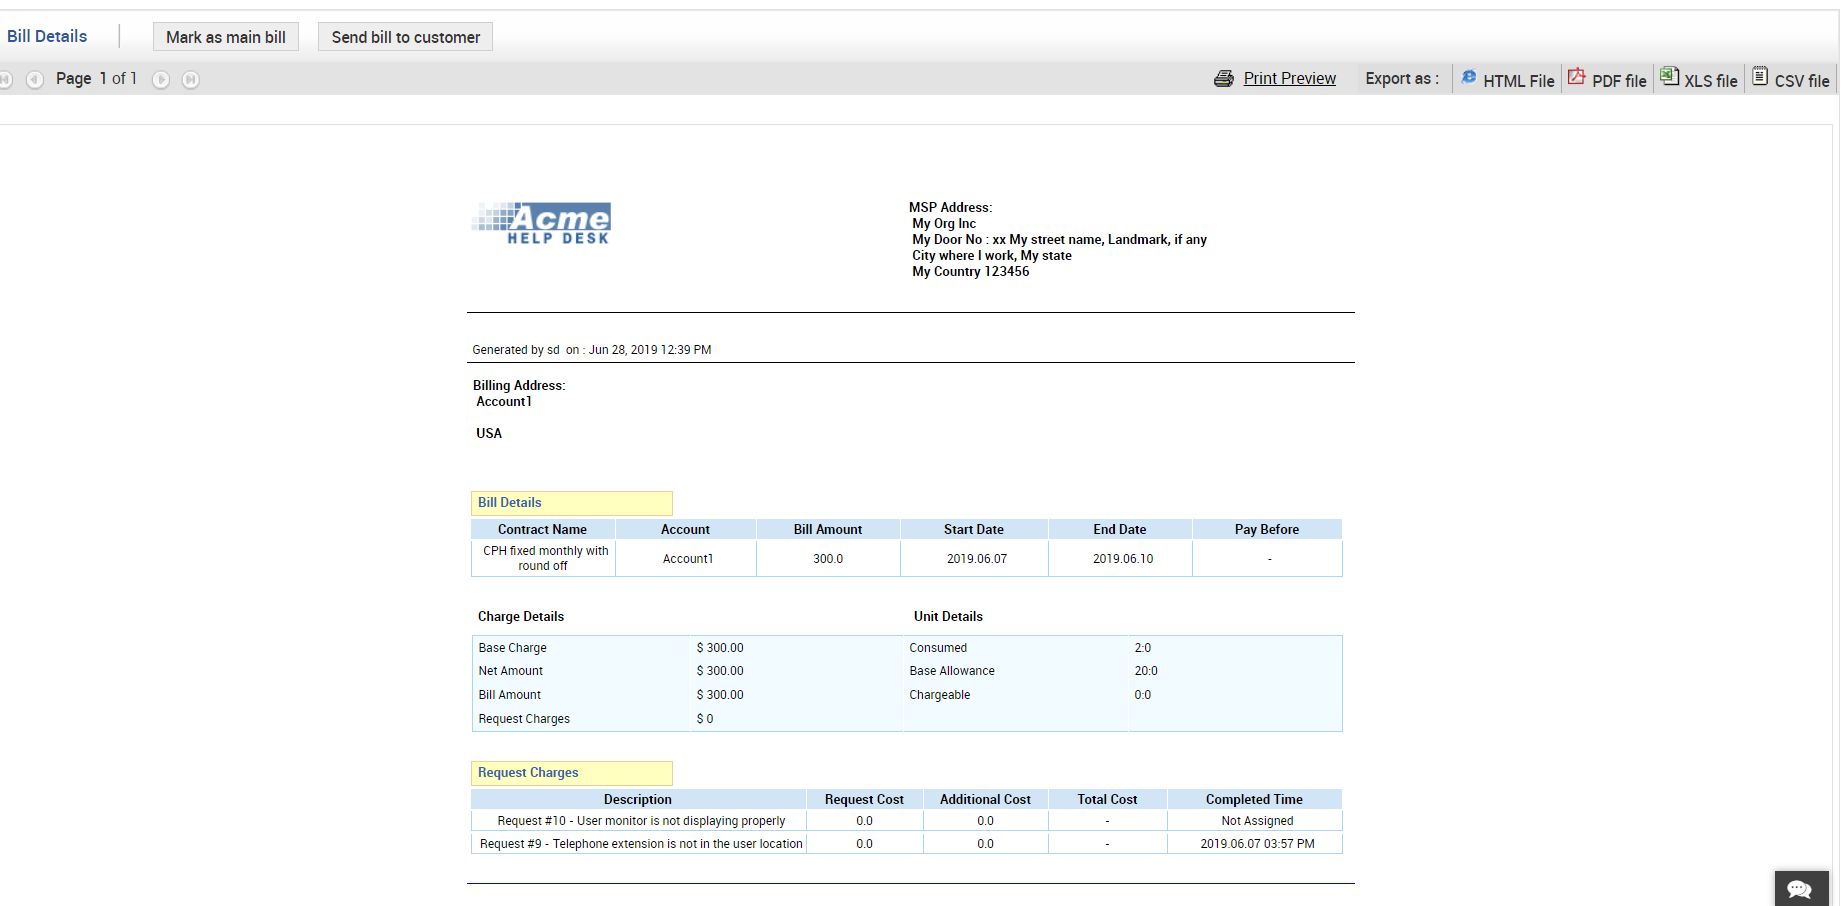
You also have an option to regenerate a bill if any changes are made to the requests during the billing period. Once a bill is regenerated, you will have the option to send the bill to the customer and mark the regenerated bill as Main Bill. After a bill is marked as the main bill, the originally generated bill is replaced by the new bill and displayed in the Bill list page.
You can also generate ad-hoc bills using the Billing tab.

-
Login to ServiceDesk Plus - MSP application using the admin username and password.
-
Click the Billing tab in the header pane. This opens the bill list view page.
-
Select the required account using the Account drop down to view the bills generated for that account. Here you can view, edit (mark as paid), or regenerate bill.
Once the bill amount is paid by the customer, the service provider can manually mark the bill status as paid.
To mark bill as paid,
-
In the bill list view page, click on the Edit icon
 beside the bill to edit.
 -
The bill opens in editable format with all the bill details.
-
To mark the bill as paid, select the Yes option from the Bill Paid drop down.
-
Select the Date on which the bill is paid from the calender icon
 .
. -
You can also download the copy of the bill by clicking on the Download link.
-
Click Submit. The Last Updated by field is updated automatically.
If you have made any changes to the request during the billing period, the changes can be updated in the bill with the option of regenerating the bill. Once a bill is regenerated, you will have the option to send the bill to the customer and mark the regenerated bill as main bill.
To regenerate a bill,
-
Click the Billing tab in the header pane. This opens the bill list view page.
-
Select the required account using the Account drop down to view the bills generated for that account.
-
Click the Regenerate link in the bill which you want to regenerate.
-
The bill is regenerated and displayed in the Billing Report page.
-
From the Billing Report page, click Mark as main bill button to mark the bill as main bill. A message is displayed stating that the bill is made as main bill successfully.
-
You can send the regenerated bill to the customer by clicking on the Send bill to customer button. The regenerated bill will be automatically e-mailed to addresses configured in the contract billing page.
-
Generated bill shows a separate field indicating the topped up units which will be added to the total allowance.
If you would wish to view the bill before the billing date, then you have an option to generate ad hoc bills.
To generate ad hoc bill,
-
Click the Billing tab in the header pane. This opens the bill list view page.
-
Select the account using the Account drop down to generate bill.
-
Click the Generate Bill button. Select the date column name from the Select Column combo box.
-
Select the period for which you want to generate the bill. If you would like to generate bill during this week, last week, this month, last month, this quarter, last quarter, today, or yesterday then select the During radio button and select the time period from the combo box. (OR) If you wish to provide a custom period, then select the From and To date using the calendar icon.
-
Click the Generate Bill button. The ad hoc bill is generated and displayed.

