Understand audio field
- When accessed via your iOS devices' browsers, you can upload audio files but you cannot record them via the audio field. This is because media objects are not supported by iOS.
- When accessed via Safari browser, you can upload audio files but you cannot record them via the audio field. This is because media objects are not completely supported in Safari.
The audio field enables your users to submit an audio input through your form, either by recording or by uploading an audio file that's stored in their device (computer, phone, or tablet). The following is how an audio field looks on a form:
When a user accesses from a web browser:

When a user accesses from a phone or tablet:

Size limits
- When a user accesses from a web browser, the audio field accepts a file of up to 30 minutes and doesn’t exceed 50 MB
- When a user accesses from an iPhone or iPad device, the audio field accepts recorded audio of the duration set in your web browser and doesn’t exceed 50 MB. Once the timer is up, the audio recording stops automatically.
- When a user accesses from an Android device, the audio field accepts recorded audio of the duration set in your web browser and doesn’t exceed 50 MB. Once the timer is up, the audio recording stops automatically.
The audio that your users submit through your form is stored in your account and is counted towards your account’s total storage limit. Visit your account's usage details page to view its current storage details.
Uploaded audio's name
When your users upload an audio file to this field, the file's name is set in the following format:
- The file's name is prepended by an underscore (_) and a system-generated number that uniquely identifies that file in your account
- The file's name will automatically be trimmed when it exceeds 150 characters
- Whitespaces and other special characters, excepting hyphens (-), will be replaced by an underscore (_).
On accessing from on a web browser
The following is an example of how an audio field looks when a user accesses from a web browser. Two icons appear in the audio field, as shown below. Your users can:
![]()
Upload an audio file
To upload an audio file, your user can click the Upload icon in the audio field. This will launch the file browser where your user can select the required file. Alternatively, your user can drag and drop an audio file in the field.
With regard to uploading an audio file when accessing from a web browser, there are some format limitations:
| Web browser | Supported formats |
| Internet Explorer | mp3 |
| Chrome | mp3, wav, aac, m4a |
| Firefox | mp3, wav, aac, m4a |
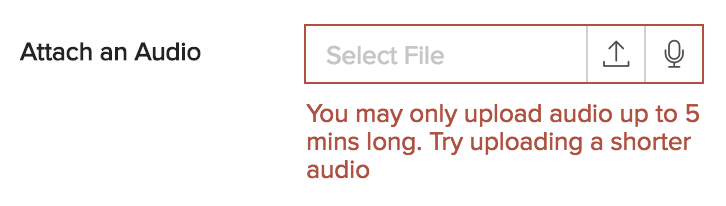
If your user uploads an audio that's longer than the allowed duration that's set for that audio field, ManageEngine AppCreator will alert as follows. The following image shows an audio field that's set to accept an audio of up to 5 minutes.
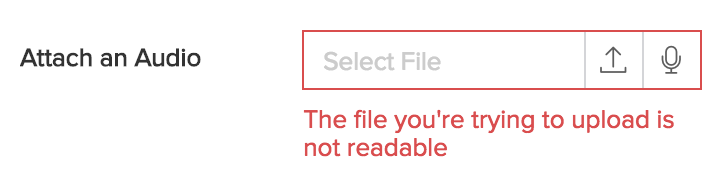
If you user uploads a file that's not an audio, ManageEngine AppCreator will alert:
Record an audio
- Select Audio. This will display the recording screen within the pop-up window.
- Click the Microphone icon, displayed at the bottom of the pop-up window. This will start the recording.
- If it is the first time your user is accessing the audio field, they will be prompted to grant permission to use the computer's microphone.
- They can either Allow or Block.
- If they select Block, they will be prompted with the message Allow access to media. They won't be able to record an audio till they Allow access to the microphone.
- Click Allow. This will start the recording immediately, and replace the Microphone icon with the Stop icon.
- Click the Stop icon to stop recording. Alternatively, the recording will automatically stop when it reaches the allowed duration (set for that audio field).
- Click the Play icon to play the recorded audio.
- Click Retake to record again. This will clear the prior recording and display the Microphone icon, thereby letting the user start recording an audio again.
- Click the Check mark button (displayed at the bottom of the pop-up window), once done recording. This will close the pop-up window and display the recorded audio in the audio field.
On accessing from a phone or tablet
When your users access the audio field on a phone or tablet, they can only record an audio. Uploading an audio file is not supported. The following given is what happens when your users tap on the audio field:
- If it the first time your user is accessing the audio field, they will be prompted to grant permission to use the device's microphone.
- Tap Ok to grant permission.
- If your user taps Don't Allow, they won't be able to proceed with recording an audio. Until they grant this access (in the app's permissions in the device's settings) they won't be able to record an audio for the audio field.
- Tap Ok. This will display a prompt at the screen's bottom.
- Tap Start Recording. This will display a 3-second timer and start counting it down. This is to let the user get ready for the audio recording.
- (Once the timer finishes, the audio recording begins)
- Time Elapsed is displayed in the center of the device's screen.
- The recording limit (allowed duration set for that audio field) is displayed below the Time Elapsed.
- Tap the Pause icon to pause the recording. Tap the Microphone icon to resume recording the audio.
- Tap Cancel, displayed on the top-left of the device's screen, to cancel the audio recording.
- Tap Discard Recording to confirm this cancellation.
- Tap Cancel to retain the recorded audio.
- Tap Done, displayed on the top-right on the screen, once done recording. Alternatively, the recording will automatically stop when it reaches the allowed duration (set for that audio field). This will close the audio recording screen and the recorded audio will appear in that audio field.
- Tap on the audio field, then
- Tap Play Recording to hear the recorded audio.
- Tap Record Again to record the audio again. This will discard the prior audio recording.
- Tap Remove Recording to remove the recorded audio.
- Tap Cancel to retain the recorded audio as input in that audio field.
Features
You can perform the following customizations for the user experience of the audio field on a form:
- Set the allowed duration up to which the uploaded or recorded audio can span
- Customize the field name and field link name of this field
- Make it mandatory for your users to upload or record an audio in this field
- Show the field only to the app’s admin (and hide it from other users)
- Set the field size
- Describe this field using a tooltip or a help text
URL to download an audio
An audio stored in the audio field can be downloaded using the following URL:
where,
- domain will be DC specific—for example, you'll need to use appcreatorexport.manageengine.com if your account is in ManageEngine's US data center, and appcreatorexport.manageengine.eu if in the EU data center.
- account_owner_name contains the user name of the AppCreator application's account owner and the link name of the application.
- reportLinkName is the link name of the report where the uploaded audio has been shown. (To know the report link name, click on Report Settings ->Summary from the edit mode of the report to get the reportLinkName).
- fieldLinkName is the link name of the corresponding audio field. Click here to learn more about the script name for a field.
- fileName is the corresponding file's name. Learn more
For example, imagine that you've built an Order management application. In this application, you have created a form named Feedback, where you collect feedback from your users via multi line and audio fields. You have given the choice of selection to your users to submit the feedback as text or record it as an audio. When you access the Feedback report, you may want to download the audio feedback files. To do this, you can configure a custom action such that when you click the button Download audio, the audio file is downloaded. This custom action has the above URL format constructed as follows:
openURL( BaseURL, “window type”);
where,
- BaseURL is a variable that refers to the URL you have constructed
- zoho.appuri returns the application details in the format:
/<account_owner_name>/<application_link_name>/ - input.<fieldLinkName> returns the filename of each file stored in the corresponding audio field
- The openUrl Deluge task is used to redirect the user to the specified URL. This URL can be opened in the same window, new window, parent window, popup window, or iframe.
Now, when you access the Feedback report, you can see the Download audio button:
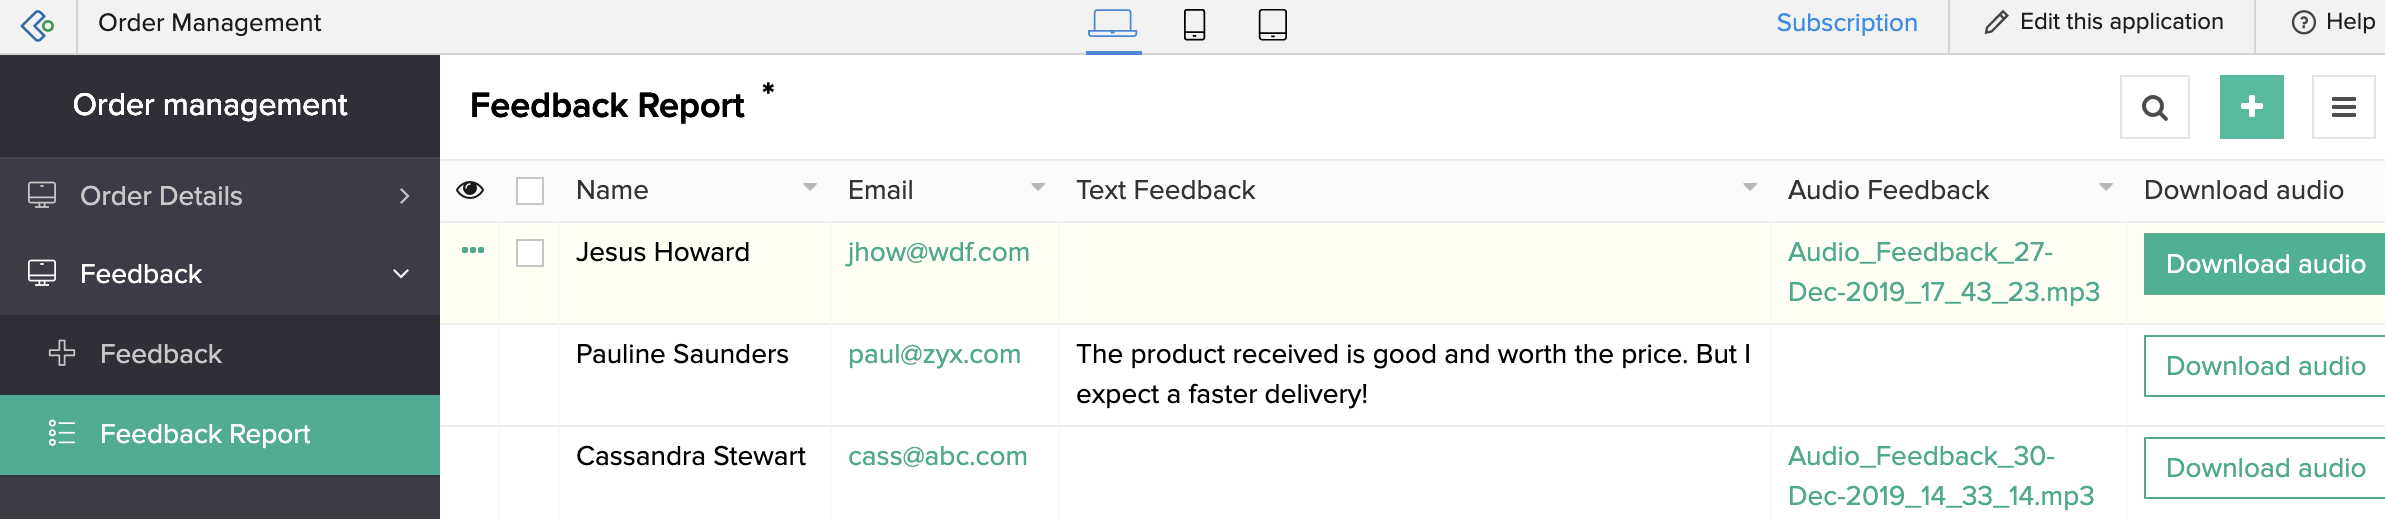
In the above image, Megan is the <account_owner_name> and order-management is the <application_link_name>