Manage sender email addresses in your ManageEngine AppCreator account
What's a Sender Email?
Sender Email in ManageEngine AppCreator refers to the 'From' address used in the automated email notifications sent from your ManageEngine AppCreator application. Other than the App admin's email address or the logged in user's email address, you can have a different personalized email address to send mail from your ManageEngine AppCreator app. You can add these custom email addresses from your ManageEngine AppCreator account's set up page. Following a small verification procedure, your custom email addresses will be made available for sending emails from your app.
Let's assume you have a retail store app built on ManageEngine AppCreator. You signed up for ManageEngine AppCreator using your personal email address, but you want to send emails from your app using a different email address, namely mymail@zylker.com. For this, you need to add mymail@zylker.com to your ManageEngine AppCreator account's Sender Email list and get it verified. On successful verification, you can use this email address as a From address to send mails from your app.

Add Email

Verify Email

Use as Sender's Address

Email received
You can add email addresses to your ManageEngine AppCreator account and send emails from them upon verification.
To add a sender email
- Go to your ManageEngine AppCreator Home.
Click the Setup icon near the top-right corner. You'll be taken to the Account Setup page.

Click Email Management under General.

Select Sender Email. This allows you to add From addresses for emails sent from your AppCreator app.
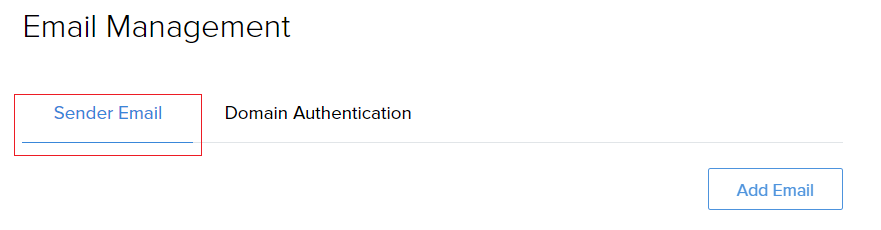
Click Add Email. A pop-up window will appear.
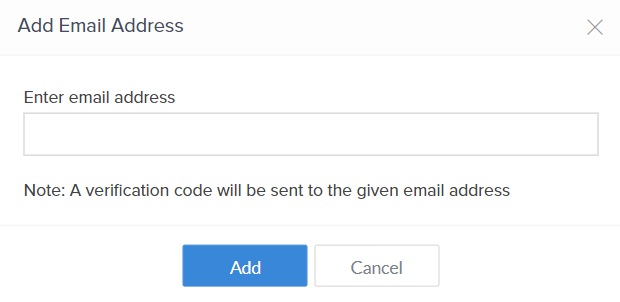
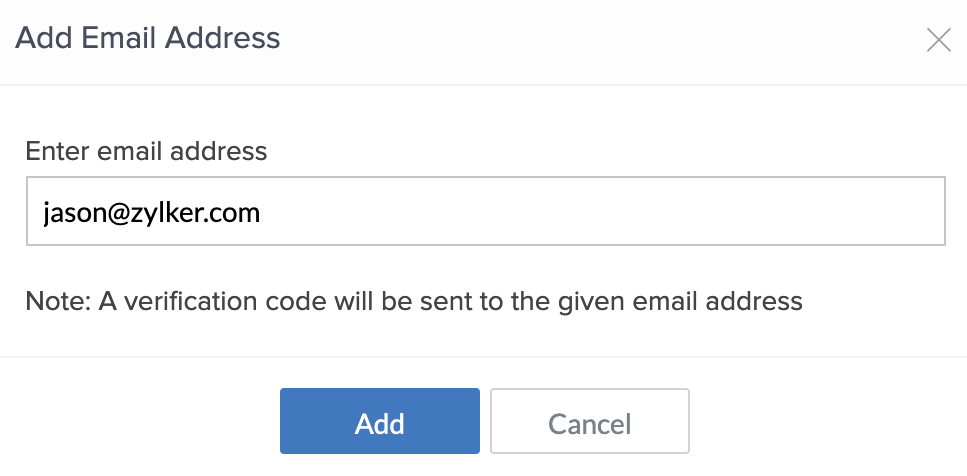
In the Add Email Address pop-up, enter the email address that you want to add as a sender email, then click Add. A verification code will be sent to this email address.
- Once you receive the verification email, enter the verification code, then click Verify.
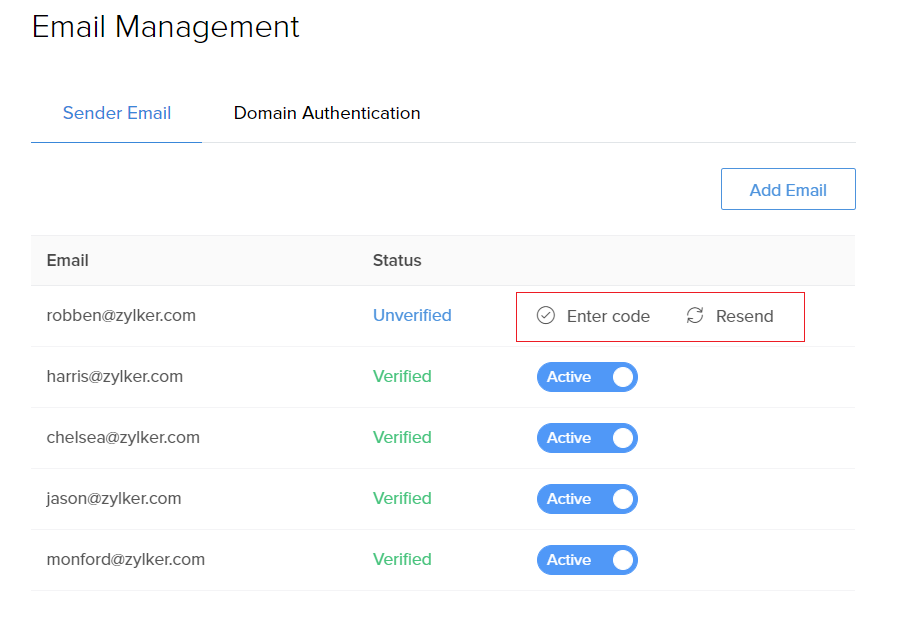
- The email address will appear in the Sender Email tab, with status as Verified.
You need not verify a sender email immediately after adding it. It can also be done later. In this case, its status will be Unverified and you'll see the Enter Code and Resend options next to it. Click the required option options and follow from Step 6 to complete verification.
To activate/deactivate an email address
- Every email address will have Active/Inactive toggle button present next to it. All verified email addresses are 'Active' by default.
To deactivate an email address, click on the Active/Inactive toggle button.

Note:
- Only the active email addresses will be listed while configuring email tasks.
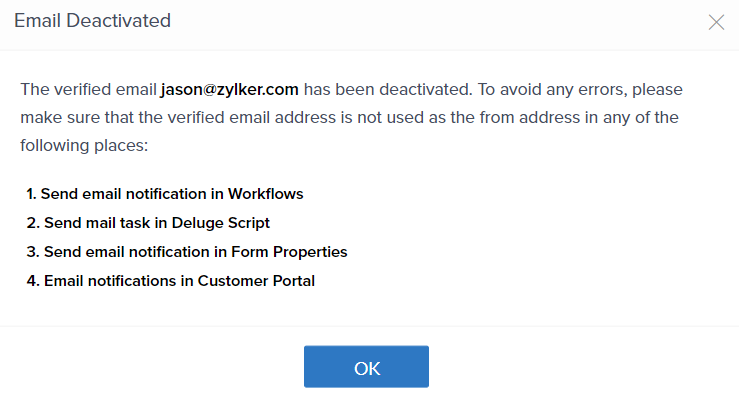
- The Inactive email address cannot be used as the from address in the email tasks present in Workflows, Deluge script, Email notification task in Form properties and Customer portal in App Settings. If the Inactive email address is already configured in the four references then they will throw an error
- If the email being made Inactive is the last email of the particular domain then the domain will also be deactivated. To activate the domain again, at least one verified email of that domain should be added.
The email will now be deactivated.
To delete an email address
Go to the Account Setup page.

Click Email Management under General.
Click Sender Email.
Hover over the email address which you want to delete. The 'Delete' icon will appear. Click the Delete icon.
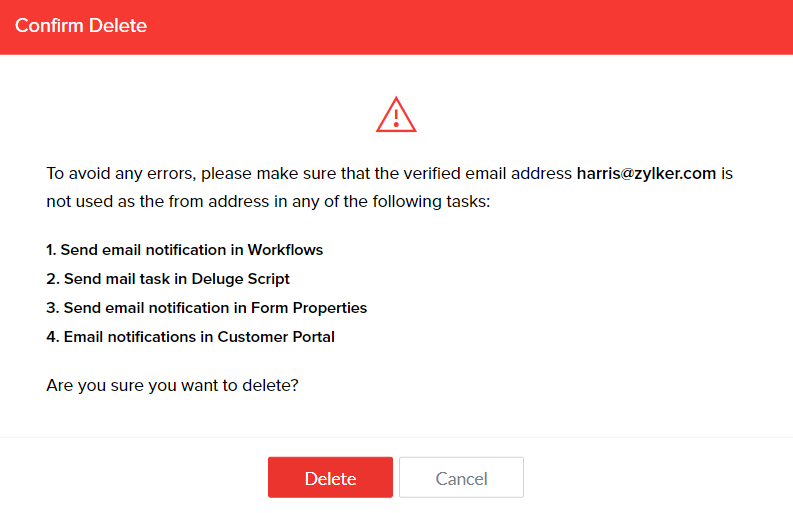
Note: The email address will be removed from all the mail tasks. This may cause errors when these tasks are executed. It is recommended to remove this email address as sender from all mail tasks before deletion. When all the verified email addresses associated with a domain are deleted, then the domain will also be removed from listing in the Domain Authentication tab and the domain authentication will also be removed.Before deleting the email address please make sure that it is not used as the from address in the email tasks present in Workflows, Deluge script, Form properties and Customer portal. Click Delete in the confirm delete popup.
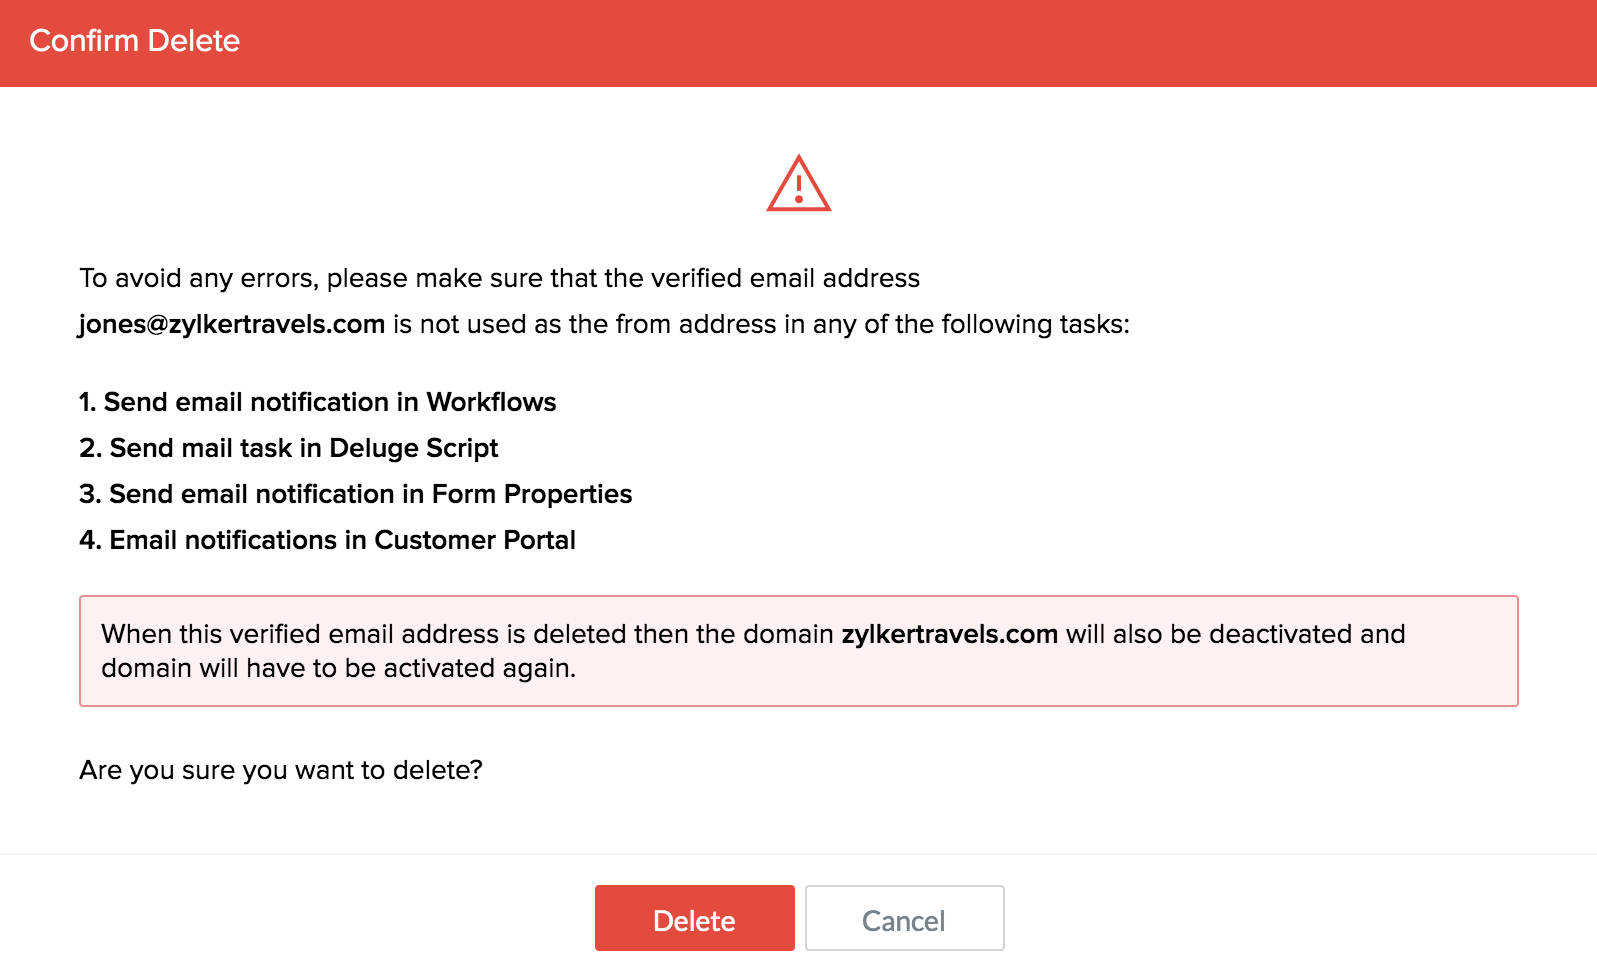
If the email address being deleted is the last active email of the particular domain then the domain will be deactivated.
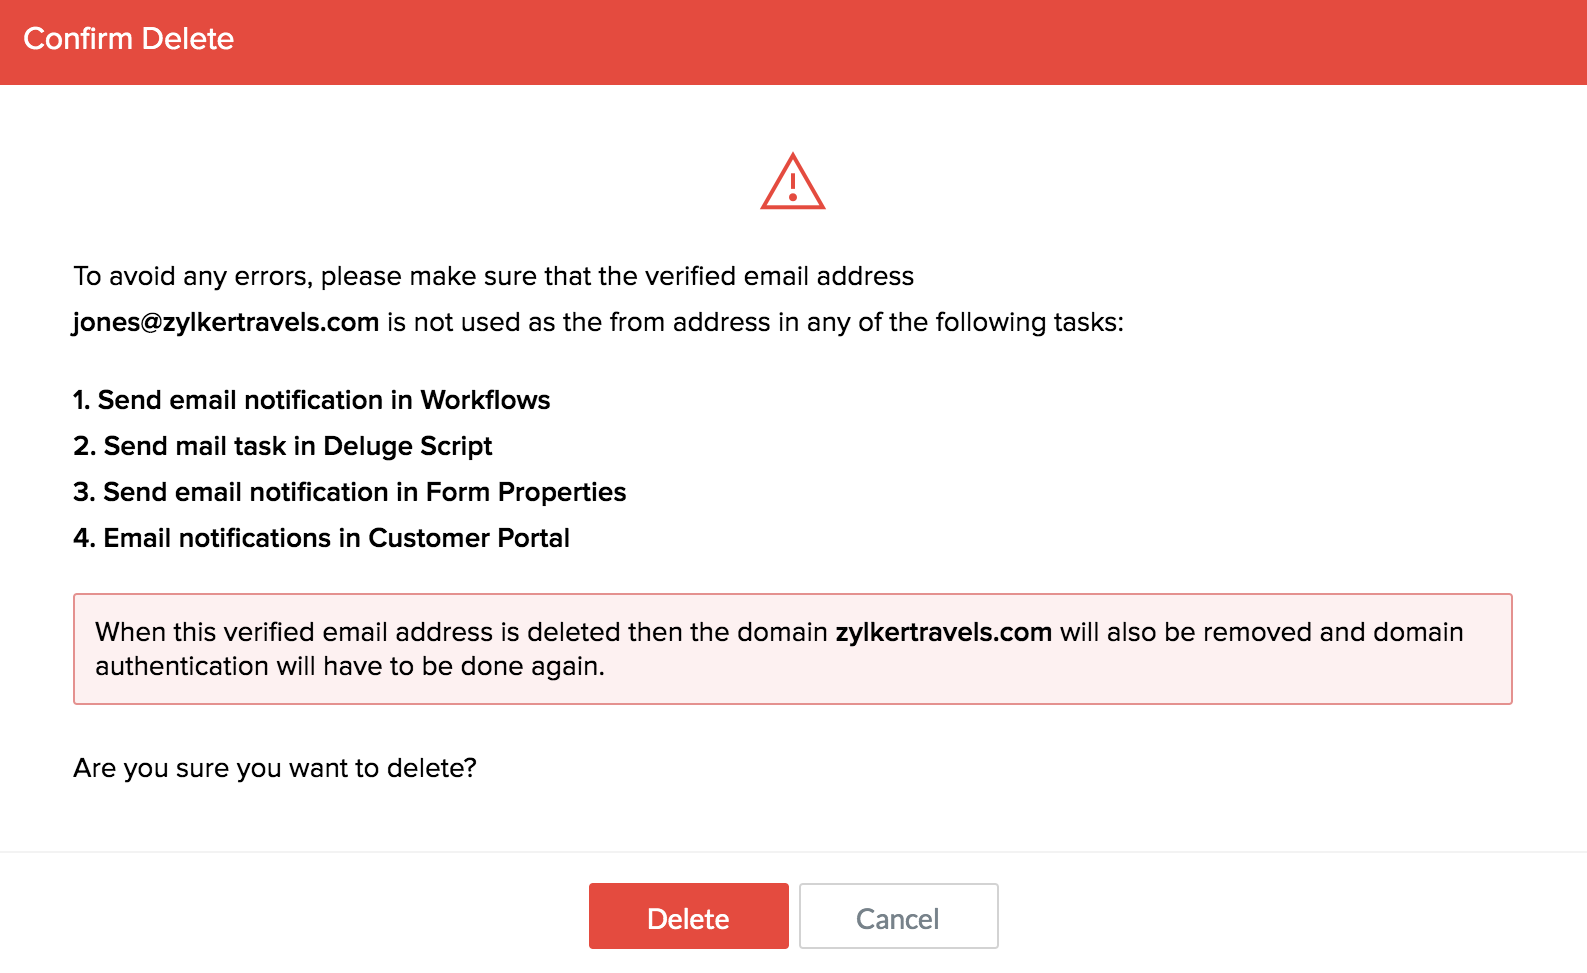
If the email address being deleted is the last email of the particular domain then the domain will be removed. To add and authenticate the domain again, you need add at least one verified sender email from that domain.
- The email address will now be deleted.
Things to know
- The number of sender emails that you can add is subject to your subscription. This information is displayed near the bottom-right corner of the the Sender Email tab.