Configure send email action
To configure an email notification:
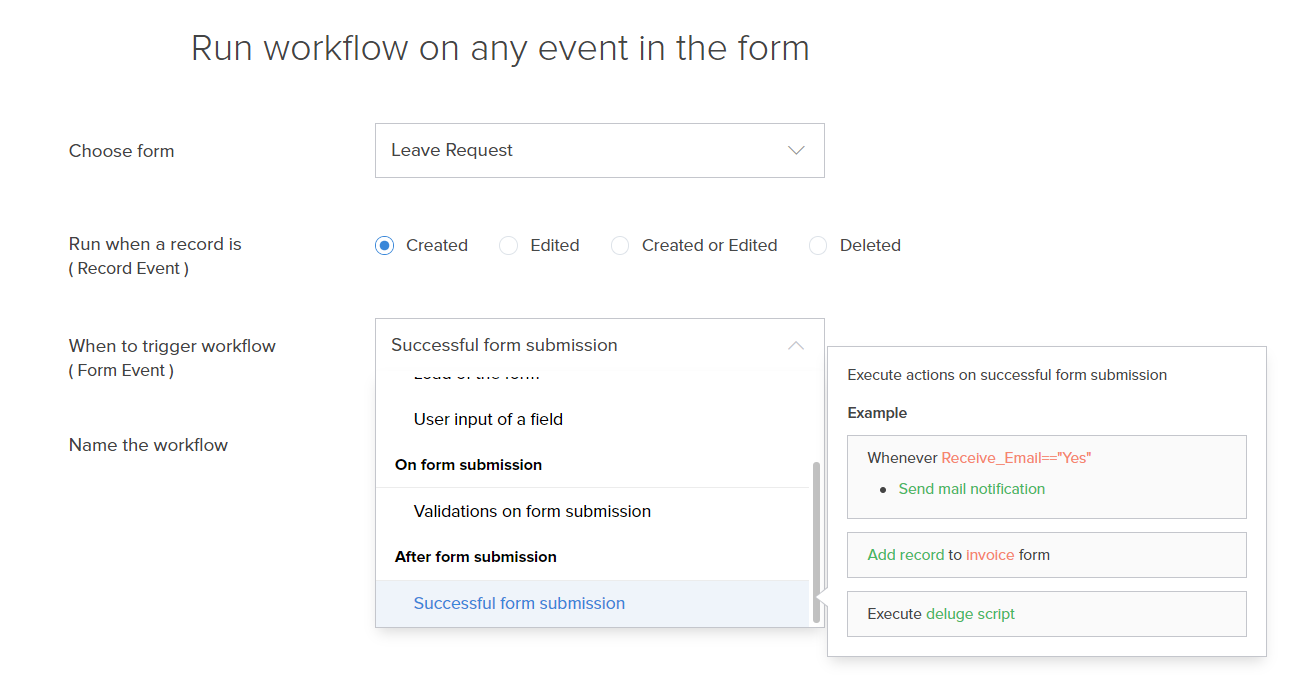
- While creating a new workflow choose the Successful form submission option in the When to trigger workflow dropdown.
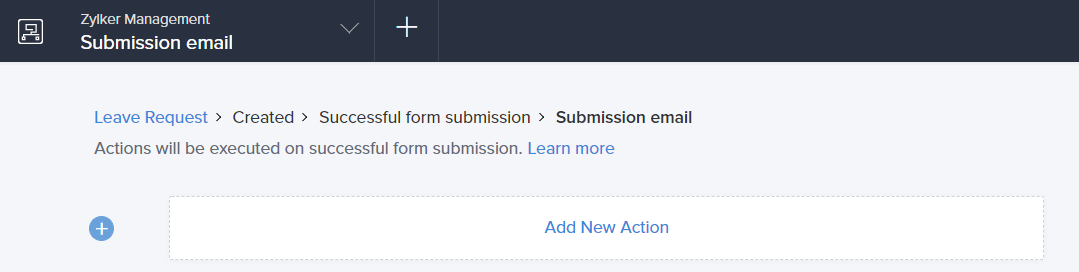
- Click the Add New Action block. The Add New Action window will slide in from the right.
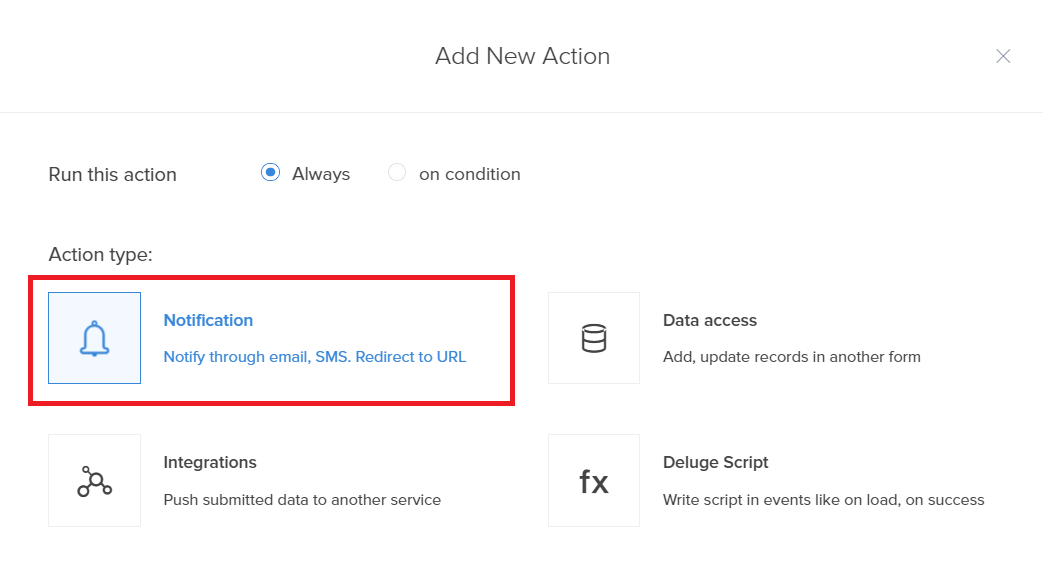
- ManageEngine AppCreator executes the action whenever there is an activity on the form. You can run the action for selected records by setting the criteria. Refer to the Set criteria page to learn more about setting criteria in a workflow.

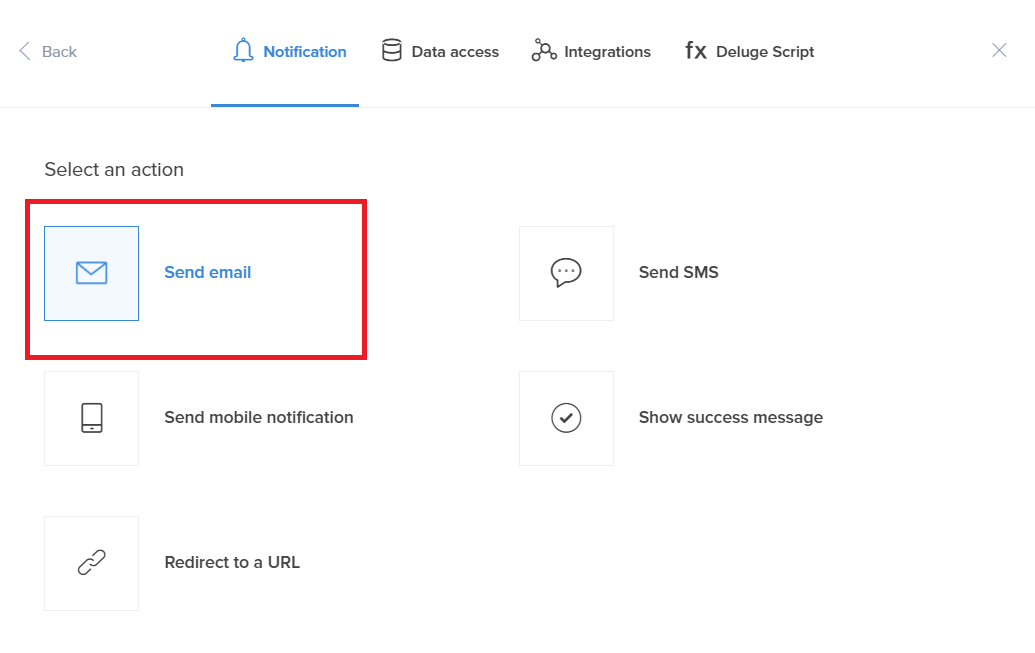
- Choose the Notification action type.
- Select the Send Email action from the list.
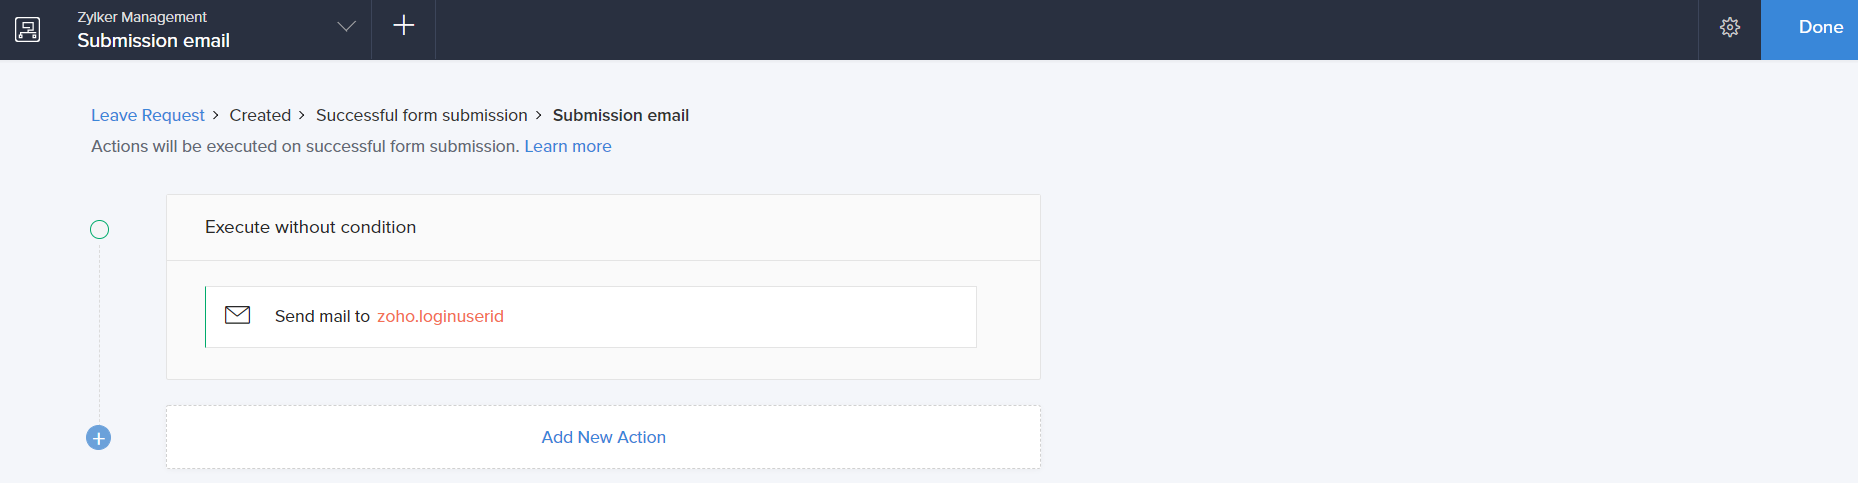
- You can configure the email notification in the Send Email window.
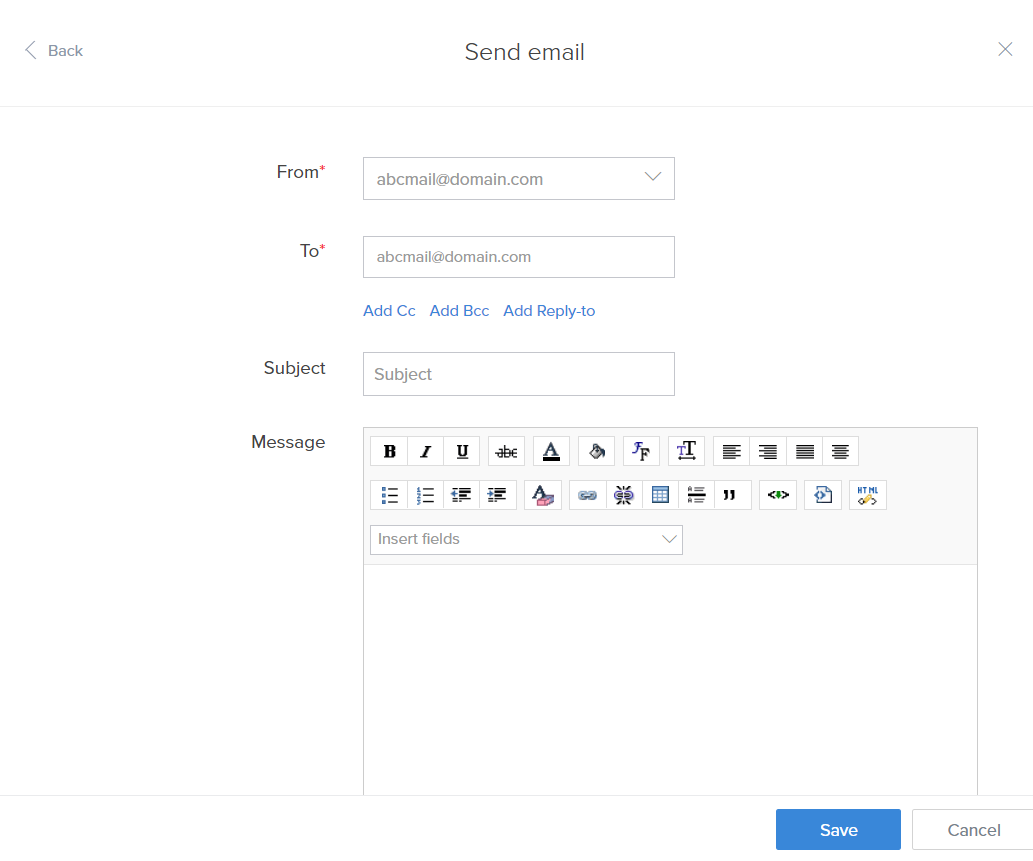
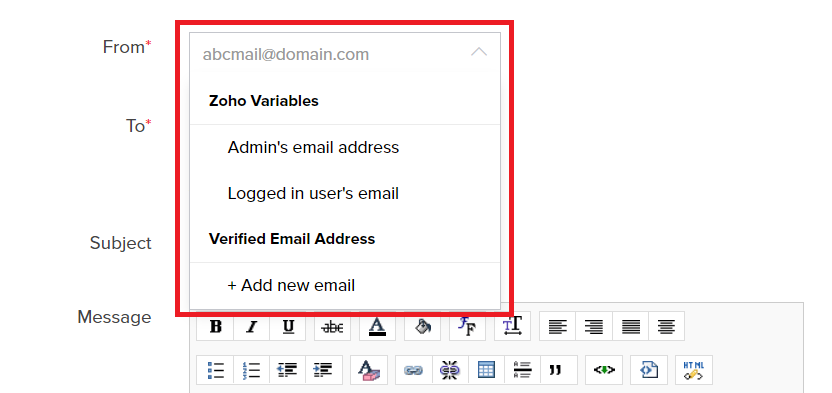
- Select the From/To address. Apart from the form fields, you can also assign the zoho variables and system fields in the From and To address fields.
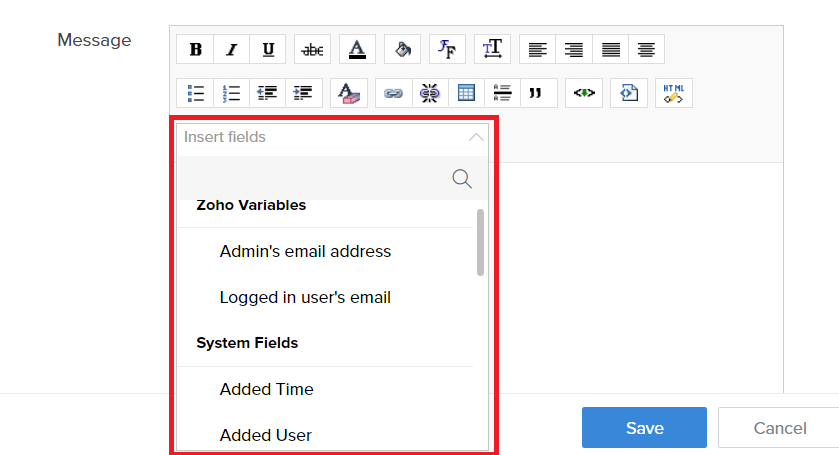
- Specify the subject and notification message. Insert Form field values dynamically in the Message field by selecting the required variable under the Insert Fields drop-down in the Message editor.
- Select the checkbox Include User Submitted Data to send the Form data in the email message. If Include User Submitted Data is selected, the record templates created for the Form will be displayed as a list below this option. You can select the required template and choose to send it as inline content or as PDF attachments. If you have not created any custom record templates, use the Default Template to display the Form data in a simple table format.
- Choose the Content Type.
- Click Save.
- Click Done in the top-right corner of the screen.