Dimensions
CloudSpend's Dimensions feature allows you to easily organize, manage, and discover resources across your multi-cloud environment. By adding Dimensions in simple name-value pairs, you can categorize and sort your cloud resources in a way that aligns with your business needs. This feature provides greater flexibility and control over your cloud environment, enabling better cost management, resource optimization, and governance.
Use case
Let's say your company runs an e-commerce project using resources from different cloud platforms; you can add a dimension like Project: E-Commerce to all related resources. This groups them, making it easy to locate and manage them as a unit.
You can also use dimensions to sort resources by environment (e.g., Environment: Production or Environment: Development) to ensure development resources don’t interfere with production systems. For cost management, dimensions like Department: Marketing or Department: Engineering help with allocating cloud expenses to specific teams, simplifying budgeting.
By applying these dimensions, CloudSpend allows you to generate detailed reports, monitor costs, and optimize resources effectively. For instance, all resources tagged with Project: E-Commerce can be tracked collectively, regardless of the cloud provider, giving you a clear view of costs and usage. Dimensions act like labels, providing flexibility, control, and visibility into your multi-cloud environment, making resource management simpler and more efficient.
Benefits of Dimensions
The Dimensions feature provides you with the following benefits:
- Simplified resource management: Organize cloud resources systematically based on business-specific attributes.
- Improved cost allocation: Gain better insights into cost distribution by grouping resources under meaningful dimensions.
- Enhanced multi-cloud visibility: Standardize tagging across multiple cloud providers for a unified cost view.
- Efficient search and filtering: Easily search and filter resources based on Dimensions to simplify monitoring and analysis.
- Better governance and compliance: Ensure that all resources follow a structured tagging approach for governance and compliance.
Adding Dimensions
To add a Dimension:
- Navigate to Reports > Resource Inventory > Resources.
- In the Tags section, click Add Dimensions.
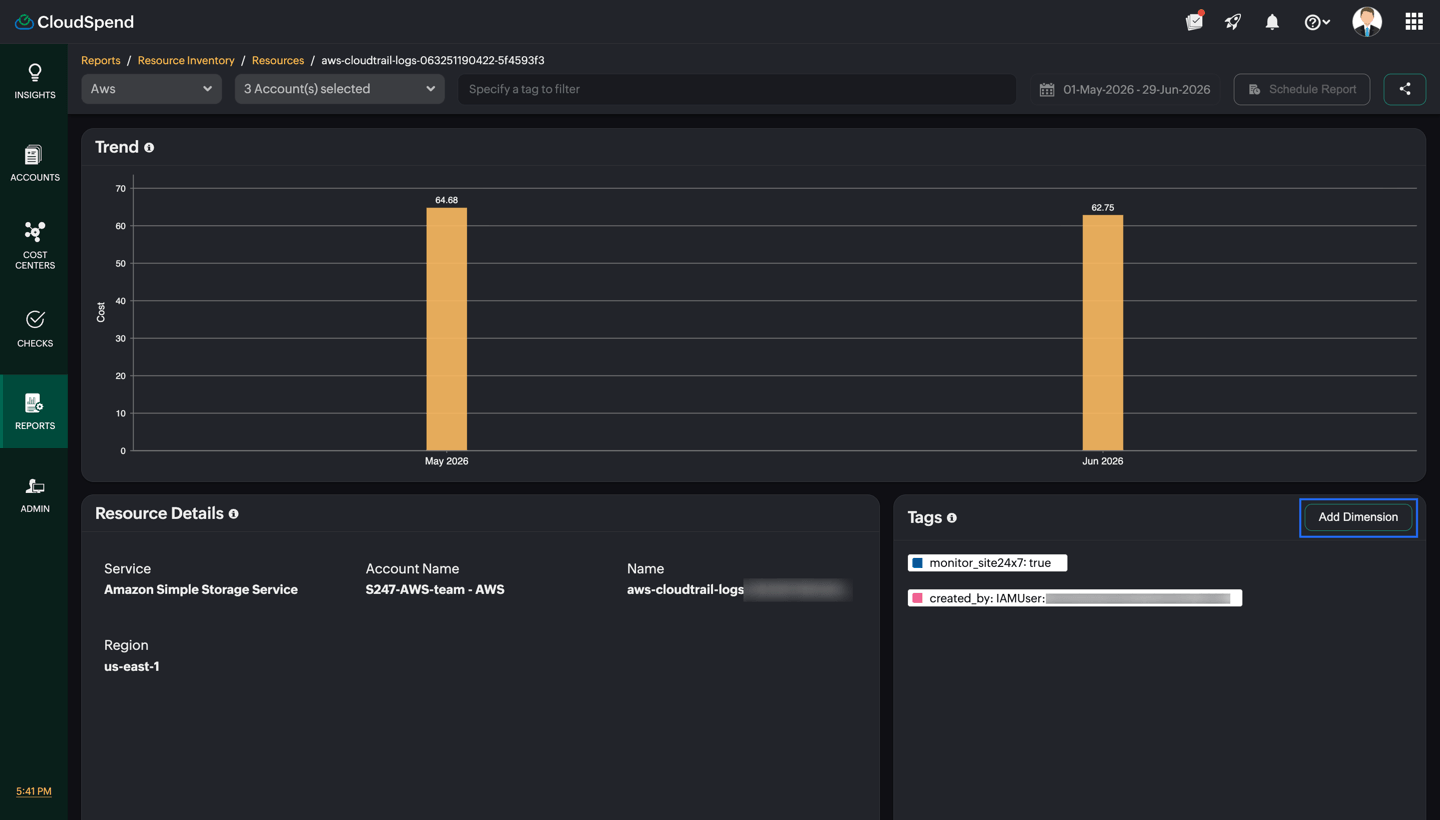
- In the Add Dimension dialog box, enter the Dimension Key and Dimension Value.
- Click Add Dimension.
The dimension will be added to your desired resource. To view only the Dimensions added for the resource, toggle to the Custom option in the Tags section.
You can also add Dimensions from Rule Engine. To add dimensions using a rule:
- Navigate to Admin > General > Rule Engine.
- Create a new rule or edit an existing rule.
- Complete the General Information and Define Criteria steps, then click Next to open the Define Actions step.
- In the Action field, select Dimensions.
- Click Add Dimension.
- In the Add Dimension dialog, enter the following details:
- Dimension Name: Enter the name of the dimension you want to create or assign.
- Dimension Value: Enter the value that should be associated with the dimension.
- Click Save to add the dimension to the rule.
Viewing Dimensions
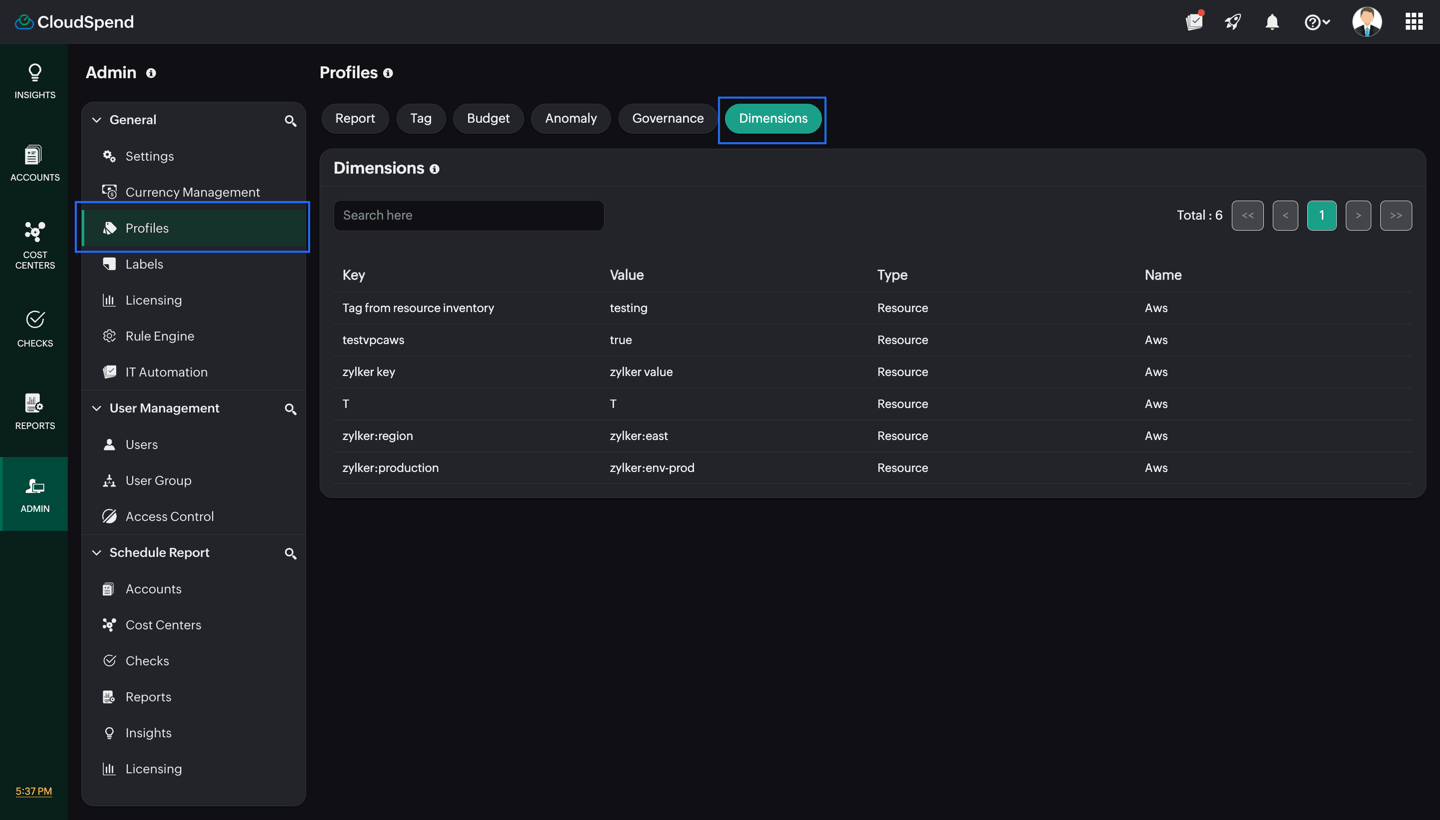
To view all the Dimensions added in your multi-cloud environment, go to Admin > Profiles > Dimensions. You can view all the Dimensions added to various resources along with details such as Key, Value, andType.